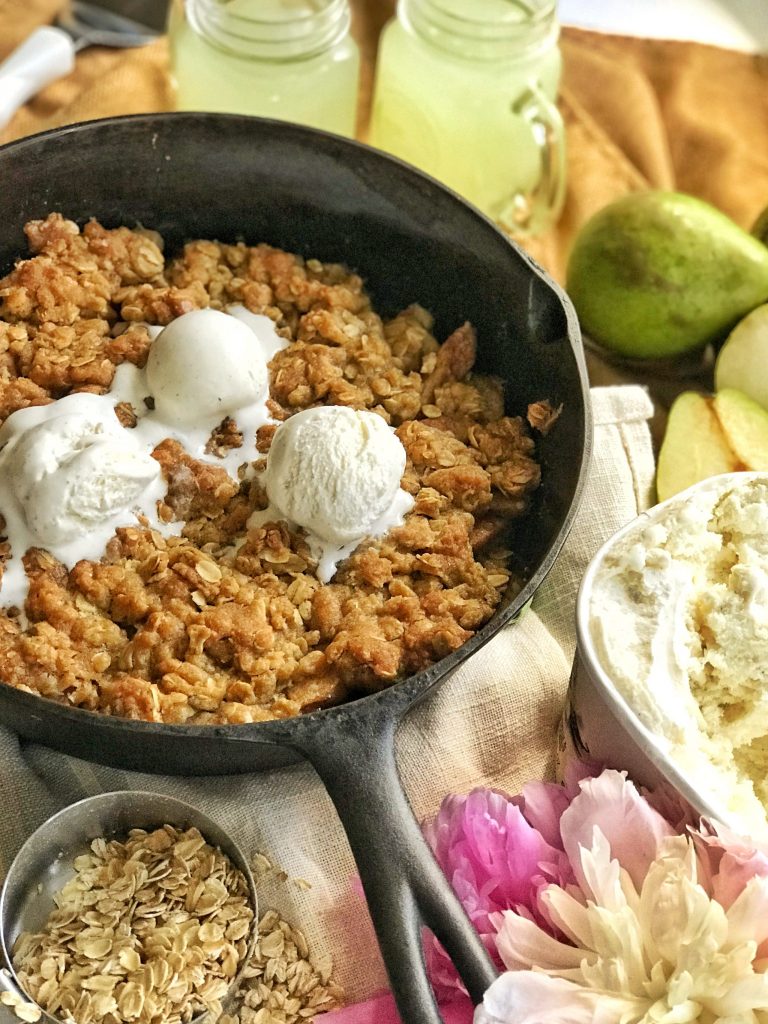
The Perfect Throw Together Pear Cobbler in your Cast Iron Skillet
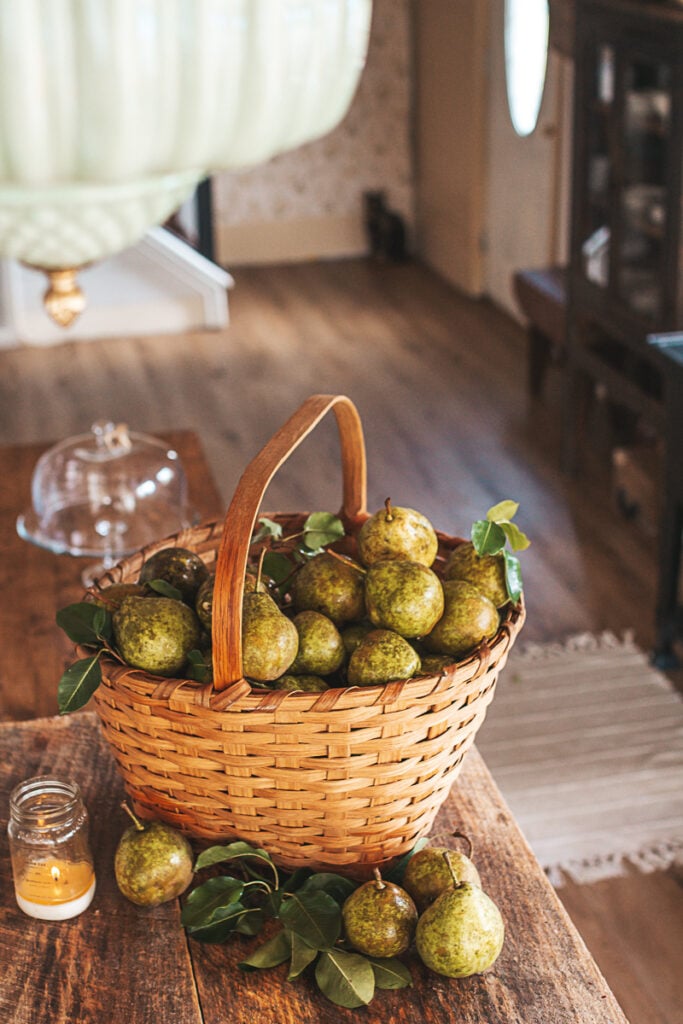
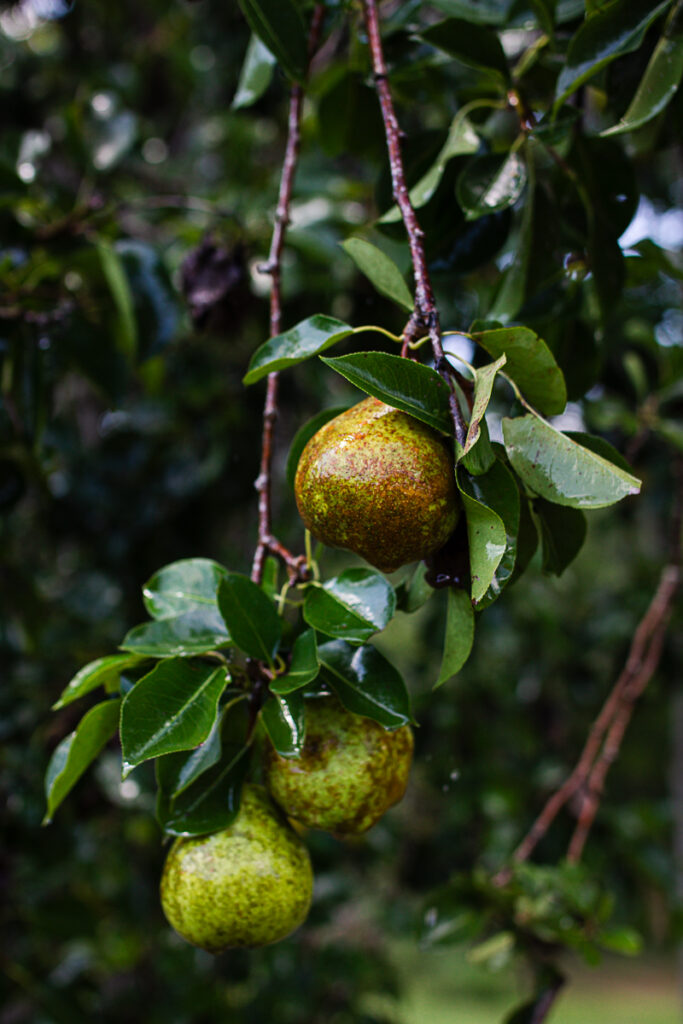
I finally did it! Pulled out my freshly seasoned cast iron skillet and made a pear cobbler with pears from our own backyard tree. She's over 100 years old, that pear tree, and every fall she blesses us with baskets of fruit. There's something special about baking with ingredients that have been growing just a few steps from the kitchen door for generations.
Now, you can call it cobbler, crisp, or crumble. Truth be told, I've never worried too much about the name. What matters is the bubbling pears kissed with brown sugar and butter, tucked under a golden topping that makes the whole house smell like comfort itself. One bite and you'll understand why this simple dessert feels like a little piece of home.
I first shared this pear cobbler over on Instagram, and it quickly became a favorite. So many of you saved and shared the post that I knew it deserved a permanent spot here on the blog. It's the kind of dessert that feels right any time of year, but there's something extra special about enjoying it in the fall. When the air turns crisp, the spices feel warmer, and fresh fruit makes the kitchen smell nostalgic.
Why You Need a Cast Iron Skillet
A few years ago, I talked about the old cast iron skillet that had been rusting in my kitchen drawer for years. It sat unused because I wasn't sure how to care for it. But after hearing so many people rave about cast iron skillets being non-stick, easy to clean, and non-toxic, I decided it was time to dig it out and season it properly. And let me tell you, it's been a game-changer in my kitchen.
Why is Cast Iron So Great?
If you don't have a cast iron skillet, you need one! I've had mine for over six years now, and it's become my go-to for almost everything. Whether I'm making this pear cobbler, frying up some eggs, or searing meat, my cast iron skillet does it all. One of the best features is how you can start a dish on the stovetop and then transfer it to the oven-perfect for this recipe!
Don't have one yet? Here's one on Amazon I recommend. But remember, even if you purchase a new one, you'll still need to season it first to get the best results. Check out my post on how to season and maintain your cast iron skillet for more details.
Which Pear Varieties to Use
This pear cobbler is the perfect way to put ripe pears like Anjou, Bartlett, or Comice, to good use. The combination of tender pears, brown sugar, and buttery topping is downright irresistible.
It's a dessert that fits right in on the holiday table, yet it's simple enough to bake on an ordinary day when you're craving something sweet and comforting.
Tips for Storing Leftover Pear Cobbler
If you have any leftover pear cobbler (which I doubt!), it's easy to store. I remove it from my pan and place in a glass storage container with lid and refrigerate. It'll keep well for a few days, though the biscuit topping might soften. To reheat, just pop it back into the oven for a few minutes to warm it up and crisp the topping again.
What Should I Make Next in My Cast Iron Skillet?
Now that I'm hooked on using my cast iron skillet, I'm always looking for new recipes to try. Maybe next time I'll make a peach cobbler, a comforting apple pie, or even a savory dish like cornbread. If you're looking for pear recipes, a pear crumble or a quick pear dessert might be just what you need. Share your favorite cobbler recipes or pear desserts with me in the comments!
For more tips on caring for your cast iron skillet and keeping it in tip-top shape, check out my detailed guide on cleaning and maintenance. Spoiler alert: Never use soap! Treat it well, and you'll be able to pass your skillet down for generations.
Frequently Asked Questions About Pear Cobbler
What's the difference between cobbler, crisp, and crumble?
Great question! A cobbler usually has a biscuit or cake-like topping, while a crisp is topped with oats and sugar, and a crumble is somewhere in between. Honestly, I don't worry too much about the name-what matters most is the bubbling fruit and golden topping that makes the house smell amazing.
Can I use canned pears instead of fresh?
Fresh pears really shine in this recipe, especially if you have a tree like ours in the backyard. But if pears are out of season, canned pears (drained well) will work in a pinch. Just keep in mind the texture will be softer.
Do I need a cast iron skillet to make this recipe?
Nope! A 9x13 baking dish will work just fine. But I'll tell you-the cast iron gives it that rustic presentation and holds the heat beautifully, which makes the topping extra golden and crisp.
Which pear varieties work best?
I love Anjou, Bartlett, or Comice pears for this cobbler. They're juicy and hold up well to baking. If you've got a backyard tree like ours, use what you have! That's the beauty of this recipe-it's flexible.
Can I make pear cobbler ahead of time?
Yes, you can assemble the filling and topping separately, then keep them in the fridge until you're ready to bake. Just store the pears and topping in separate bowls so the topping doesn't get soggy.
How do I store leftovers?
If you happen to have any leftovers, transfer them to a glass container with a lid and refrigerate. The cobbler will keep for 3-4 days. To reheat, warm it in the oven for a few minutes to crisp the topping back up.
Can I freeze pear cobbler?
Yes! Bake it first, let it cool completely, then wrap it tightly and freeze. When you're ready to enjoy, thaw in the fridge overnight and warm it in the oven before serving.
What should I serve with pear cobbler?
A big scoop of vanilla ice cream is classic, but I also love it with whipped cream or a drizzle of caramel sauce

Pear Cobbler
Ingredients
Filling
- 6 pears peeled & sliced
- 2 teaspoon vanilla
- 3 tablespoon sugar
- 3 tablespoon brown sugar
- 2 tablespoon all purpose flour
- ½ teaspoon cinnamon
Topping
- 6 tablespoon butter melted
- ½ teaspoon vanilla extract
- ¾ cup all purpose flour
- ¾ cup rolled oats
- ⅔ cup brown sugar
- ½ teaspoon salt
Instructions
- Preheat your oven to 375°F. Place your cast iron skillet inside with a small pat of butter, letting it melt and coat the pan while the oven warms.
- Meanwhile, in a large mixing bowl, toss together the sliced pears, vanilla, granulated sugar, brown sugar, flour, lemon juice, and cinnamon until the fruit is evenly coated.
- Using oven mitts, carefully pull the warm skillet from the oven and spread the pear mixture inside.
- In another bowl, stir together the melted butter, vanilla, flour, oats, brown sugar, salt, and ginger until crumbly. Sprinkle this mixture evenly over the pears.
- Slide the skillet back into the oven and bake for about 45 minutes, until the topping is golden and the pears are bubbling around the edges.
- Let it cool just a few minutes before digging in. Serve warm with a scoop of vanilla ice cream. Or, drizzle with caramel if you want to make it extra special.
Nutrition
This recipe was first shared this pear cobbler over on Instagram, and it received so many saves and re-shares that I knew it needed to have a home here too!
Other Pear Recipes You May Like:
Meet Eryn
Eryn Whalen is a homestead blogger and recipe developer with a lifetime of hands-on experience in gardening, home canning, animal husbandry, and traditional kitchen skills. From preserving homegrown harvests to baking sourdough from scratch, she shares her family's journey of intentional living on their 100-acre Tennessee farmstead. Recently, Eryn has expanded her homesteading life to include caring for a family milk cow, sharing the learning process and daily joys of small-scale dairying. Read more about Eryn here


OMG this amaaaaazing!!!! i could eat the whole thing in one sitting 😋
That makes me smile! I’m so glad you enjoyed this one. Thanks for the kind feedback! 🙂