Easy Homemade Canned Apple Pie Filling Recipe
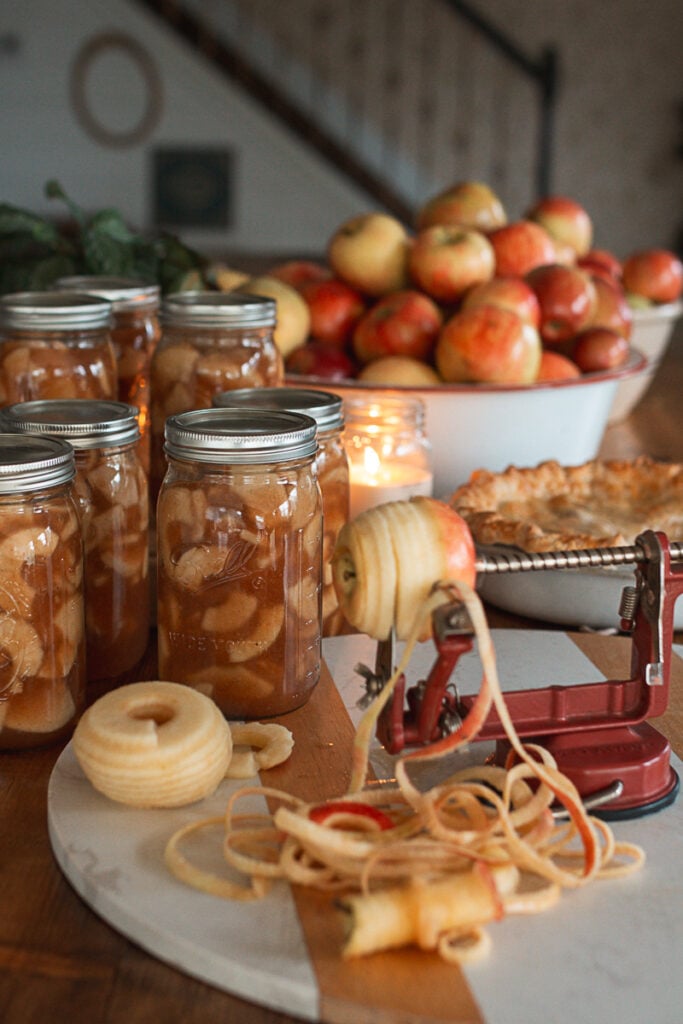
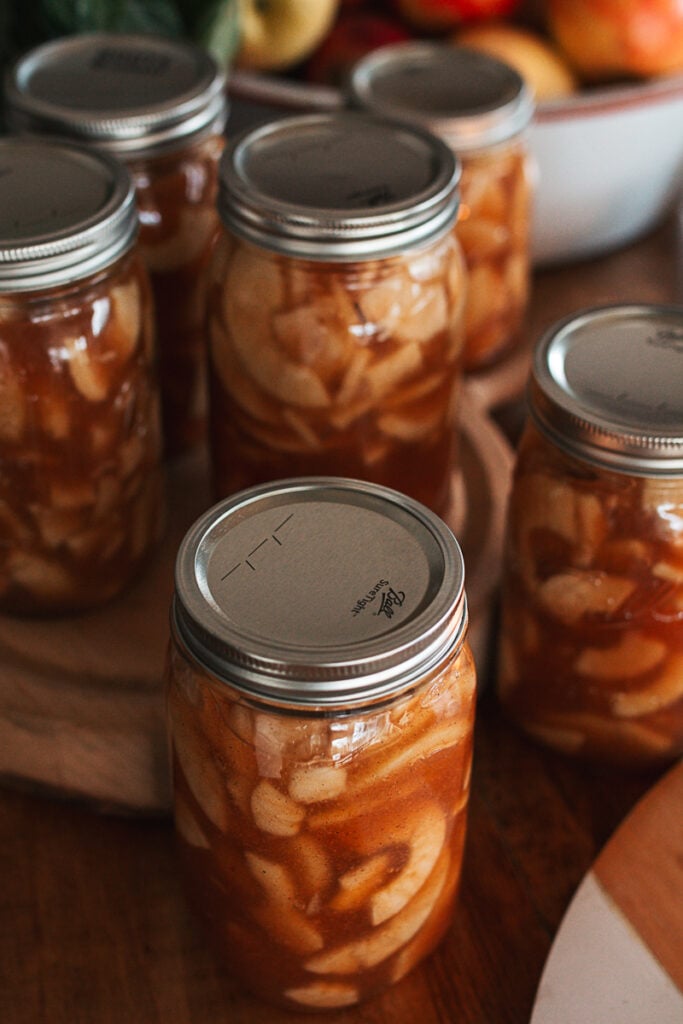
Every autumn, I put away a few shelves of this homemade apple pie filling. It's one of the best time-saving traditions in my kitchen. Each jar holds everything you need for quick pies, crisps, or warm dessert toppings. It's reliable, flavorful, and a great way to use up extra apples from your apple trees, a roadside stand, or trip to the grocery store.
If it's your first time canning, this simple recipe will walk you through every step of the canning process, giving you that cozy taste of fall all year long.
Store-bought versions just don't compare. You'll combine sugar and brown sugar with spices and the clear gel in a large pot, creating a glossy, spiced syrup that beats anything from the store. No food coloring or fillers here, just clean ingredients and the satisfaction of doing it yourself. Once you make your own pie filling, you'll never go back.
From Washington Roots
I grew up in the apple country of Washington State, surrounded by hills of fruit trees my great-grandfather planted generations ago. Apples are woven into our family's story. My grandmother's name was Judy Appel, after the Judy apple variety, and that heritage has shaped how I cook to this day.
That lifelong love of apples even led to one of my favorite experiences: being featured on Washington Grown TV season 10, where I shared how to make this very homemade apple pie filling (See Minute mark 16:54). The kitchen smelled like cinnamon and spiced syrup as we filmed, and it reminded me just how special it is to preserve something simple and pure. You can still watch the full segment on Washington Grown TV's YouTube channel, or view my compiled clips here.

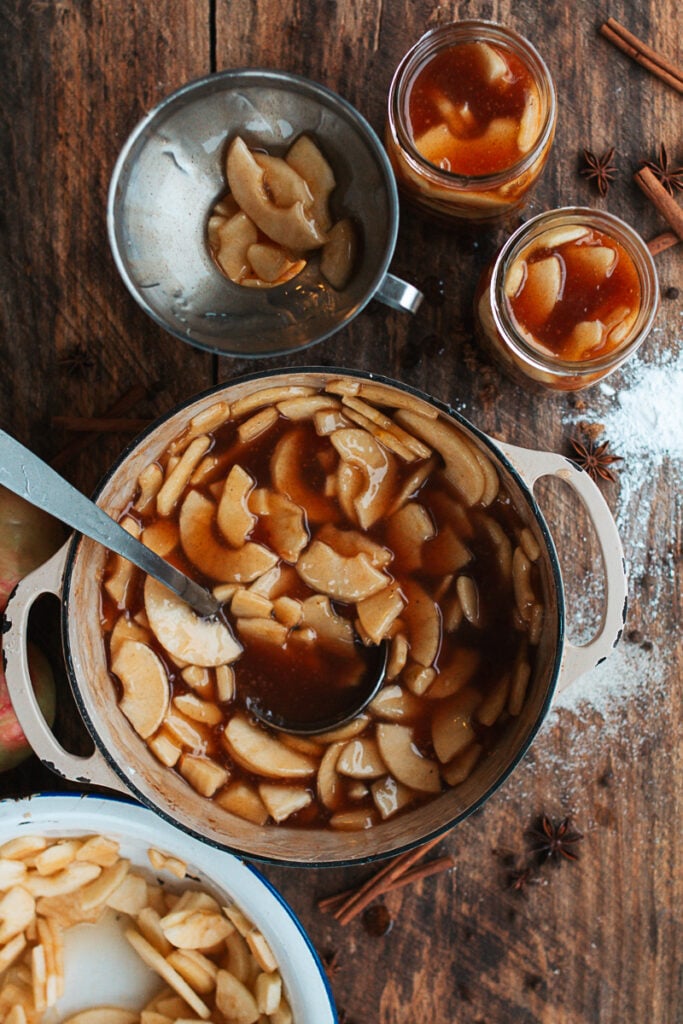
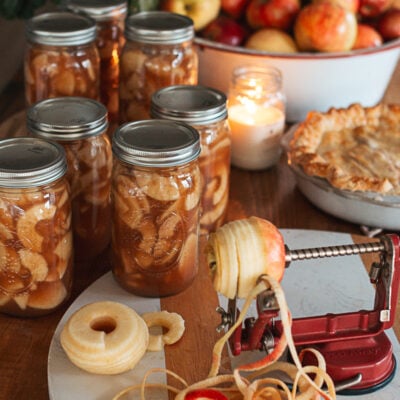
Mix the filling, bring to a boil, let it thicken, add the apples, and ladle into jars, and process!

Why You'll Love This Recipe
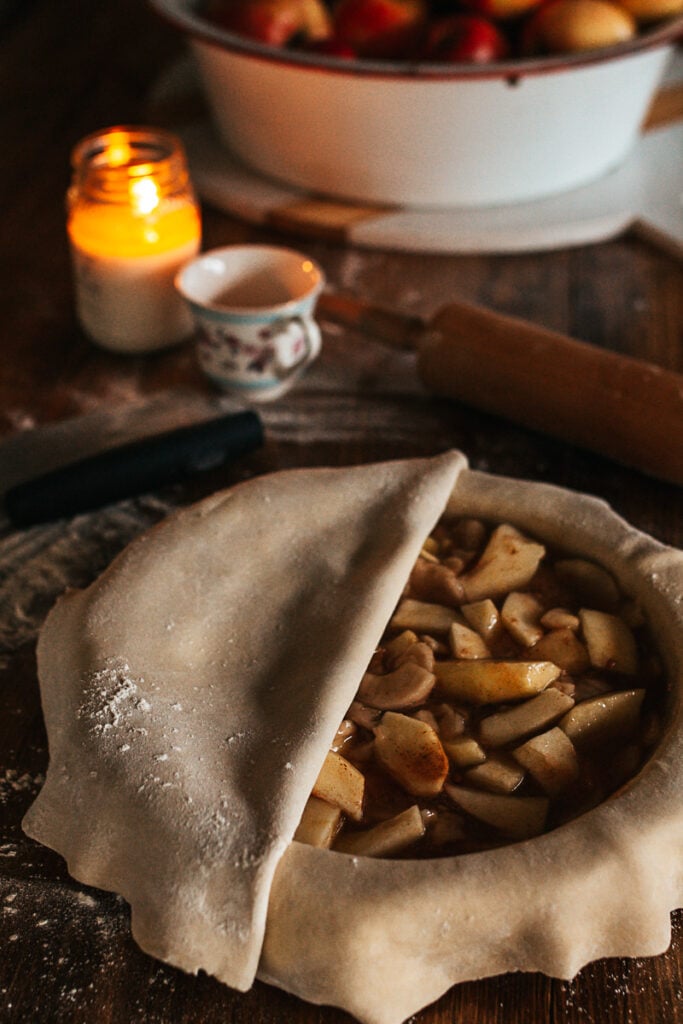
- Versatile: Perfect for full pies or mini apple pies, crisps, or spooned warm over pancakes and ice cream.
- Quick to Use: Dessert is just a crust or crumble away, no prep needed.
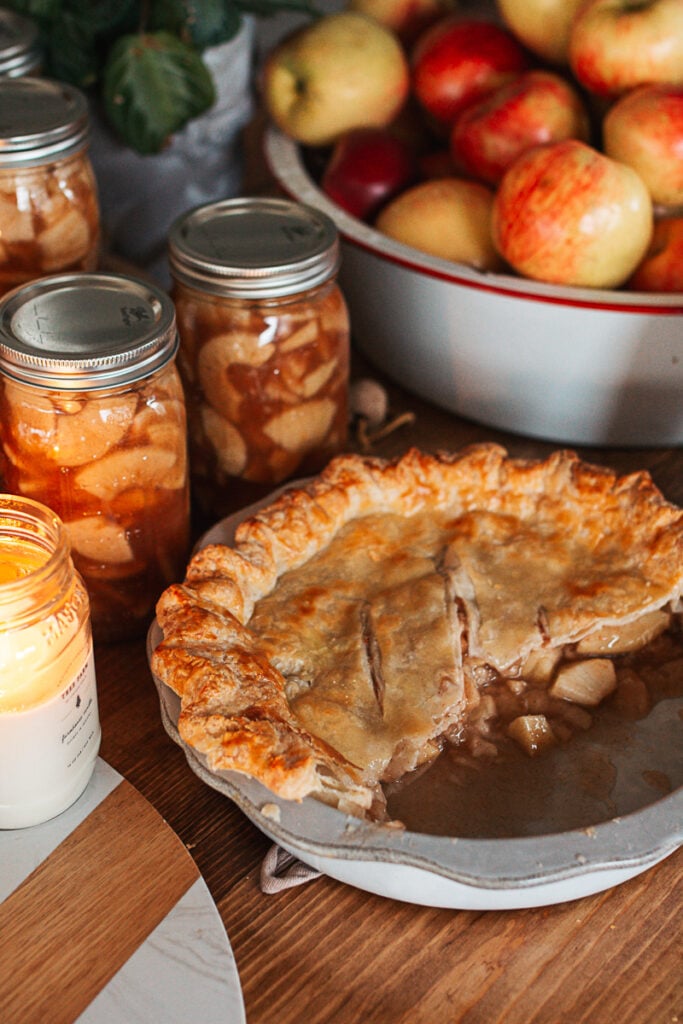
- Shelf-Stable: Properly processed canning jars last up to two years.
- Real Ingredients: Just apples, lemon juice, a thickener, and spices you trust.
- Perfect Way: A cozy, easy apple pie filling that turns fall harvest into year-round comfort.
This recipe is about peace of mind: when unexpected company stops by, dessert is already half done.
If You're New to Canning, Start Here
Apples are forgiving and make an easy apple pie filling for beginners. We will be using the water bath method.
You'll need:
- Water bath canner or large canning pot
- Jar lids, pint jars, or quart canning jars
- Funnel, bubble remover, and towel
- Large bowl for apple prep and a covered bowl of cold water with a splash of cup of lemon juice to prevent browning
- Large stockpot or large pot for cooking the syrup
- Peeler/corer/slicer for even small slices or apple pieces
The Best Apples for Canning
Use firm, crisp apples that hold shape:
- Granny Smith - tart, firm, the best apple pie base.
- Honey crisp - juicy with natural sweetness.
- Cosmic crisp - balanced and flavorful.
- Braeburn - warm and spicy.
- Pink Lady - tangy and bright.
- Macintosh - tart and tender.
Mix different varieties of apples to balance flavor. Using about 6 pounds (2.7 kg) of apples gives roughly 6 quarts of slices, enough for several pies.
What Exactly Is Cook-Type Clear Jel?
Clear Jel is a modified cornstarch created specifically for use in commercial and home food processing, especially recipes that require heat, acidity, and long-term storage. It's made from corn endosperm, just like regular cornstarch, but goes through a special process that changes how its starch molecules behave when heated and cooled.
How It's Made
The base ingredient is cornstarch derived from non-GMO field corn. During manufacturing, the starch granules are treated to improve their stability under heat and acid. (This "modification" doesn't mean synthetic additives are added, it simply means the starch molecules are rearranged to perform better.)
The treatment involves:
- Controlled acid or heat application to partially break down the starch chains.
- Cross-linking the starch molecules so they can expand and thicken without breaking apart.
- Drying and milling the finished starch to a fine, white powder that dissolves smoothly.
That's it, just corn, refined and processed for a more predictable performance in canning.
Why This Matters for Canning
Ordinary cornstarch, flour, or arrowroot form unstable gels that thin out or separate under the high temperatures of a water bath canner or pressure canner. Cook-Type Clear Jel, however, holds its structure. Once heated, it creates a smooth, glossy, pourable gel that remains stable even after months on your pantry shelf.
This stability is the reason the USDA and National Center for Home Food Preservation list Cook-Type Clear Jel as the only safe thickener for canning fruit pie fillings.
In Short
- Base: Pure cornstarch from non-GMO corn
- Process: Physically and chemically "cross-linked" for heat and acid stability
- Purpose: Creates a consistent, safe-to-can gel that doesn't separate
- Result: That perfect, silky apple pie filling that keeps its texture all year
How Did People Make Pie Filling Before Clear Jel?
Some of you might wonder why Clear Jel is needed at all, after all, people canned apple filling long before it existed. The truth is, they didn't can pie filling the way we do now. In the past, home canners simply preserved apple slices in syrup, then thickened the mixture later on the stove with flour or cornstarch when it was time to bake. That method still works if you'd rather thicken it after opening, but it adds extra time and dishes when you're ready to make a pie or crisp.
As for using cornstarch, flour, or arrowroot inside the jars: those options aren't considered widely safe for canning. They clump and separate under heat, preventing proper heat circulation in the jar and creating a risk of underprocessing. They also break down over time, turning the filling watery or gluey. Cook-Type Clear Jel is the only thickener that stays smooth, stable, and safe through the canning process, giving you the convenience of a pie-ready filling that's shelf-stable for up to two years.
FAQ
Yes! Replacing up to the full amount, or even half of the liquid with juice adds deeper flavor to the apple mixture.
Yes. The peel toughens during the canning process, making the filling stringy.
No. A water bath canner is the recommended method for this recipe. Apple pie filling is a high-acid food, and when made with bottled lemon juice, it preserves safely using the water bath method. A pressure canner isn't needed and can actually overcook the filling, changing its texture.
Use cook-type Clear Jel, the approved thickening agent for canning. Modified cornstarch breaks down under heat and isn't safe for canning.
Check for a good seal by pressing the lid center. If it pops up, refrigerate and use within a week.
Canned Apple Pie Filling
Equipment
- 1 Water bath canner or large canning pot
- 6 quart-size canning jars (or pint jars) with new jar lids and bands
- 1 Funnel + bubble remover or thin spatula
- 1 bowl of cold water with lemon juice
- 1 Large pot or stockpot for syrup
- 1 Apple peeler/corer/slicer
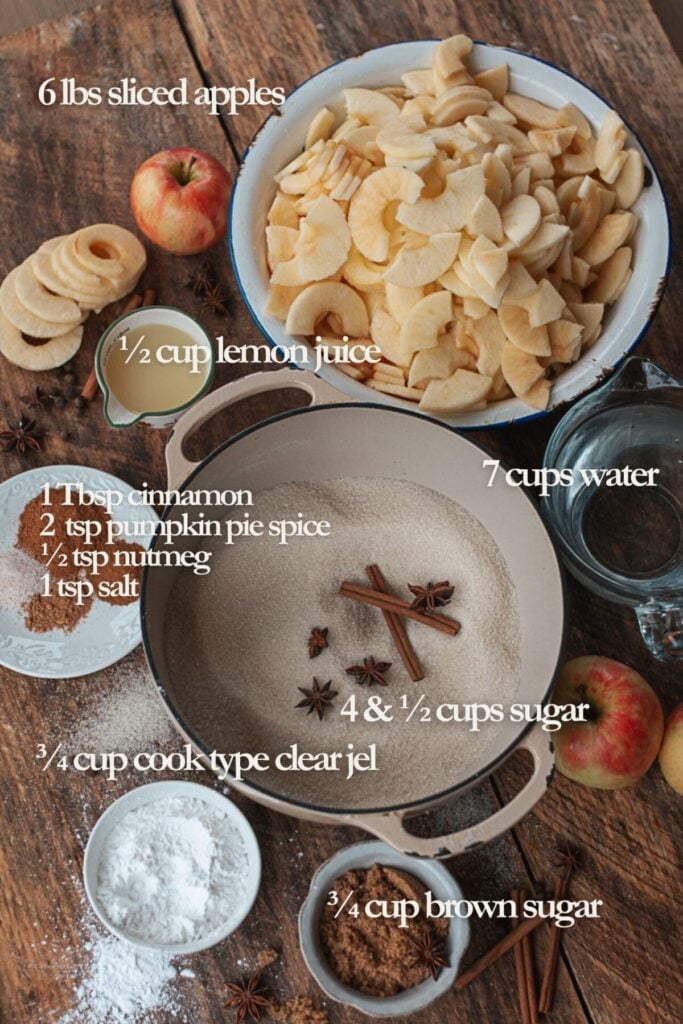
Ingredients
- 6 lb 2.7 kg peeled, cored, sliced apples (½-inch wedges)
- 4½ cups 900 g granulated sugar
- ½ cup 100 g brown sugar
- ¾ cup 85 g cook-type Clear Jel (not cornstarch)
- 1 tablespoon 8 g cinnamon
- 1 teaspoon 2 g apple pie spice
- ½ teaspoon 1 g nutmeg
- 1 teaspoon 6 g salt
- ½ cup 120 ml bottled lemon juice
- 7 cups 1.65 L water or apple juice
Instructions
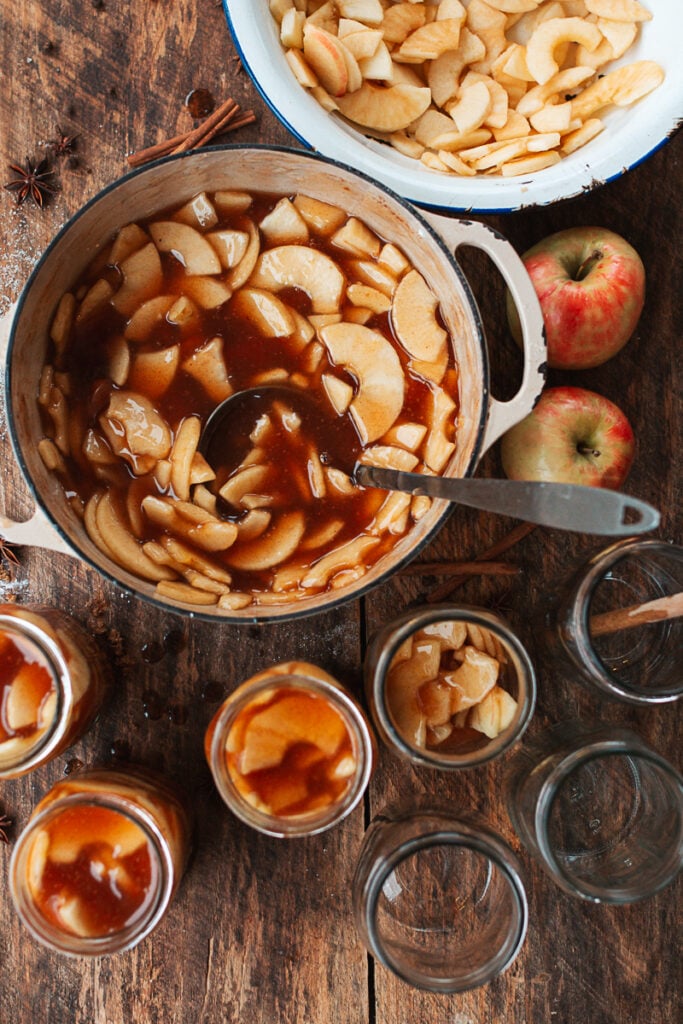
- Prepare the Apples: Peel, core, and slice the apples into even ½ inch wedges. You will need about 6 pounds of sliced apples. As you slice, place them in a large bowl of cold water with a splash of lemon juice to prevent browning.
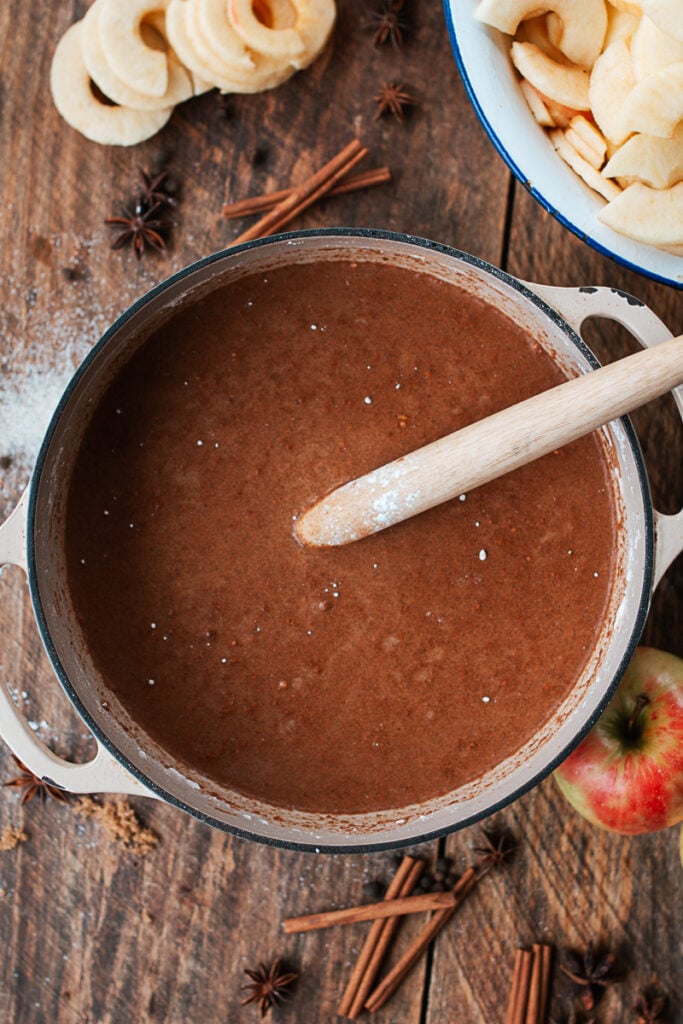
- Make the Syrup: In a large stockpot, whisk together all dry ingredients: granulated sugar, brown sugar, Clear Jel, cinnamon, apple pie spice, nutmeg, and salt. Slowly add in the water or apple juice and bottled lemon juice, whisking constantly to prevent lumps.
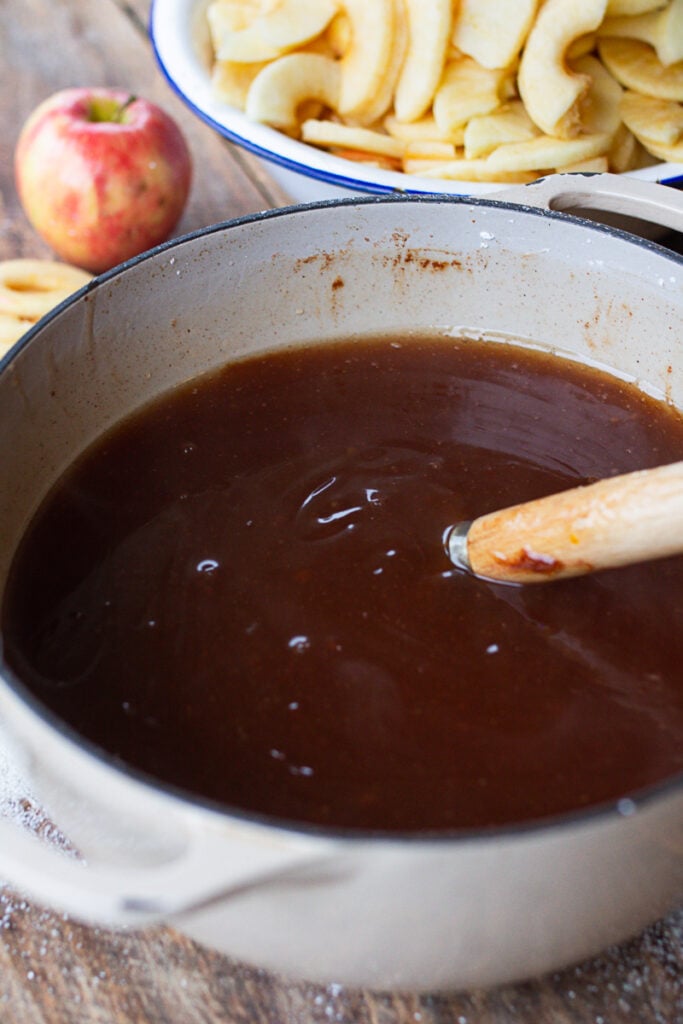
- Place the pot over medium high heat, stirring often until the mixture thickens and turns glossy, similar to a loose pudding that coats the back of a spoon. Once thickened, remove the pot from heat.
- Add the Apples: Immediately stir the drained apple slices into the thickened syrup, coating them evenly. The heat of the syrup is enough to warm the apples slightly without cooking them, keeping their texture firm for baking later.
- Fill the Jars: Using a funnel, ladle the hot apple filling into sterilized jars, leaving ½ inch of headspace. Run a bubble remover or thin spatula along the inside of each jar to release any trapped air and help the syrup settle around the apples. Wipe rims clean with a damp cloth, then place lids and rings on finger tight.
- Process the Jars: Lower the filled jars into a boiling water bath canner, making sure they are covered by at least 1 to 2 inches of water. Once the water returns to a rolling boil, process for 20 minutes. Adjust for altitude if needed.
- Cool and Store: After processing, remove jars carefully and place them on a towel lined counter. Cover lightly with another towel and let cool undisturbed for 12 hours. You will hear the lids seal as they cool.
- Usage: Once cooled, check seals by pressing the center of each lid. It should be firm and not flex. Label jars with the date and store in a cool, dark place for up to 2 years.
- This method keeps your apples crisp and flavorful while giving you a ready to use filling that is perfect for pies, crisps, or spooned warm over ice cream.
Notes
Nutrition
Final Thoughts from the Homestead
Lining the pantry with jars of golden apple pie filling feels like bottling up a bit of autumn. Each jar is a reminder of slow afternoons spent peeling apples, the scent of cinnamon in the kitchen, and the joy of having something homemade ready for any crisp evening or unexpected company that drops by.
If you enjoyed this homemade apple pie filling, be sure to follow me on Instagram for more cozy homestead recipes, canning tips, and from-scratch favorites. And don't forget to check back here, I'm always sharing new apple recipes to keep your pantry shelf full of homemade goodness.
Other apple recipes:
Meet Eryn
Eryn Whalen is a homestead blogger and recipe developer with decades of hands-on experience in gardening, home canning, animal husbandry, and traditional kitchen skills.On her family's 100-acre Tennessee farmstead, she shares the daily beauty of homestead life: from milking cows at sunrise to filling the pantry with homegrown food and baking from scratch in her farmhouse kitchen. Read more about Eryn here


I’ve been putting up this apple pie filling for years now and it remains one of my favorite fall pantry traditions. The jars look like jars of sunshine on the shelf, and on busy evenings I love knowing dessert is already half made. A simple crust, a crumble topping, or even just warming it up and spooning it over vanilla ice cream makes it feel like you baked all day. There’s something so comforting about having these ready for cozy nights and last-minute guests, and every season I find myself thankful to have them stocked and waiting.