Quick and Dilly Spicy Refrigerator Pickled Green Beans
I love pickled things, especially when it involves fresh garden green beans, heaps of aromatic dill, and basically anything spicy. I also love quick, low-stress preservation recipes and don't always want to pull out my heavy pressure canner during the heat of the summer harvest season. If that sounds familiar, then you are going to absolutely love these crisp, crunchy pickled green beans! It is hands-down the absolute best way to make a spicy refrigerator dilly bean recipe with garlic without any complicated kitchen equipment.
It also pairs beautifully with a busy preservation schedule. If you are already prepping your kitchen counter workspace for a batch of my crisp Traditional Canned Salsa Recipe or setting aside jars for a sweet batch of Peach Jalapeño Jam, tossing these easy refrigerator green beans into your routine is the ultimate zero-waste trick to use up more of your garden goodness without heating up the whole house.

A Quick Look at This Pickled Dilly Bean Recipe
🌶️The Flavor Profile: Crisp, crunchy green beans with plenty of garlic, fresh dill, and a spicy jalapeño kick.
⚡The Method: An easy refrigerator pickle with no pressure canner or boiling water bath required.
🕰️Time: About 30 minutes from start to finish, plus time for the beans to chill and develop flavor.
🧊Storage: Keep refrigerated for up to 2 months for the best flavor and texture.
How to Make the Best Pickled Green Beans

To safely preserve fresh green beans for long-term pantry storage, you must use a pressure canner to account for their low-acid nature. But if you find that a pressure canner isn't in your kitchen arsenal yet, or you simply want a quicker afternoon project, a small-batch refrigerator method is the perfect solution. Maybe you have a few handfuls of fresh green beans and a bunch of fresh dill from the garden that need to be used up immediately, or perhaps you've already pressure-canned all the whole jars you need for winter and are looking for a fun way to enjoy the last bit of the summer patch.
Sure, you could wash and snap them, give the beans a quick blanch, and freeze them in plastic bags for later. But that's a bit boring! Let's do something fun instead.
These easy-to-whip-together pickled green beans last in the fridge for a couple of months, but I doubt they'll truly last that long because they are the absolute perfect healthy snacking item. I always find myself gravitating toward them whenever I need something cold, crunchy, and spicy. They look stunning arranged on a farmhouse charcuterie board alongside a sharp cheddar cheese, and they make a wonderful hostess gift when you pack them into a clean mason jar with a hand-written label.
Spicy with a good dousing of garlic, fresh dill heads, mustard seeds, and coriander, these beans don't mess around. Filled with flavor in every single bite, they hit all the right notes and pair perfectly with an egg salad sandwich or as a crisp, cold side dish for a hot summer dinner.
Ingredient Notes for Refrigerator Pickled Green Beans
This crisp refrigerator pickle relies on a strong, high-acid vinegar base combined with fresh aromatic garden peppers, fresh herbs, and pantry spices to deliver maximum crunch.
- Fresh Green Beans: Snapped and trimmed. Choose straight, firm beans without major blemishes so they stack easily.
- Fresh Dill: Fresh dill heads or large sprigs of fresh dill weed are essential here for that signature, unmistakable dilly pickle punch.
- White Vinegar: The acidic foundation of our refrigerator brine. Stick to standard 5% acidity vinegar to ensure optimal preservation.
- Granulated Sugar: Balances out the sharp, biting acidity of the vinegar without making the beans taste overly sweet.
- Fresh Jalapeños: Sliced thin lengthwise. These lend a beautiful, garden-fresh heat to the jars.
- Garlic Cloves: Peeled and sliced. Adds a deep, savory punch that infuses the beans the longer they sit.
- Whole Spices: A bold, aromatic combination of whole coriander seeds and whole mustard seeds hits all the right savory notes.
- Pickling Salt: Just a half teaspoon keeps your pickling brine beautifully savory and clear.
Step-by-Step How to Make It
1. The Three-Part Cold Water Rinse
Simply snap the stem ends off your green beans. Place the trimmed beans into a large bowl of ice water for a cold water rinse, follow this with a quick cold water vinegar rinse, and finish off with a final soak in clean cold water. Make sure to completely submerge the beans during these rinses. Green bean skins act a bit like natural Velcro, and they need a thorough rinsing to clear out any hidden garden dirt or tiny bugs so nobody crunches on them later!
2. Clean and Pack Your Jars
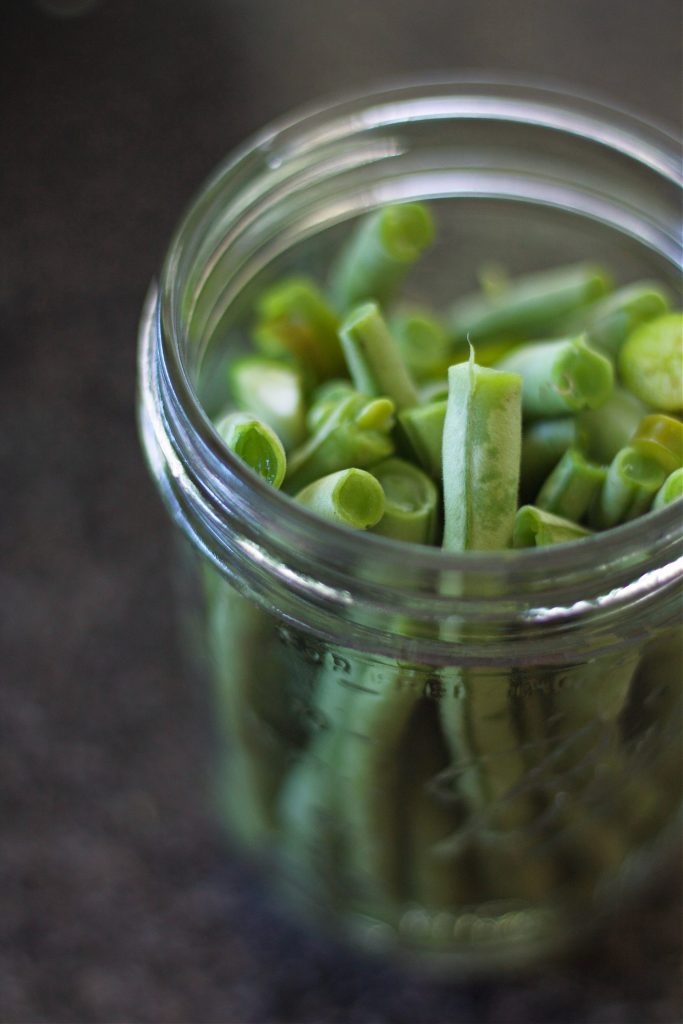
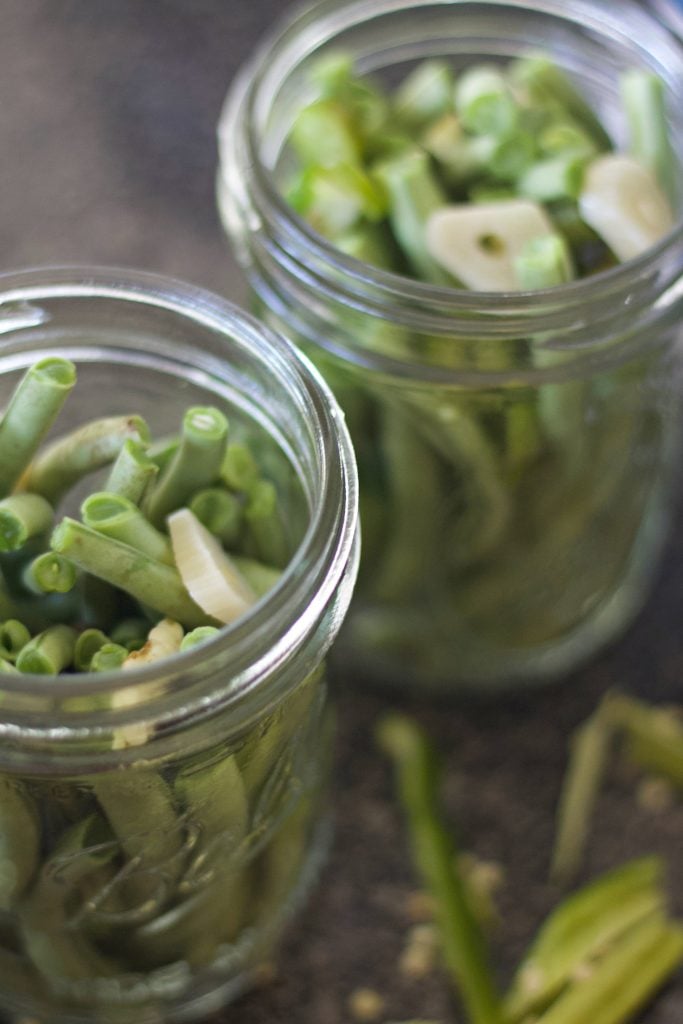
Wash four pint jars and lids with hot, soapy water, and allow them to air dry completely on a clean towel. Gather your trimmed green beans and place them lengthwise into the jars. I like to lay the jars flat on their sides on the counter and slide the green beans in that way so they stay straight. We want tall, straight soldiers lined up in the jar! Drop a generous sprig of fresh dill and a few sliced garlic cloves into each jar as you pack them. Every few beans, tuck a fresh jalapeño slice in against the glass, adjusting the amount to suit your personal heat preferences.
3. Simmer the Garlic Herb Brine
In a large saucepan, combine your water, white vinegar, and granulated sugar. Bring the mixture up to a boil over medium-high heat, stirring until the sugar crystals are completely dissolved. Stir in your pickling salt, whole coriander, and whole mustard seeds. Let the brine bubble gently for a few minutes so the spices begin to bloom and infuse the liquid.

4. Pour and Chill
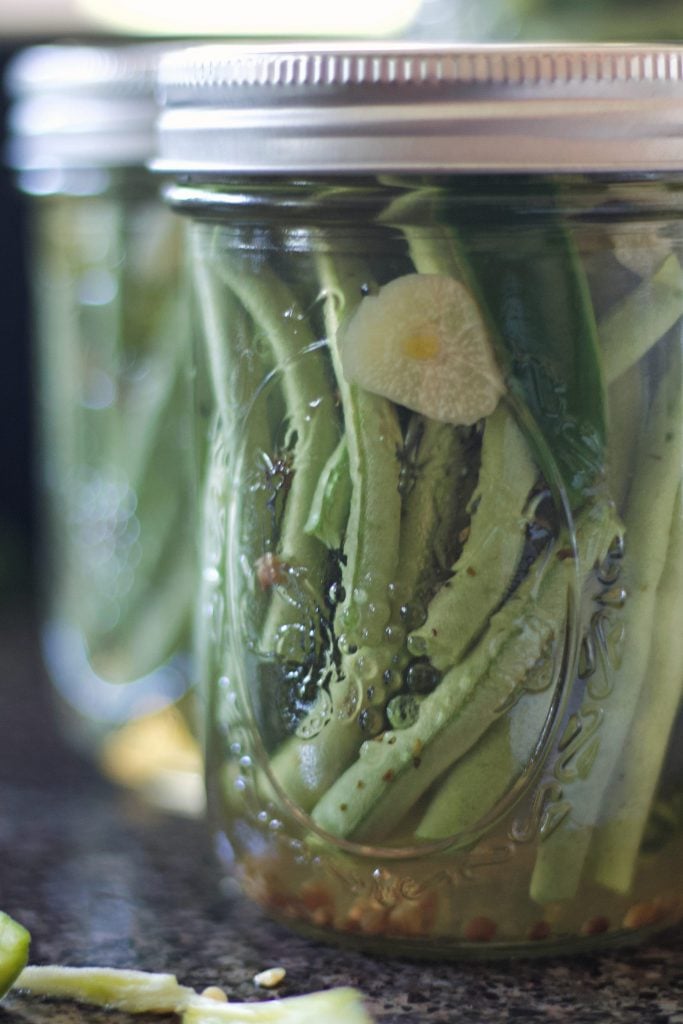
Ladle the boiling hot brine carefully over the tops of your packed green beans and fresh dill, ensuring you leave exactly 1 inch of headspace at the top of the glass rim. Use a spoon to scoop any loose mustard seeds and coriander out of the bottom of the pot and divide them evenly among all four jars. Let the open jars cool on your counter until they are room temperature and no longer steaming, then wipe the rims, pop the lids on, and transfer them straight to the refrigerator.
Additional Tips for Perfect Pickled Beans
- Salt Selection: Always use canning salt, pickling salt, or pure kosher salt for the best results. Regular table salt contains anti-caking additives that will turn your beautiful pickling brine cloudy at the bottom of the jar.
- Vinegar Swaps: Feel free to experiment with different vinegars like apple cider vinegar or white wine vinegar to create unique flavor profiles, just ensure they maintain a 5% acidity level.
- Heat Control: For an extra fiery kick, toss a pinch of crushed red pepper flakes or a dash of cayenne pepper directly into the brine pot during the final boil.
- Dill Alternative: If your garden ever runs out of fresh dill mid-summer, you can substitute 1 tablespoon of dried dill weed or dill seed in the boiling brine pot.
FAQ
No, this specific small-batch recipe is formulated strictly as a refrigerator pickle. Because green beans are low-acid vegetables, shelf-stable canning requires a pressure canner or an adjusted, highly specific water bath recipe tested by extension offices to guarantee safety against botulism. Stick to the fridge for this quick version!
While you can technically snack on them after 24 hours, they taste best if you let the jars marinate undisturbed in the refrigerator for at least 48 hours to 5 days. This gives the garlic, peppers, and herbal brine plenty of time to fully penetrate the center of the beans.
If you used standard table salt instead of pickling salt, the anti-caking minerals will naturally settle and cause a slight cloudiness, which is completely harmless. However, because these are refrigerator pickles, if you notice a foul odor, mold, or a bubbling texture when opening the jar, discard them immediately.
No, this recipe requires fresh, crisp raw green beans. Frozen or pre-canned green beans have already been heated, which breaks down their cellular walls. If you pour hot brine over them, they will turn incredibly mushy and lose that signature snappy crunch.
Closing Thoughts from the Homestead
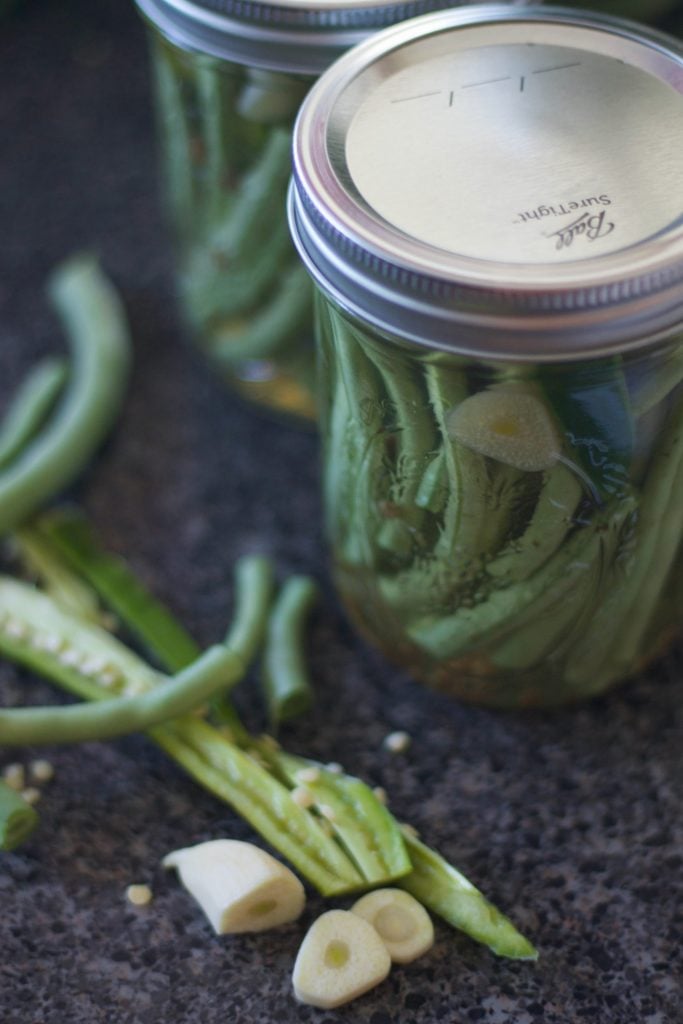
Learning how to pickle green beans without canning is such a wonderful way to capture the taste of a backyard harvest without spending hours over a hot stove. Every crunchy, garlicky, dilly bite of these pickled green beans feels like a true celebration of summer.
If you give this recipe a try, I would love to see how your jars turn out! Leave a comment below or tag me over on Instagram so I can check out your pretty green spears lined up on your shelves. Happy pickling!
You may also enjoy:


Pickled Spicy Green Bean
Ingredients
- 2 pounds fresh green beans trimmed and snapped
- 4 heads fresh dill or 4 large sprigs of fresh dill weed
- 3 cups water
- 3 cups white vinegar 5% acidity
- ¾ cup granulated sugar
- ½ teaspoon pickling salt
- 6 cloves garlic peeled and sliced
- 1 tablespoon whole coriander seeds
- 1 tablespoon whole mustard seeds
- 2 whole fresh jalapeños sliced thin lengthwise
Instructions
- Prep: Wash four pint jars and lids in hot, soapy water and air dry. Trim the stem ends off your fresh green beans and give them a thorough three-part cold water rinse.
- Pack Jars: Lay the clean jars on their sides. Pack the trimmed green beans tightly lengthwise inside each jar, tucking one fresh dill head, several garlic slices, and a few fresh jalapeño slices between the beans in each jar.
- Boil Brine: In a medium saucepan, combine the water, white vinegar, and granulated sugar. Bring to a boil over medium-high heat, stirring until the sugar completely dissolves.
- Add Spices: Stir the pickling salt, whole coriander seeds, and whole mustard seeds directly into the boiling liquid. Let the brine boil for 1-2 minutes to bloom the spices.
- Fill: Carefully ladle the hot brine over the green beans and dill in each jar, leaving exactly 1 inch of headspace at the top. Use a spoon to divide any remaining loose spices from the bottom of the pot evenly among the jars.
- Chill: Allow the unsealed jars to rest undisturbed on the counter until they reach room temperature. Secure the lids and rings tightly, place the jars into the refrigerator, and let them marinate for 24 to 48 hours before serving.



These spicy refrigerator pickled green beans are crisp, bold, and packed with flavor. The garlic, oregano, mustard seeds, and jalapeños create the perfect balance of tangy heat, and they stay crunchy in the fridge for weeks. They’re the kind of snack you keep reaching for straight from the jar.