Kids craft closet makeover
How amazing did this quick project for our kids craft closet turn out? I'm still giddy about it!
Extremely past due, this little revamp has made a huge difference in how my kids can find, grab, and put away their craft supplies and games. It's basically a parents dream come true for their kids to be able to independently find and put away their things right? No more taking ten games out to get that one they're looking for. No more items falling onto the ground each time someone opens the door because it's packed so tightly. The best part about the kids craft closet makeover? No more yelling, "Mom! Help me, I can't find it!" while making a mess of all their craft supplies.
Another added bonus, this was an extremely inexpensive makeover.
Before Kids craft closet makeover:

After Kids craft closet makeover:

Find a spot, any spot, and designate it a craft area. Then get to work!
You don't need an armoire to make a kids craft closet! Facebook Marketplace is a wonderful spot to search for an item like this. You can also transform a closet! The sky is the limit when designing a little craft space.
Not enough space for a project this size? Check out this kids activity cart that can hold your most used items!
Oh! And if you're overflowing with children's books, you just have to make this easy DIY wooden book nook. It's such a beautiful way to keep your kids beloved books organized! But I digress, back to the project at hand!

What you'll need:
- Wood of varying sizes for shelving and support boards (We used all scrap wood we had lying around from other projects.)
- Paint of your choice
- Spray painter (optional, but great for saving time!)
- Containers to fit your space (We used all dollar store containers!)
Design, paint, install
First, measure the space and decide how many shelves you want to build. Make sure to take into account the larger items you'll want to store in this space. It would be horrible to make all the shelves, then go to place that giant puzzle box your kids got for Christmas in there and the shelf is an inch too short. That would be a complete day ruiner.
If you're a visual person like me, my youtube video on the project might be better to watch! If not, let's carry on.
Kids craft closet makeover video:

Once you've designed the space it's time to cut and paint the wood. We also added additional support to the bottom of the armoire since it's not really made to hold that kind of weight.

Travis cut two small 4x4 blocks and screwed them into the bottom. Nothing fancy, but it did the job!

I then laid out all the shelves and support pieces and gave them a few coats of white paint. We also painted the armoire outside to avoid overspray in the house. Once everything was painted we brought it all inside to assembled the pieces.
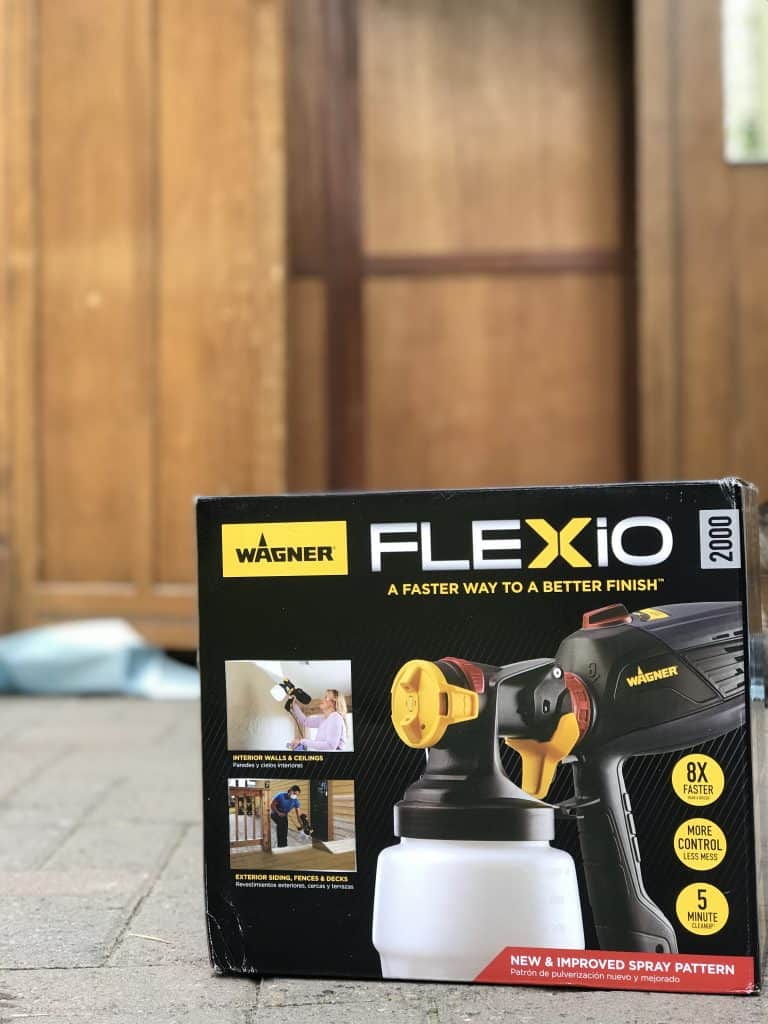
I used the Wagner FLEXiO 2000 for painting. I've never had the privilege of using a paint sprayer before, but after this project I'll be adding it to my arsenal of must have paint products. The FLEXiO applied the perfect amount of paint without dripping. It also cut the time spent painting by more than half. Clean up was also extremely easy. All in all, this product was a complete win.
Free Floating Shelves
In the picture below you can see the "ladders" that Travis made to support the shelves. We didn't want to put a bunch of nails through the armoire because the paneling was so thin there would be no way the nails hold and support the shelves once they were filled. The shelves we made are totally free floating in the armoire. Nothing is attached to the sides. Again, the video is a great way to see what we did as it shows Travis assembling the shelves.

You can also see in the above picture that we cut out a piece of the back of the armoire to gain access to the outlet behind it. One day soonish we plan on using that shelf for storing and charging iPads and the like, and I didn't want unsightly cords coming out the front and making it hard to shut the doors. This solved the problem simply.
Overall my kids and I love this new organized space. It makes my clean freak heart happy each time I open the door. Not only does everything have a place, the kids actually put things back! My life was just made ten times easier!

I hope you enjoyed this little project and it makes your life a tad more organized! And, if you've got a painter in your home, you'll want to check out How To Build An Easel! It's a great way to keep all the paint supplies in one place, (making less mess) and it's easy for the kids to access!
Also, if you're not already, head over to Instagram and follow along with all the crazy fun DIY projects we attempt! It's my favorite platform to hang out on!
You may also enjoy:
Efficient Kitchen Organization Ideas To Maximize Space
7 steps to Organize Under the Bathroom Sink