How to Make Children's Book Shelves for a Book Nook
Oh my goodness, I'm so in love with our new book nook in our homeschool room! This empty little space went from being super awkward, to warm and inviting. But books do that don't they? Instantly add a level of cozy to any spot. And friends, these children's bookshelves were so easy to make! I'll share the simple instructions below!

Kids are so visual I wanted to make these children's bookshelves partly for decor and to soften that wall and corner, and also to make it very easy for the kids to have eyes on their favorite books. I plan to rotate them out each season, keeping this area fresh and relevant.
What the spot looked like before:
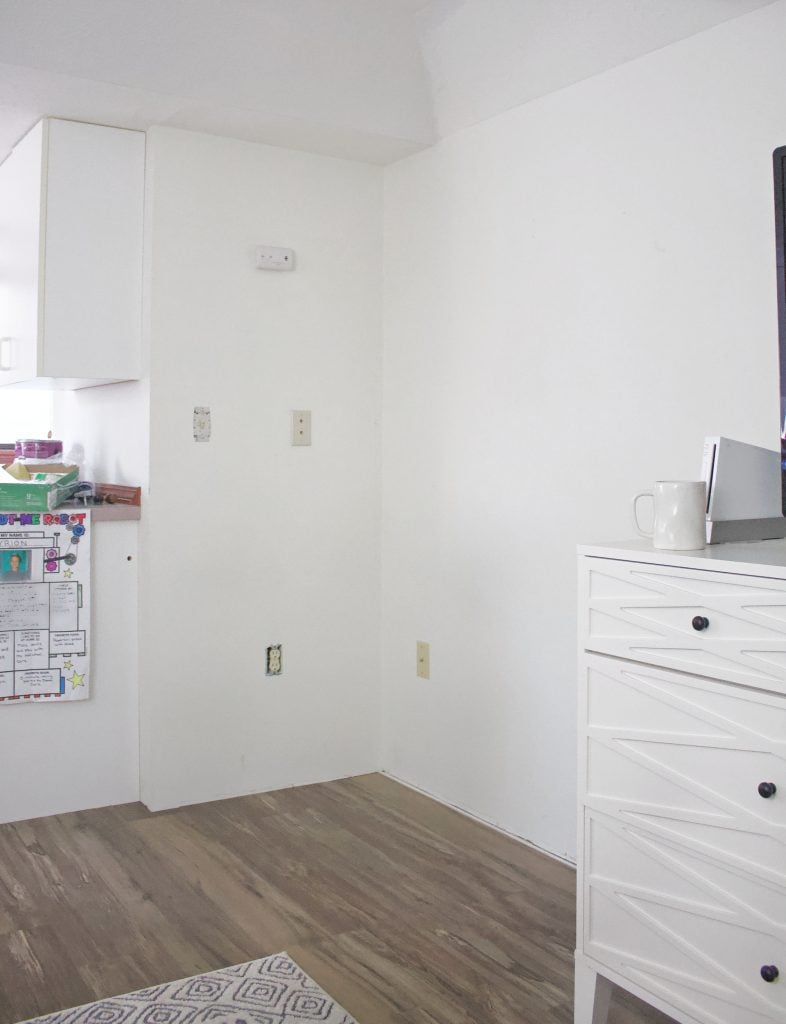
Such a difference right? Okay let's get to it!
Making the shelves:
These shelves are super easy to assemble! Just cut to the correct length, glue and clamp, and then nail together.
We will be using the 1x6 as the back, the 1x4 as the bottom, and the 1x3 as the front.

Decide where you want your shelving and then what length will work best visually and book storage wise. Using the chop saw, cut all boards to the desired length of the shelves.

Using glue and wood clamps attach the boards together. We went with laying the backboard down, then placing glue on the bottom edge, securing the bottom board over that, adding glue to the other edge, and applying the front board. Clamp together and wipe away excess glue quickly.


While glue is still wet use your air nailer to secure the boards, ensuring a good fit.

We decided to make these corner shelves. If you also want to do that, you will need to cut the matching ends at a 90-degree angle, or the angle of the wall you'll be placing it on.
How to secure to the wall:
To secure these shelves to walls, you'll need a stud finder.
After you find the studs, mark your shelves and drill pre-drill holes with a drill bit. Then, using a level, secure them to the wall. Placing the shelves into a wall stud ensures the best holding power.


If you have to, you can use studless wall mounts, but be cautious with how much weight you place on those.
And that's it!


What you'll need:

Keep up with all our DIY, homeschooling, and other lifestyle fun by following over on Instagram. It's my favorite place to hang out! Also, for more info on our homeschooling journey, check out these posts!
Another fun addition to our schoolroom recently was our painting easel! Find out how to make that easy DIY!

Kids Book Shelves
Equipment
- Air nailer
- Clamps
- Wood glue
- Hand Saw
- Chop Saw
Ingredients
- 1 - 1 IN. X 6 IN. X 10 FT. common board
- 1 -1 IN. X 6 IN. X 8 FT. common board
- 2 - 1 IN. X 4 IN. X 10 FT. common board
- 3 - 1 IN. X 3 IN. X 8 FT. common boards
Instructions
Making the shelves:
- These shelves are super easy to assemble! Just cut to the correct length, glue and clamp, and then nail together.
- Decide where you want your shelving and then what length will work best visually and book storage wise. Using the chop saw, cut all boards to the desired length of the shelfs.
- We will be using the 1x6 as the back, the 1x4 as the bottom, and the 1x3 as the front.
- Using glue and wood clamps attatch the boards together. We went with laying the back board down, then placing glue on the bottom edge, securing the bottom board over that, adding glue to the other edge, and applying the front board. Clamp together and whipe away excess glue quickly.
- While glue is still wet use your air nailer to secure the boards, ensuring a good fit.
- We dicided to make these corner shelves. If you also want to do that, you will need to cut the matching ends at a 90 degree angle, or the angle of the wall you'll be placing it on.
How to secure to wall:
- To secure these shelves to walls, you'll need a stud finder.
- After you find the studs, mark your shelves and drill pre-drill holes with a drill bit. Then, using a level, secure them to the wall. Placing the shelves into a wall stud insures the best holding power.
- If you have to, you can use studless wall mounts, but be caution with how much weight you palce on those.
- And that's it!


How far apart did you separate the bookshelves from top of one shelf to bottom of the one above it?
It's a little over 12 inches, but if I could do it again, I'd place them a little closer together. We had a light switch in the way so we were limited on how we could place them. 🙂
Hi it looks like you stained the wood. What stain did you use?
I usually use Golden Oak by Minwax!
This is amazing but I need to know where you got that horse stall toy!!!!!
What would the weight limit be for these shelves if they're screwed into studs? Thank you!
Hi Hannah! If the brackets are secured directly into studs, each shelf can typically hold around 35–50 pounds. Hope that helps! 🙂