How To Make An Easel | Build In A Day Kids Paint Station
We're all about creating and crafting in our home. I want my kids to have easy access to their favorite projects and toys. I also want reduced mess and cleanup. So, I'm constantly on the hunt for ways to make playtime more efficient. Which brings us to how to make an easel.
Evelyn is my little painter. But, lugging the paint supplies to and from the craft closet was getting really old. And then I realized, there has to be a way to do this better.

Don't get me wrong, our craft closet is amazing and has been a great area to store the kids toys, projects, puzzles, and other activities. You can read about how we converted an armoire to a craft closet in this post.
But I needed something more permanent for painting. A station where I didn't have to move and clean up the paint supplies each time. And then a lightbulb went off. Of course, a paint easel would work perfectly!
A quick search on the internet brought up some great plans. Which we altered a bit, because that's just what we do.
Access the: How To Make An Easel plans here
We took those plans and switched things up a bit by:
- Making the legs longer for our taller than average five year old
- Using 2x4's instead of the 1x3's they recommended because we had them on hand. It also made it quite a bit heavier, so I wouldn't recommend that unless you want it heavy duty and don't plan on moving it much.
- We didn't use the galvanized steel on the painting surface because it was expensive, and unnecessary since we wouldn't be using magnets.
- It wasn't originally double sided, but we knew if one kid was painting, the other would want to as well, so one side wasn't good enough!
- We replaced the steel with this reversible chalk/whiteboard that we cut in half and used on both halves of the easel. The paint will wipe off easily from the whiteboard side surface. *We already have a chalkboard downstairs, otherwise we would have used the whiteboard side on one half, and the chalk side on the other half of the easel.
- We purchased these clips to secure to each side of the easel to hold the painting papers
All Travis purchased for this project was the hinges and the reversible board, since we had an assortment of wood on hand. It doesn't look as pro as it could, but it only cost us $15 to make, so I'll call it a win! We shared the whole process on Instagram Stories. Make sure you're following along to stay on top of all our current DIY's!

Evelyn is on cloud nine, and brother Tyrion has also contributed a few paintings. This is a great wintertime indoor activity that will have the kids spending hours creating while making almost no mess!
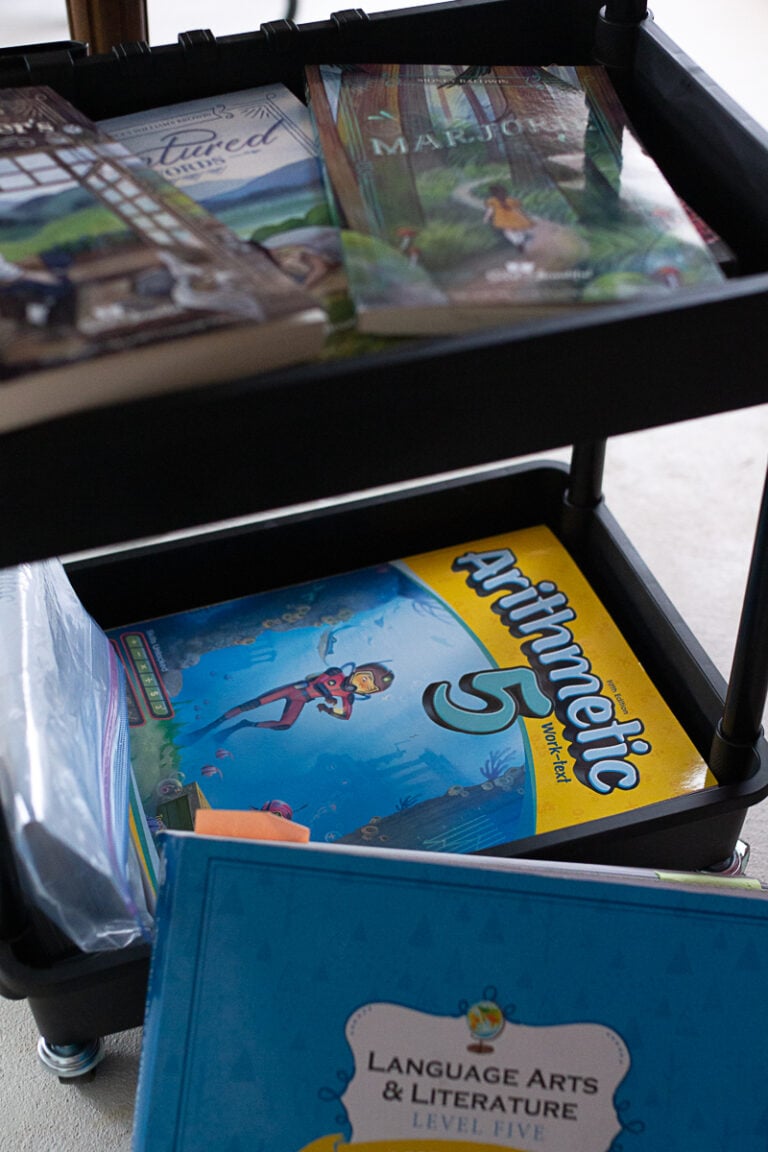
And if you want to organize more of your kids things, check out our easy DIY book nook that displays our kids books in a beautiful way that's also easy to access!