Pumpkin Fall Wreath DIY
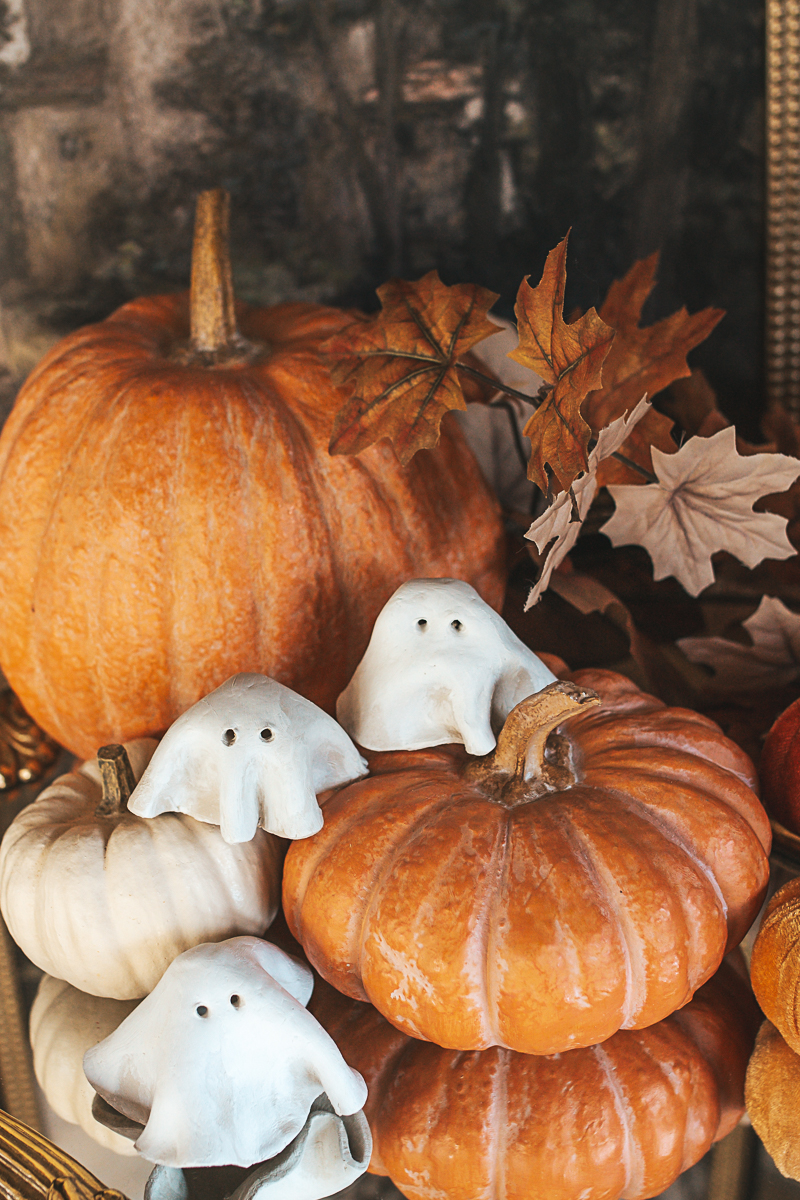
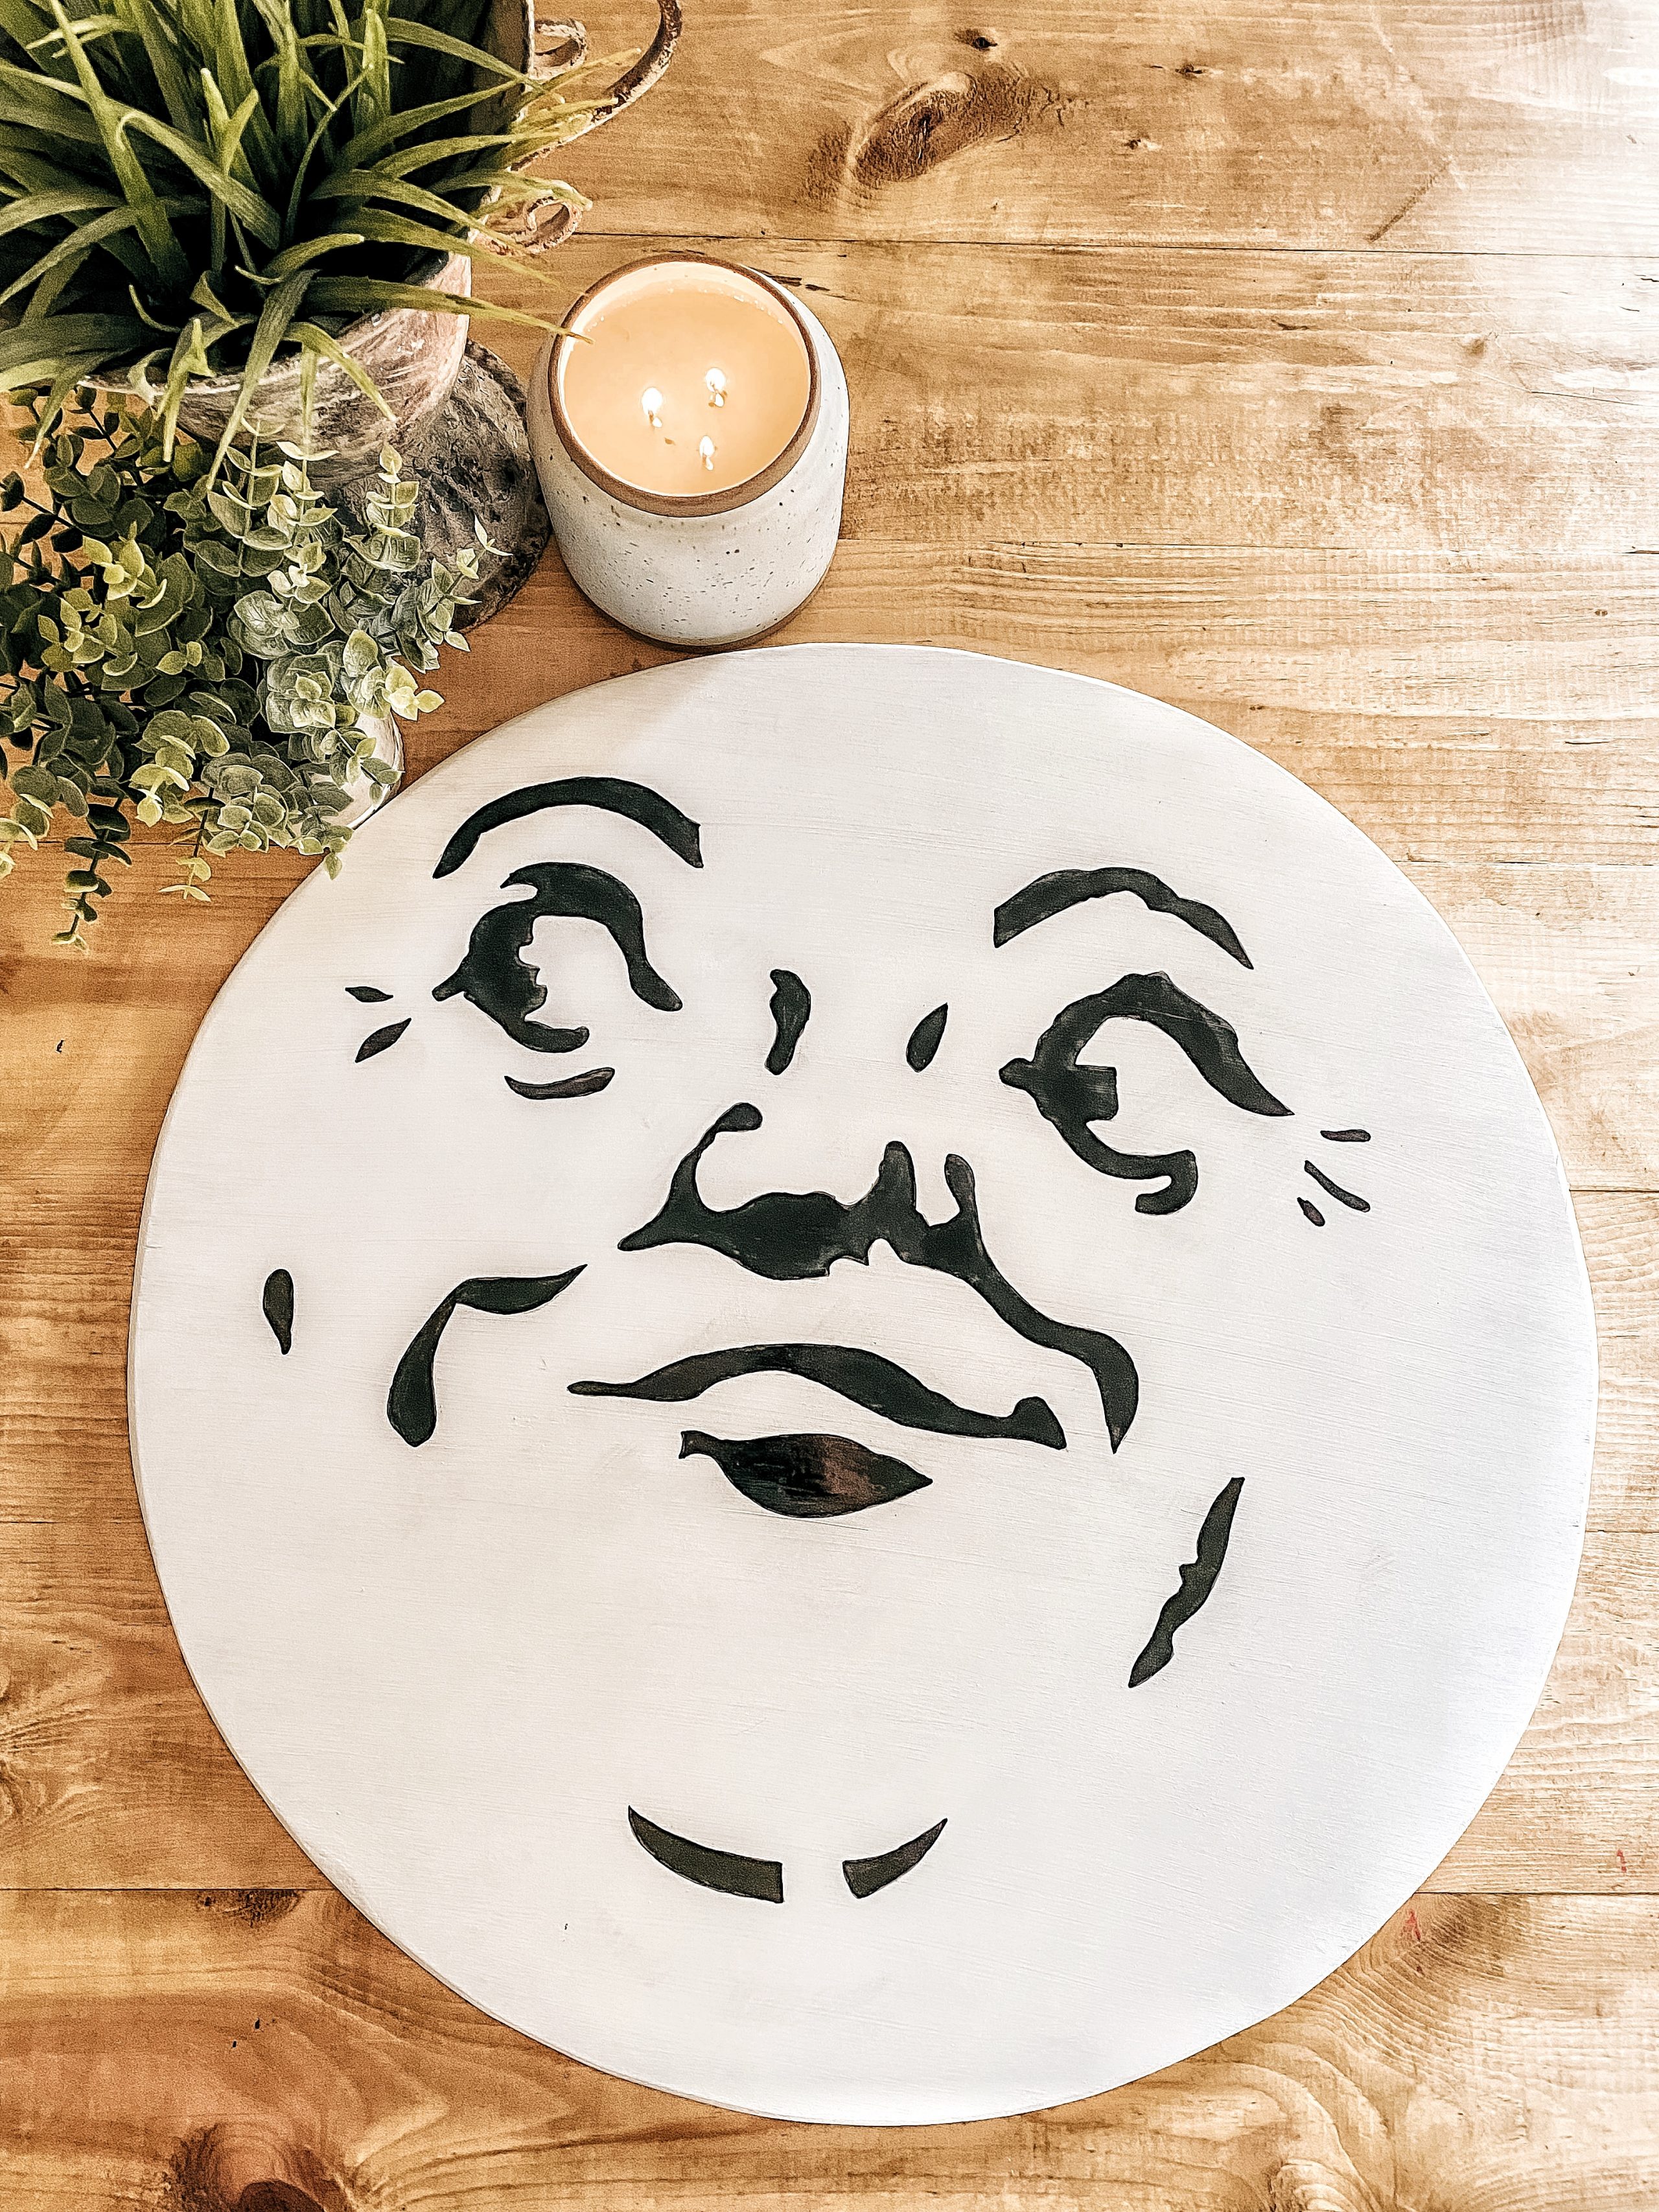
This fall wreath DIY is a fun one, because it's different. A bit non-traditional. It's also fun because there are so many ways you can take this tutorial and use it to construct a completely different looking wreath! Endless options! It also goes well beside my Man On The Moon wall hanging and these cute Clay Ghosts.

? Quick Look: Pumpkin Fall Wreath DIY
⏱️ Time: About 2-3 hours (including paint dry time)
? Cost: Budget-friendly - uses dollar pumpkins, spray paint, and a simple wood hoop
? Main Supplies: Foam or plastic mini pumpkins, spray paint (3-4 colors), wooden hoop, hot glue, optional faux florals
?? Skill Level: Easy - great weekend or evening project
? Style: Modern, non-traditional fall wreath with customizable colors (neutrals, moody tones, or classic orange)
? Best For: Front doors, entryways, mantels, gallery walls, or layered with other fall decor
? What Makes It Special: High-impact look with simple materials, endlessly customizable, and light enough to hang almost anywhere
? Pro Tip: Keep heavier pumpkins toward the bottom or balance both sides of the hoop; use Command strips on the back pumpkins if your design leans to one side.
SUMMARIZE & SAVE THIS CONTENT ON
Jump to:
I've been itching to make a fall wreath like this for a long time, and this year I finally made it happen! Wreaths are such a great way to welcome a new season or special holiday. They are the first thing people see when they walk up to your door, and they also add great appeal used throughout the home. Wreaths are truly a cornerstone to home decor!
And this one, well I may be biased but I think it packs a lot of wow!

Going non-traditional
Who else loves to buck the norm every once in a while and do things a bit differently? I'm all for traditional fall colors: oranges, fire reds, yellows, and browns. But, isn't it also just the best to switch things up entirely? It's what makes me giddy with each changing season. Do I want to go with the totally acceptable traditional decor, or do I want to play a bit and do a different color scheme? The options are endless!
Whatever you decide to do this fall, you can easily take this wreath from blues and purples, to whatever your heart desires! Even switch out the pumpkins and use hearts and cupids in place for Valentine or another holiday! See what I'm saying about options? 😉

What you'll need:
- Spray-paint in colors of your choice (at least 3-4 different colors)
- Small mini pumpkins and gourds (I found mine for half off at Michaels)
- Matching floral (This is totally optional, but I loved it as a filler)
- Wooden hoop <-(buy in bulk for other projects and save!)
- Glue Gun & glue sticks
Fall wreath tutorial - step 1
A word of caution before you start: The spray paint can eat away at the foam pumpkin and create craters if you spray too thick or too close. I learned this the hard way and had several shriveled and hole-filled pumpkins. I still continued on because I wasn't about to waste all those pumpkins and figured it added character. But, that's still a character I'd like to avoid next time. 😉

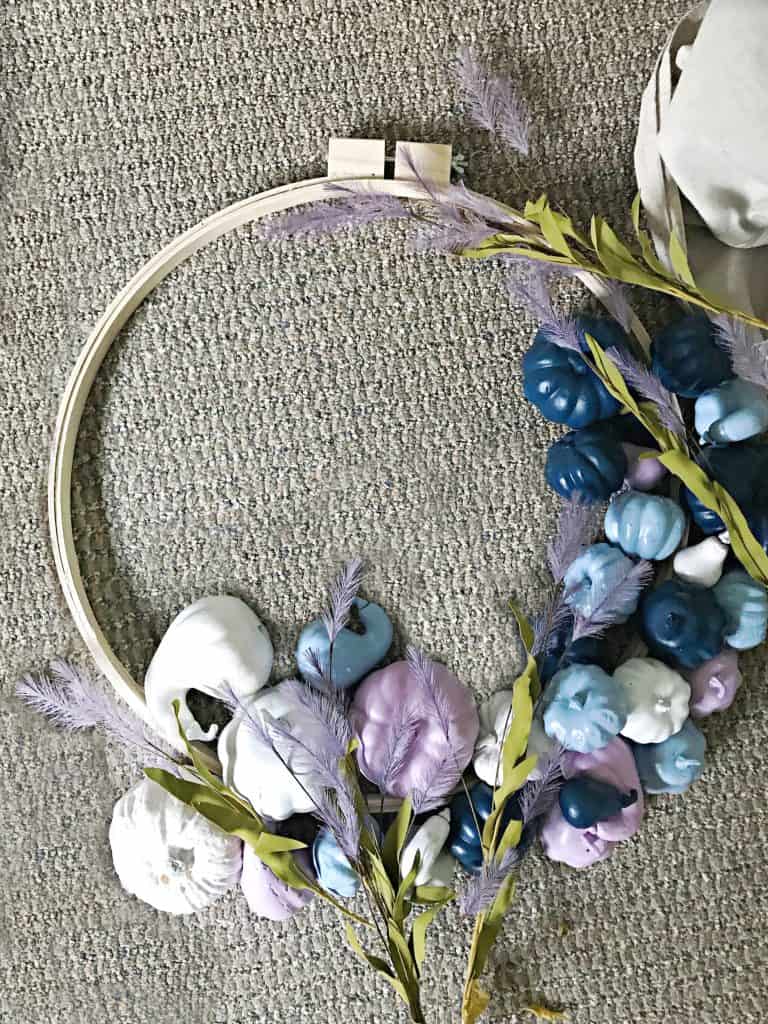
Lay out all pumpkins on a drop cloth, outside preferably. Decide how you'd like your wreath to look, I was going for an ombre affect, and lay out your gourds in color groups. Coat with spray paint lightly and let dry.

Do this to each side, making sure you hit the bottom and around the stems well. Once they are coated completely, you're ready for the next step!

Step 2 - play with layout
Once pumpkins are dry bring them inside. Lay wooden hoop and pumpkins on a large surface (I did it on the floor in my office) and play with how you'd like the wreath to look. Move pumpkins around, trying different patterns and color combos until you find something you really enjoy!
Another word of caution: I decided to have my pumpkins coming down the side, which looked great on the floor, but when I went to hang up my wreath it (of course) wouldn't hang straight. (Things my fast crazy mind just doesn't take into consideration) Luckily, I had some Command strips and used a few to secure my wreath to the door. I placed them on the backs of two of the larger pumpkins and pressed them against the door. If you'd like to avoid having to do this, keep the heaviest part at the bottom of the hoop or distribute the weight evenly on both sides. You know, like any normal person would have remembered to do.
Step 3 - glue that baby together!
Take your glue gun and don't be stingy with that glue. Stick those suckers together well! Make sure to start with adhering them to the wooden hoop, and then start gluing them together to provide stability. The wood hoop is small and you'll need to do a lot of gourds connecting with glue to keep it stable and not falling apart.

Once pumpkins and gourds are in place go ahead and add in the floral. I used it as filler in spaces and holes I thought were on the larger size. I played around with the stems similar to how I practiced with the pumpkins, until I liked where they were all at, then went back and glued them into place.
Complete this fall wreath in a few short hours
This truly was such a simple project that took hardly any time. Besides watching the paint dry, which with spray paint honestly isn't that long anyhow, the whole thing took maybe a few hours to complete. Use it as a fun de-stressing after-work activity or as a Saturday, stay at home in your pj's, and craft a kind of project. Oh yes, I also set aside Saturdays to drink way too much coffee and make pretty things. Those days are my favorites.

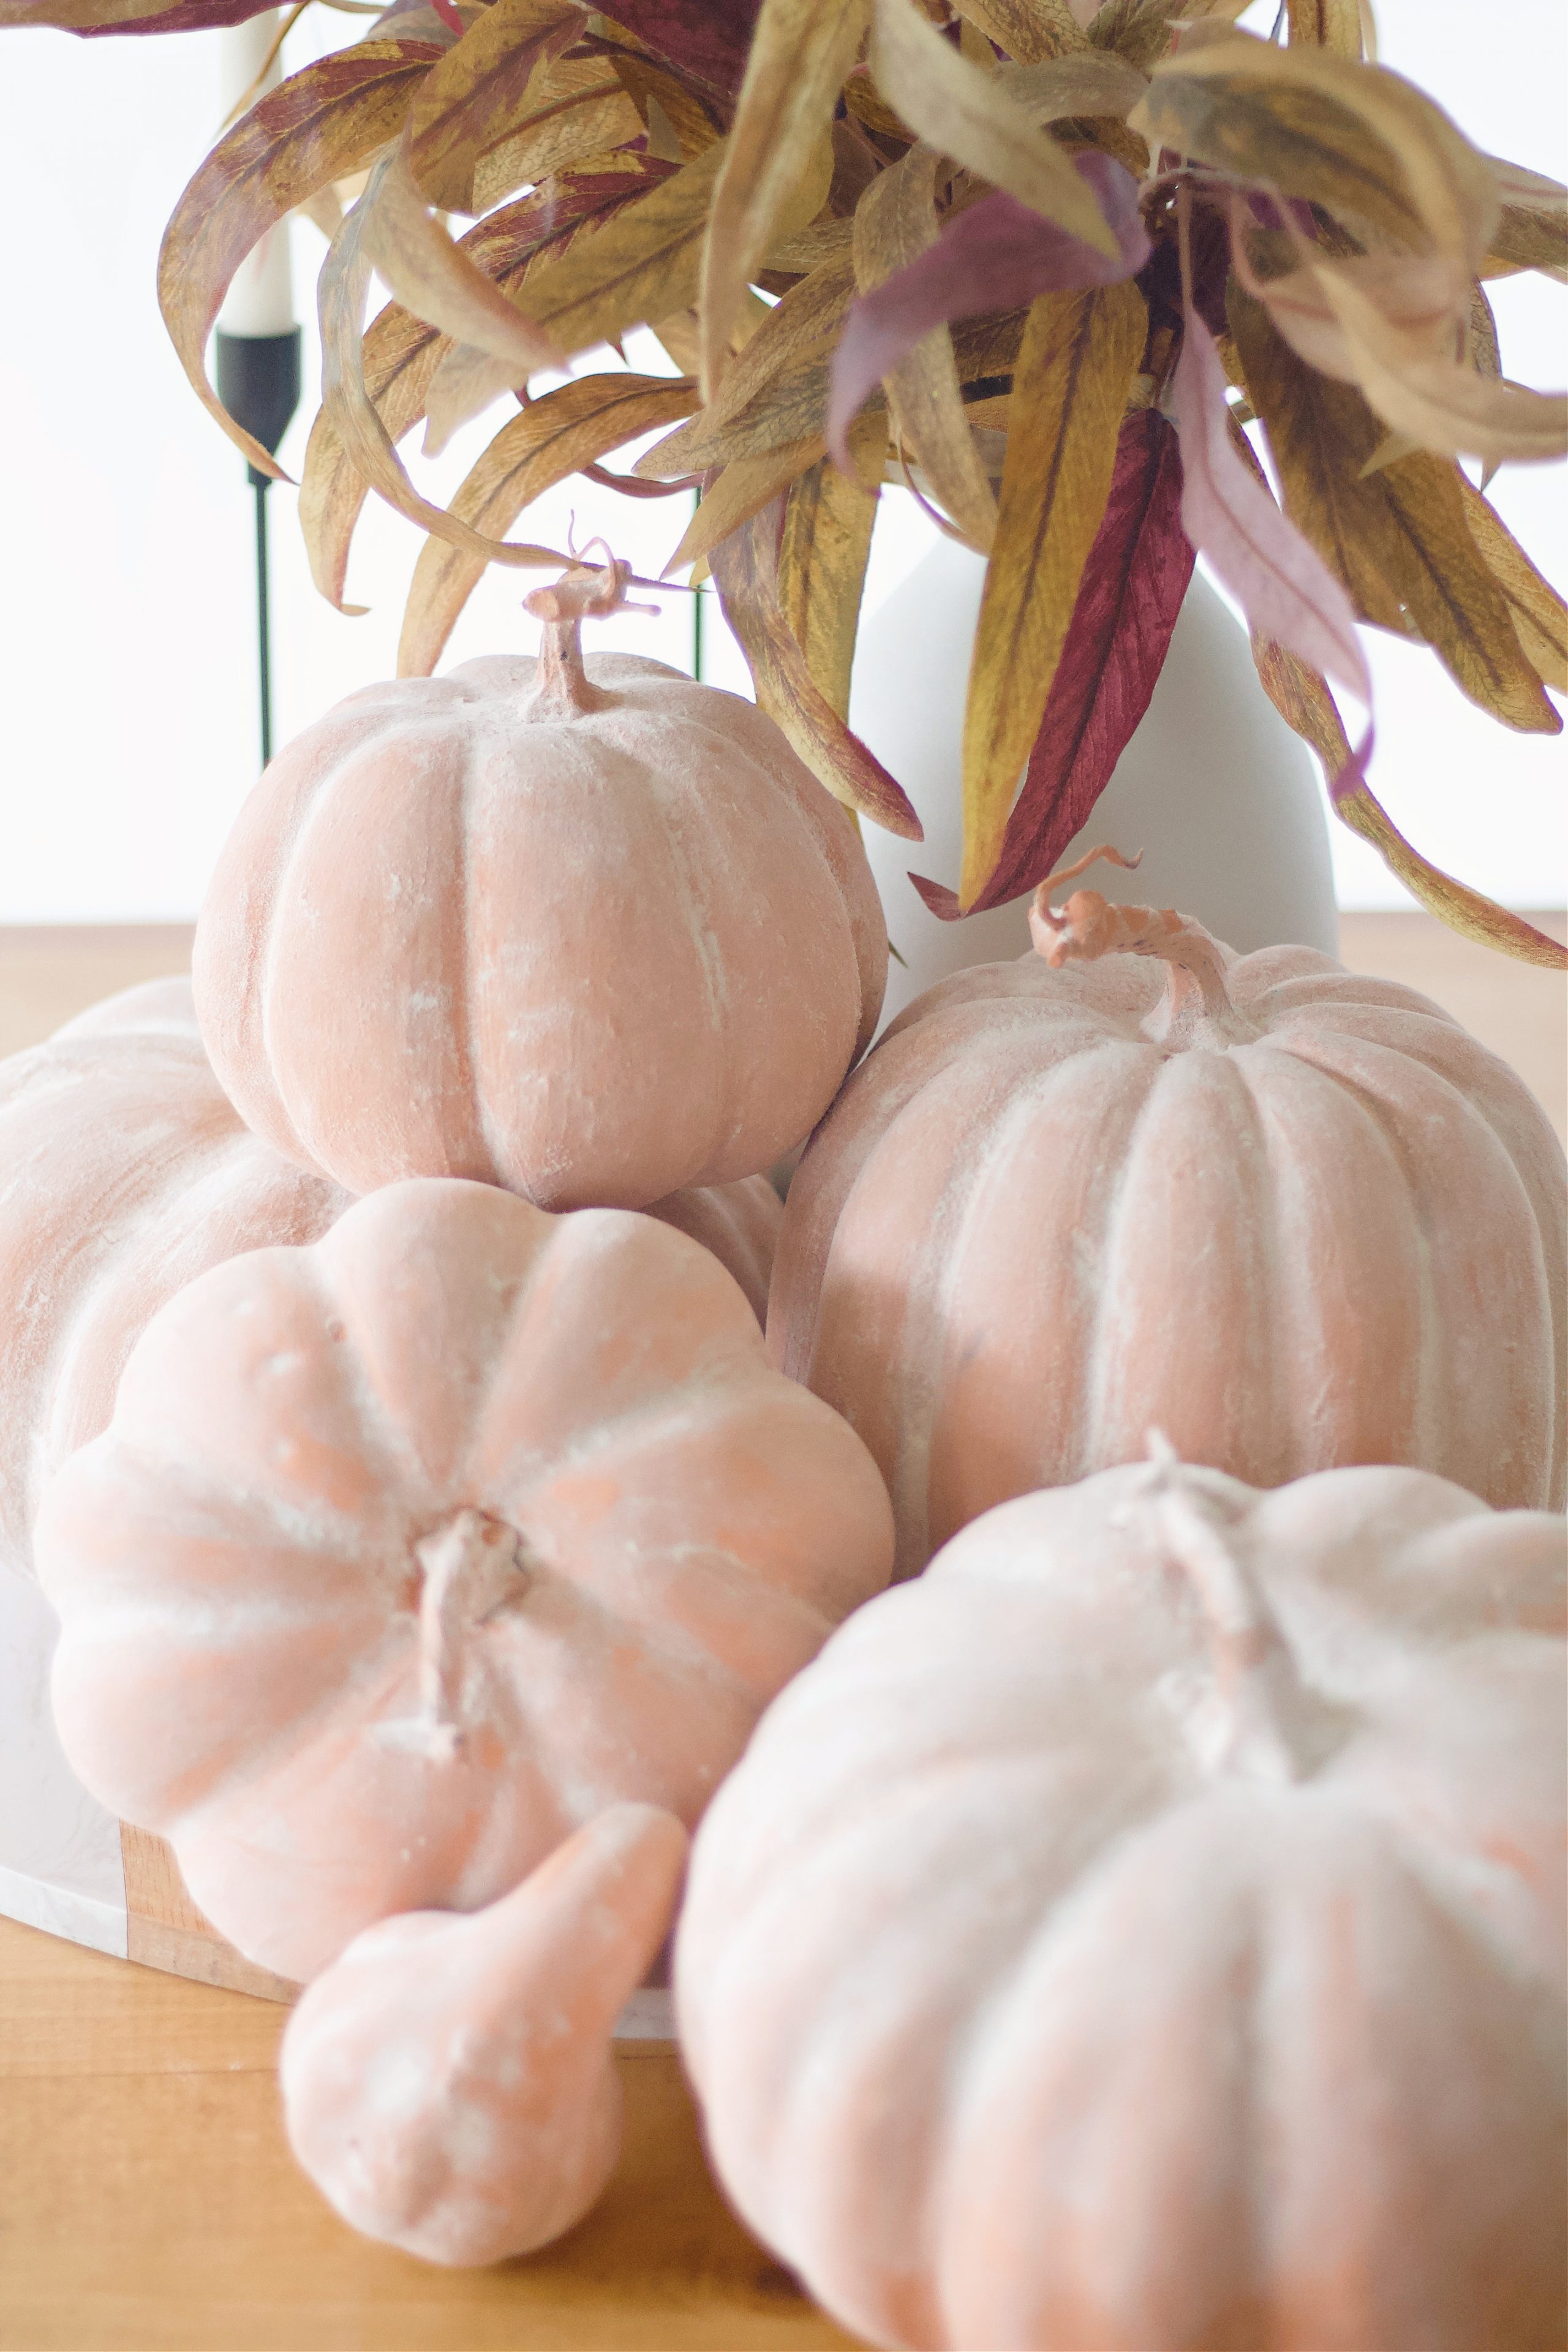
Paint more pumpkins and make a matching centerpiece
Keep your color scheme going by painting more pumpkins and making them into a beautiful centerpiece for your table!

What colors would you use for this project? I'm loving the rich burgundy and mustard yellow a lot lately too. Another idea for another year. 😉
You may also enjoy:
Man on the Moon Halloween Decor
Meet Eryn
Eryn Whalen is a homestead blogger and recipe developer with decades of hands-on experience in gardening, home canning, animal husbandry, and traditional kitchen skills. On her family's 100-acre Tennessee farmstead, she shares the daily beauty of homestead life: from milking cows at sunrise to filling the pantry with homegrown food and baking from scratch in her farmhouse kitchen. Read more about Eryn here