Terracotta Pumpkin DIY Tutorial
DIY Terracotta Pumpkins: Step-by-Step Guide to Creating Pottery Barn-Inspired Fall Decor
Jump on the viral TikTok trend this fall with these DIY terracotta pumpkins. Inspired by Pottery Barn, this faux pumpkin project is the perfect way to elevate your Halloween decor without breaking the bank. Whether you're creating a Pottery Barn terracotta pumpkin dupe or crafting your own unique twist, this fun fall craft is simple to follow. Plus, I'll show you how to add texture, mix the perfect terracotta color, and even create pumpkin stems that look just like the real deal!

Why Make Terracotta Pumpkins?
Terracotta pumpkins are the perfect addition to your front porch or indoor displays. They bring warmth and charm with that iconic terra cotta look, making them ideal for everything from rustic farmhouse decor to modern minimalist aesthetics. And the best part? You can create these faux terra cotta pumpkins at a fraction of the price of the Pottery Barn versions-it's a true Pottery Barn dupe.
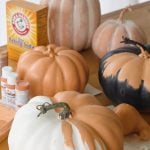
For the best look, make sure you use a combined of whole pumpkin in different sizes. Larger Pumpkins mixed with an assortment of small pumpkins. I've used this on foam pumpkin and plastic pumpkins with great success. They also work great on plastic jack-o-lanterns!
Supplies You'll Need
Before we dive in, let's gather everything you'll need for your DIY Pottery Barn pumpkin project. I've included some affiliate links for the items I used to create my pumpkins, and as an Amazon Associate, I earn a small commission if you decide to purchase through my links. Here's what you'll need:
- Faux Pumpkins: You can use foam pumpkins, plastic, or even ceramic. Hobby Lobby and Amazon have great options.
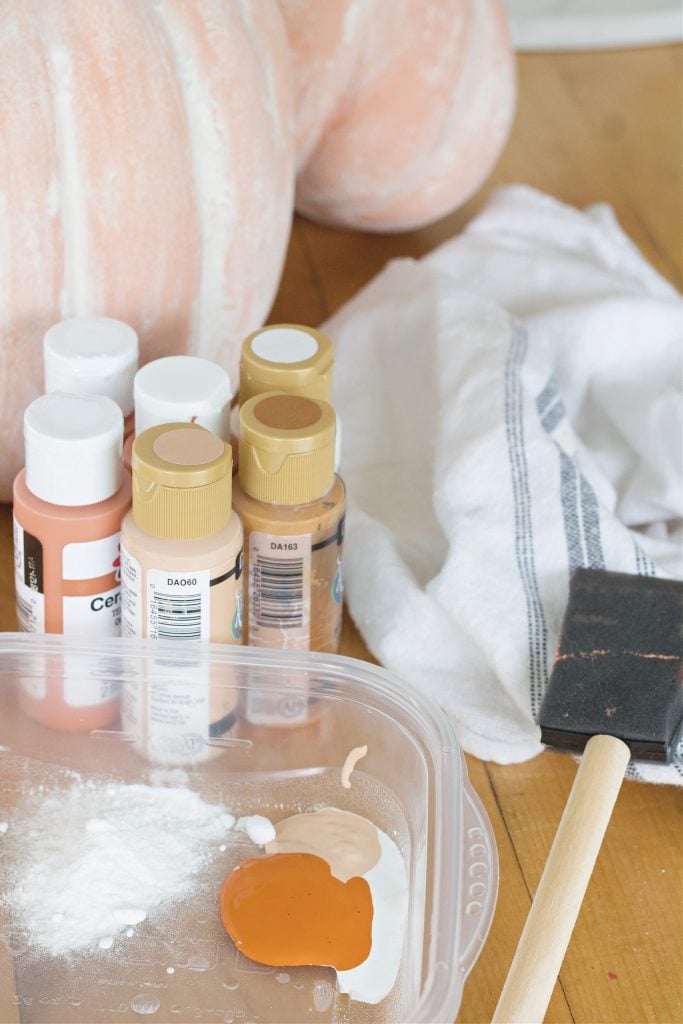
- Acrylic Paint: Opt for earthy tones to create the terracotta color-you'll also need white paint for highlighting or a white wash effect. For a faster approach, you can use spray paint.
- Baking Soda or Baking Powder: These are essential for adding texture to your paint.
- Baby Powder: Optional but helps create an ultra-matte finish.
- Flour: Use this to add a rugged texture; you'll sift it over the wet paint for an aged effect.
- Paint Brushes: Different sizes help you achieve varied textures. I recommend both dry brush and traditional techniques.
- Air-Dry Clay or Model Magic: Optional, for crafting realistic pumpkin stems.
- Sealer: If you plan to display your pumpkins outside, use a matte sealer to protect them from the elements.
Shop for items


Step-by-Step Tutorial: How to Make DIY Terracotta Pumpkins
1. Prepare Your Work Area
The first thing to do is lay down a cardboard box or drop cloth to protect your surfaces. Set out all your materials, including your faux pumpkins, paint brush, and light bulbs if you're working in a dimly lit space.
2. Mix Your Terracotta Paint Recipe
To achieve that authentic Pottery Barn pumpkins texture, you'll need to create a custom paint recipe. Mix your acrylic paint with baking powder or baking soda to add texture. If you're looking for an even chunkier look, sprinkle in some baby powder or joint compound.
Tip: The more baking soda you add, the thicker the texture will be. Be careful not to add too much flour, as it can make the paint difficult to apply evenly.
3. Paint the Entire Pumpkin
Using a paint brush, apply the mixture to the entire pumpkin. If you're going for a Pottery Barn terracotta pumpkin dupe, don't worry about perfection-the texture is part of the charm! Let it dry until tacky.
4. Add Texture with Flour
Once the first coat of wet paint is tacky, sift excess flour over the pumpkin, paying special attention to the cracks and crevices to add visual interest. Rub the flour into the paint gently.
5. Apply a Second Coat for a Terra Cotta Look
Apply another coat of paint over the flour to lock in the texture. You can use a dry brush technique to distress the surface slightly. If you want a darker color, mix in some darker paint for added dimension.
6. Create Pumpkin Stems (Optional)
To add a realistic touch, mold air-dry clay or Model Magic into pumpkin stems and attach them to your faux pumpkins. Once they've dried, paint them with a darker color to contrast the body of the pumpkin.
7. Seal Your Pumpkin (For Outdoor Use)
If you're displaying your painted pumpkin outdoors, apply a final coat of matte sealer to protect it from rain and other elements. This step ensures your faux terra cotta pumpkins last the entire season.
Tips and Tricks for the Perfect Terracotta Pumpkin

- Try different ways to create texture: Use more or less baking powder, or swap it for baby powder for a smoother finish.
- For a unique look, use a combination of white paint and a light white wash over the top to create depth.
- Experiment with paint colors: Mix in shades of rust, burnt orange, and browns to get the perfect color.
- Consider using foam pumpkins for an even lighter option. They're easier to hang or place in decorative setups.
- If you're using these as Halloween decor, create a spooky vibe by adding darker paint in the crevices or even adding some faux spider webs.

Where to Find the Best Faux Pumpkins
Check your local Hobby Lobby or online retailers like Amazon for the best selection of foam pumpkins or plastic options. Thrift stores are also a treasure trove for finding older pumpkins that just need a little makeover. You can use anything from ceramic to foam to plastic depending on your desired terra cotta look.

Final Thoughts: Why I Love This DIY Project
Creating these DIY terracotta pumpkins has been one of my favorite fun fall crafts to date. They're easy to make, budget-friendly, and customizable, allowing you to get creative with texture and color. Whether you're making them for your front porch, tucked between some pretty fall stems, on the mantle, or as table centerpieces, they add instant coziness to your home. Don't forget to tag me on Instagram @YourUsername if you try this out-I'd love to see your creations!
And if you want a printable tutorial for this project, download it below!
DIY Terracotta Pumpkins
Equipment
- Paint Brushes (Variety, including dry and wet)
- Drop Cloth
Ingredients
- Faux Pumpkins Plastic, Ceramic, or Real
- Acrylic Paint Base and Highlight Colors
- Baking Soda
- Flour
- Air Dry Clay Optional
- Matte Sealer For Outdoor Use
- Joint Compound Optional
- Chalkboard Paint Optional
Instructions
- Prepare Your Work Area: Lay down a drop cloth and gather all your supplies.
- Mix the Paint: Combine acrylic paint with baking soda to create a textured paint. Adjust the texture by adding more baking soda as needed.
- Apply the First Coat: Use a paintbrush to apply a coat of paint to the entire surface of the pumpkin. Let it dry until tacky.
- Add Texture with Flour: Sprinkle flour over the tacky paint and gently rub it in for added texture.
- Apply the Second Coat: Paint over the flour-coated pumpkin to seal in the texture.
- Create a Natural Stem (Optional): Use air dry clay to craft a stem, attach it to the pumpkin, and paint it once dry.
- Seal the Final Product: If displaying outdoors, apply a matte sealer to protect the pumpkins.
- Decorate and Enjoy: Arrange your terracotta pumpkins in your fall decor setup!
Notes
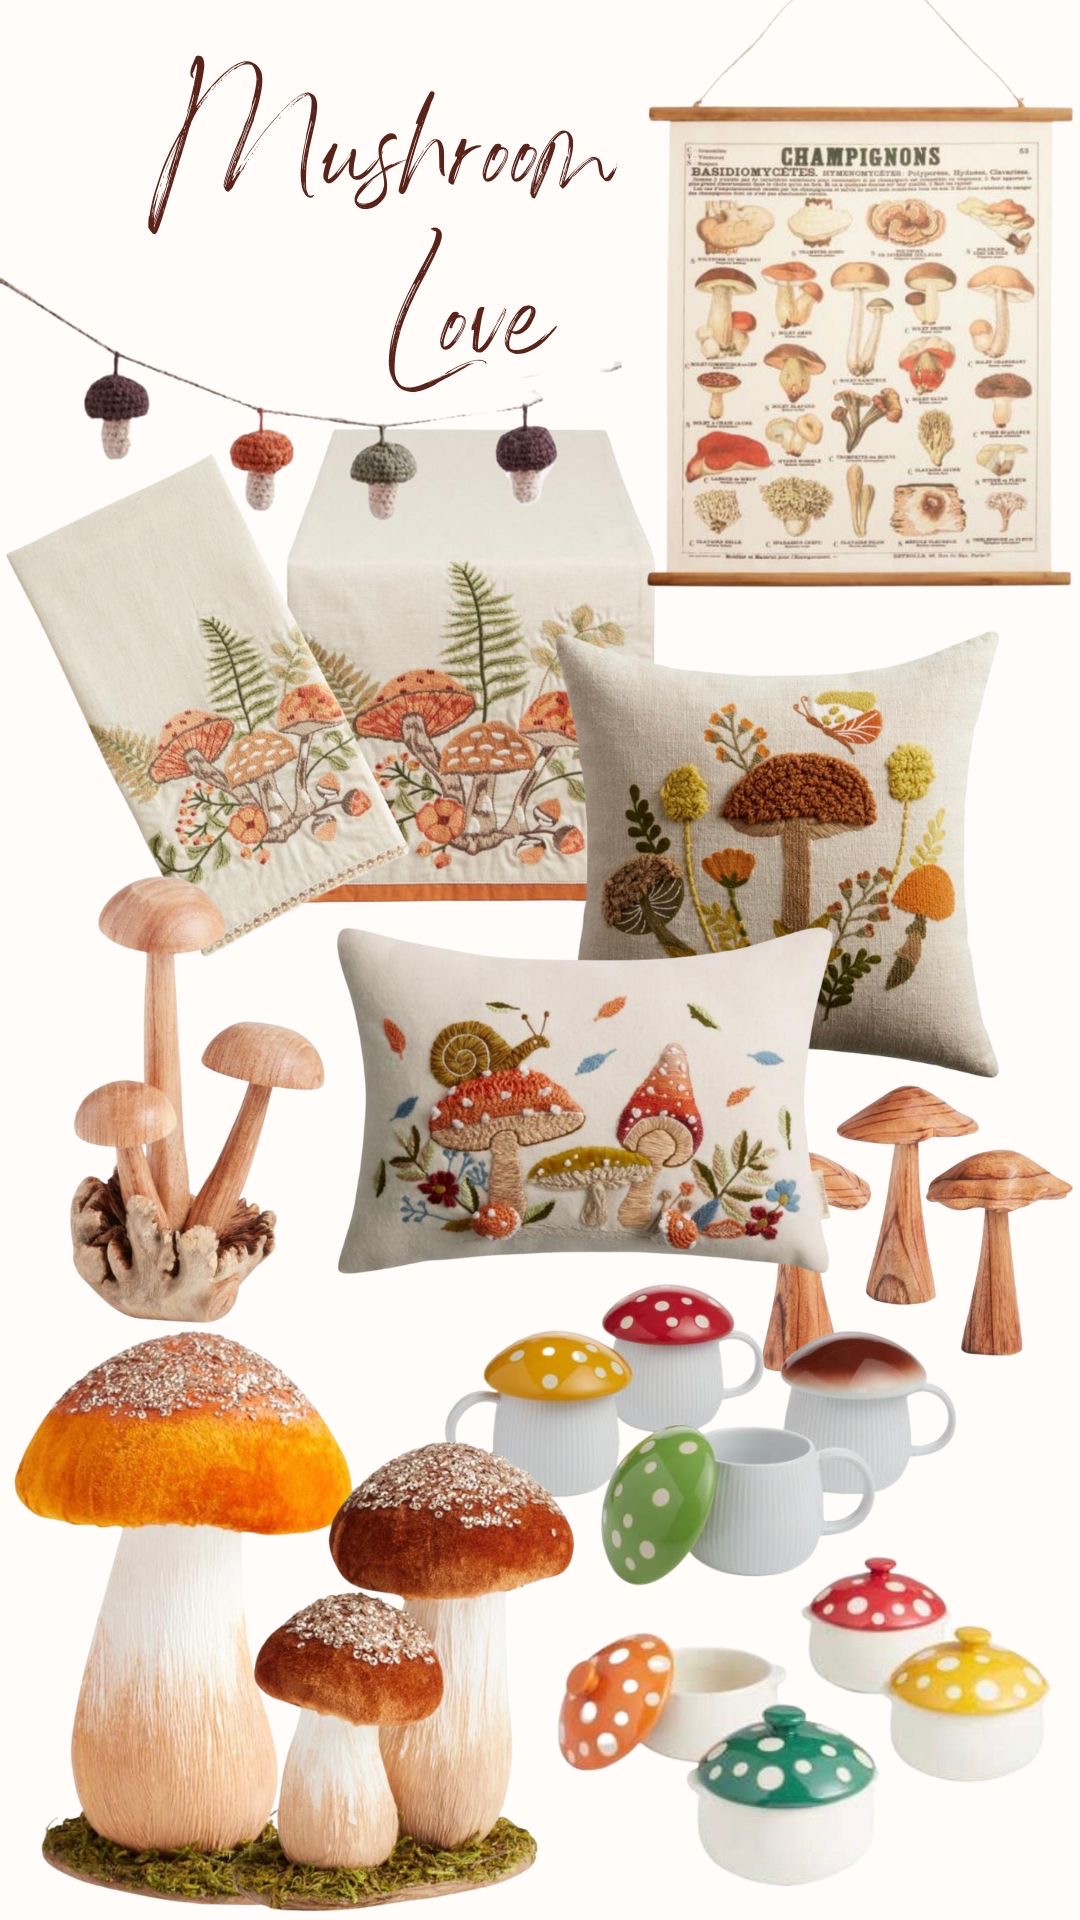
Want more fun fall and Halloween crafting inspo?

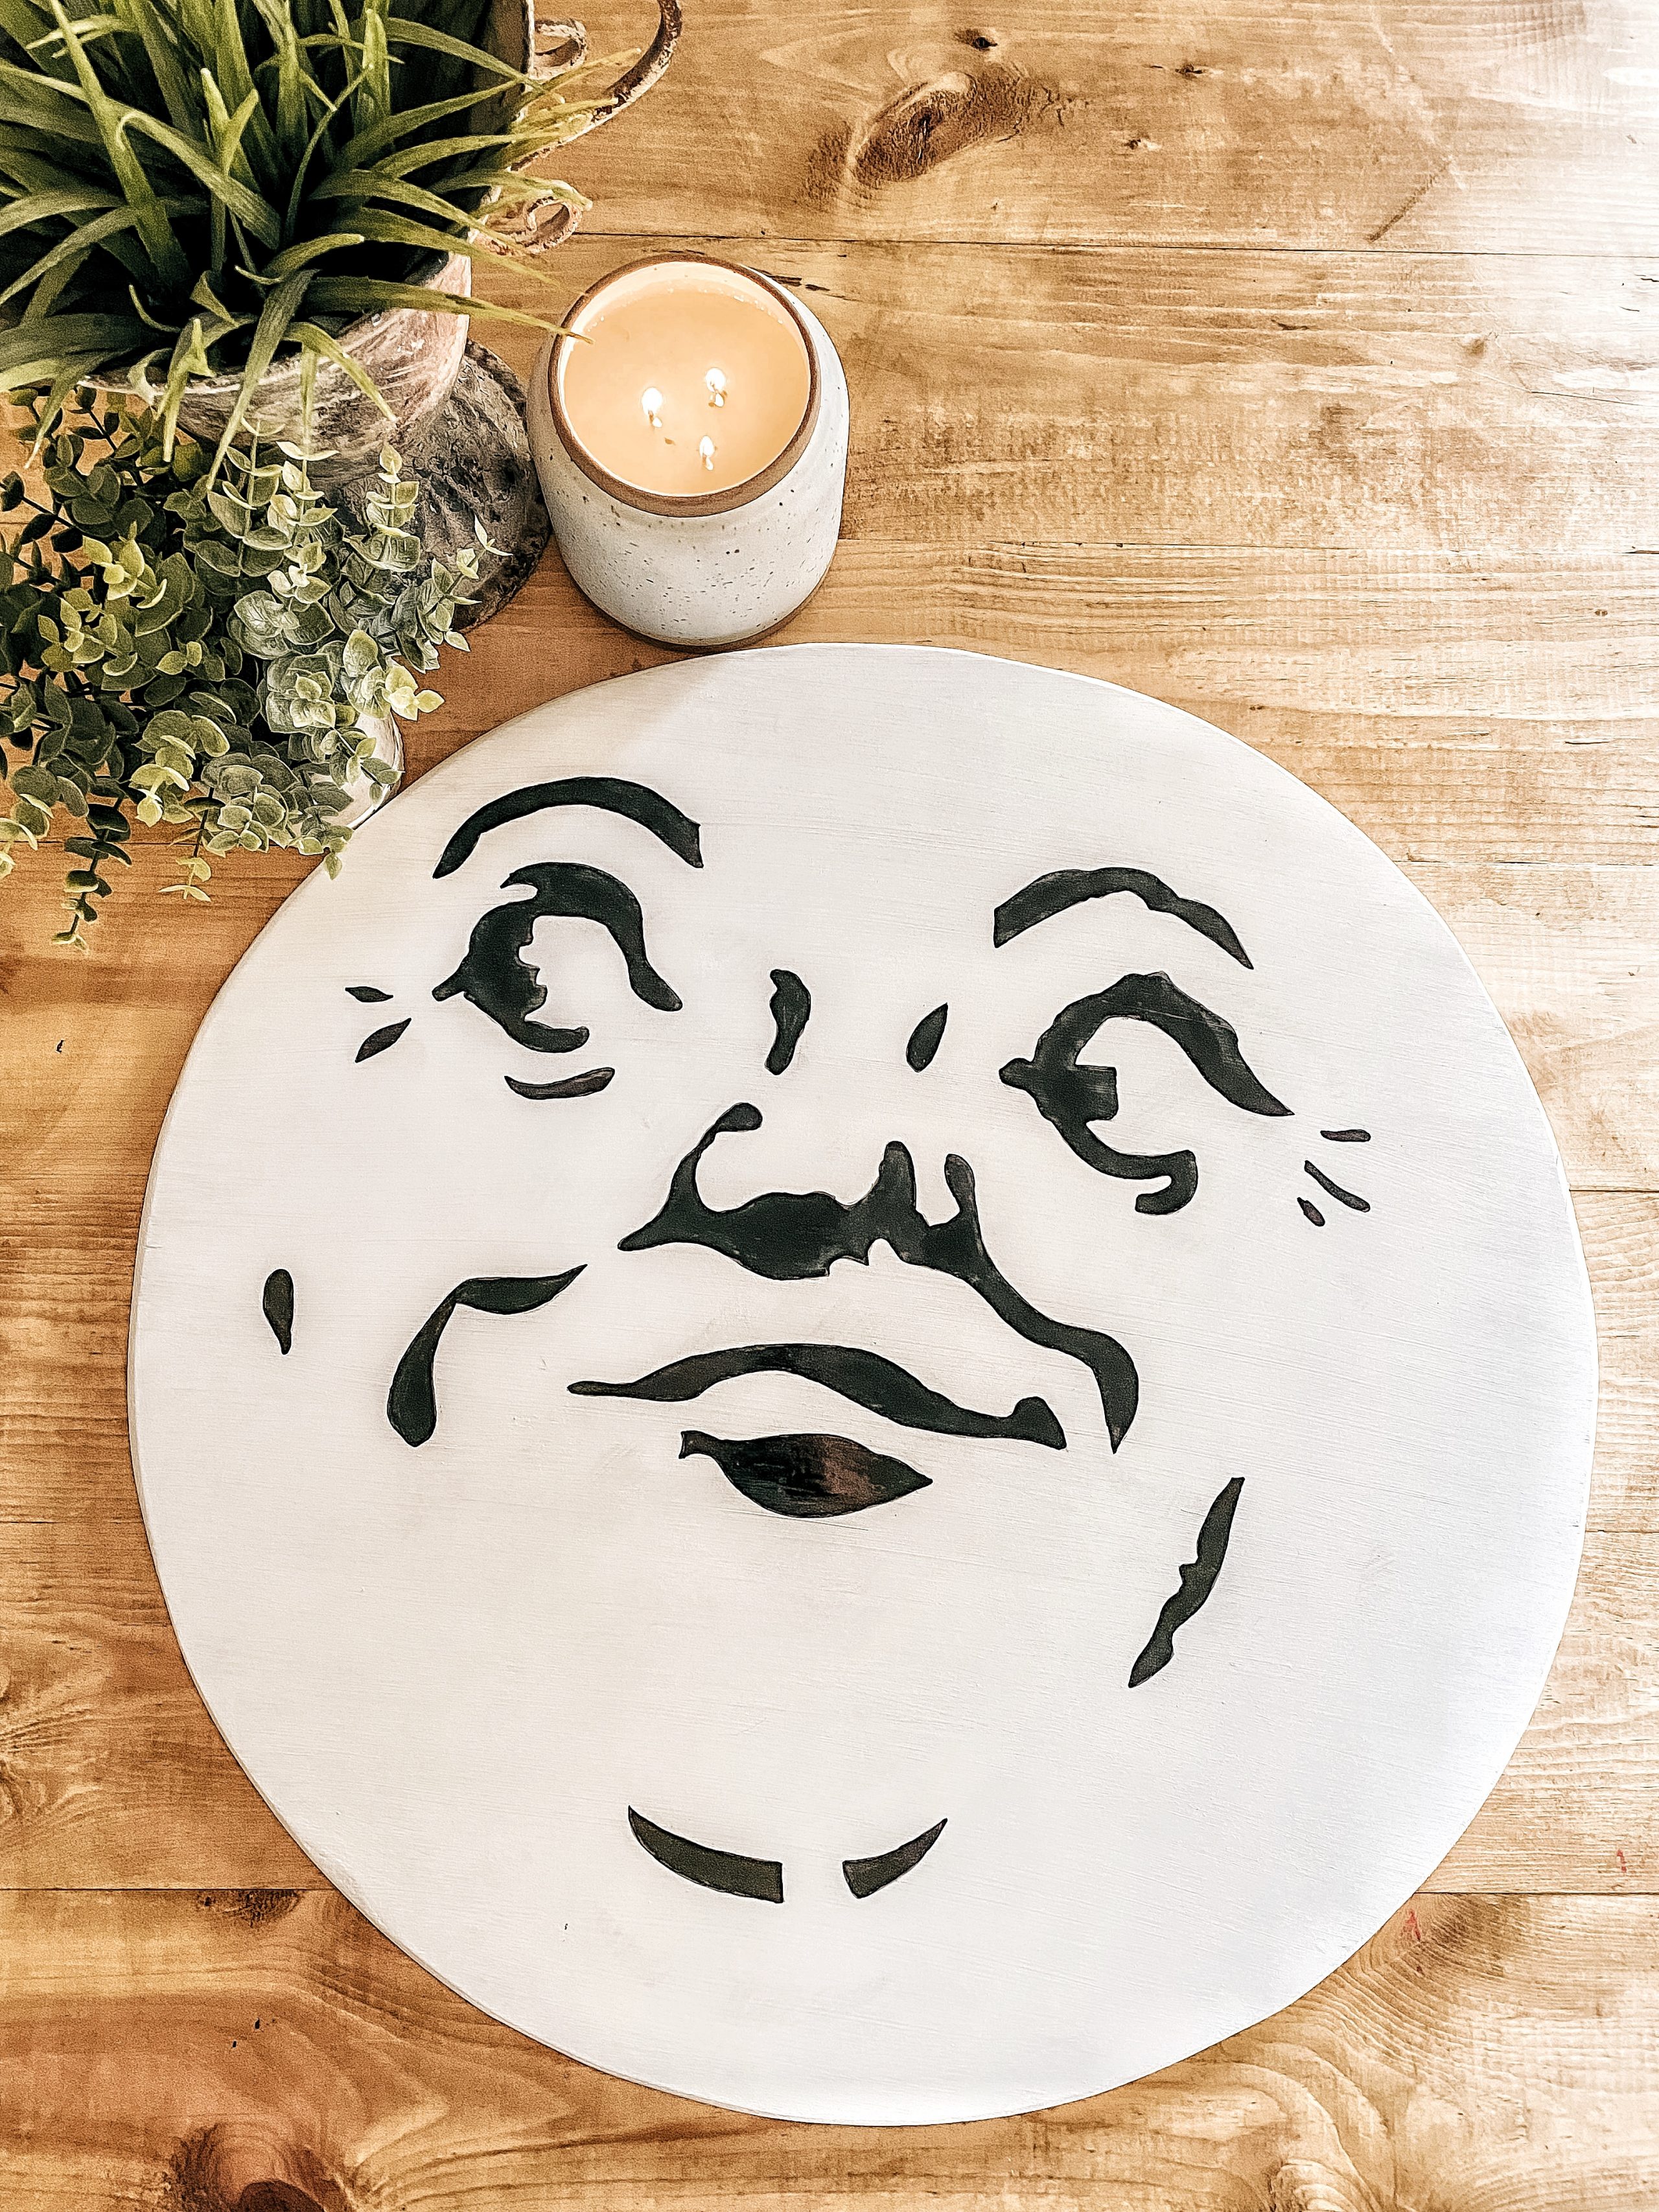
Check out my Halloween section here! The Man On The Moon PFD is one of my most visited posts!
And if you're not yet, make sure we're friends over on Instagram where I share my crafting and homemaking in real time!
Happy Crafting!