Staining Furniture How To | My Dream Pine Table
Last week we made my dream table . . . and I'm in love. It's perfect. The strong sturdy legs, the huge beautiful top, the benches that match perfectly. I couldn't be more happy with how it turned out. And while Travis was making it, I was doing diligent research on staining furniture how to and what's the best stain colors to use on pine. I'm here to share with you what I found out and what I learned from staining my first pine table.

There is soooo much info on staining furniture how to. I mean, it's overwhelming.
However, after doing it I'm here to tell you there's no need to be nervous friends. I cracked the code so you can stain your pine table or furniture without worry. There's just a few things to know and do, and it will turn out beautiful!
A little recap: This was our table before

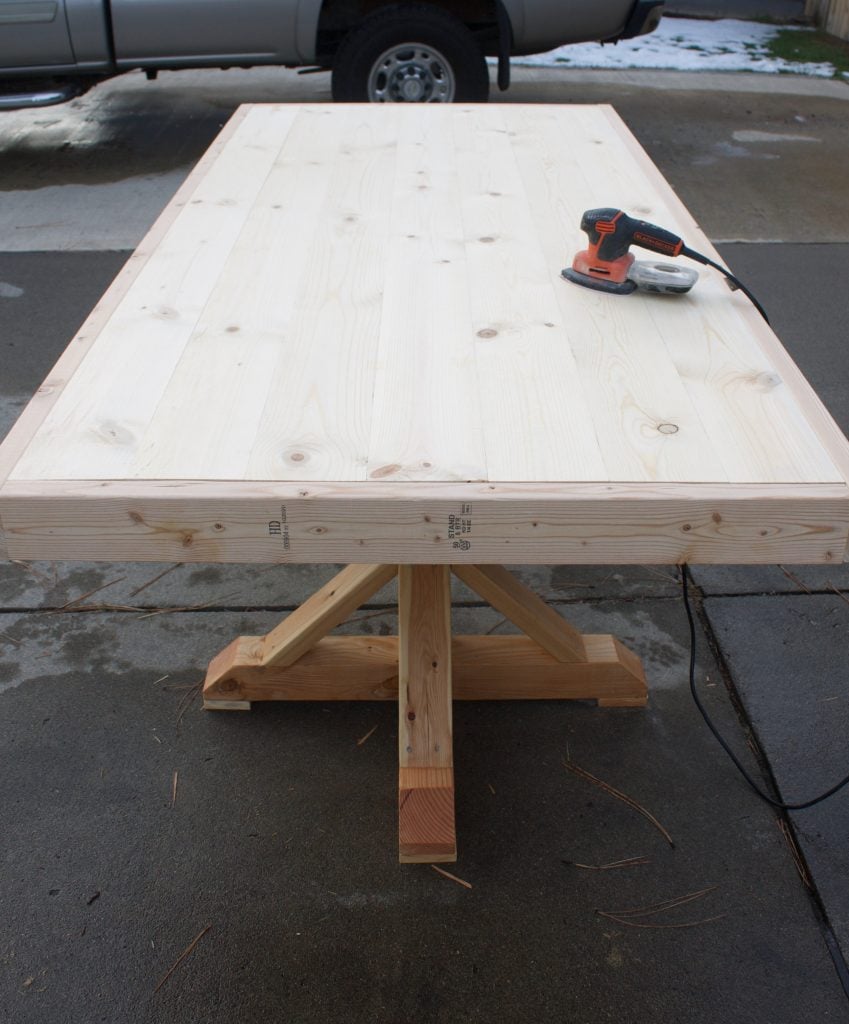
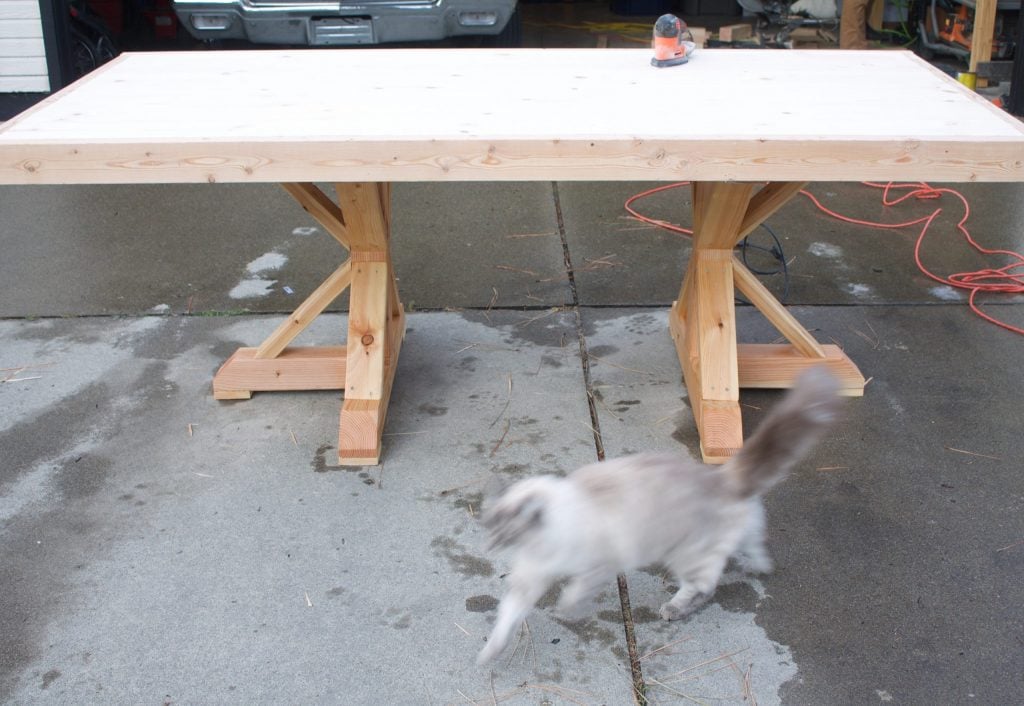
First off: The Table plans
We used these plans from the talented ladies over at Shanty 2 Chic and Travis said it was so smooth to put together. The plans are originally from 2014, and at the time it said you could make the table for $110. Because of the price of wood rising lately, it actually ended up costing us $150. I'll take it! Only a $40 difference! And both the benches were an additional $100. For the total project, it was $250. There is no way on this side of heaven we could have purchased a table of this quality for anything under $1,000 from a retailer. And even that price would be an amazing deal for this table.
Preparing your table for stain
What I used:

This post contains affiliate links, see my disclosure statement here.
It was easier to stain the table when we did it in sections. We sanded and stained the legs first, then placed the top on the table, and repeated the process with it.

I started out by using a mouse sander with 120 grit sandpaper, and ended with 220 grit. When going over wood a final time, make sure you're sanding with the wood grain. When we stained the table, you could see the circular sanding patterns we were doing. If you finish off going with the grain of the wood, that should alleviate this issue. Live and learn right? We did a lot of learning when building this beauty.
Make sure to sand well where the wood is stamped. It looked like the stamp was gone, but when we placed the stain over the area part of it showed through again.
Staining Furniture How To
At first, I purchased a Natural wood stain and applied it to the legs. It basically looked like the wood color, but wet. Essentially it was a tad darker. Although I loved the naked wood look, after applying it to the legs and top, the table didn't come across as finished. It felt like something was missing.
After standing in front of all the stains at Home Depot for what felt like an eternity, I finally decided to try golden oak. They had a really neat example of the same stains on different types of wood and how it made such a difference.
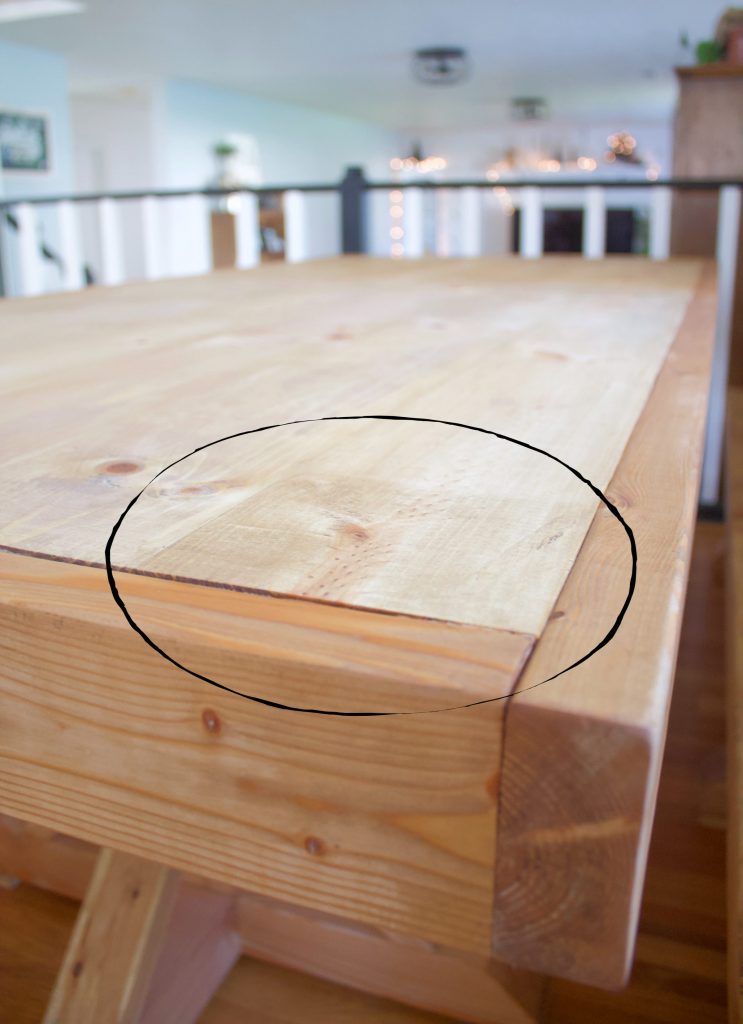
I know it doesn't look like much, but that's what a corner after staining it with Golden Oak. A slightly darker, but still natural look. You may also notice that the 2X4's are a different color than the pine top, and you'd be right. That was another reason I wanted the top to be a bit darker, to match the outside of the table better.
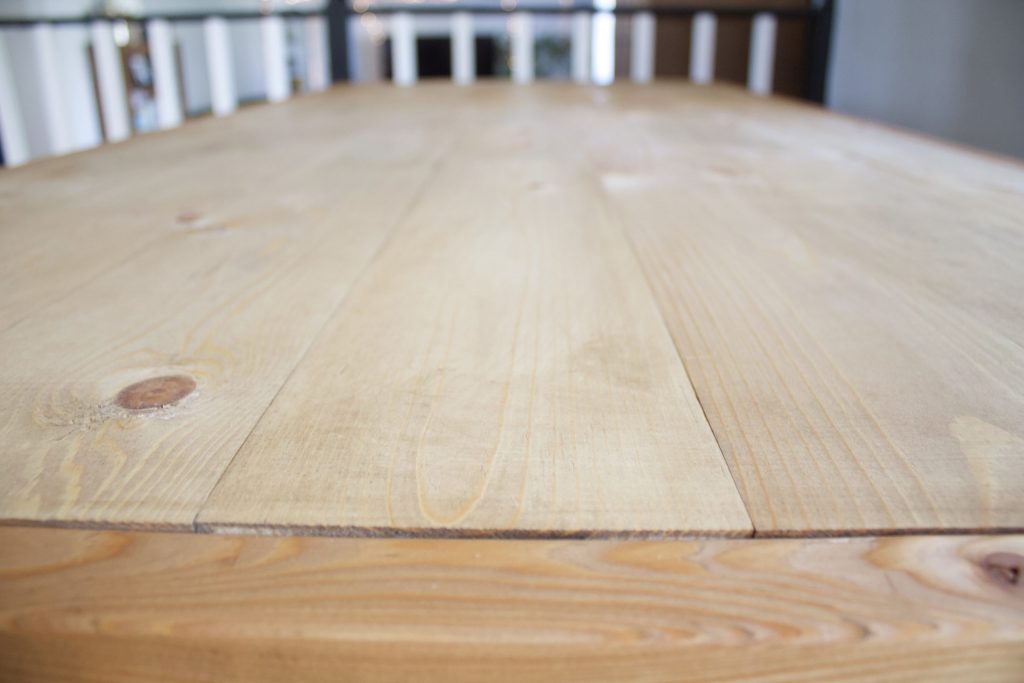
I went ahead and stained the whole table golden oak, along with the benches.
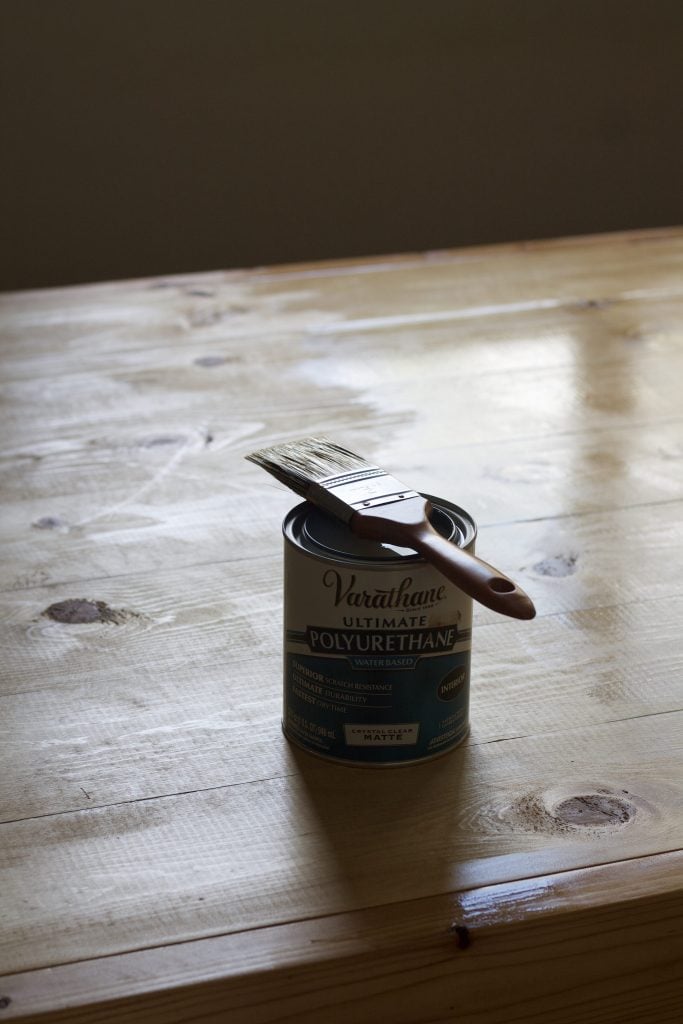
Sealing your table
Choosing a sealer was also a bit harder than I had thought. There was a ton of recommendations, but ultimately I went with a water based polyurethane in a matte finish. I didn't want anything super shiny.

I went ahead and did two coats all over, and an extra third coat on the tops of the table and benches for a little extra protection. I waited at least two hours between each coat.
And friends . . . it turned out perfectly.
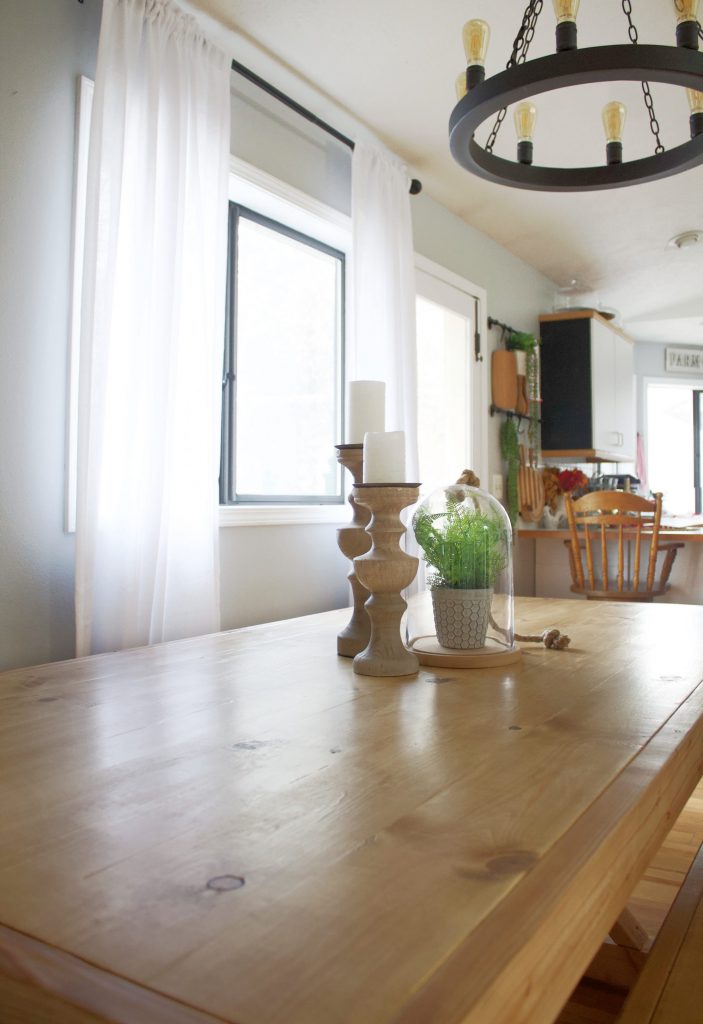
Just enough of a shine to know it's sealed, but not high gloss which, like I shared with my shiplap wall, detracts from the beauty of wood.
I've had it stained and sealed for over a week now and it's held up so well! No water marks, cleans off well, and has no scratches. (Yet . . . because #kids.)
Want to follow along in real time to all our DIY and home decor? My favorite place to share is Instagram!
Have you stained furniture before? Any tips for us? I'd love to hear them in the comments!


What a beautiful table! Well done!
Thank you so much! We're really enjoying it!
Wow! The pine table looks impressive. Great work, Eryn! I love the natural wood finish of your table. You have made an incredible transformation of your old table. Thanks for sharing the furniture staining tips. Make sure to maintain the pine table right to avoid damage.