How to Paint Shiplap | All Your Questions Answered
Painting shiplap. Who knew it could be such a hot topic? However, I've received a lot of questions about how to paint shiplap, or a shiplap accent wall, so I'm going to be answering all of them today! How to paint shiplap cracks, how to paint tongue and groove shiplap, what paint finish to use on shiplap. Everything you you need to know to have beautiful walls.
Let's dive in!

Shiplap walls can give off that rustic look. A farmhouse feel many are after. It can also have a very modern look depending on how it's done. You can make wood shiplap, or also use different materials. A shiplap project is truly an easy one! A weekend of effort for a big visual payoff. It's a great option for a newer home you're trying to bring back in time a bit, or for an area lacking personality
And don't leave it to just the walls. Get creative and use it on interior walls, a kitchen island, furniture, or the more traditional living room and dining room areas. Make it with vertical lines or stay with traditional horizontal.
Sanding
If needed, pre-sand the new shiplap outside before brining your DIY project supplies indoors. However, if you miss a few areas, use a small palm sander to polish off any rough spots in the wood before we begin our painting project.
A note on painted shiplap
First off, don't feel guilty covering up those pretty shiplap panels with paint. Especially if you're using real tongue and groove and not faux shiplap. There are the real wood people out there, that think all wood should be exposed and never painted, and they can sometimes lead to feeling guilty about painting wood. Then there are others (I think you and I fall into this category) who feel that painting certain wood furniture and walls helps to showcase the few pieces of wood you do want to keep paint free. It's all about balance! So paint away friends! Release the guilt. This wood is still going to shine, even painted, and create such a cozy aesthetic to your home!
If you haven't put up your shiplap just yet, make sure to read how not to shiplap a wall, where I cover the common mistakes and problems people encounter when installing shiplap.
What color to paint shiplap
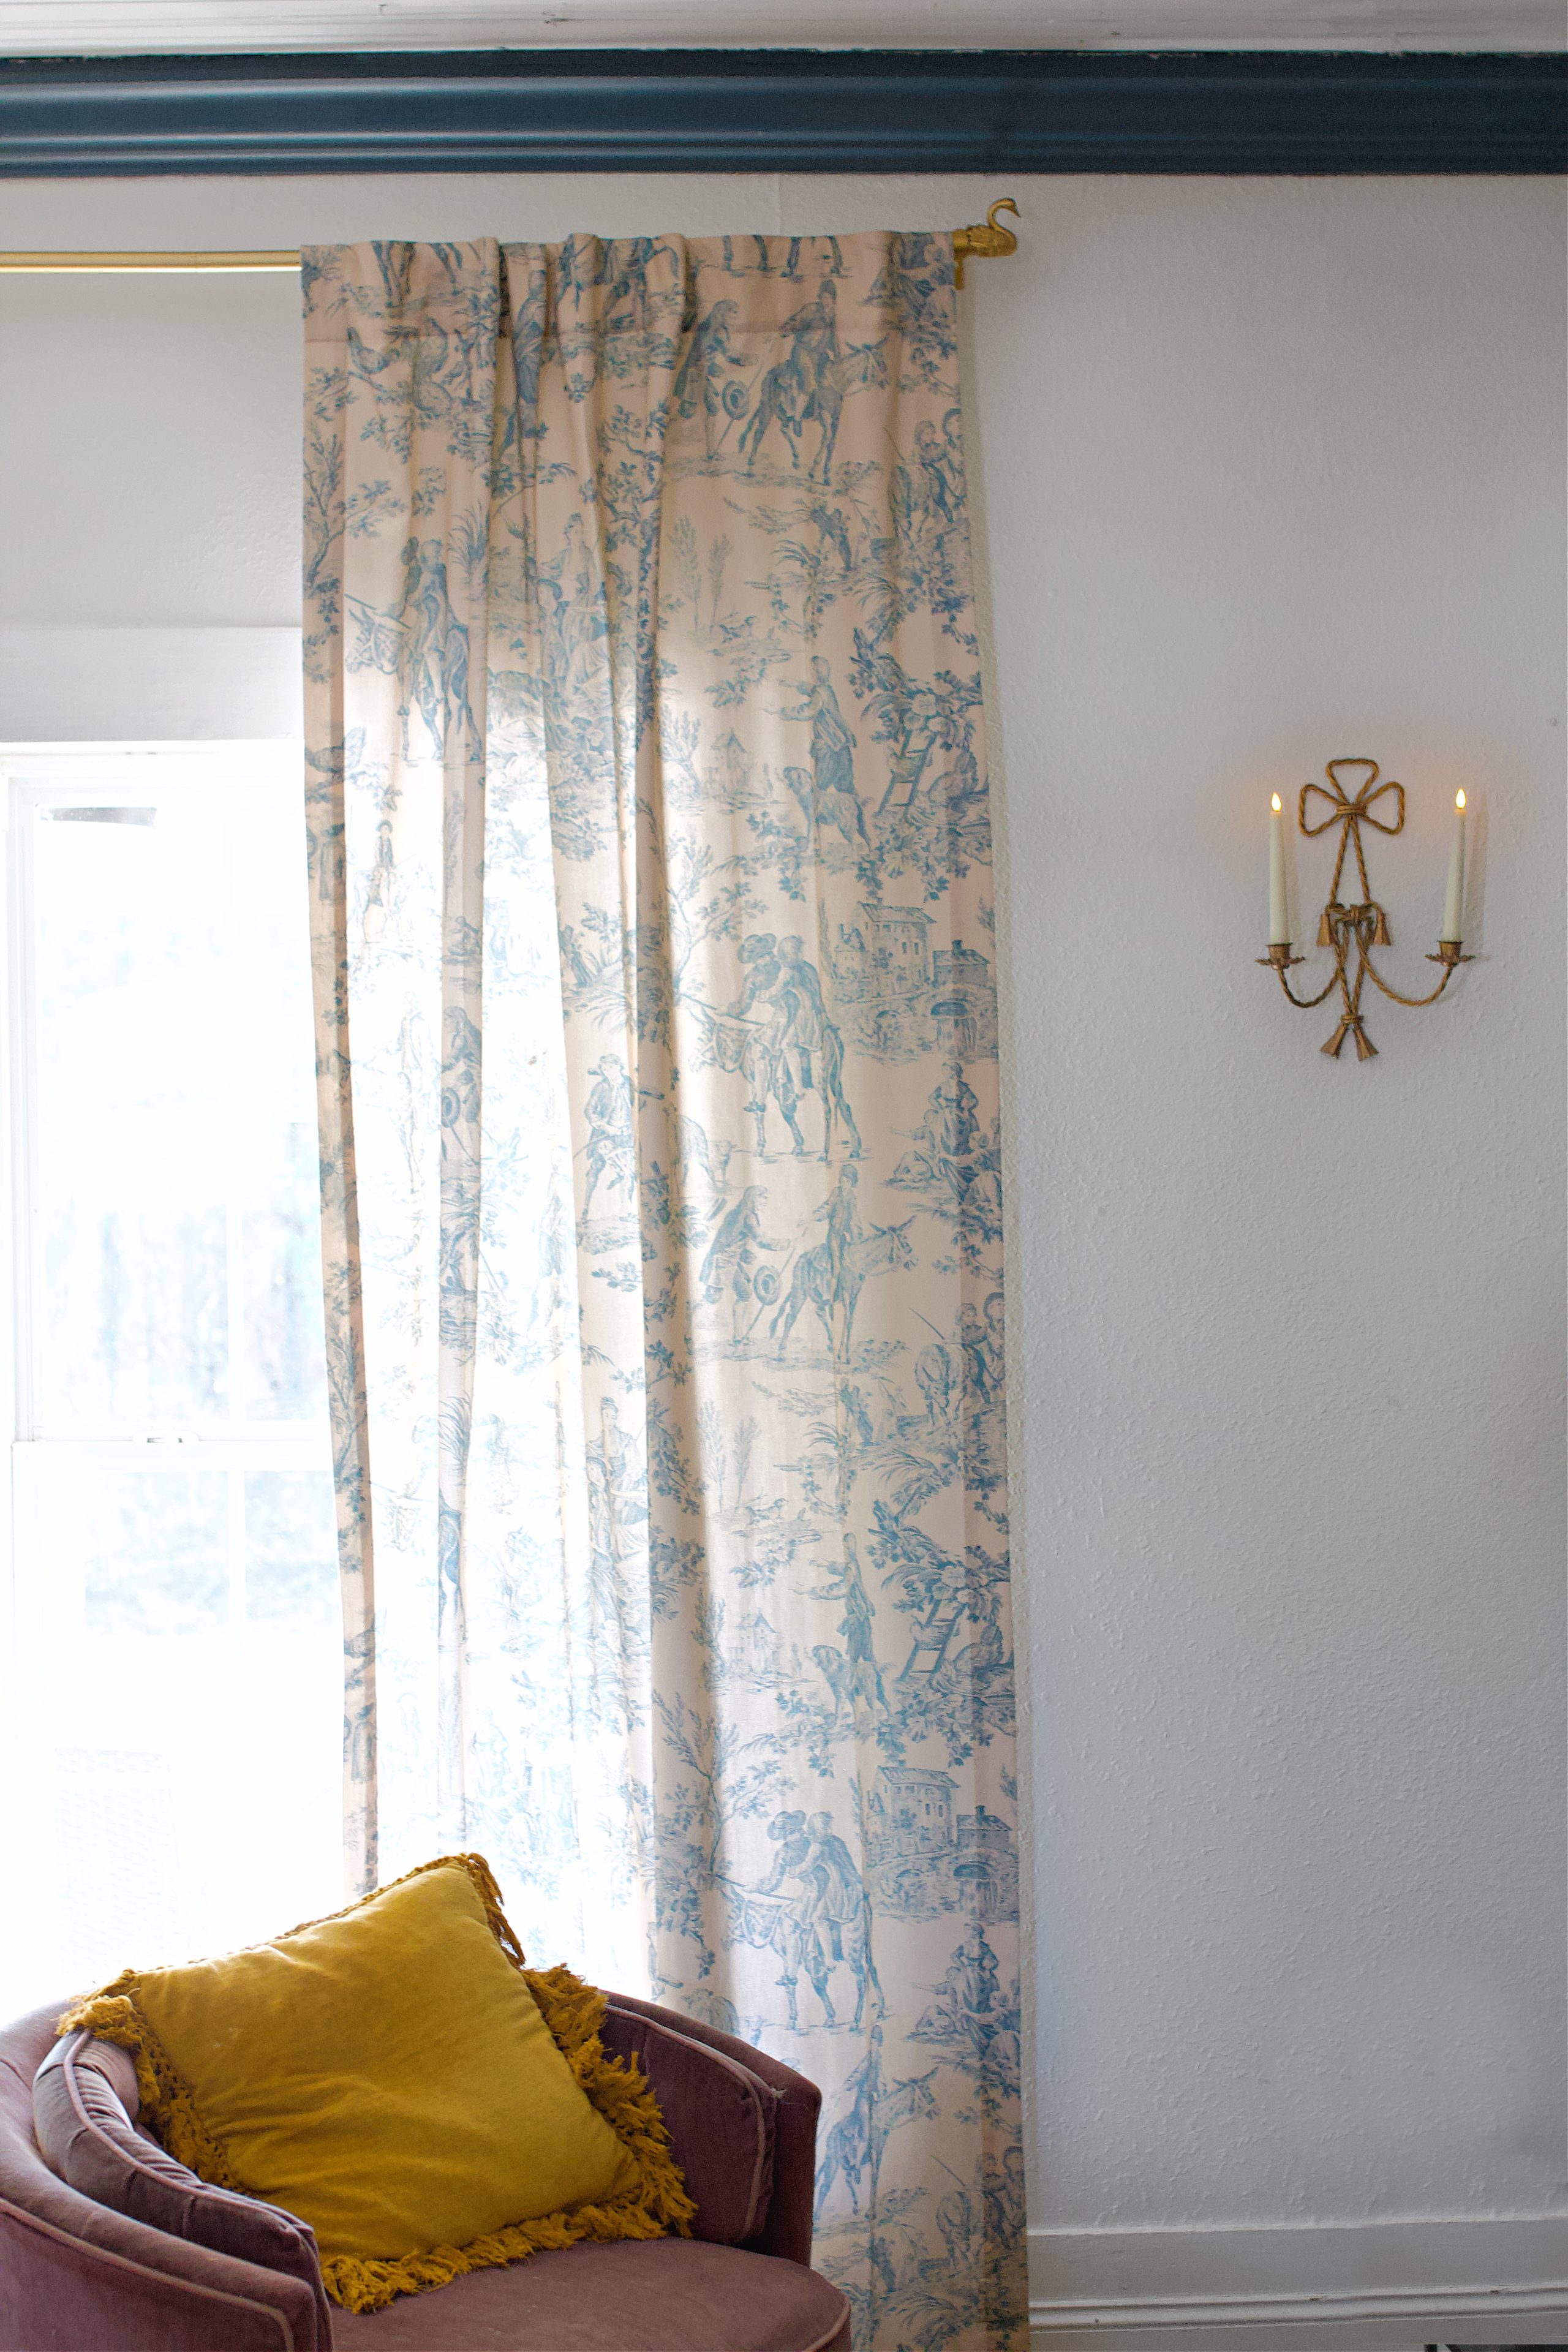
Traditionally, most shiplap is painted a creamy white. But I also love a dark color that's moody. Different colors play up different feelings so pick what goes best with your space. The right paint color, right kind of paint, and right paint sheen can make or break a room.
The white, along with the horizontal lines, creates a sense of calm that even in a room that's completely messy or a very high-traffic area, can give you a feeling of structure and control. This helps relieve anxiety. Isn't it amazing how lines and colors work with our brains to sooth or excite us right?
You could truly spend hours upon hours picking out a good quality white. Let me see if I can save you the time by sharing two of my favorites! For best results I like a Water-based paint by Behr. I also love Sherwin Williams and Benjamin Moore. But don't be afraid to use other more vivid paint colors. Personalize to your style.
My favorite white paint color:
Nano White in Flat

My second best paint favorite is:
Ultra Pure White in Flat

For my shiplap, I used Nano White in a semi-gloss finish. Also similar to a satin sheen.
Should you use a more matte look or flat finish on shiplap? I love matte, however, it doesn't wear well longterm. Instead, I recommend a semi-gloss sheen. It's not high sheen, where the paint basically reflects, not allowing the grain of the wood to be seen, but, it's gloss enough to clean up well.
Again, we're going for that cozy, soft feel. Semi gloss or high gloss paint detracts from the wood. Instead of seeing the character of the wood that shows through with a matte finish, all you see is shine, which often is reflective, not allowing you to truly get a good look at the beautiful wood character your shiplap adds.
In some situations, a gloss finish might work well. Most often however, if you're looking for a traditional and timeless appeal, a matte finish is going to be your best bet.
How To Paint Shiplap | The Basics
First step, Caulk and Fill Holes
Before painting, you're going to have to decide on if you want to caulk the corners where the shiplap meets another wall. This is personal preference. Some like the raw wood edge, others like a clean trim line where it meets a doorway or another wall. Decide the look you like most and caulk where needed. Make sure the caulk you use is paintable caulk.
You'll also want to decide if you like the natural look of the boards as is, more old and lived in, or if you'd like to putty and fill a few holes for a more even, modern look? I filled the nail holes and large knots, letting the wood filler ( < this is a great brand) dry and sanding it down before starting in on the paint.
Do not use a paint sprayer. It's a great way to get into all the recesses, which is fine for other projects, but here, we want the gaps and woods charm to stand out. We want the delineation of the shiplap grooves.
How to paint faux shiplap or real
Basically the same rules apply to faux, medium density fiberboard and real shiplap.
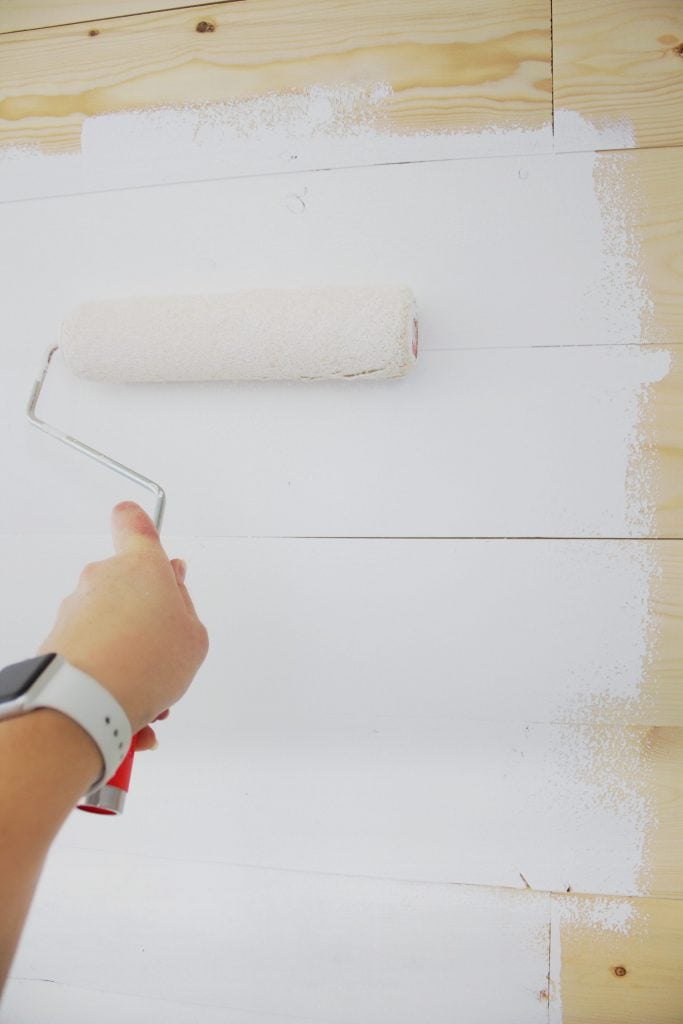
You're going to want to start by taking a brush and going along the edges around the entire area, as well as all doorways and outlets. (Small note: you may need to purchase extended length outlet covers so they aren't recessed in the walls.) I like to do this at the beginning, then paint the entire wall with a paint tray and paint roller. Once the first coat is dry, I then go around the edges again with a paint brush, and finish with a roller as close to the edge as possible. My goal is to remove the paint lines a brush leaves, getting as close to the end of the wood edge without bleeding out onto the next wall, trim, or surface on the final coat of paint. Of course there are different methods for painting. Pick your favorite and stick with it. Make sure to use a drop cloth as always so you don't mess up your floors.

When I go in with the roller, first, I roll up and down, getting into the cracks and seams. If you come across small holes you missed with the wood filler, it helps to fill small holes with paint. Put direct pressure on the end of the roller against the wall. You'll push extra paint out of the roller, filling gaps. Then go over the area again with even pressure over the entire roller, picking up any excess paint . Make sure none of the holes you filled have paint dripping out of them. I finish by going over the area with the roller along the wood grain.
If paint runs into the cracks or spaces between the wood, don't worry. You can easily scrape the gaps between the faux or real shiplap planks clean using a putty knife. (< I love this set of varying sizes!)
How To Paint Shiplap Cracks
Okay friends . . . I'm sharing this because if you read about my shiplap fail, then you know I didn't leave enough of a gap between my pieces on this one project.
I did this on my real shiplap, but it's also an amazing way to create the look of a shiplap wall with only a little black paint or a sharpie! It would be a great faux shiplap idea that's extremely budget friendly! (Note: The sharpie won't work on an uneven wood surface, but on a low texture wall it would be great!) Just use a yardstick, or painters tape, to mark the wall ever 6″ and use the sharpie to draw a line. Lindsey has a great example!

Black paint is your best friend!
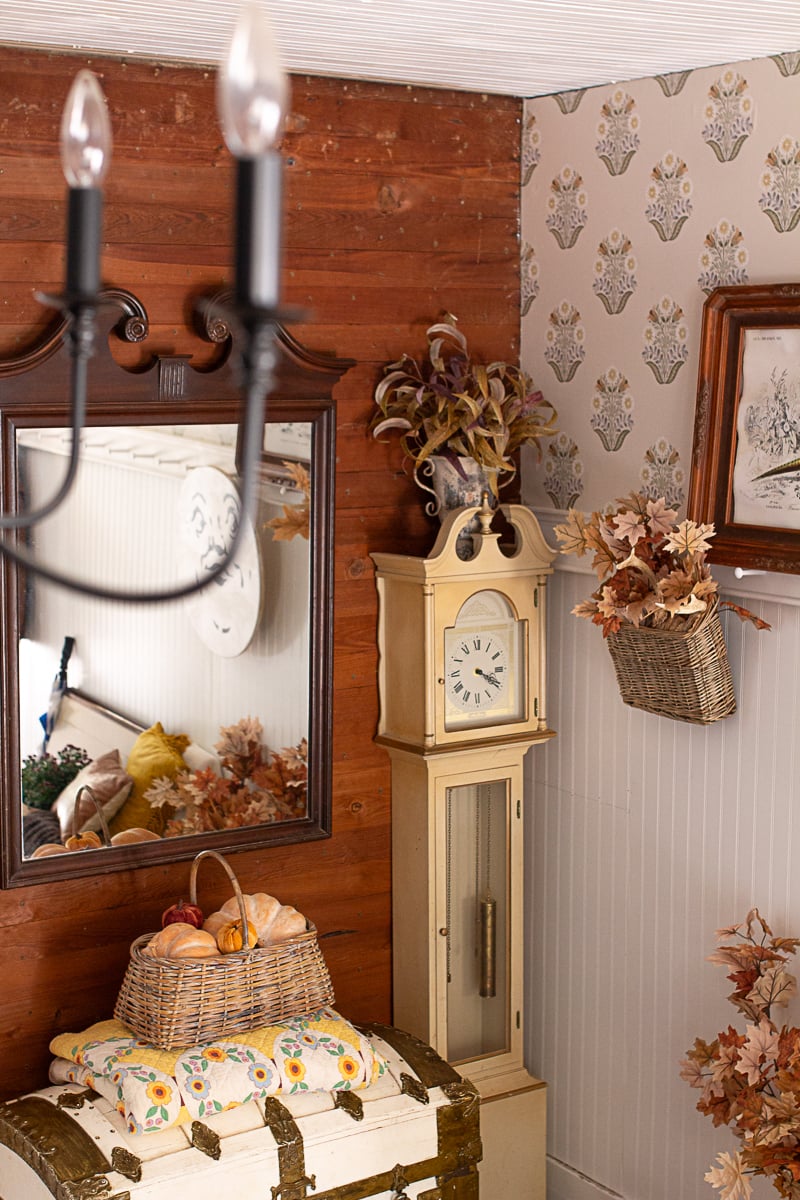
This was our oops wall where we put the tongue and groove boards too close together. I've painted in all the cracks besides the top right hand corner so you can see for comparison.

Please excuse our table legs in the above photo. We're in the middle of building a new dinning room table! Exciting stuff!
It wasn't ideal to have to paint the gaps in-between our true, shiplap boards, but live and learn. I think with the TV and decor in front, it's going to warm up the space nicely and look perfect!
Truthfully, you can't paint a shiplap wall wrong, so don't get super into details about it! Shiplap comes in all styles and colors, from super distressed farmhouse, to modern minimalist. Any way you do yours, it's going to be perfect. Because it's original, just like you!
Make sure you're following along on Instagram as I share all our DIY, crafting, dessert making, homeschooling daily life in real time. It's always interesting, so make sure to hang out with me over there!
Happy Shiplapping friends!


