Paint Santa | A larger Than Life Paint By Numbers Santa Cutout
I'm coming at you with what could be my favorite craft project this year. And friends, that's saying something, because I've been a busy crafting queen lately. But this project tops them all: to Paint Santa. And not just any paint by numbers Santa. We're talking 7' tall!

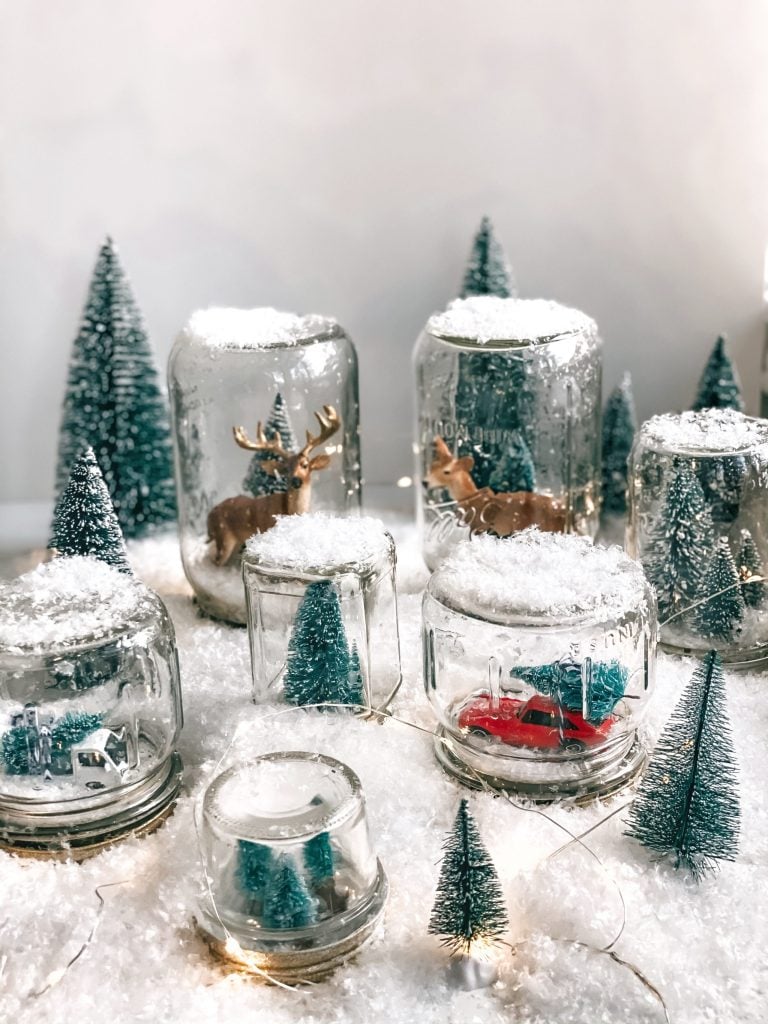
When I saw this paint Santa idea go viral on Instagram, I knew I had to get in on it. He's just gorgeous! So vintage and farmhouse looking. It was love at first sight. I didn't know if I could top the dry snow globes we've made this year, or the snow garland that was the kids favorite, or the gingerbread village tablescape, but this . . . this gives them a run for their money!

How to get Santa
First, you've got to grab you Santa paint by numbers PDF off Etsy. He's only $10, and get's directly emailed to you. I used draft mode to print him out. Not only does this save on ink, but you also don't want the black lines and numbers too dark, because that will require more paint layers to cover. It took less than five minutes to print out and didn't drain my printer at all.
A small note of business before we continue: If you're not yet, make sure to follow me over on Instagram. I share all my fun crafting projects and home decor in real time. We have a blast in stories!
Everything you'll need:
- Paint by numbers Santa
- MDF board
- Mod Podge
- Jig Saw
- Craft Paint (information on the 6 paint colors and amounts included in Santa PDF)
Gluing Santa to the MDF Board
Using MDF board is recommended because it's more water resistant than regular paneling boards, and it cuts easily so you don't get a ton of flaking and breakage.
Lay the board on a flat surface, and using the map included with Santa, construct him on the board. Don't glue at this point. You want to make sure you have him on there correctly before going back over each paper and applying Mod Podge to the board, and smoothing the paper back over the top of the board.
Don't go too heavy on the glue. Travis said where I left larger, thick sections of glue it was harder to cut though, and there was more damage done to the board. Thin even coats of glue is the way to go. Don't apply glue over the top of the paper. It's not necessary.
Paint Santa
I let Santa dry for a few hours before beginning the painting process. The whole thing took me about 5 days to complete. I'd paint a section, let it dry and go about my daily tasks, then come back and paint another section. Below I compiled a short video of the process.
Once he was all painted Travis took him to the shop and cut him out with a jig saw. It feathers the paper edges just a tad, so I took him back inside after, sanded down the edges a bit, and touched up the paint. In retrospect, we probably could have cut him out first. But both ways work.
If he's going to be outside, you need to seal him well. Use something similar to this wood sealer. A few cans will probably be needed.
That's it! In total he cost me around $36 to make, since I had similar paint colors it recommenced on hand.


May I ask whjat size MDF you used? Meaning, what thickness.
Thank you.
We went with 1/2 inch thick. It's sturdy but not too heavy and easy to move around! 🙂