Halloween Home Decor. How to Make Potion Bottles
Halloween home decor is still new to me. I've been an avid fall decorator forever, but only in the past couple years have dipped my toes into halloween. To be honest, I'd be good with simply decorating for fall. But, as my kids grow older they've asked me to incorporate some "scary" decor into the mix, and Im not hating it.
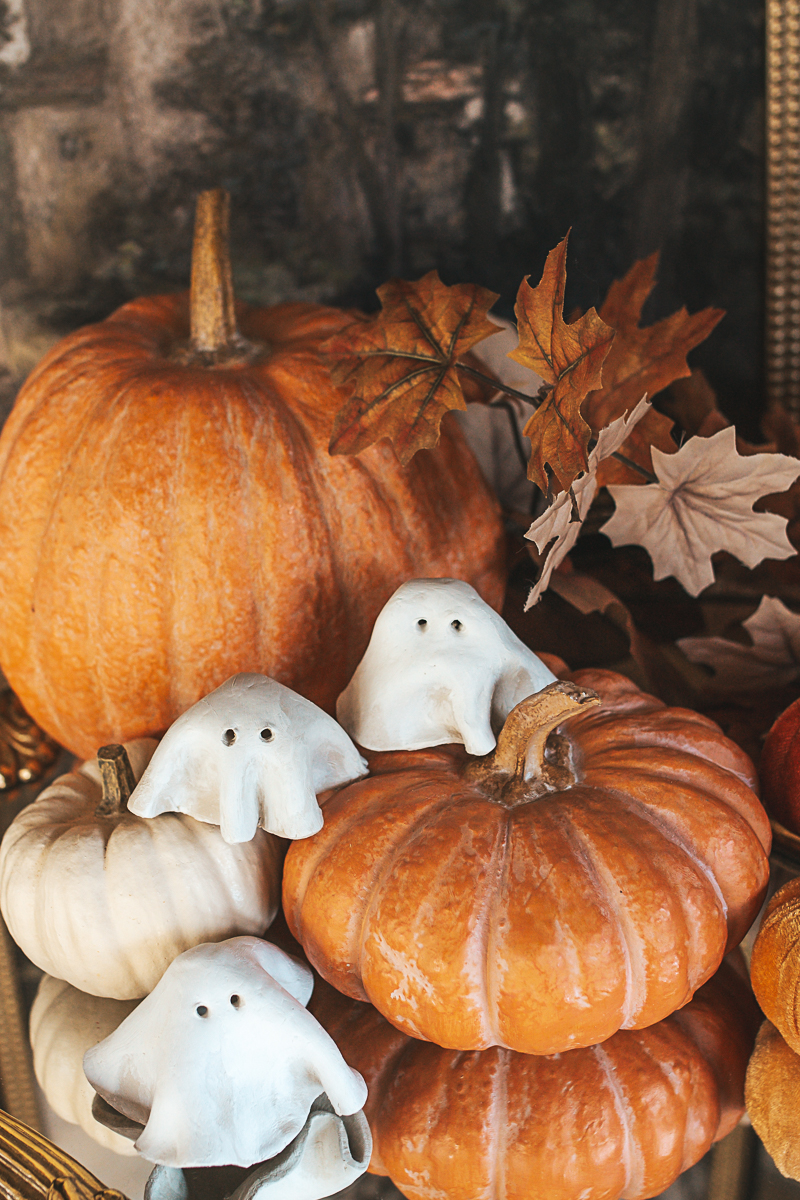
We're not talking super scary, my kids are young after all. Plus, I'm not one for horror around the house! But, I can get behind some not-so-scary, kid-friendly Halloween home decor.

Halloween Home Decor on a BUDGET
Halloween is a holiday I don't love to spend a ton of money on. I'd rather invest in fall and Christmas decor. It's what makes my heart happy. For this reason, I decided to get resourceful with the Halloween home decor.

Have a feature wall for your biggest halloween display
Our formal living room was the perfect place to do the main Halloween decorating. You can see it right as you enter our home, and it's visible from many areas of the main floor as well as upstairs.
I wanted to make a witches station on the top of our old record player. I'd also have bats flying out of an old box going up the wall.

Choosing glassware for the potion bottles
I knew I wanted several potion bottles for the witch station, and after a little research, figured out just how to distress them.
You can get glass bottles almost anywhere. Maybe even your own home! Grab some in different sizes and shapes for this project. After hitting a few thrift stores with little luck, I went to Hobby Lobby where they had all their glassware 50% off, making each of these little bottles $2 to $3.

This post contains some affiliate links for your convenience, which means if you make a purchase after clicking a link I will earn a small commission, but it won't cost you a penny more. Click here to read my full disclosure policy.
Once home I grabbed all the supplies needed to distress the bottles.
Distressing Witch potion boggles supplies:
- Glass bottles (these from amazon are a great price!)
- Medium grit sand paper
- Black and brown craft paint
- Potion labels (see free printable below!)
- Mod Podge
Sand bottles
Taking the medium grit sandpaper, sand all surfaces of bottles, making sure to hit where there would be real contact points a little more than other areas to create a more natural wear look.


Distress with paint
Once bottles are sanded and you've removed most of that new glass sheen, take a paintbrush and apply a thin layer of paint over the bottle. Then, taking a rag or paper towel, gently whip off and dab at paint, removing most and giving it more of a dirty old look.

Do this to all jars, and let dry.
Applying labels
While the paint is drying, cut out which potion labels from the PDF supplied below. When bottles are dry, (they dry fairly quickly) take one bottle at a time, apply a thin coat of Mod Podge to the glass, and place the label onto it. Press onto glass firmly. Once secured to glass, paint more glue over the top, sealing the label. Let dry and move onto the next bottle.

Finishing distressing
Once labels are dry, you're going to go over the bottle one more time, making it look really dirty (if that's what you're going for) and also distressing the label so it matches the potion bottles.
Here is an example of a label before distressing.

And after.

Don't be afraid to get them dirty! Take your thumb over the paintbrush and flick paint from the brush onto the glassware. Dab it again with the paper towel to smudge it a bit. I even used my fingers in paint and wiped back and forth, making dirty handprints on the glass. Get creative! This is a fun process!
All in all, it took me less than an hour to distress these bottles. Feel free to experiment and make your own labels. You can also print them on yellow or tan paper to help with the distressed look.
All in all, these are a perfect addition to your Halloween home decor!
Halloween home decor potion label printable

You may also enjoy: