How to make a Chalkboard Wall
Anytime I see a chalkboard wall in a home I think, "Those people are so fun!" Well, I've now joined the fun club friends. And believe me, it's so easy you should be a part of it too! 😉

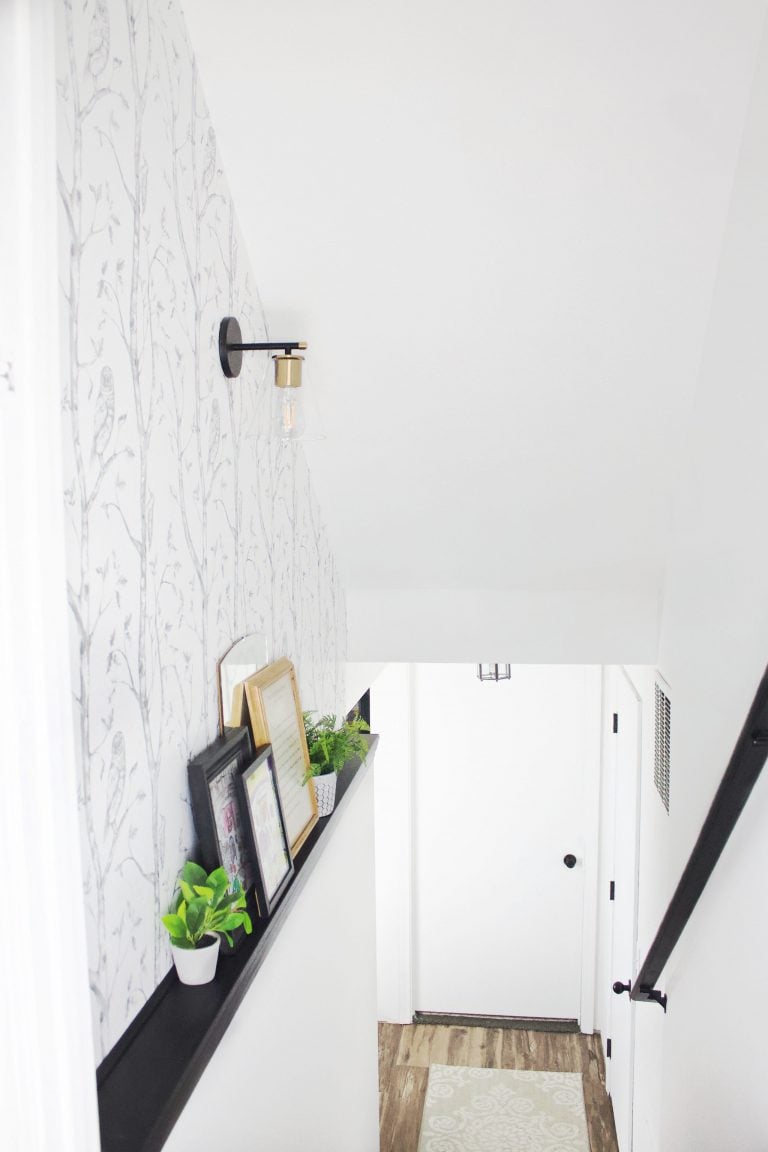
I'm such a sucker for wainscoting, and decided that instead of doing faux wainscoting like we did in the hallway and the stencil in the bathroom, we'd do a chalkboard wall version!
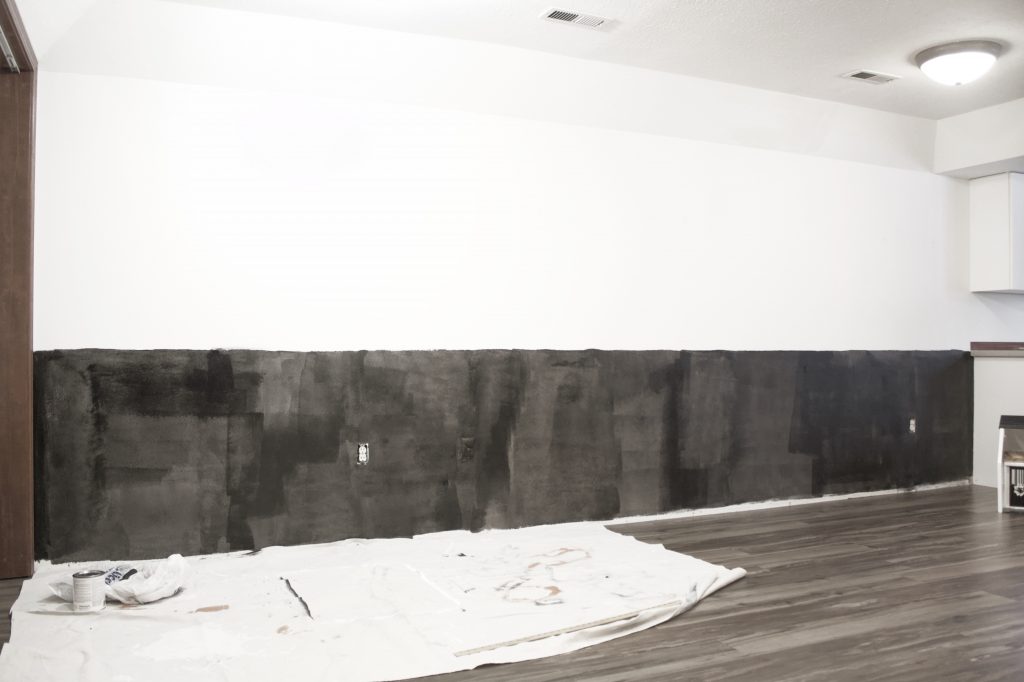
This was our downstairs before the chalkboard wall and new paint. My sister had used this space for her room for the past year, and now it was time to change it into the kids playroom!
Jump to:

Is chalkboard paint a good idea?
Yes! The chalkboard wallpaper you can purchase and other options available just don't hold up as well, and the chalk doesn't write on them as well. Chalk paint is inexpensive, and easy to apply. It will hold up longer and look better and you won't have pesky chalkboard "wallpaper" lines throughout your masterpiece.
How much does a chalkboard wall cost?
Not much friends, not much at all! Truly it's just the chalk paint, plenty of chalk, and if you want to do wood trim around it like us, that's optional.
The Chalk Wall Must Haves:
- Chalk paint ($10)
- Box of Chalk to season wall with ($12 for a large pack)
- Boarder or trim of some kind

This post contains affiliate links. For more information, see my disclosures here.
How do you make a chalkboard wall?
You're gong to want to use a surface that doesn't have a lot of texture. Our wall downstairs was more of a light orange peal texture, which worked fine for this project! Look at the wall and picture yourself writing over it and if it looks too bumpy to write out a word or letter, find a different wall.
Once you have a wall or section of a wall decided on, apply painters tap around the edges making a clear outline for your board. Shake paint well before use.
I wanted to make sure my chalkboard wall was heavy duty. For this reason I did three coats of chalk paint. I did a 14 foot wall half way up with paint and still didn't use over one can.
How to paint a chalkboard wall

Painting a chalk wall is easy. You're going to apply it similar to regular paint, making sure your surface is clean (I use a cup of vinegar in a bucket of warm water) and that you've marked out your area. We used a chalk line to mark how far up the wall we wanted the chalkboard to go.

You want to make sure you're using a good quality synthetic brush for the corners and sides, and a ¼" to ⅜" nap roller or foam roller designed to give a smooth finish. Avoid excessive brushing or rolling. Use light, even strokes to ensure a smooth finish.

Dry and Recoat Times:
Though the chalk paint says it dries to the touch within 30 minutes, you should wait for a minimum of four hours before applying a second coat. After applying the second coat I actually allowed to dry overnight and then added on the third and final coat. Allow wall to set for three days before conditioning and using!
How to condition a chalkboard wall
Once three days are past, your chalkboard wall is ready to be conditioned, or primed as some people say. Conditioning a chalkboard wall is how you actually get the wall to look like a chalkboard, and not just a black wall. Priming the chalkboard is what gives it that old school chalkboard feel. It's also a protector of sorts. Don't skip this step, as the wall won't look like a true chalkboard without it! If you start writing on a chalk wall before conditioning, you may always be able to see the lines and what you drew, and not be able to remove it from the wall.
Conditioning is very easy, and just takes some elbow grease.
How to condition a chalkboard wall:
Wait for the chalk paint to cure for 3 days before conditioning
- Take a piece of chalk and rub it on it's side over the entire surface, first doing up and down, and then side to side. This will leave a coat of chalk dust that will provide the best erasability.

I went through over a box of chalk doing this, and it took a bit of time. Be prepared for some nails agains the chalkboard! Ugh, worst sound ever. This step is not for the faint of heart, I did not enjoy it!


Once you've coated the whole wall wipe clean with dry cloth.

Be prepared for a chalk graveyard below your conditioned wall. It makes a bit of a mess.
Your chalkboard is now ready to use!!!
Should I wipe down my chalk wall with a wet rag?
Unless you've got a really stubborn chalk mark, using a wet rag isn't really needed. If and when you do decide to give it a good cleaning with a wet rag, make sure to follow it up with another conditioning treatment. Remember, the chalk dust is what makes for a good erasable surface.
Trimming out the chalkboard and finishing off the top of the wall

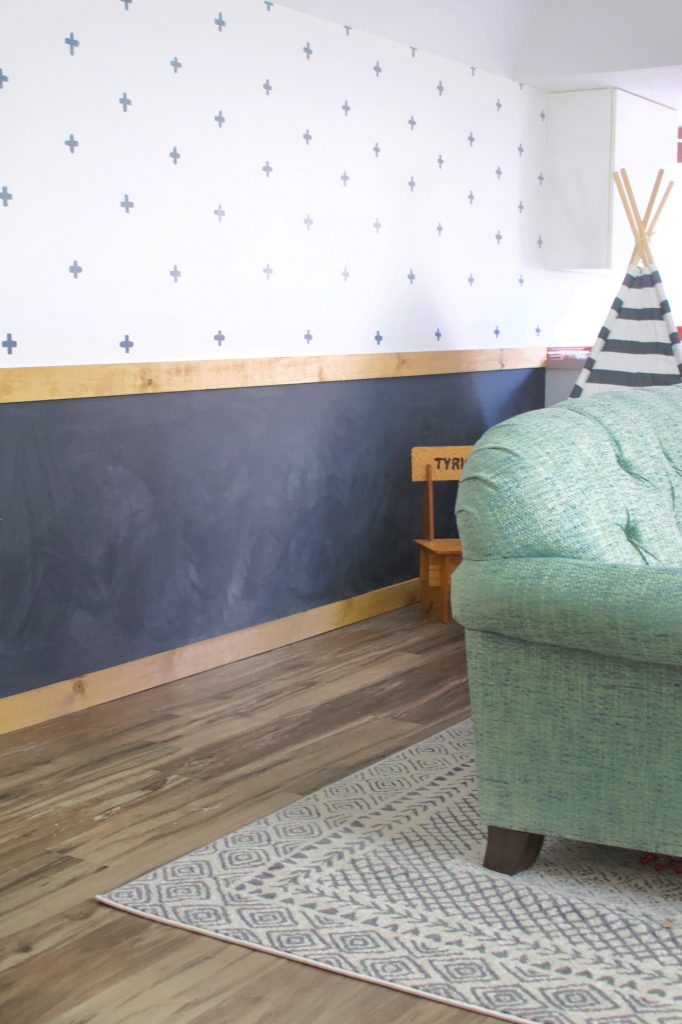
Since this is a playroom, I wanted to keep this feature wall light and fun! I decided to go with hand painted +'s staggered across the top portion of the wall.
Paint used for wall:
White base is Behr Ultra in Weathered White
+'s are Behr Ultra in Sea Serpent. For the +'s all I needed was a sample size can of paint. I did them freehanded, standing back between to gage where the next one should go.

How to trim or frame a chalkboard wall
Why you don't have to frame your chalkboard wall, it does give off a finished, complete look. More custom and intentional. It also blends better into your other decor.

We went with a stain for the trim with a sealant to prevent chalk marks being permanently made into the wood.

This was such a fun, budget friendly project that absolutely transformed the downstair extra room into an epic playroom ready for lot of memories to be made and fun to be had! We'll be installing more storage into the room in the months to come, adding a reading nook, and a few other fun additions so stay tune and make sure to check back often!

How to Make A Chalkboard Wall
Equipment
- Painter's Tape: To outline the area for your chalkboard.
- Synthetic Brush: For painting corners and edges.
- Foam Roller (¼" to ⅜" nap): To apply the chalk paint smoothly on the wall.
- Bucket & Rag: To clean the wall before painting (mix 1 cup vinegar with warm water).
- Chalk Line: To mark a straight line if you're painting part of the wall.
- Drop Cloth: To protect the floor from paint drips.
- Measuring Tape: To measure the wall and ensure even borders.
- Chalk: To condition the wall once the paint cures.
- Dry Cloth: For wiping down the wall after conditioning.
- Sanding Sponge (optional): To lightly smooth any rough spots on textured walls before painting.
- Stir Stick: To mix the paint thoroughly before use.
- Trim Tools (optional): For cutting and installing wood trim if you want a framed look (miter saw, nails, hammer, or nail gun).
Ingredients
- Chalk Paint
- Box of Chalk for seasoning
- Optional: Wood Trim for framing
Instructions
- Choose Your Wall: Pick a smooth or lightly textured wall. If your wall is too bumpy, writing won't be smooth.
Tape the Area: Use painter's tape to outline your chalkboard area.
Paint: Apply 2-3 coats of chalk paint. Use light, even strokes with a foam roller or synthetic brush. Wait 4 hours between coats, and let the final coat cure for 3 days.
Condition the Wall: Rub chalk on its side all over the wall to prime it. This step is key for an erasable surface!
Trim It Out (Optional): Add wood trim for a custom, finished look.
Decorate: Paint playful details above the chalkboard like hand-painted + signs for extra character.
Notes
Regular Cleaning: Dry Erase: After each use, wipe the chalkboard with a dry cloth or felt eraser to remove excess chalk.
Deeper Clean: Every few weeks, use a damp cloth to clean off stubborn chalk dust. Avoid using too much water, as it could damage the paint. Let the wall dry completely before writing again.
Re-Conditioning the Wall: After cleaning with a damp cloth, or if the wall starts losing its erasability, re-condition the wall by rubbing the side of a piece of chalk all over the surface, just like when you first primed it. This step restores the smooth, erasable surface.
Touch-ups: Paint touch-ups might be necessary over time, especially in high-use areas where chalk may wear the surface. Keep extra chalk paint on hand for small touch-up jobs.
Trim Maintenance (If Installed): If you’ve added a wood frame, clean it occasionally and apply a protective sealant if needed to prevent permanent chalk marks.
By following these simple maintenance steps, your chalkboard wall will stay fresh and ready for fun for years to come!

Shop other room decor
If you're looking for more neat ways to add dimension to a wall, whip together these book shelves for a little book nook! So simple and looks amazing!