How to Build the Best Raised Garden Beds for Any Size Garden
Raised garden beds are one of the most practical ways to grow vegetables at home. They improve drainage, warm up faster in spring, protect soil structure, and make gardening easier to maintain long term. Large or small, raised garden beds give you control over soil quality, bed size, and layout, which matters just as much as what you plant in them. These wooden raised garden beds were built to last, sized to fit our space, and designed for growing real food we rely on year after year.
Since building these original beds, we've moved and created entirely new garden spaces, learning even more about what works well over time. Along the way, I've shared how to design an English cottage garden, plan a smaller kitchen garden that actually gets used, and how to grow your own spice rack so the garden supports everyday cooking, not just seasonal harvests.

Quick Look: DIY Raised Garden Beds
Build Time: One weekend
Estimated Cost Today: Moderate (varies by lumber prices and bed size)
Skill Level: Beginner to intermediate
Tools Needed: Miter saw, drill or impact driver
Bed Height: Two stacked 2x8 boards
Best For: Vegetable gardens, kitchen gardens, sloped yards
Pro Tip: Thick boards and lag bolts matter more than wood type for long term durability
SUMMARIZE & SAVE THIS CONTENT ON
Jump to:
- Quick Look: DIY Raised Garden Beds
- Why We Built Our Own Raised Garden Beds
- Why We Didn't Use Cedar Raised Beds
- Our Garden Space and Sloped Yard Layout
- Our Garden Space and Sloped Yard Layout
- Materials Needed to Build Raised Garden Beds
- Step by Step: Building the Raised Garden Beds
- Custom Sizes and Layout Options
- How Many Beds We Built
- What to Fill Raised Garden Beds With
- Why You Shouldn't Use Railroad Ties
- Making Raised Beds Look Like They've Always Been There
- Updates and Add Ons Over the Years
- Closing Thoughts from the Homestead
- You May Also Enjoy:
- Raised Garden Bed Tutorial
Why We Built Our Own Raised Garden Beds
Before building anything, we looked at pre made raised garden beds from box stores. None of them met our standards. The wood was thin, the boards were too shallow, and we knew they would warp or pull apart after a few seasons.
I also considered galvanized steel beds. My father in law had built a few, and they were incredibly solid. After seeing them in use, I realized they were more bed than I needed. They were deeper, heavier, and required far more material to fill. I wanted beds that were easy to reach, comfortable to kneel beside, and realistic to maintain year after year.
In the end, building our own raised garden beds was the only way to get long lasting beds in the exact sizes our space required.

Why We Didn't Use Cedar Raised Beds
Cedar is a popular choice for raised garden beds because it naturally resists rot. The downside is cost. Thick cedar boards add up quickly, especially when building multiple beds.
Most cedar garden kits use thin boards that begin to warp after a few summers and winters. Screws loosen, boards pull away, and repairs become constant.
If you can afford thick cedar boards, they're a great option. For us, using ground contact hem fir pressure treated lumber made more sense. The boards are thick, durable, and built to last when in contact with soil. The most important takeaway is thickness. Thick boards matter more than the wood species.

Our Garden Space and Sloped Yard Layout
Our garden sits in the back corner of the yard where the land slopes toward the center. The space forms a loose triangle and backs up to the chicken coop and shed. Because the ground isn't level, every bed needed to be slightly different in size.
We dug the back sides of the beds into the slope so they sat partially in the soil, while the front edges rested on the ground. This allowed the beds to sit level without excessive grading. One of the biggest advantages of building raised garden beds yourself is being able to design them around your land instead of forcing the land to fit the beds.
Our Garden Space and Sloped Yard Layout

Our garden sits in the back corner of the yard where the land slopes toward the center. The space forms a loose triangle and backs up to the chicken coop and shed. Because the ground isn't level, every bed needed to be slightly different in size.
We dug the back sides of the beds into the slope so they sat partially in the soil, while the front edges rested on the ground. This allowed the beds to sit level without excessive grading. One of the biggest advantages of building raised garden beds yourself is being able to design them around your land instead of forcing the land to fit the beds.
This post contains affiliate links. For more information, see my disclosures here.
Materials Needed to Build Raised Garden Beds

You'll need the following materials for one bed. Adjust quantities based on how many beds you plan to build.
- 4 2x8x12 Treated Ground Contact Hem Fir Pressure Treated Lumbar
- 2 2x8x8's Treated Ground Contact Hem Fir Pressure Treated Lumbar
- 1 4x4x8 Treated Ground Contact Hem Fir Fence Post
- 36 2.5" Lag Bolts
- 36 Washers
- DeWALT Drill/Driver Combo Kit
- Ryobi Miter Saw
Step by Step: Building the Raised Garden Beds
Start by cutting the two 2x8x8 boards into four sections that are 3.5 feet long. These will form the short sides of the bed.
Next, cut the treated fence post into four 20 inch sections for the corners and two 16 inch sections to use as support braces in the center of each long side.
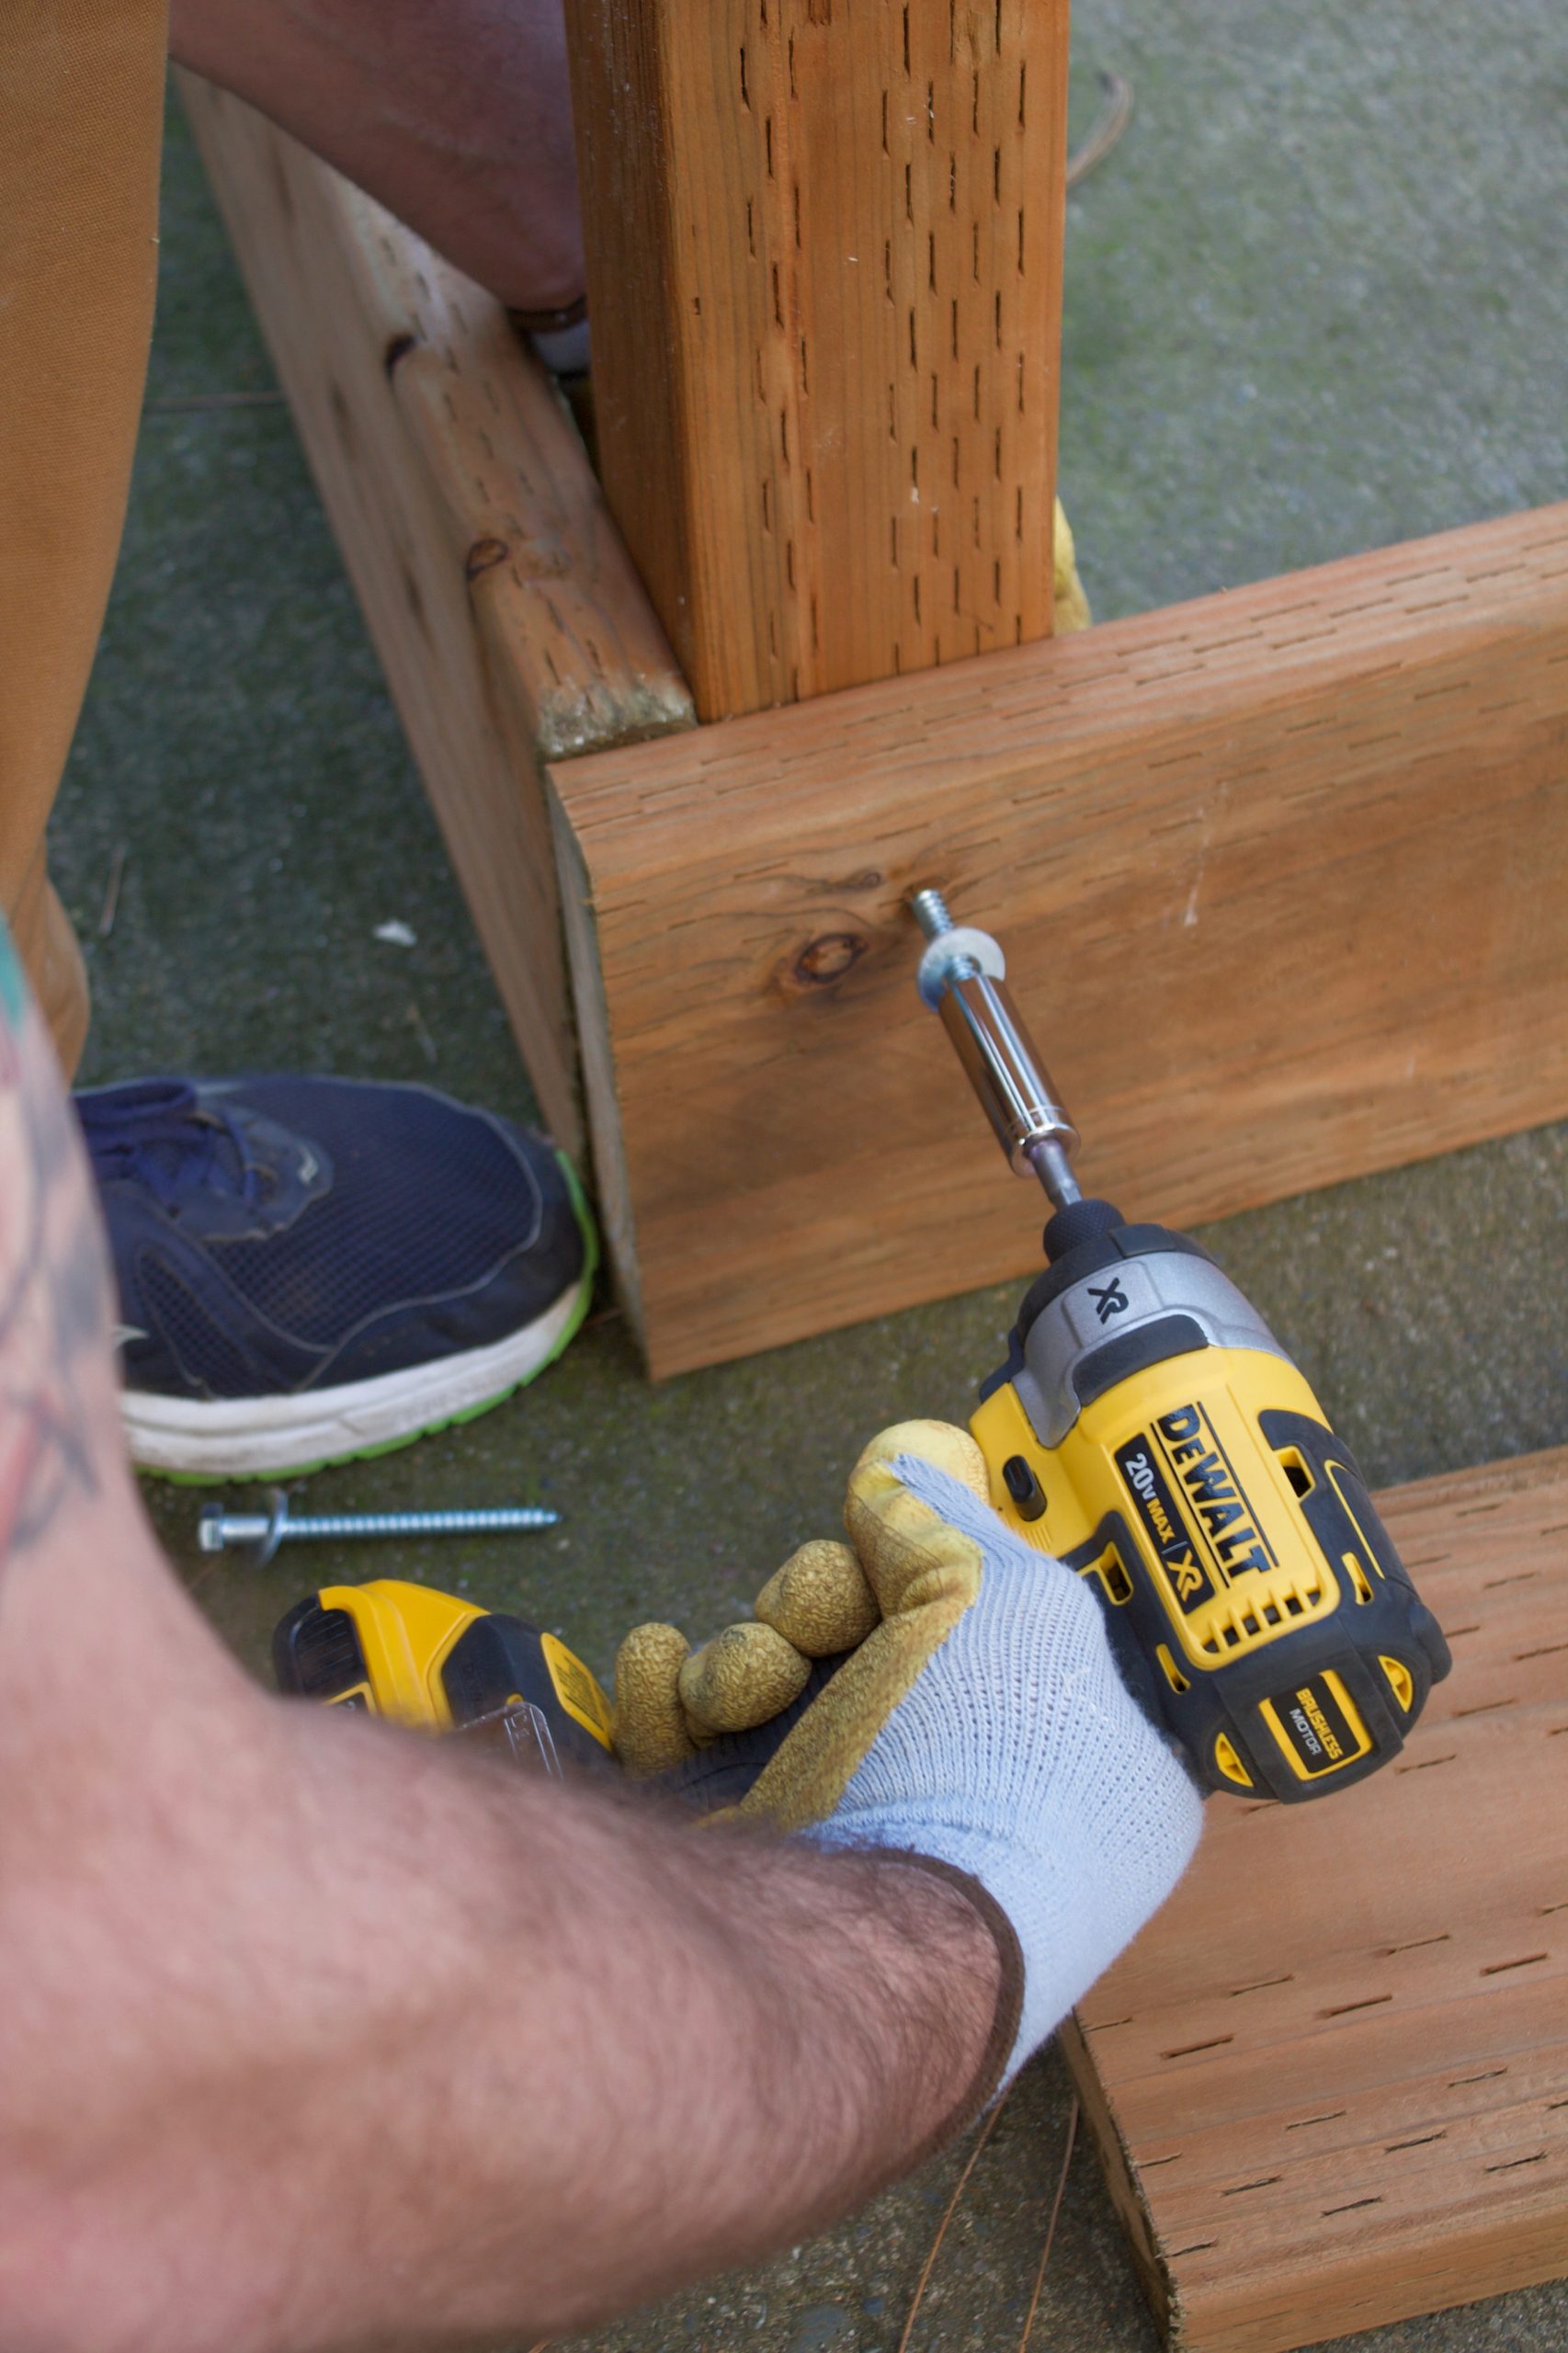
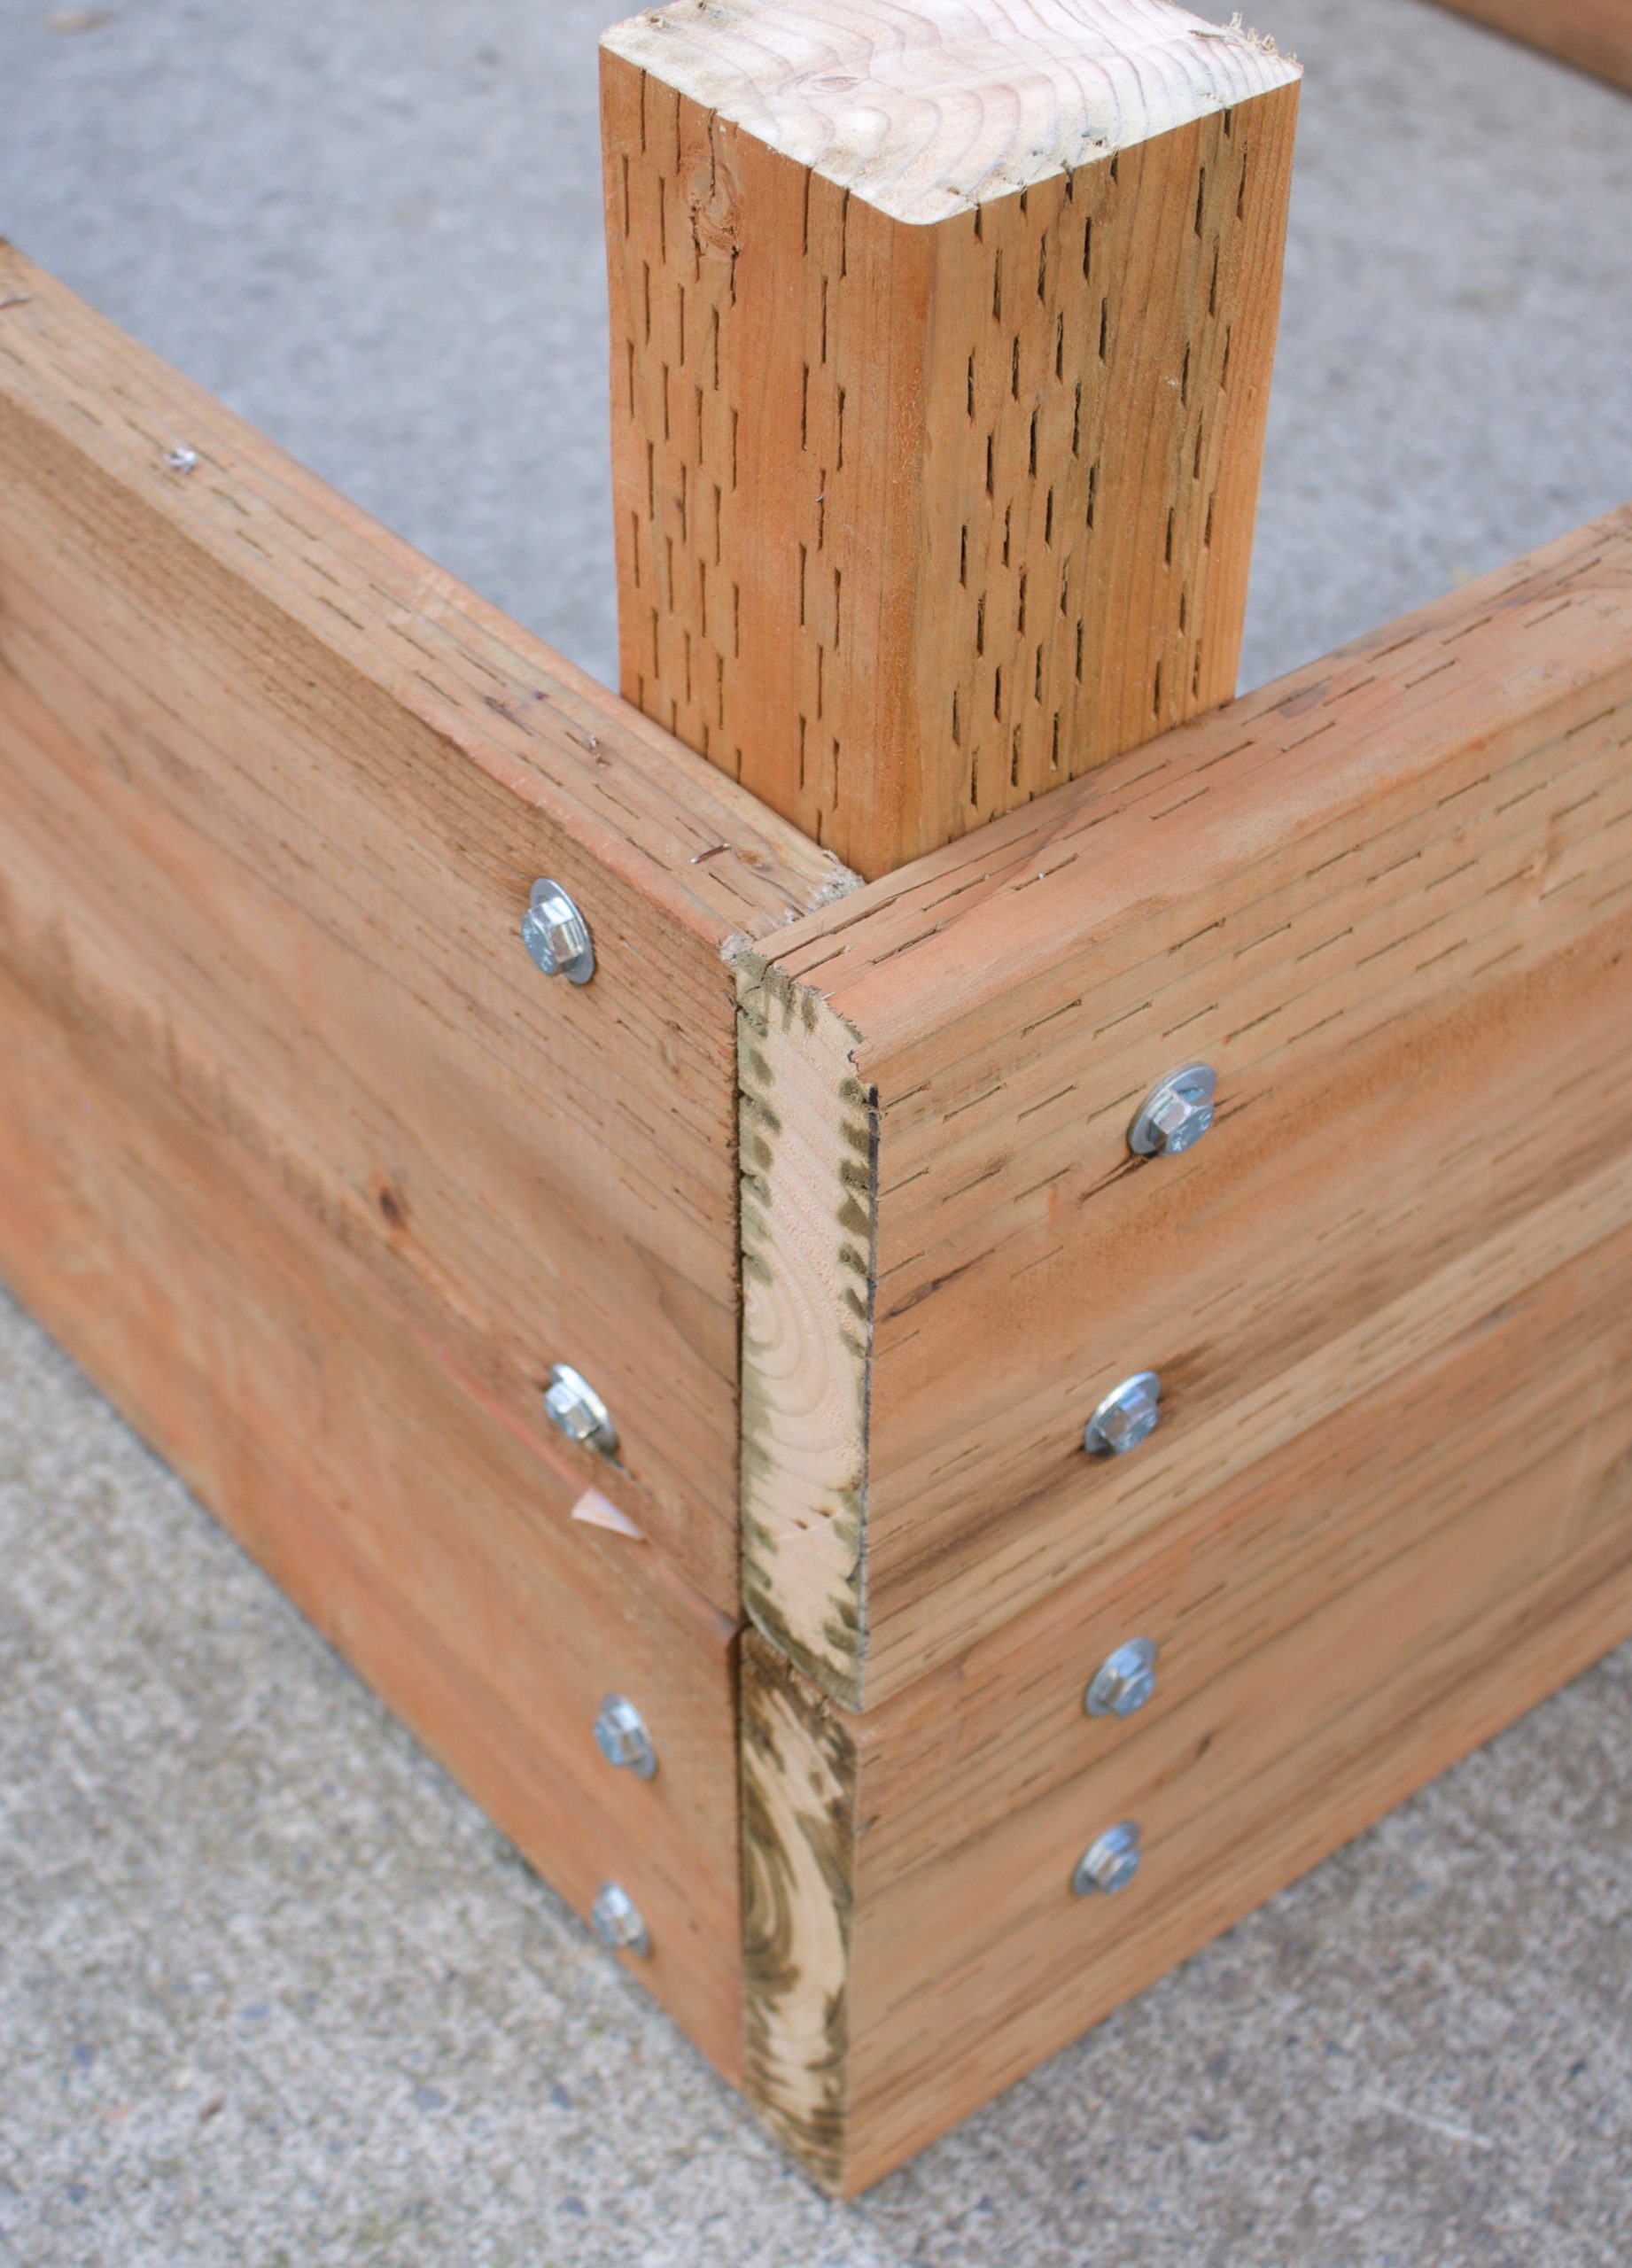
Use the 20 inch posts as your corner bases. Line a long 2x8x12 board flush against the post and secure it with lag bolts. Repeat this with the 3.5 foot boards on the other side. As you attach boards, stagger the lag bolts so they don't collide inside the post.
Once the bottom boards are attached, connect the two 16 inch posts inside the bed, centered on the long sides. These braces prevent bowing once the bed is filled with soil.
The corner posts will extend about four inches above the top of the bed. These are designed to be placed into the ground. The bed is built upside down and flipped into place during installation.
Be sure to reference the photos and video in this post for visual guidance.
Custom Sizes and Layout Options
Think of these materials as a build your own garden bed kit. Using the same method, you can make long beds, short beds, narrow beds, or anything in between. This flexibility is one of the biggest advantages of building raised garden beds yourself.
How Many Beds We Built
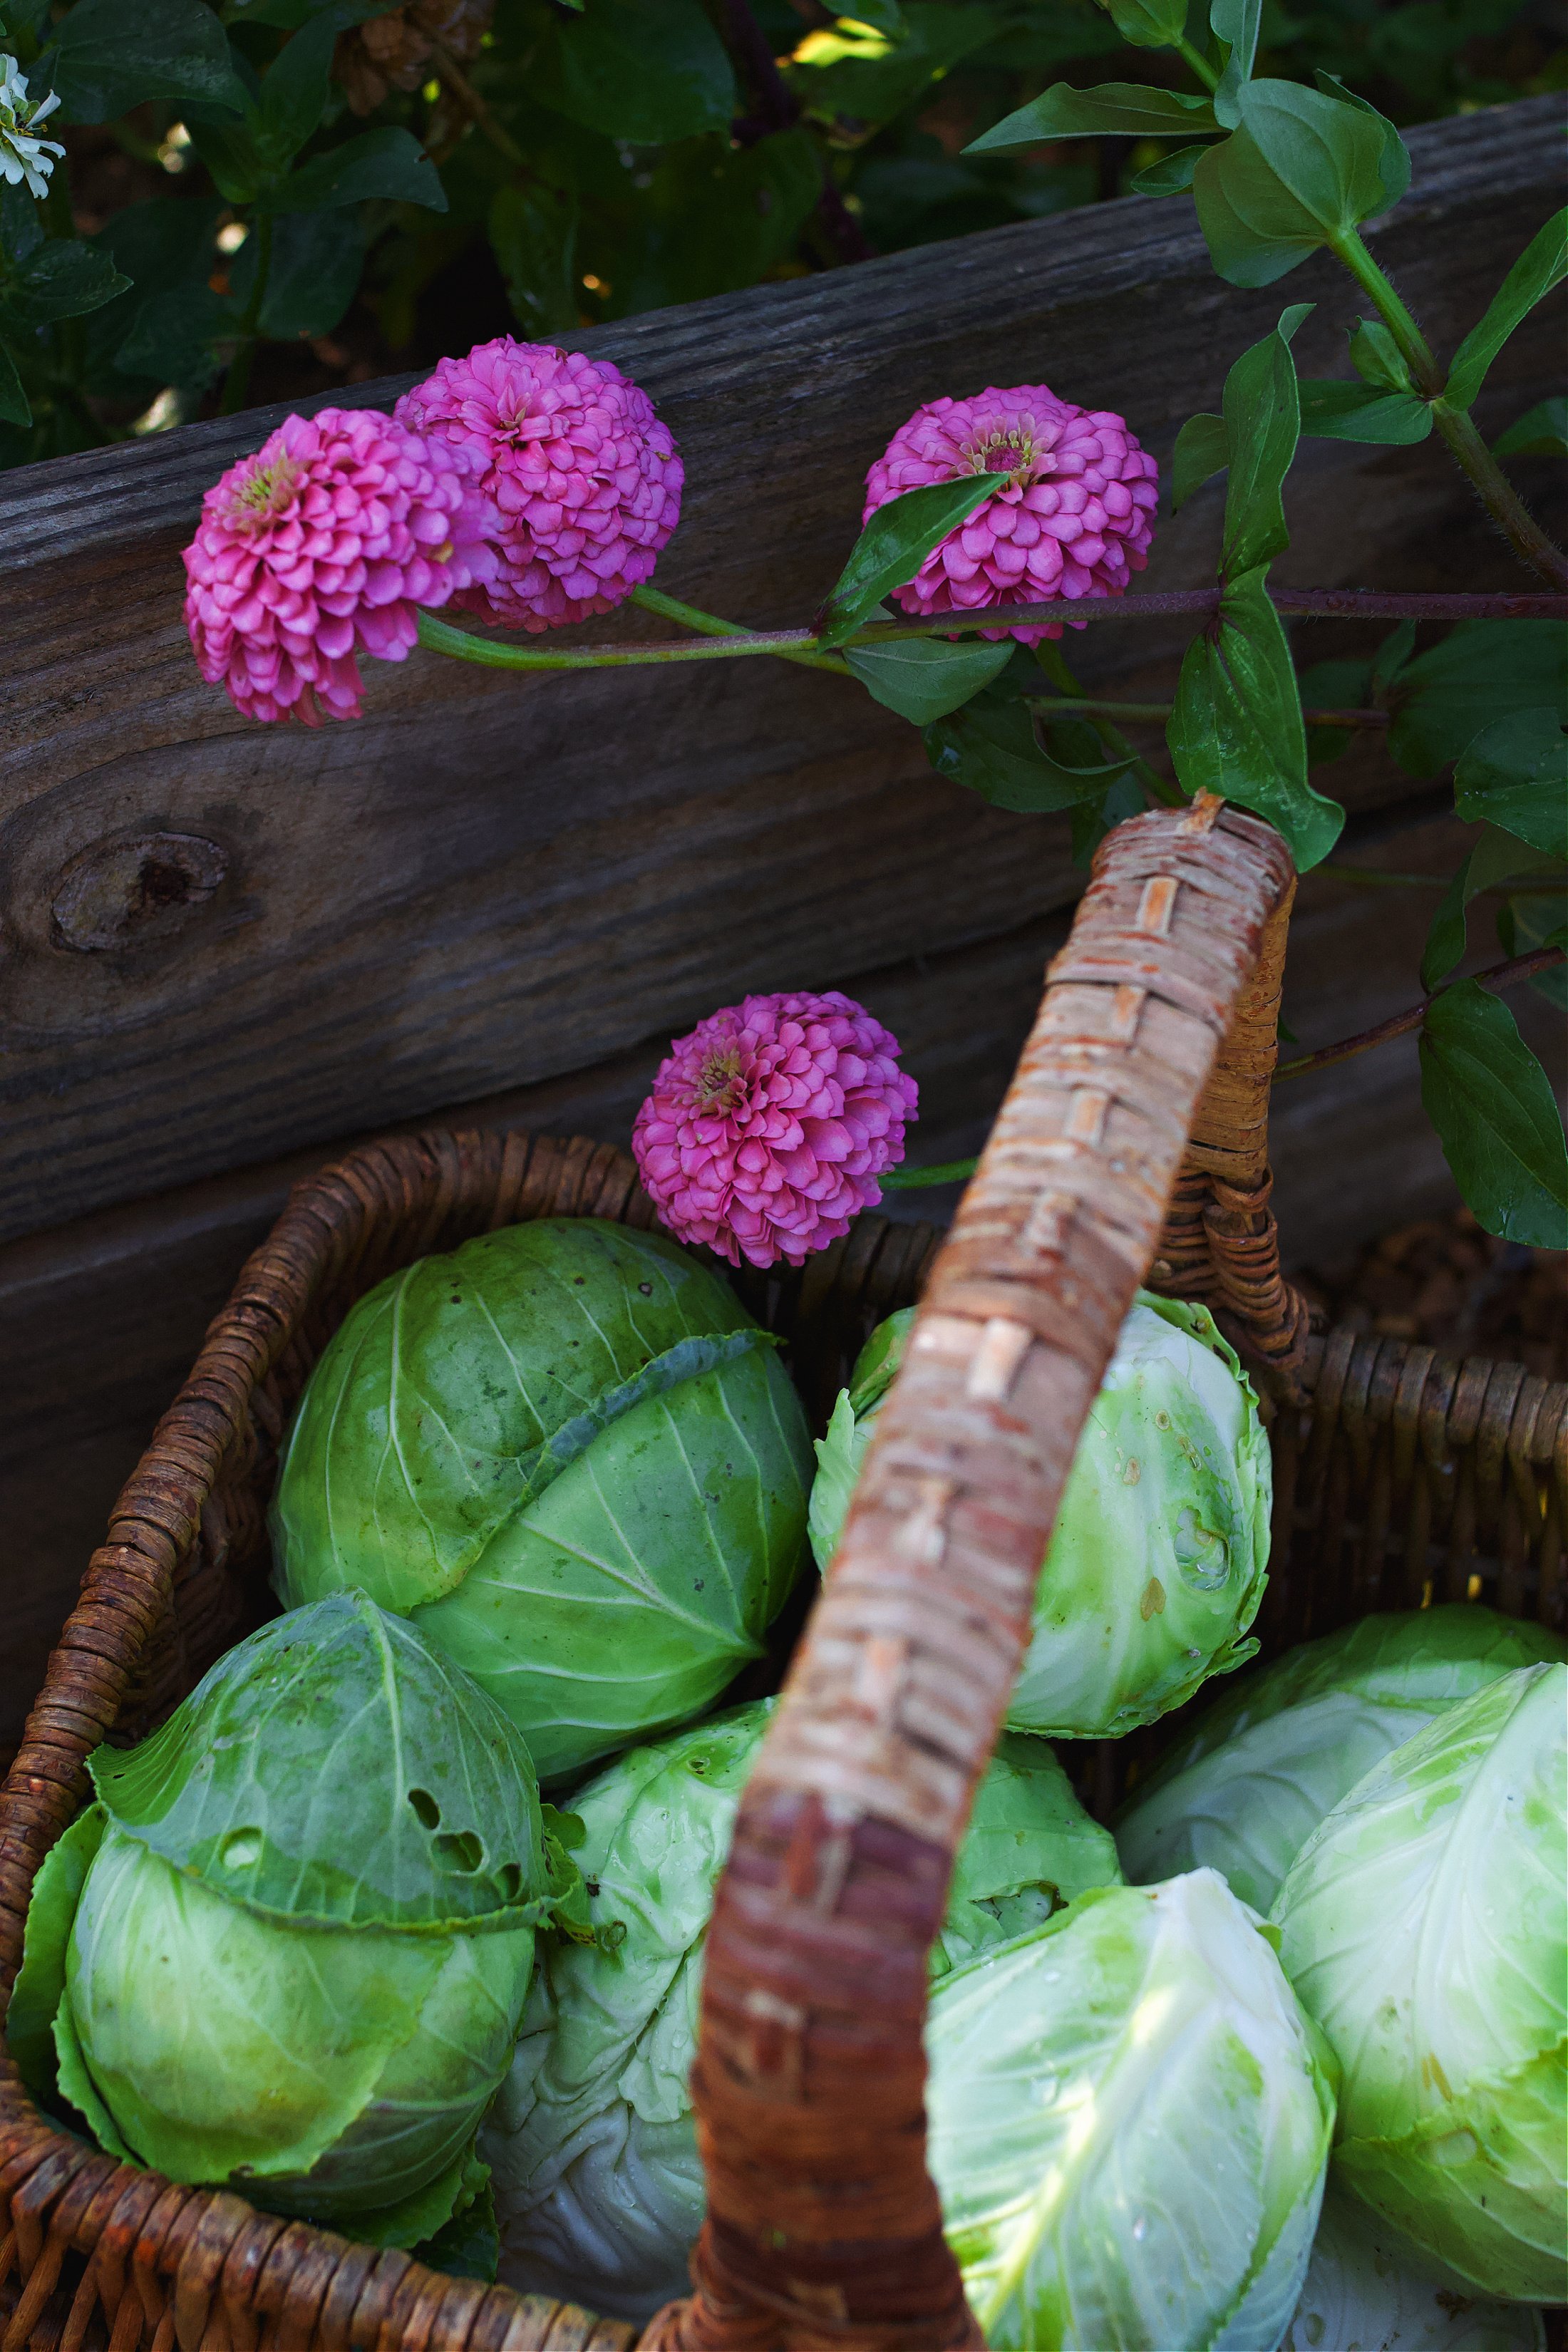
We built four raised garden beds total. Some are longer, others are shorter, but all are rectangular. The different sizes allowed us to work with the slope and maximize the planting space available.
What to Fill Raised Garden Beds With

Filling raised garden beds properly makes a huge difference in plant health and long term soil quality.
If gophers are a concern, start with wire mesh or hardware cloth at the very bottom of the bed to prevent burrowing pests.
On top of that, add a layer of cardboard. This acts as a weed barrier while still allowing water to drain.
Next, layer in organic material like leaves, sticks, and yard debris. This creates airflow and breaks down over time.
Add compost on top of the organic layer. Compost adds nutrients and improves soil structure as it decomposes.
Finish with a high quality soil mix. This is where it's worth spending a little more. Choose a soft, workable soil that supports seed starting and root development. If you plan to grow root crops, allow extra depth for proper growth.
Each year, refresh the beds with compost to maintain soil fertility.
Why You Shouldn't Use Railroad Ties
Railroad ties were once commonly used for garden beds, but they're no longer recommended for edible gardens.
Most railroad ties are treated with creosote, which contains chemicals that can leach into the soil over time. These chemicals pose risks to both plants and people.
Handling railroad ties can also irritate skin and lungs. For these reasons, railroad ties are best avoided when growing food.
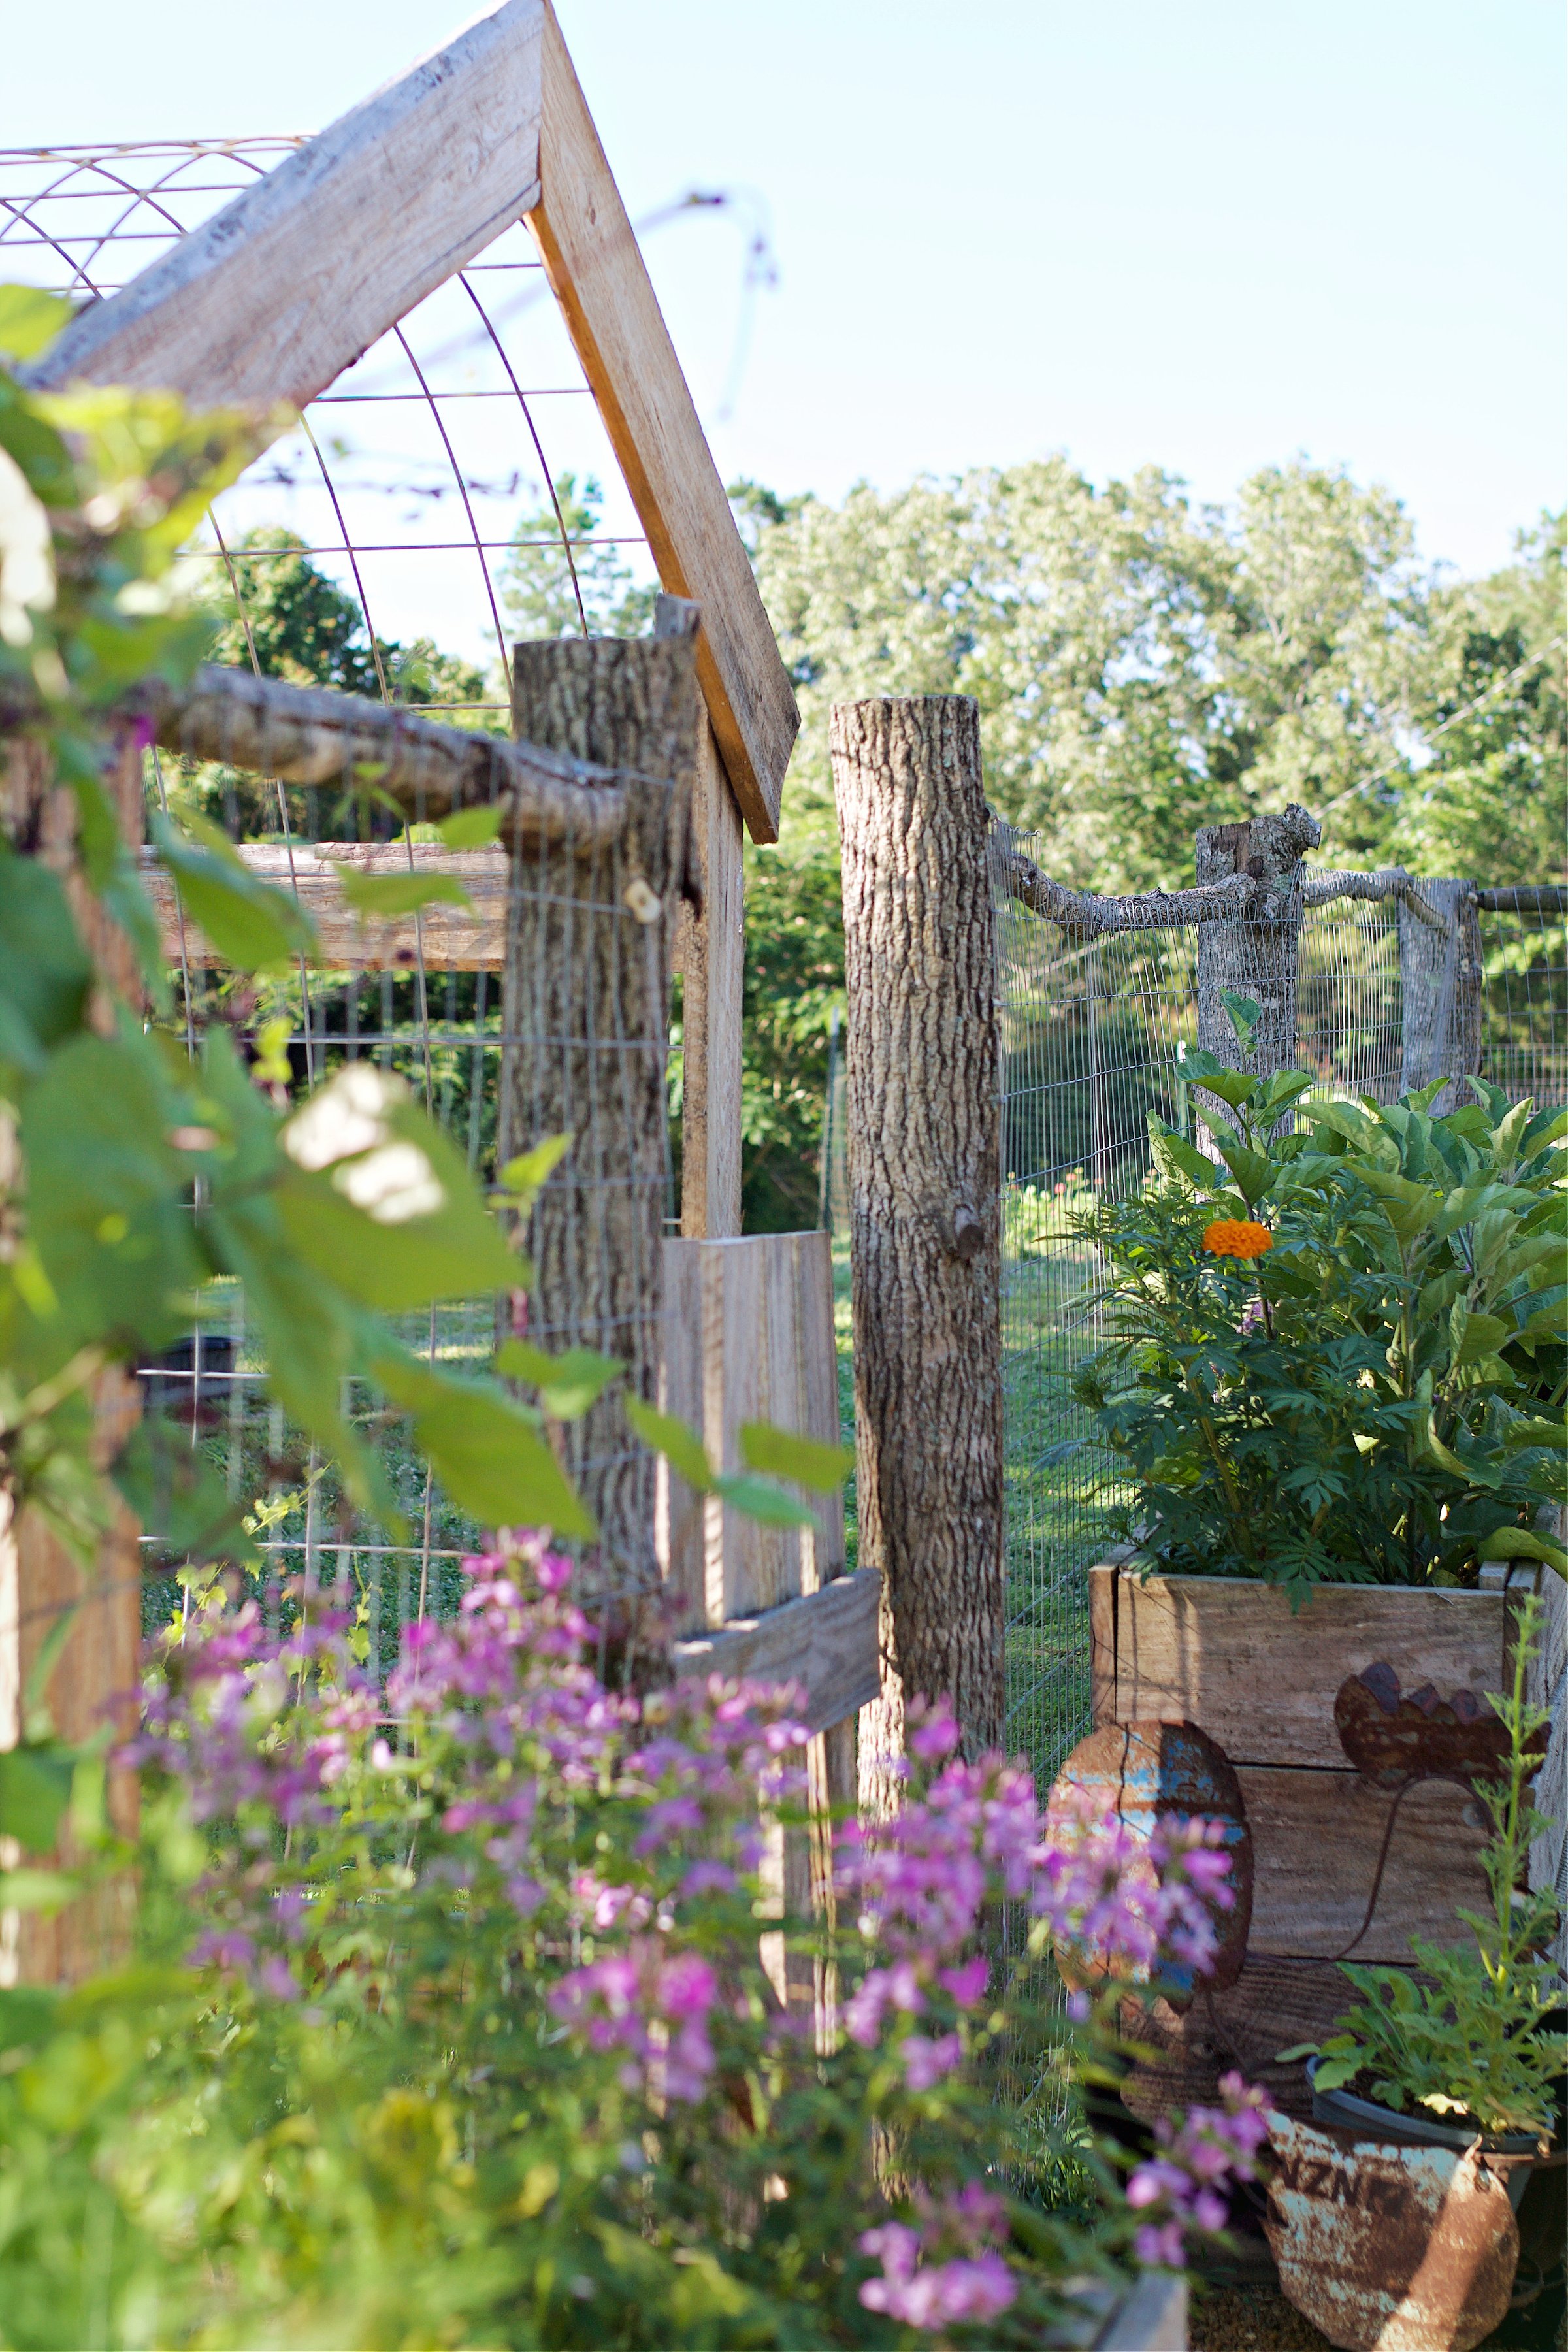
Making Raised Beds Look Like They've Always Been There
I love gardens that feel lived in and personal. To soften the look of the beds, we brought in large rocks from around the property and added small in ground flower beds at the ends of the raised beds.

We mix raised beds and in ground planting intentionally. The raised beds are used for vegetables we grow in larger quantities for canning. The in ground beds are reserved for herbs, flowers, cherry tomatoes, and perennials.

Updates and Add Ons Over the Years
In 2021, we added a cattle panel trellis connecting the back two beds. You can see that project here.
If you're deciding what to plant, these herbs are some of the best to grow, harvest, and preserve so you're stocked with spices all winter long.
You can also follow along on Instagram where I share daily updates from the garden.

Closing Thoughts from the Homestead
These raised garden beds have grown with us over the years. They've held spring greens, summer tomatoes, and fall harvests that filled our pantry shelves. Building them ourselves made the space feel intentional from the start.

Gardens don't have to be perfect to be productive. They just need to work for your life, your land, and your season.
FAQ About Beds
Most vegetables grow well in raised garden beds that are 12 to 18 inches deep. Shallow rooted crops like lettuce and herbs need less depth, while root crops benefit from deeper soil. These beds use two stacked 2x8 boards, which provides enough depth for a wide variety of vegetables.
Raised garden beds do not need a liner on the sides. Wood should be able to breathe, and liners can trap moisture, leading to rot. The only lining that may be helpful is wire mesh on the bottom if burrowing pests are an issue.
Raised garden beds do not need a solid bottom. In most cases, placing the bed directly on the ground allows roots to grow deeper and improves drainage. If rodents are present, chicken wire or hardware cloth placed underneath works well and still allows roots to pass through.
Ground contact pressure treated lumber is widely used in garden projects. I did my own research and felt comfortable using it for our family. As with any building material, it's important to do your own research and decide what you're comfortable using in your garden.
You May Also Enjoy:


Raised Garden Bed Tutorial
Equipment
- Chop Saw
- Impact Hammer
Ingredients
- 4 2 x8x12 Treated Ground Contact Hem Fir Pressure Treated Lumbar
- 2 2 x8x8's Treated Ground Contact Hem Fir Pressure Treated Lumbar
- 1 4 x4x8 Treated Ground Contact Hem Fir Fence Post
- 36 2.5 " Lag Screws with Washers
Instructions
- Cut the two, 2x8x8's treated boards into four, 3.5 feet boards
- Cut the treated fence post into four, 20" sections (the four corners) and two, 16" sections. (two support braces in the middle of each bed)
- Use the 20" fence posts as the base for your corners. Starting with a long 2x8x12 board, line it up flush to the corner of the post and secure to post using lag bolts screwed into place with an impact hammer or socket wrench.
- Do the same thing with the 3.5 foot board on the other corner. Continue for all bottom boards, making sure you stagger the lag bolts so you dont hit one with the other when making the corners.
- Lastly, connect the two, 18" posts into the inside of the bed, directly in the centers of the 2x8x12 boards. See pictures in blog post.
- The posts on the ends of the four corners of the beds stick up 4" above beds. These are meant to be placed into the ground, securing bed into place. Essentially you made the bed upside down, and it will need to be flipped when putting into place.
Video

*Update: We added a cattle panel trellis to connect the back two beds in 2021. Check out that post here!
Happy gardening friends!
update: Come see our NEW gardens on our Tennessee Homestead!


thank you for this. your garden and beds look awesome. unfortunately, I bought two raised beds from Wayfair, and they both collasped after just over a year. they wouldn;t warranty them after 30 days. not sure why. live and learn. out the money but will try to reuse the wood to make something like you built, thanks!!!
Angela (from NJ)
I've been there before too! Glad you found this tutorial. If you make them this way, they'll last for years and years!
Hello! For someone who is wondering about the chemicals used on ground contact Fir, one could always install heavy plastic liner to separate the veggies from the chemicals. Just a thought folks.
Why not cut the ends 4’ instead of 3.5? What did you do with the extra 1’? Thank
How would you suggest adding a bottom ?
We just removed the turf from below where the bed was going, and till the soil a bit. However, we don't have rodents that will dig up through the beds. If you do, chicken wire is a great idea to place at the bottom. The plant roots will be able to grow through, and the critters will stay out!
Love this! Are the middle posts 16" or 18"? If the fence post is 8 ft wouldn't that only leave enough wood for one 16" post with the four 20" posts?
You have to buy an extra post to cut for the middles. They are 16", the width of the boards! I hope that answers your question. 🙂
The materials list says the lag bolts are 2.5 " long, but it doesn't state or I couldn't find the diameter size. Are they 1/4", 5/16", 3/8", or 1/2"? By the photos they look to be 5/16 or 3/8 I'm guessing. Thanks
We used 3/8"!
Love the boxes! Cedar is so expensive, I've been wondering if I can use pressure treated. I was worried about the pressure treated chemicals leaching into my edible plants? Did you do something to prevent that?
I did my own research and came to the conclusion it was safe for our family, but always do research on your own to come to your own conclusion! 🙂
The box looks great. I have one problem.. Living on the west side of the Cascade Mountains we have moles, burrowing animals. Suggestion before setting up your site. Before adding a layer of dirt., lay down small hole chicken wire. Therefore the moles can not burrow up under your beautiful garden. I wish I had known that before hand. Thanks
Ok, thank you for that!
Is the cost of 110 per bed the cost including the soil as well or is that just the Box?
It's just the box itself. Soil prices will depend on where you purchase from and the quality of soil you want. 🙂