Inspiration to Design Your Own English Cottage Garden
The book Secret Garden has always held a special place in my heart. The enchanting concept of an untamed cottage garden containing beautiful flowers concealed behind a weathered wooden door with a hidden key, captivated me completely.

This tale resonated with my spirit and left a mark on my heart. When settling into our 100 year old home nestled within the emerald forests of West Tennessee, I knew the time had come to design my very own traditional cottage garden, drawing inspiration from the cherished pages from the book of my youth and the english countryside. American gardeners are often very utilitarian. While I desire our garden to work hard for us, to me, it's more than just growing food. I want to embody the great British horticulturist and garden designer Gertrude Jekyll who created over 400 of the most beautiful gardens across United Kingdom, Europe and the United States.
As my husband and I took on this exciting new project, we couldn't help but look back and reminisce about our two previous gardens we've tended over the past 13 years. Each one had its charm and character, and taught us many lessons, growing our knowledge and experience, preparing us for this cottage-style garden.

Vision for this garden was clear from the beginning:
I wanted it to be perfect in its imperfections, cozy yet vibrant, and filled with personality. Informal gardens that have straight lines give structure while still keeping their personality with other added touches to soften and add a bit of quirk, letting the garden take on an informal design. I desired a space that would not only provide us with an abundance of fresh produce for canning but also serve as a sanctuary where we could unwind and reconnect.
We were determined to achieve all of this while staying within a budget, proving that a dream garden doesn't have to break the bank.
Cottage garden plants, what to grow
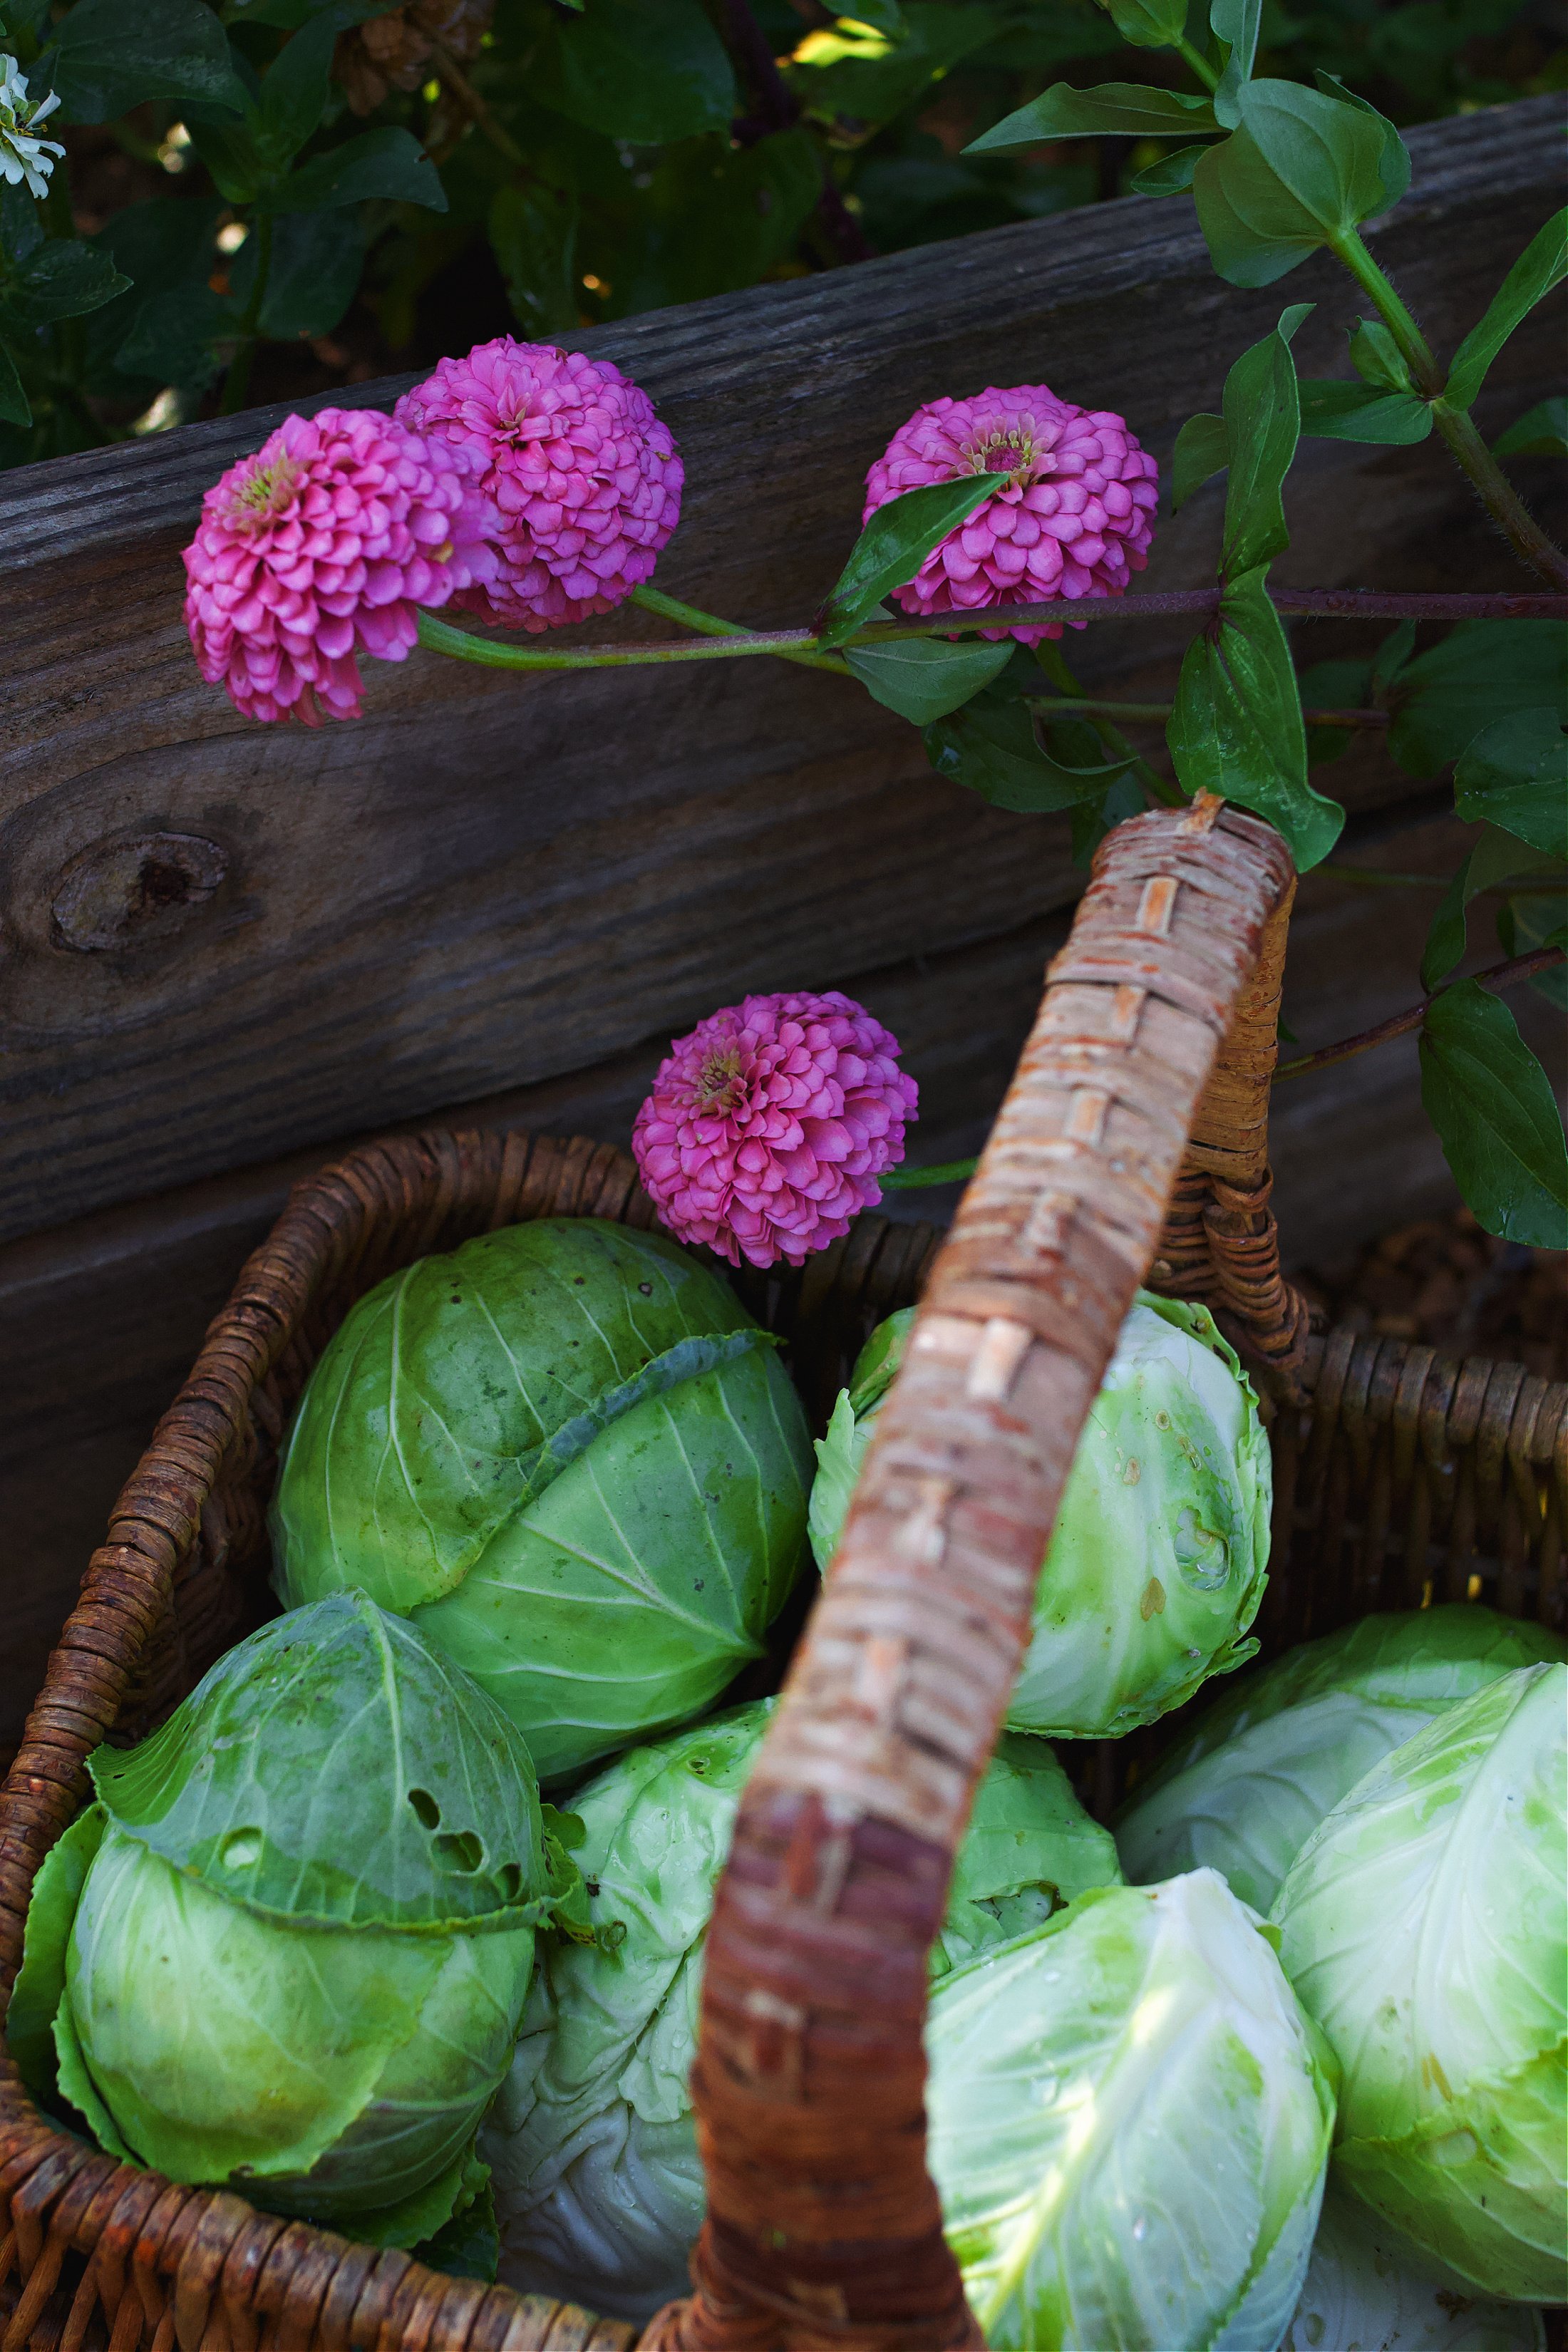
The best plants for Cottage gardens are characterized by a diverse mix that create a charming and informal display. Commonly grown plants in cottage gardens include a variety of flowers, culinary herbs and medicinal plants, and oftentimes vegetables. (I use mine as a canning garden so I have many vegetables in ours.) Perennials such as roses, lavender, daisies, foxgloves, and delphiniums are popular for their vibrant colors and textures. A Wisteria arbor would be absolutely romantic. A good mix of mediterranean plants like rosemary, thyme, and mint add practical and aromatic elements to the garden. Self-seeding plants and perennials are great additions that lead to easier maintenance longterm. Plus, perennials lead to early spring color.
Forget the perfectly manicured lawn, instead we want rock paths leading to climbing plants like roses, clematis, and honeysuckle to adorn structures like arbors and trellises. Traditional vegetables such as peas, beans, carrots, and cabbage may be integrated, adding a functional aspect to the garden. Fruit trees, especially apple and pear, are sometimes included to enhance the diversity of the space.
The overall goal is to create a harmonious and relaxed composition, often with a mix of a desired color palette and differing heights and vertical interest. The selection of plants in a cottage garden can vary, and gardeners may choose to incorporate heirloom varieties and native plants to enhance the garden's charm and sustainability.
Utility plus beauty - a cottage garden is formed
My gardens (Plural, because I have more than one. But I'll share more on that later.) are a meld from my parents, and my sweet grandma Judy. From them all, a delightful fusion occurred, blending my grandmother's love for the sheer beauty of flowers, which is almost all she planted, to my parents' practicality in cultivating a garden for its utility and canning purposes.
And to me, it's perfection. The whimsy of nature intertwined with productivity.
And so, armed with our previous gardening experiences, an eye for thriftiness, and my mind exploding with ideas, we set out to create our forever country cottage garden.

This enchanting adventure
Whether you're a seasoned gardener seeking inspiration or a beginner looking to start your first gardening venture, we hope our journey resonates with you. Our cottage garden is a testament to the fact that anyone can create a beautiful, personal oasis, regardless of budget. So, let's roll up our sleeves, grab our gardening tools, and bring our dreams to life, one shovel full of dirt at a time.
In need of a fence, with a touch of tattered elegance
Most of us can't have the idilic stone walls that cottage garden thoughts evoke. In our design ideas phase, I knew we needed a enclosure to offer protection from deer, bunnies, and foxes. Most importantly, it needed to keep the hens at bay, their greedy beaks always in pursuit of juicy worms, not caring if they found them after upheaving a baby tomato plant from its home in the warm soil.
A fence cannot be understated though, it is one of the first parts of the garden that gives visual interest and draws you into the space. While white picket fences are common in the cottage garden style, and I've definitely used that style before in a previous garden, this time I decided to play off the woods we have around us, and make it a bit more of a rustic fence.

Not just any fence would do
I wanted a fence that would blend seamlessly with the natural surroundings.
Not cold, rigid, or imposing.
It needed to appeared as though it had been stumbled upon during a leisurely walk in the depths of a forgotten forest. It should bear the marks of time, with a gentle bend and a charming crookedness, a touch of tattered elegance. It needed to be the first part of our cottage garden design that beckoned the visitor to come stay awhile. That inside, you might find a moss-covered statuary, a rambling rose growing beside the sweet peas, and among the tall plants and flower gardens.

The fence should feel as if it were alive, weathered and wise. Its gates slightly slanted, would bear witness to years of settling and use, beckoning visitors to step into a world where nature and history entwine among the edible plants and small trees.
It needed to fit with the 100 year old home. To feel as if it had always been.
To make things happen, we turned to the trees in our overcrowded 100-acre forest. It was clear that some thinning was necessary to give the strong trees a chance to thrive. To weed out the build up of years of missus and allow the native plants to thrive once more. Plus, we wanted to create a forest that was easier for wildlife to navigate. So, we accomplished two tasks at once. We cleaned up the forest and used the natural materials it provided to build a charmingly imperfect fence.
Making the fence
To drill the large post holes for the uprights we used this hand auger that has been a staple on our farm. We use it for everything from drilling holes for posts to drilling spots for our orchard fruit trees. It truly is a must have for a homesteader or someone with a lot of outdoor projects.
We used a bag of concrete per post to help secure them in place.

To connect the upright posts with the runners, we used this handy tool. Travis drilled a mortise hole in the uprights, then cut the tenons, similar to sharpening a pencil. He then placed the tenon into the upright, glued it together, nailed it, and we moved onto the next one.
We didn't want a middle post, simply a top and bottom to secure the wire fencing. Even though I draw a lot of inspiration from the secret garden, I wanted to be able to see through the fence to the garden from my kitchen windows.
To attach the wire to the fence, we used cats claw fasteners and they worked perfectly. For the wire fencing, we used Red Brand from Tractor Supply. It was welded steel wire garden fence, 2 in. x 4 in. square mesh, that was 6 ft tall, 100 ft wide per spool. It came in at $220, and we used only one spool, which was the largest purchase for this project.
The Gates
A cottage garden gate should be designed evoke a feeling of warmth and welcome, inviting visitors into a space that is charming, nostalgic, and timeless. Its appearance often reflects a bygone era from the romantic cottage gardens of the 1800's. The gate should possess a quaint and charming aesthetic, and the best way to achieve that is through the use of rustic materials, creating an atmosphere that is relaxed and informal.
As the entry point to the garden, the gate sparks curiosity and a sense of adventure, encouraging individuals to explore the culinary herbs and fragrant flowers within. Connection to nature is emphasized through the incorporation of natural elements, like vines, flowers, or wooden accents, reinforcing the idea that the garden is an extension of the surrounding environment. Personal touches, such as unique decorations or a personalized sign, add a distinctive and personalized touch to the gate, making it a reflection of the gardener's personality.
Ultimately, a cottage garden gate is meant to inspire positive emotions, creating an enchanting and delightful atmosphere. It sets the mood for the entire garden, signaling that it's a place of beauty, joy, and simple pleasures.
Fencing costs:
The complete cost for 100 feet of fencing around our garden including the wire, screws and fasteners, three gates and the hardware for those, plus the concrete and miscellaneous was $550.
Keep in mind one side of our "fence" is the chicken enclosure and run, which I did not add into the cost. That was a last year project. We did this as added protection and barrier from the deer and forest. The chicken run borders the forest behind the house. We placed the garden between the main farmhouse and coop. Meaning that if a deer or critter wanted to try to enter, they'd have to be pretty brave to attempt to sneak between two buildings.
Items used to build the fence:

Making the raised beds
When creating my garden, I knew raised beds would be the ideal solution to keep weeds at bay and provide optimal separation between my beloved plants and the unwanted invasive intruders. It's also easier to maintain, and I simply love the look of a nice raised bed.

However, my plans hit a roadblock with the prices of wood. I was not ready to spend a thousand plus on the beds.
Undeterred, I turned to Facebook Marketplace in hopes of finding a more affordable alternative. Hours of searching paid off when I stumbled upon a logging company offering rough-cut wood for a mere $200 a pallet. These pallets were massive, and with just one of them, we managed to construct all the beds we needed, with wood even left over. It was an incredible find, and I couldn't be more grateful for this stroke of luck.
The one caveat to this wood is not treated, and not a rot resistant variety such as cedar. This means that over time it will break down and we'll have to replace pieces or whole beds. But for $200, it was a risk I was willing to take. We're praying they last 4+ years, but time will tell!
To see the full post on how we made the raised beds at our previous house (which is a wonderful tutorial!) check it out here.
Total cost for raised garden beds + gates:
The total cost including wood, screws, and glue to assemble the beds was $300.

How we filled the beds & made the paths
Before we built the fence, made the beds, or did anything else, we tilled the soil. I grew an experimental garden in this space the year before just to test out the dirt, area, and see how things grew.
It went amazing, so this year we tilled up the top layer of soil to loosen it, place the beds in the spots we wanted then, and shoveled all the loose soil outside the beds into them.
We did end up bringing in one additional truckload of dirt for a few of our beds, and that ran us $100.
Pea gravel for the paths
I wanted a nice rock barrier to keep the weeds under control, and thankfully, we had a ton of pea gravel left over from a previous project. We ordered a truckload of gravel for $400 from our local sand and gravel company. They wouldn't deliver unless we ordered a dump truck size full, and we figured we needed that much for the gravel patio we were making off the back of the house.

We didn't even end up using half of it, and it's been sitting in a pile at the front of our house going on eight months now.
It was the perfect addition to our garden and we placed it over all the paths.
We plan to torch the weeds in the paths once a month or as often as needed. (We love this torch system)
Price for dirt and gravel:
The total estimated price for the amount of gravel we used plus the dirt is $200
Whimsical addition: The fountain
The sound of water adds so much to an outdoor space. It brings a sense of serenity and relaxation, is soothing and a disconnect from distractions. The gentle trickling or splashing sounds create a natural symphony that promotes calmness. Did you know the sound of water has a psychological impact? Reducing stress and anxiety?

Why a four tired fountain?
A four-tiered fountain is a visually captivating display of water, cascading from one level to another. The elegance and symmetry can be mesmerizing, adding a touch of grandeur and enchantment to this country cottage garden. Plus, it's like have four bird baths in one! The more visitors to my garden chipping happy tunes the better!
The continuous movement of the water from one level to the other brings a sense of harmony and balance to a space, and being four-tiered adds height and depth, making the fountain an eye-catching centerpiece. Even when the garden is in full bloom, I wanted the fountain to be seen above all the growing harvest. Standing at six feet tall, it will be a show stopper all year long.
To make sure this heavy concrete fountain was secure in its footing, we poured a 3'x3' concrete pad. Come rain or storm, this fountain will sit securely in place for years to come.
Total cost for fountain, pump, and concrete footing:
The fountain was $800, the pump and tubing was $100, and we spend about $20 on concrete making this addition just over $1,000 inducing tax.
Time this project took
This is not your average weekend warrior project. It took us just over a month to complete start to finish. This of course included a lot of other projects, life lived, school, sports, etc that we worked around to complete the whole thing. If you were to go at it start to finish with no distractions it would probably have been a week solid project for us.
Total Cost For Creating The Country Cottage Garden:
The complete cost for making our dream garden came out to $2,050.00
How much we saved doing it ourselves
We've had outdoor projects quoted before to us and I'd say for this, we easily saved over $8,000 doing it ourselves. No landscaping company in their right mind would charge less than $10,000 for what we made. It's just a simple fact.
Several factors that would contribute to this cost difference are:
- Labor Costs: Landscaping companies charge for their services based on the time and effort required to complete the project. By us doing the work, we eliminated the need to pay for labor, which can account for a substantial portion of the total cost.
- Design Expenses: Hiring a landscaping company often involves additional costs related to the design process. Professionals may charge for consultations, site visits, and creating detailed garden plans. When taking on the project yourself, you have more flexibility in terms of design decisions, and you can avoid these extra expenses.
- Materials: Landscaping companies usually mark up the cost of materials they use in the project. By sourcing materials directly, you can usually obtain them at a lower cost. Shopping around for deals or using alternatives to expensive materials can further reduce expenses.
- Equipment and Tools: Landscaping companies have specialized equipment and tools necessary for large-scale projects. Renting or purchasing this equipment can add to the overall cost. However, if you already own or can borrow essential tools, you can save money by not having to invest in additional equipment.
Considering these factors, it's plausible to realize we saved over $8,000 when creating our large cottage garden However, the actual savings can vary depending on the specific project, the region you live in, and the availability and cost of materials. It's important to assess your own skills, available time, and resources before deciding whether to tackle the project independently. There is a reason it's expensive, it's a lot of work!
I hope that answered the common questions most people have about our country cottage garden!
I hope this was encouraging! That sharing how we created our country cottage garden has sparked your imagination to create your very own, personal garden space. Big or small, that the least important part. It's about embrace nature and getting creative with the space you have. Trust your instincts, and let the magic happen. Happy gardening, my friend!