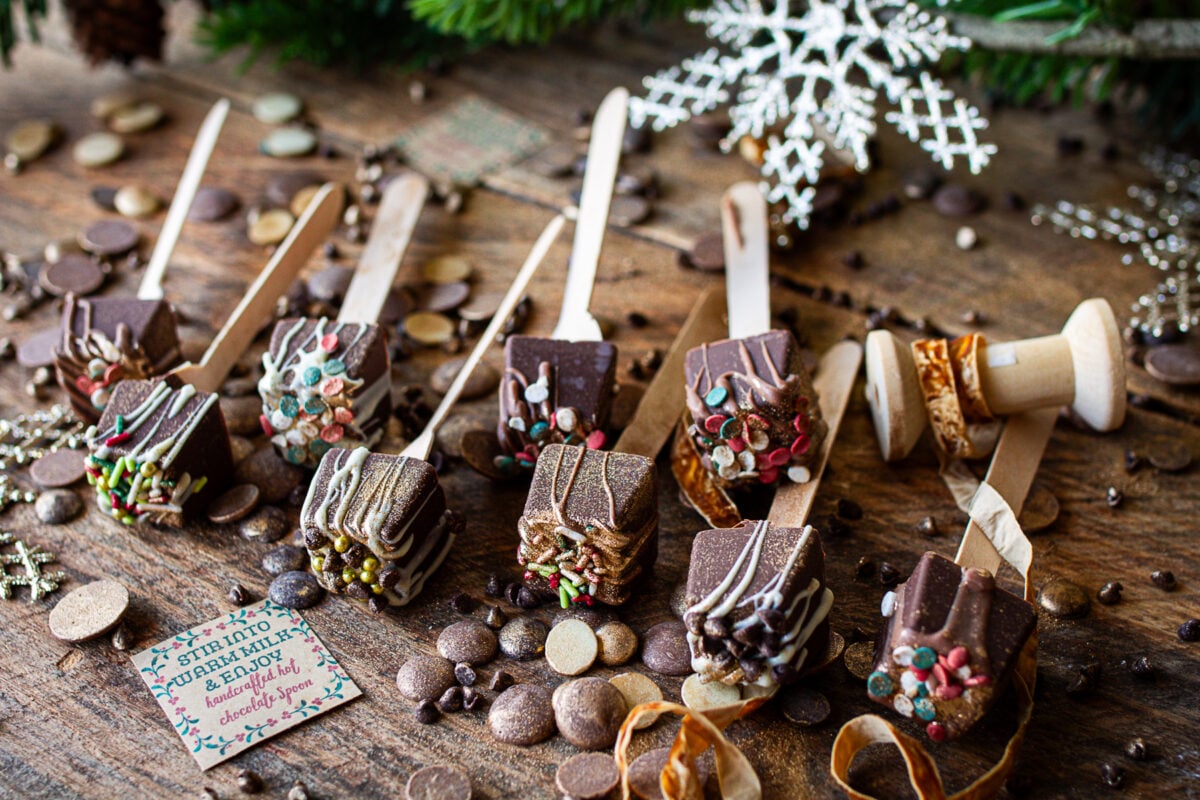
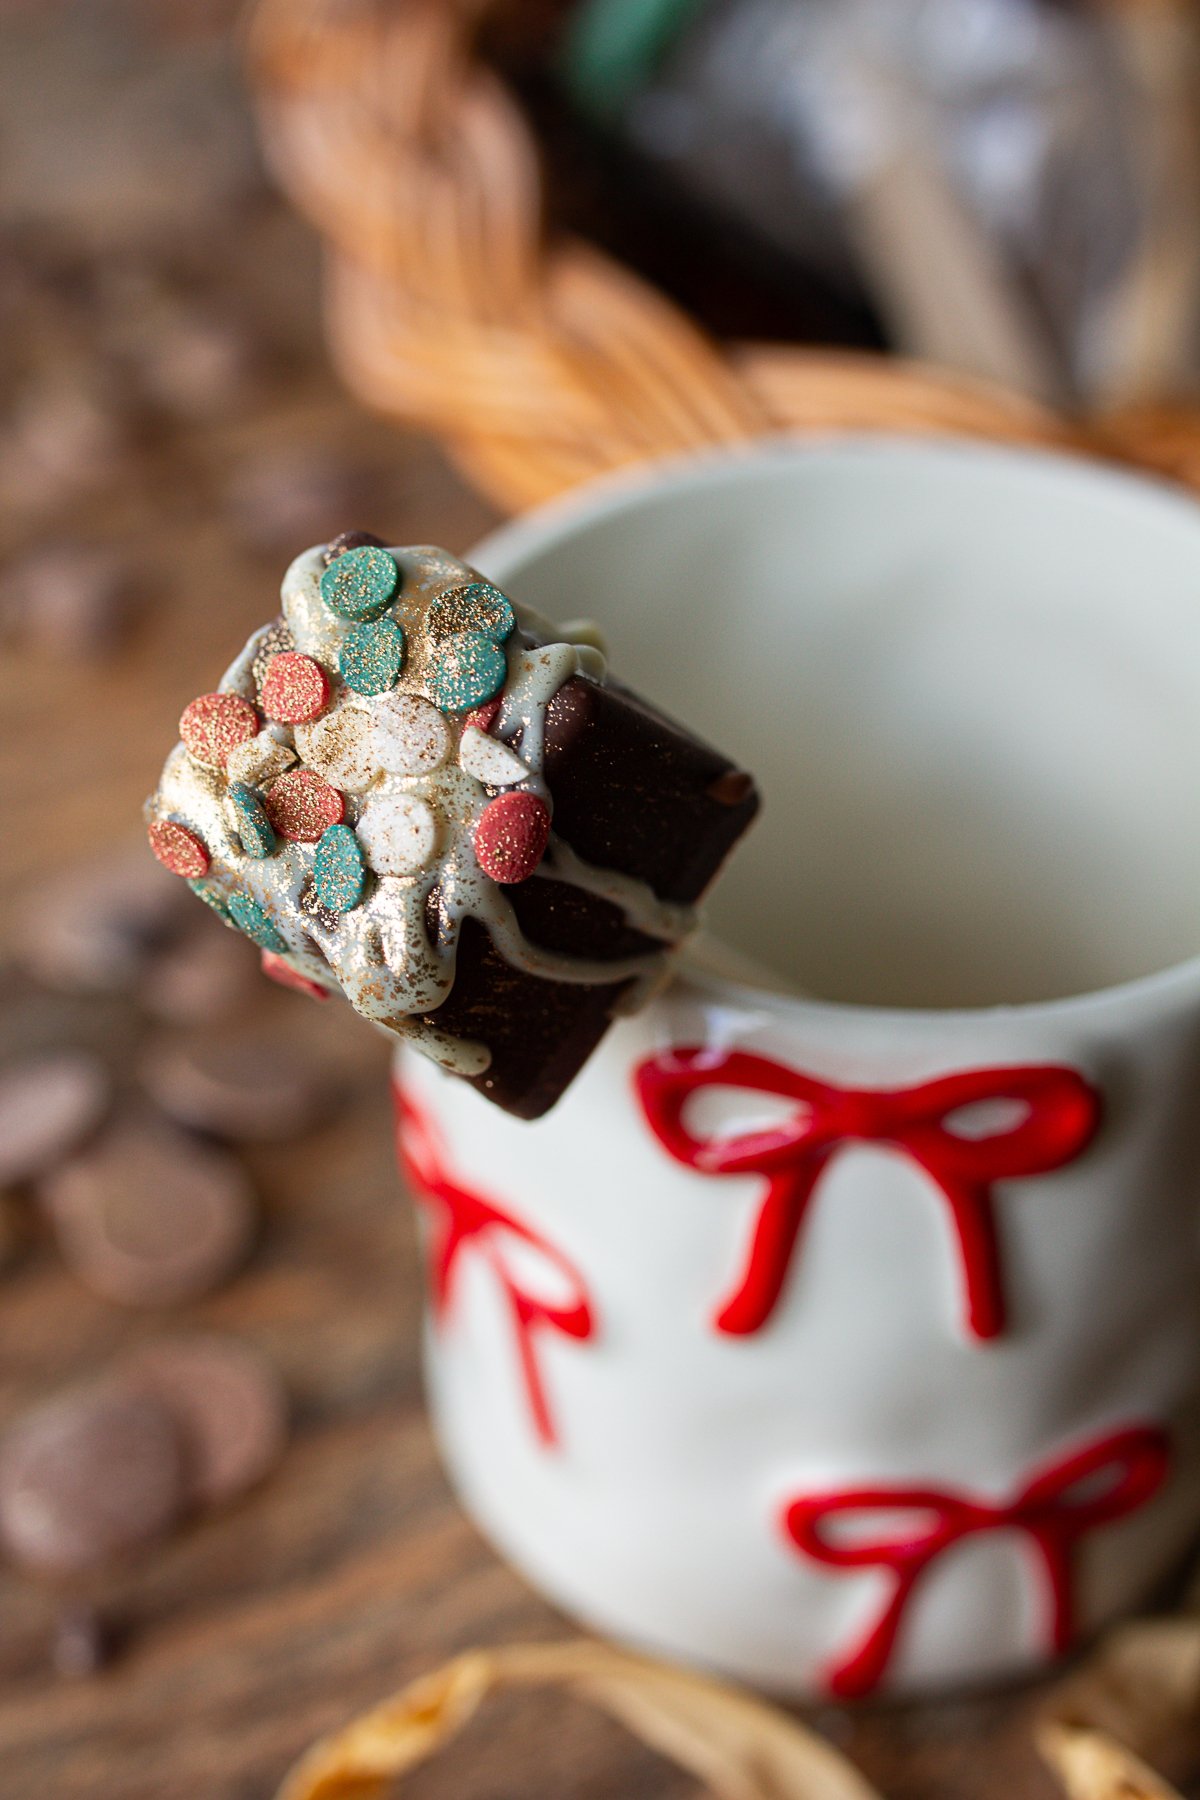
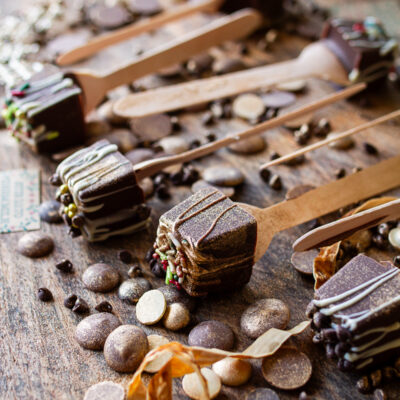
Hot Chocolate Spoons for Gifting
Cold evenings settle in early on the homestead this time of year. When the kids finish chores and spill through the kitchen door with red cheeks and hungry bellies, the whole house fills with that familiar contentment. Animals tucked in, lights low, and a fire crackling in the hearth. It's the perfect moment to hand them one of these hot cocoa spoons as they warm up by the fire. They've become both a family treat and a favorite project to gift during the Christmas season.
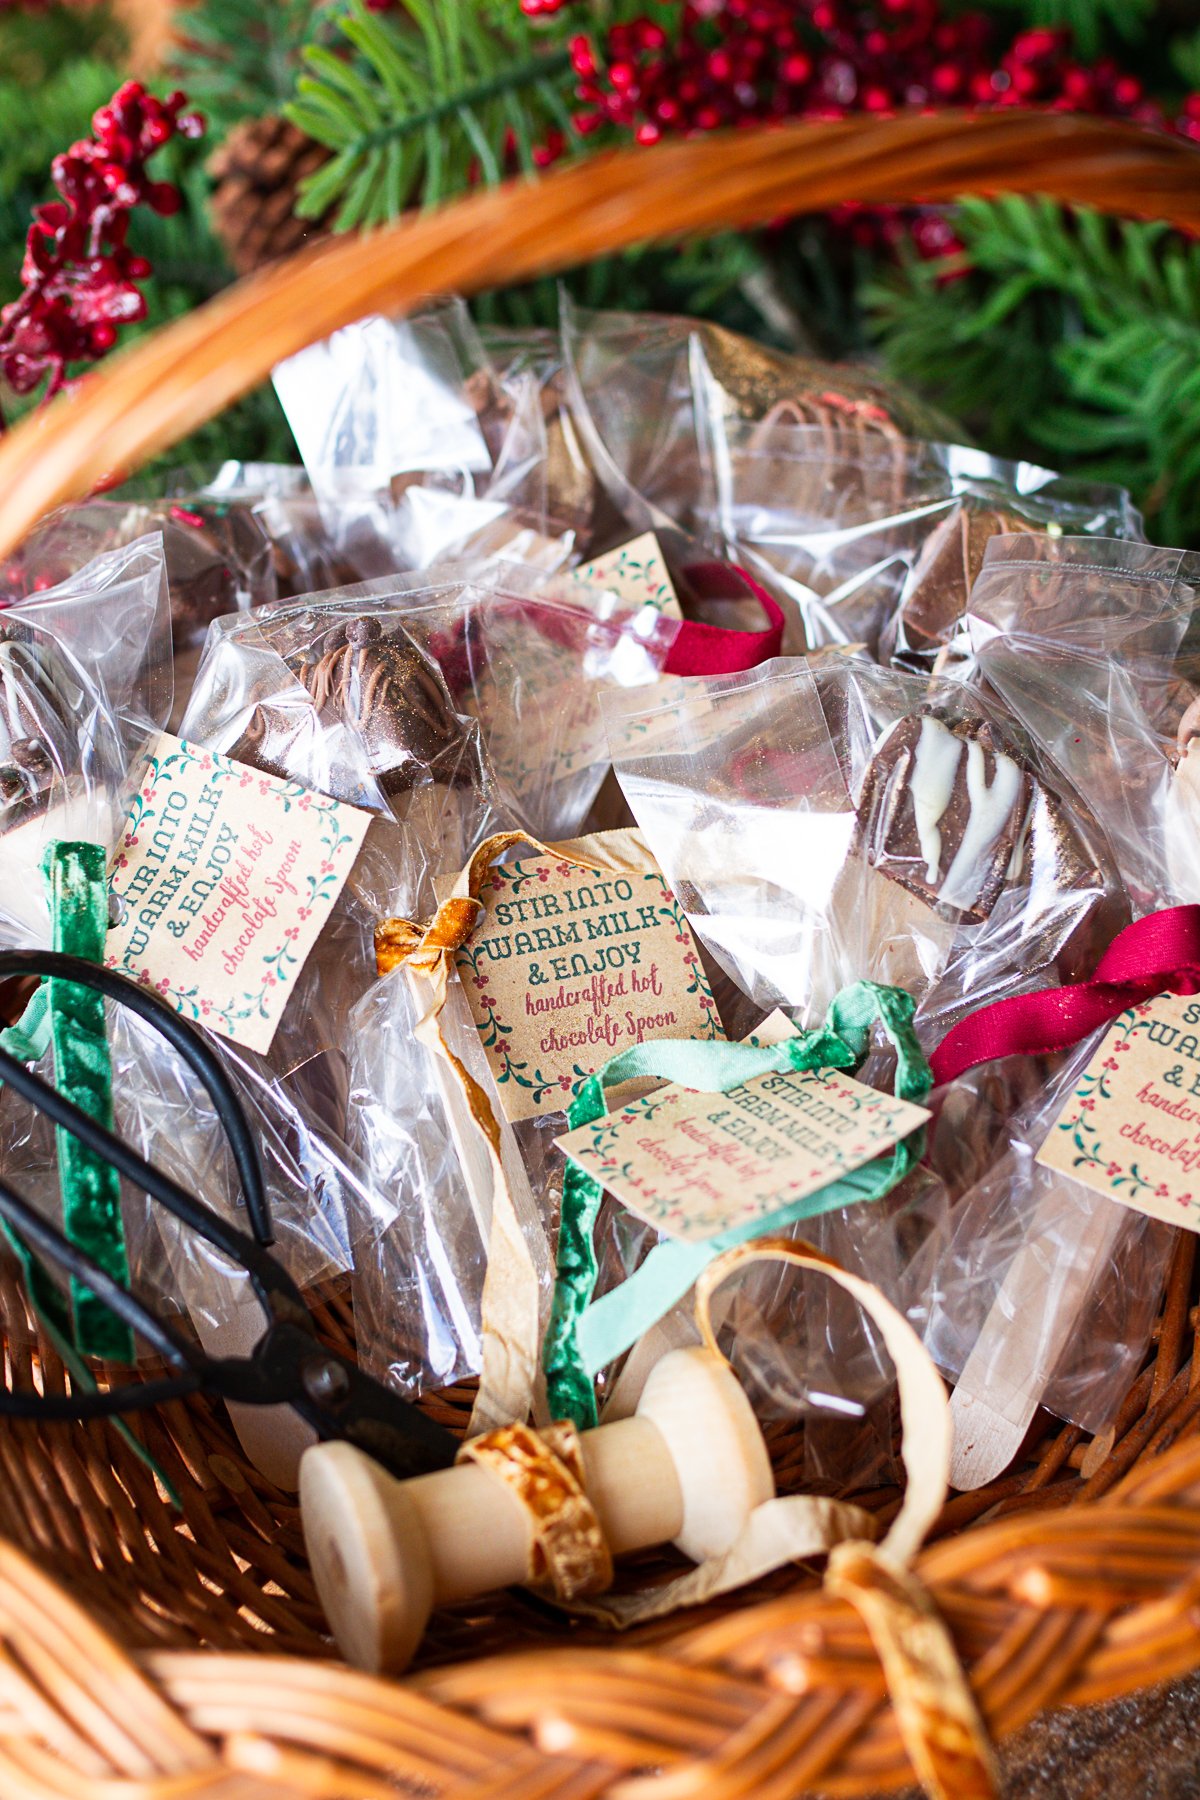
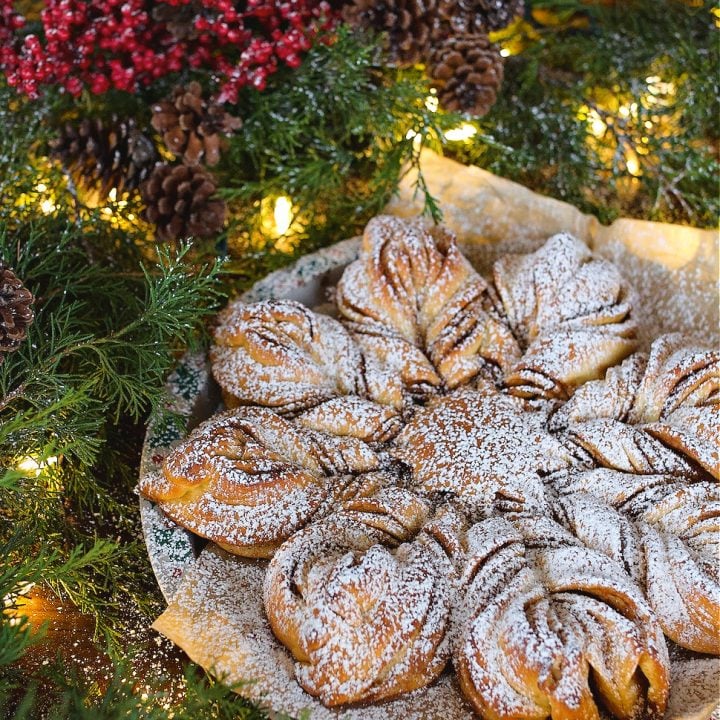
These homemade hot chocolate spoons have quickly become a favorite in our house. They turn a simple mug of warm milk into something rich, cozy, and special. They're beautiful tucked into gift baskets or handed to neighbors with a smile. With good chocolate and a few simple additions, they're easy to make and far better than anything you'll find in a store. Some years I'll gift caramel sauce, or jars of hot cocoa mix, or loafs of Christmas star bread. Other years, I opt for this indulgent, quality hot chocolate spoons that always hit the spot.
QUICK LOOK AT THE RECIPE
- Flavor: deep chocolate, creamy, warm vanilla
- Prep Time: 20 minutes
- Best For: gifting, teacher treats, neighbor baskets
- Cost: around $1 per spoon
- Texture: smooth melt, not grainy
- Skill Level: easy
- Pro Tip: use couverture chocolate for perfect melting
SUMMARIZE & SAVE THIS CONTENT ON
Jump to:
- QUICK LOOK AT THE RECIPE
- Why You'll Love These Hot Chocolate Spoons
- Ingredient Notes + Substitutions
- Cambie Couverture Chocolate Wafers (Dark + Milk)
- Why Chocolate Really Matters
- Why Chocolate Chips Don't Work
- Exact Supplies and Ingredients for this Recipe
- Printable Label You Can Use Available on Canva
- Step-by-Step: How to Make Them
- FAQ About Chocolate Spoons
- Storage Tips
- Closing Thoughts from the Homestead
- Other Homemade Gifts To Make:
- Hot Chocolate Spoons
Why You'll Love These Hot Chocolate Spoons
These hot chocolate spoons melt seamlessly into a cup of warm milk, creating a creamy, full-flavored drink that tastes like something from a small European café. They solve the most common frustrations people have with homemade cocoa spoons, thin flavor, chocolate that won't melt right, or spoons that taste chalky.
Because these are made with high-quality couverture chocolate and boosted with vanilla, and salt, they melt beautifully and deliver that indulgent, cozy flavor every time. They're simple enough for a weeknight project but pretty enough for gifting all season long.
Ingredient Notes + Substitutions

Cambie Couverture Chocolate Wafers (Dark + Milk)
This is the heart of the recipe. Couverture chocolate (a high-quality chocolate with a high cocoa butter content) melts smoother, tastes richer, and blends into milk without clumping. It's what professional chocolatiers use. Mine came in wafer form, so no chopping is needed, they go straight into the double boiler.
I used in equal parts:
- Cambie Dark Chocolate Couverture 54.5%
- Cambie Milk Chocolate Couverture 34%
- Cambie White Chocolate 28% | I used this for drizzling over the spoons to finish, but you could also create white chocolate cocoa spoons if you wish.
Both creates a perfect balance of richness and creaminess.
Why Chocolate Really Matters
Chocolate quality determines the outcome of the entire spoon: the melt, the flavor, the smoothness, and even the shine. Couverture has a higher cocoa butter content, which gives you:
- silky melting
- a glossy finish
- deep chocolate flavor
- smooth blending into milk
- zero graininess
If you've ever had hot chocolate spoons come out dull or chalky, chocolate was the reason.
Why Chocolate Chips Don't Work
Chocolate chips are engineered to hold their shape in cookies. To do that, they contain stabilizers that resist melting. Those stabilizers turn your melted chocolate thick, pasty, or gritty, and once the spoon hits hot milk, it melts unevenly and tastes weak.
*Most people who get frustrated with failed cocoa spoons aren't doing anything wrong, the chocolate itself is the problem. Chips waste ingredients and cause a lot of disappointment.
Couverture wafers prevent all of that and give you perfect results.
Exact Supplies and Ingredients for this Recipe
- Cambie Milk Chocolate | Couverture 34%, 1 Pound of European Style Milk
- Cambie Dark Chocolate| Cambie Dark Chocolate Couverture 54.5%,
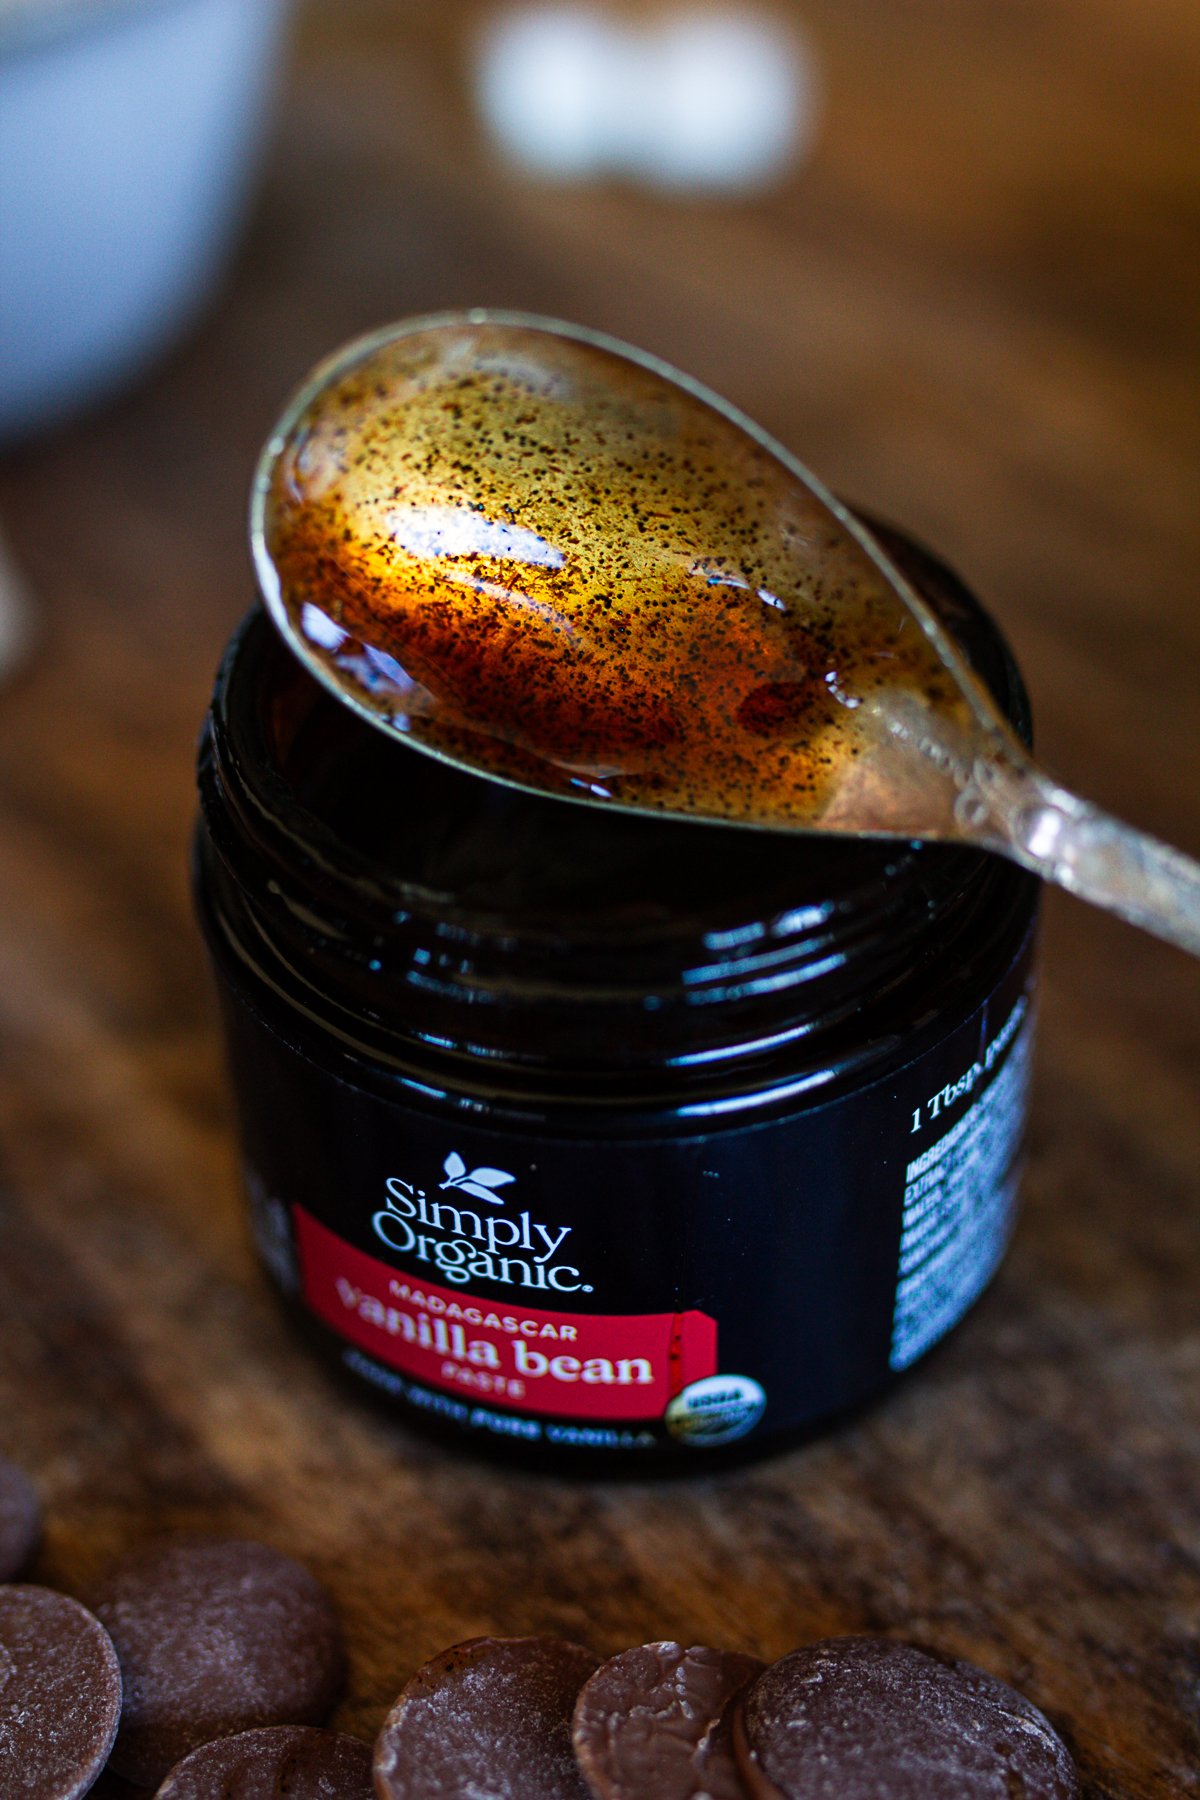
- Vanilla Bean Past | This adds warm, round flavor that makes the chocolate taste luxurious. It stirs in smoothly and blends beautifully.
- Mini Marshmallows - Dandies Vanilla Minis | These melt softly and don't overpower the chocolate with artificial flavors.
- Coconut Oil or Cocoa Butter | A teaspoon encourages quick melting in hot milk and improves the spoon's texture.
- Wooden Spoons - LotFancy Wooden Spoons | Sturdy, smooth, and perfect for gifting.
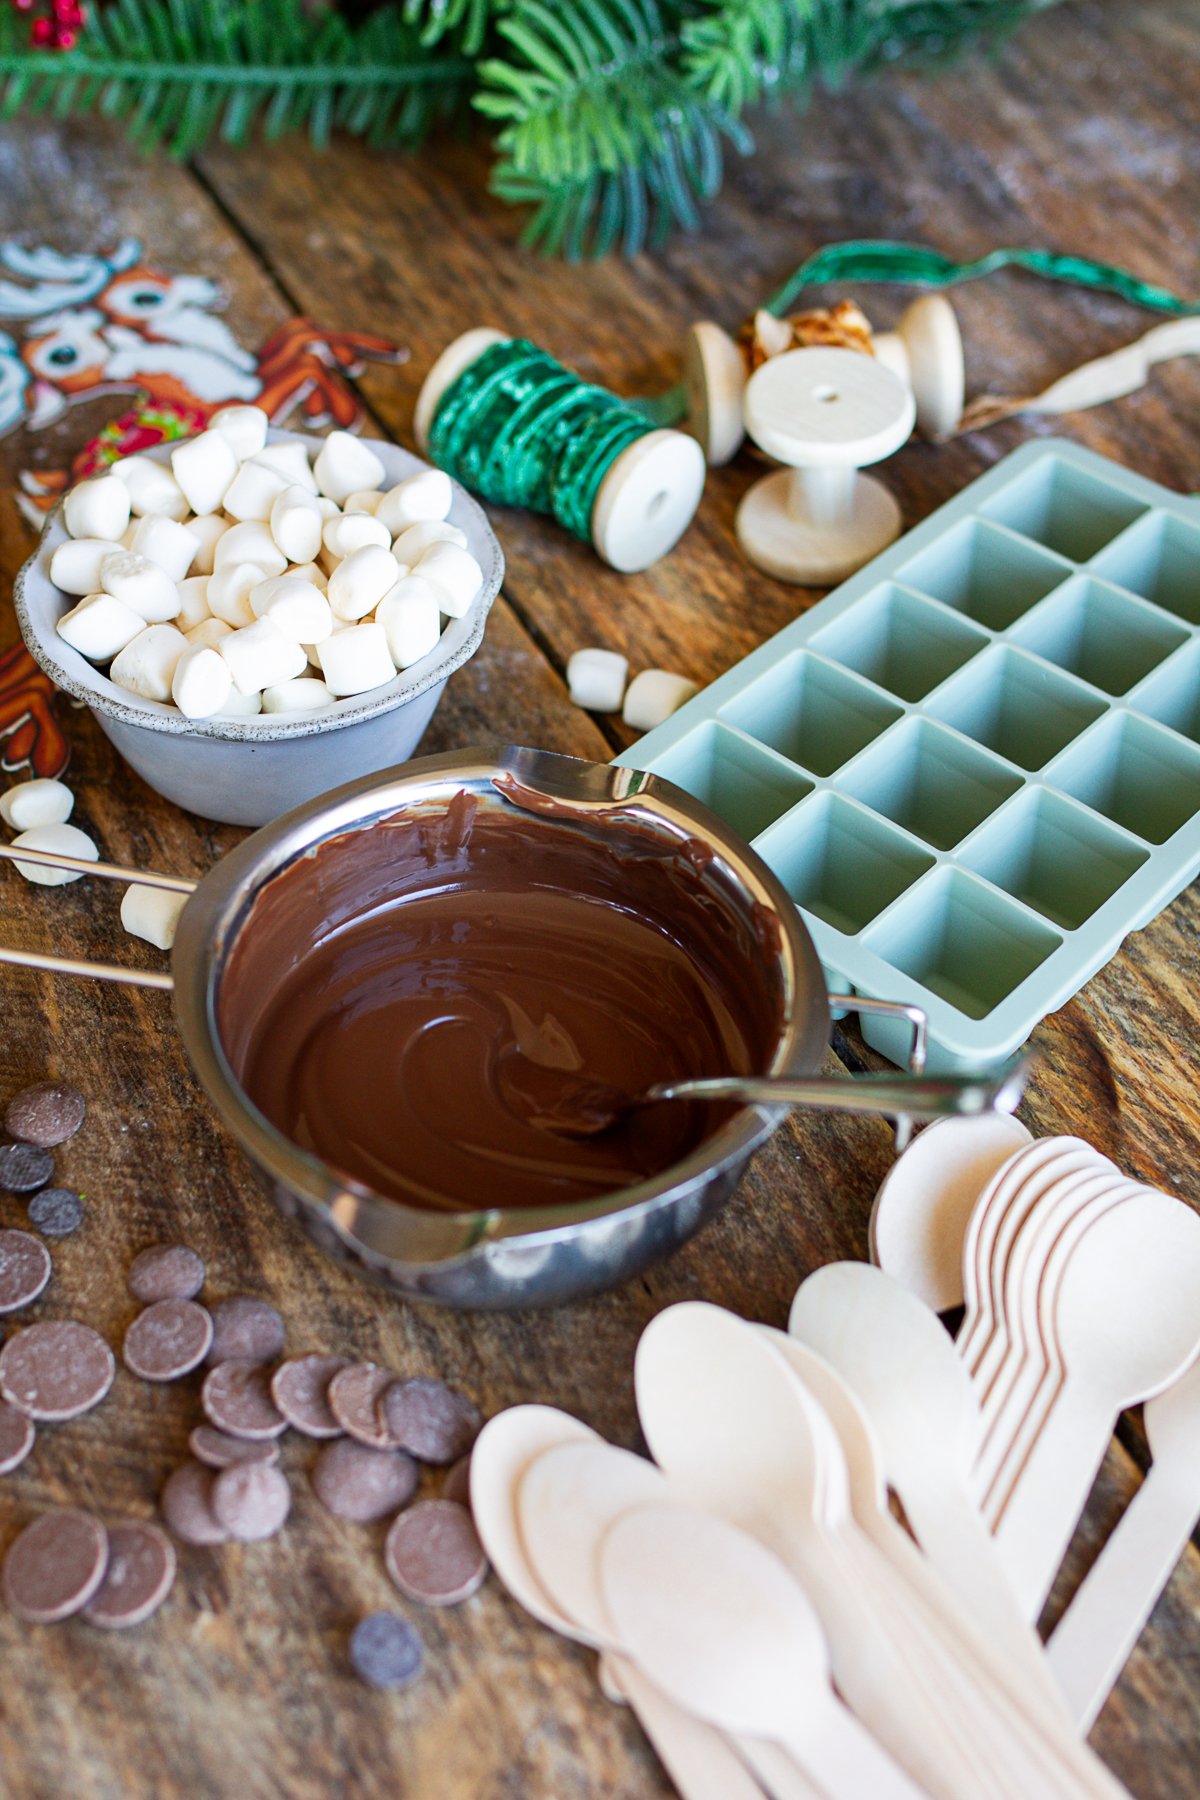
- Silicone Molds for Chocolate | Easy to remove once chocolate is hard
- Double Boiler | My favorite way to melt chocolate
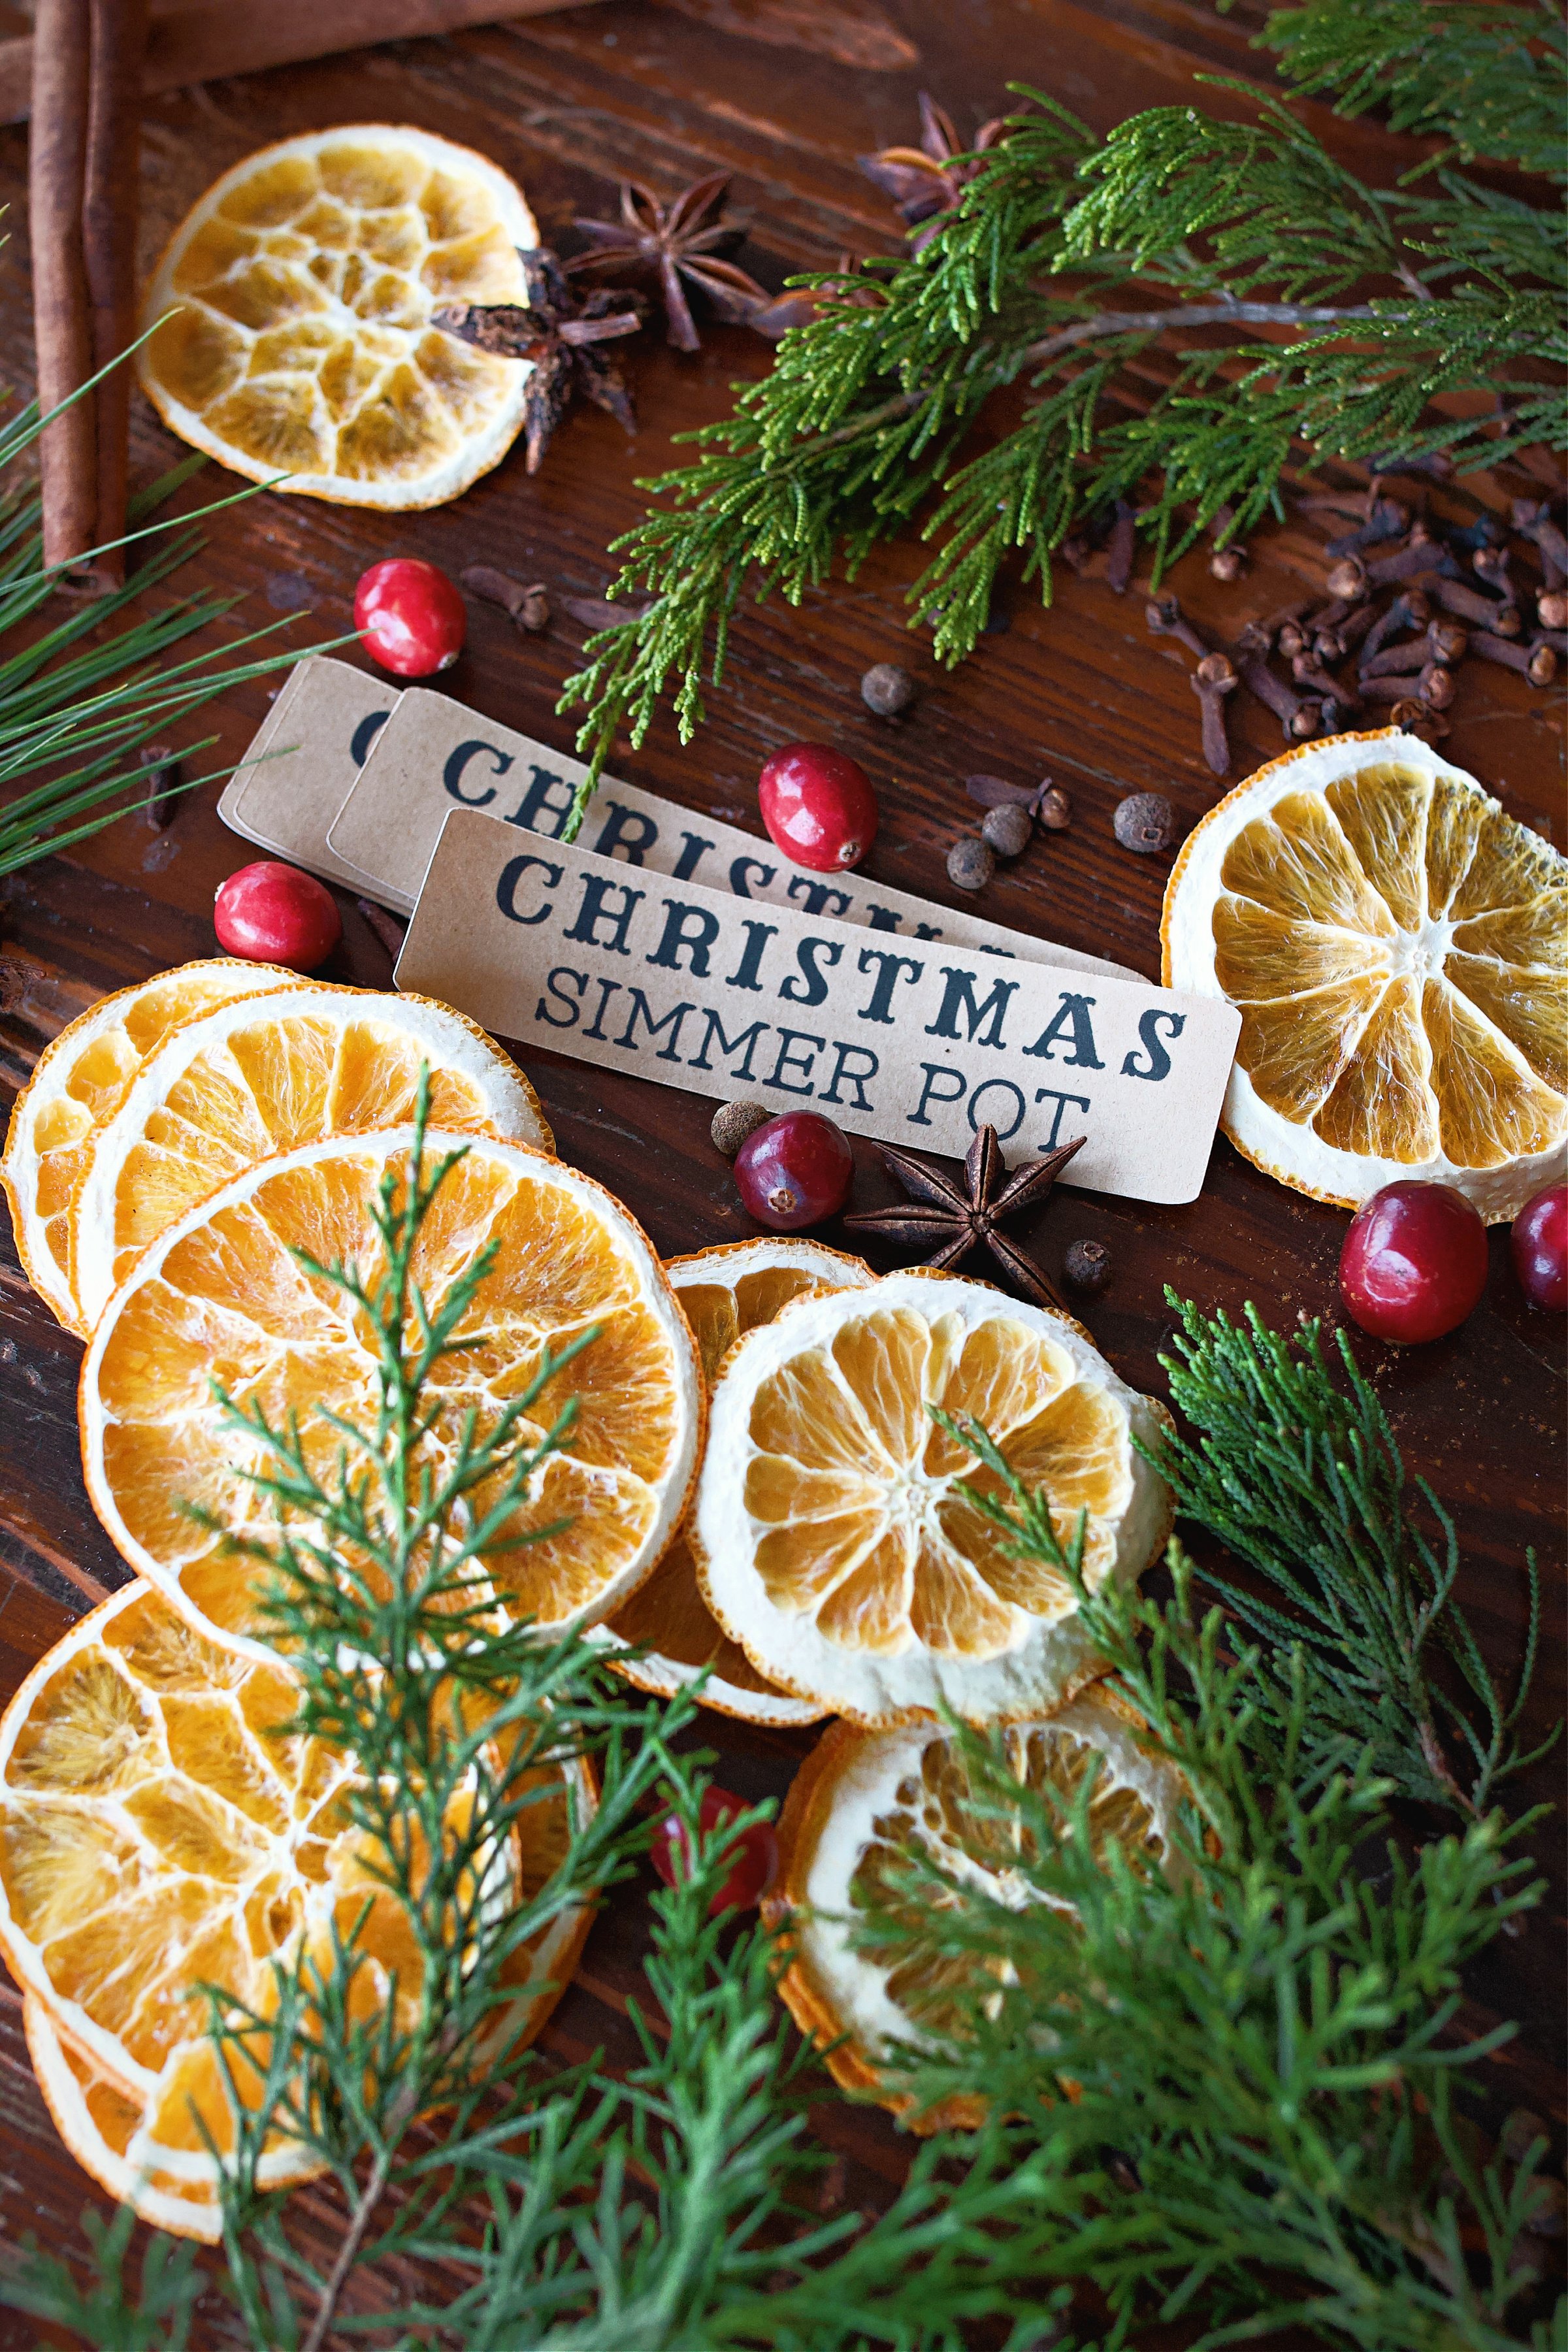
Printable Label You Can Use Available on Canva
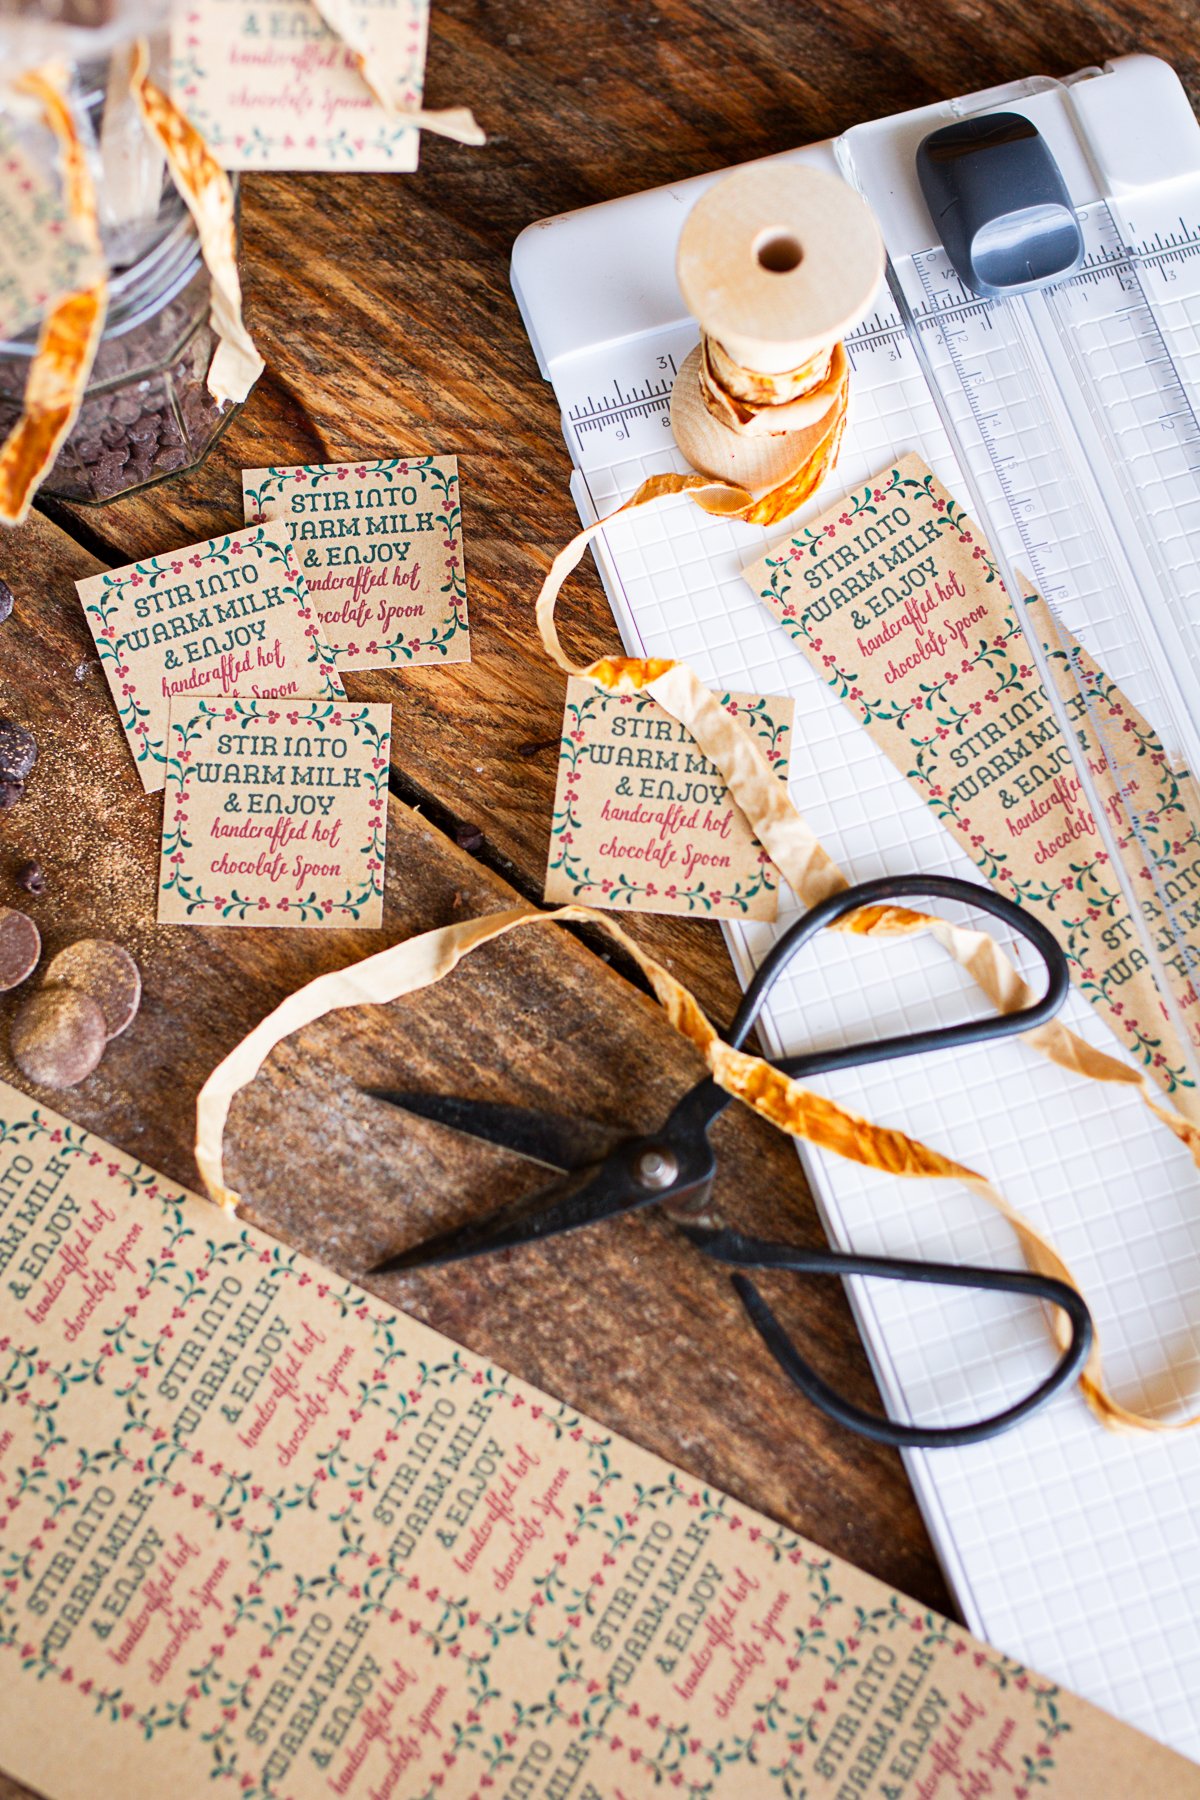
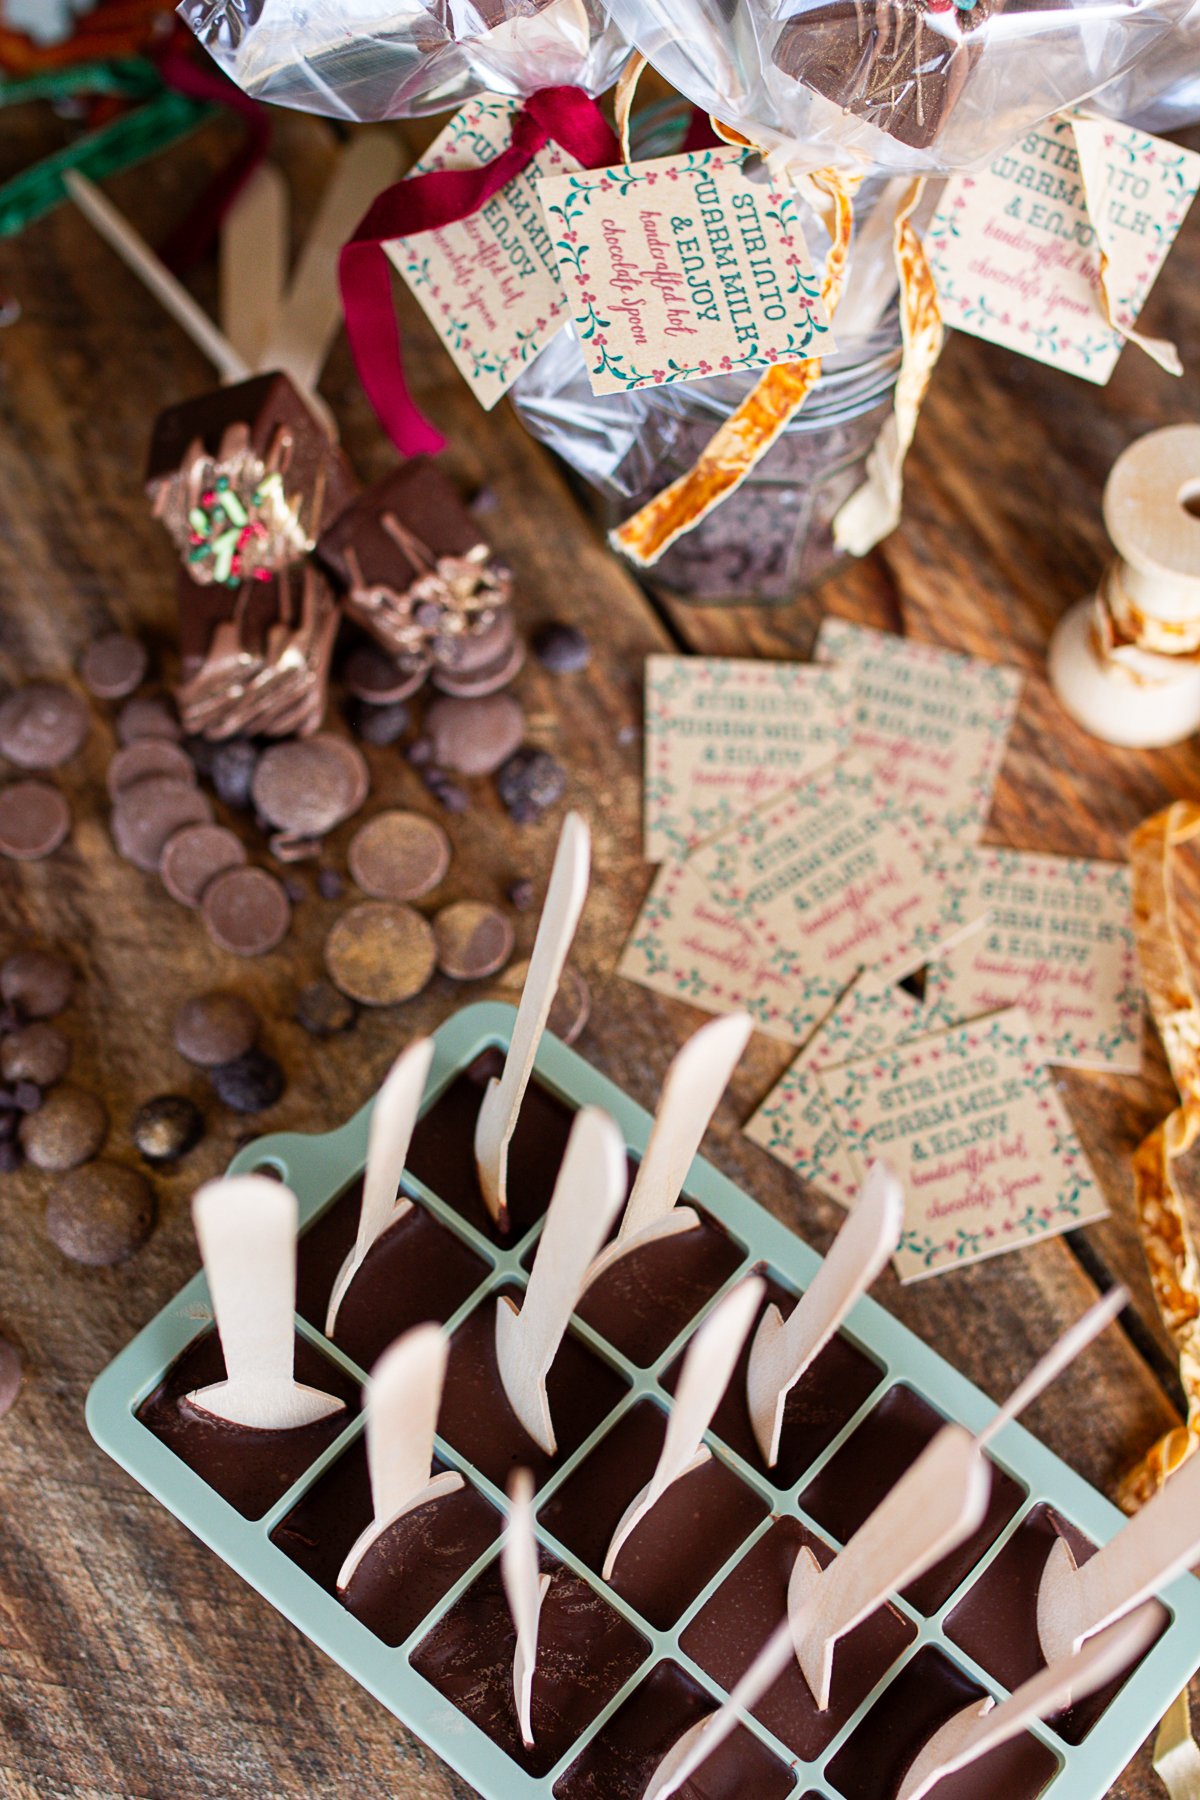
Through Canva I made this simple, cute label you can print on card-stock or sticker paper to attach to each gifted spoon. Below is the link. If you have a Canva account, you should be able to print it off and then simply cut it with a paper cutter.
Step-by-Step: How to Make Them
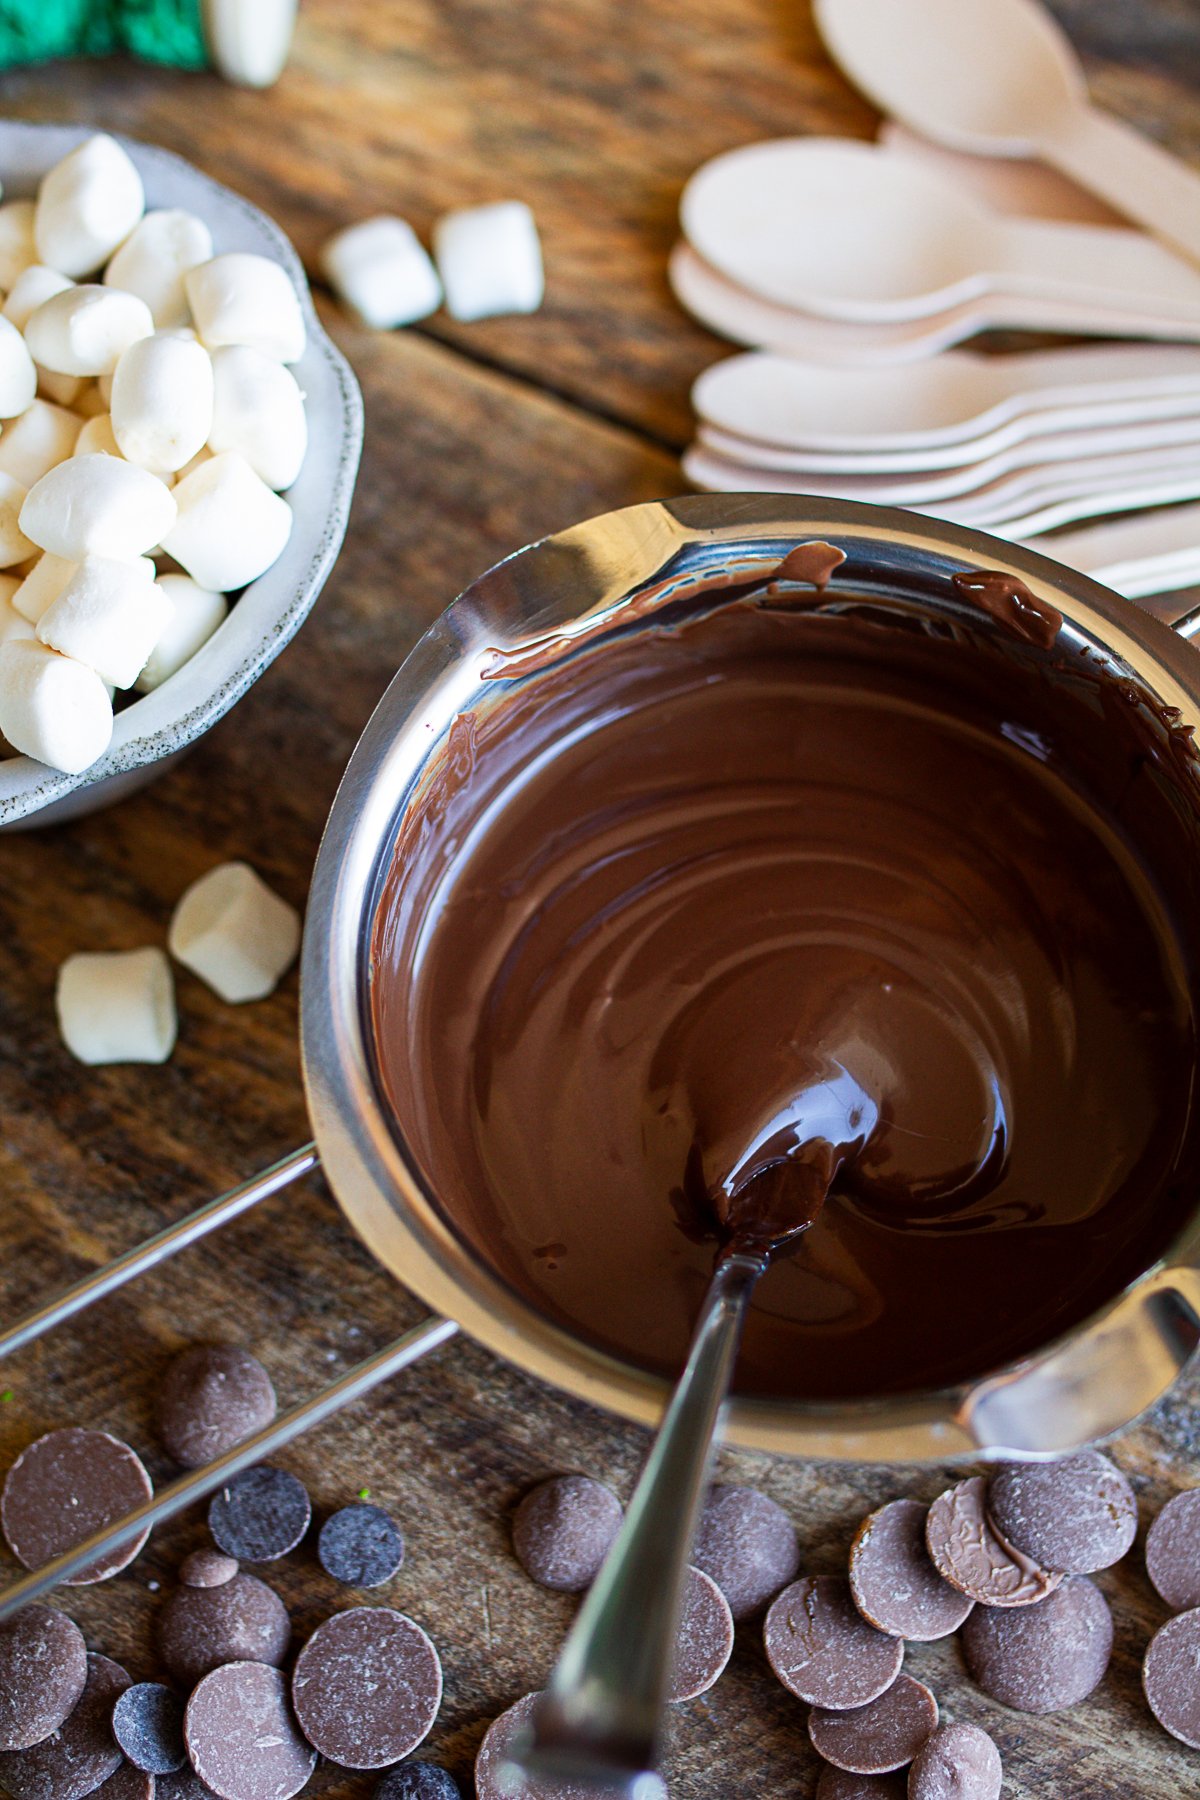
- Set a double boiler on the stove by placing a heat-safe bowl over a pot of gently steaming water. Add your Cambie chocolate wafers (4 oz of milk chocolate, 4 oz of dark chocolate) and half a teaspoon of coconut oil to the warm bowl. They melt evenly and smoothly without needing to be chopped.
- Once the chocolate is glossy, stir in the vanilla past (¼ tsp) and a pinch of fine sea salt. This combination gives the spoons a clean, rich flavor and helps each one melt perfectly in warm milk.
- Use something similar to this silicone ice cube mold to create the thick chocolate mound each spoon needs. Fill each cavity three quarters of the way, then stand a wooden spoon in the center. The chocolate will cradle the spoon bowl and form the base. Do this on a flat plate or cookie sheet to easily move the silicone molds to the fridge and chill until firm. It will take two batches to fill up one mold.
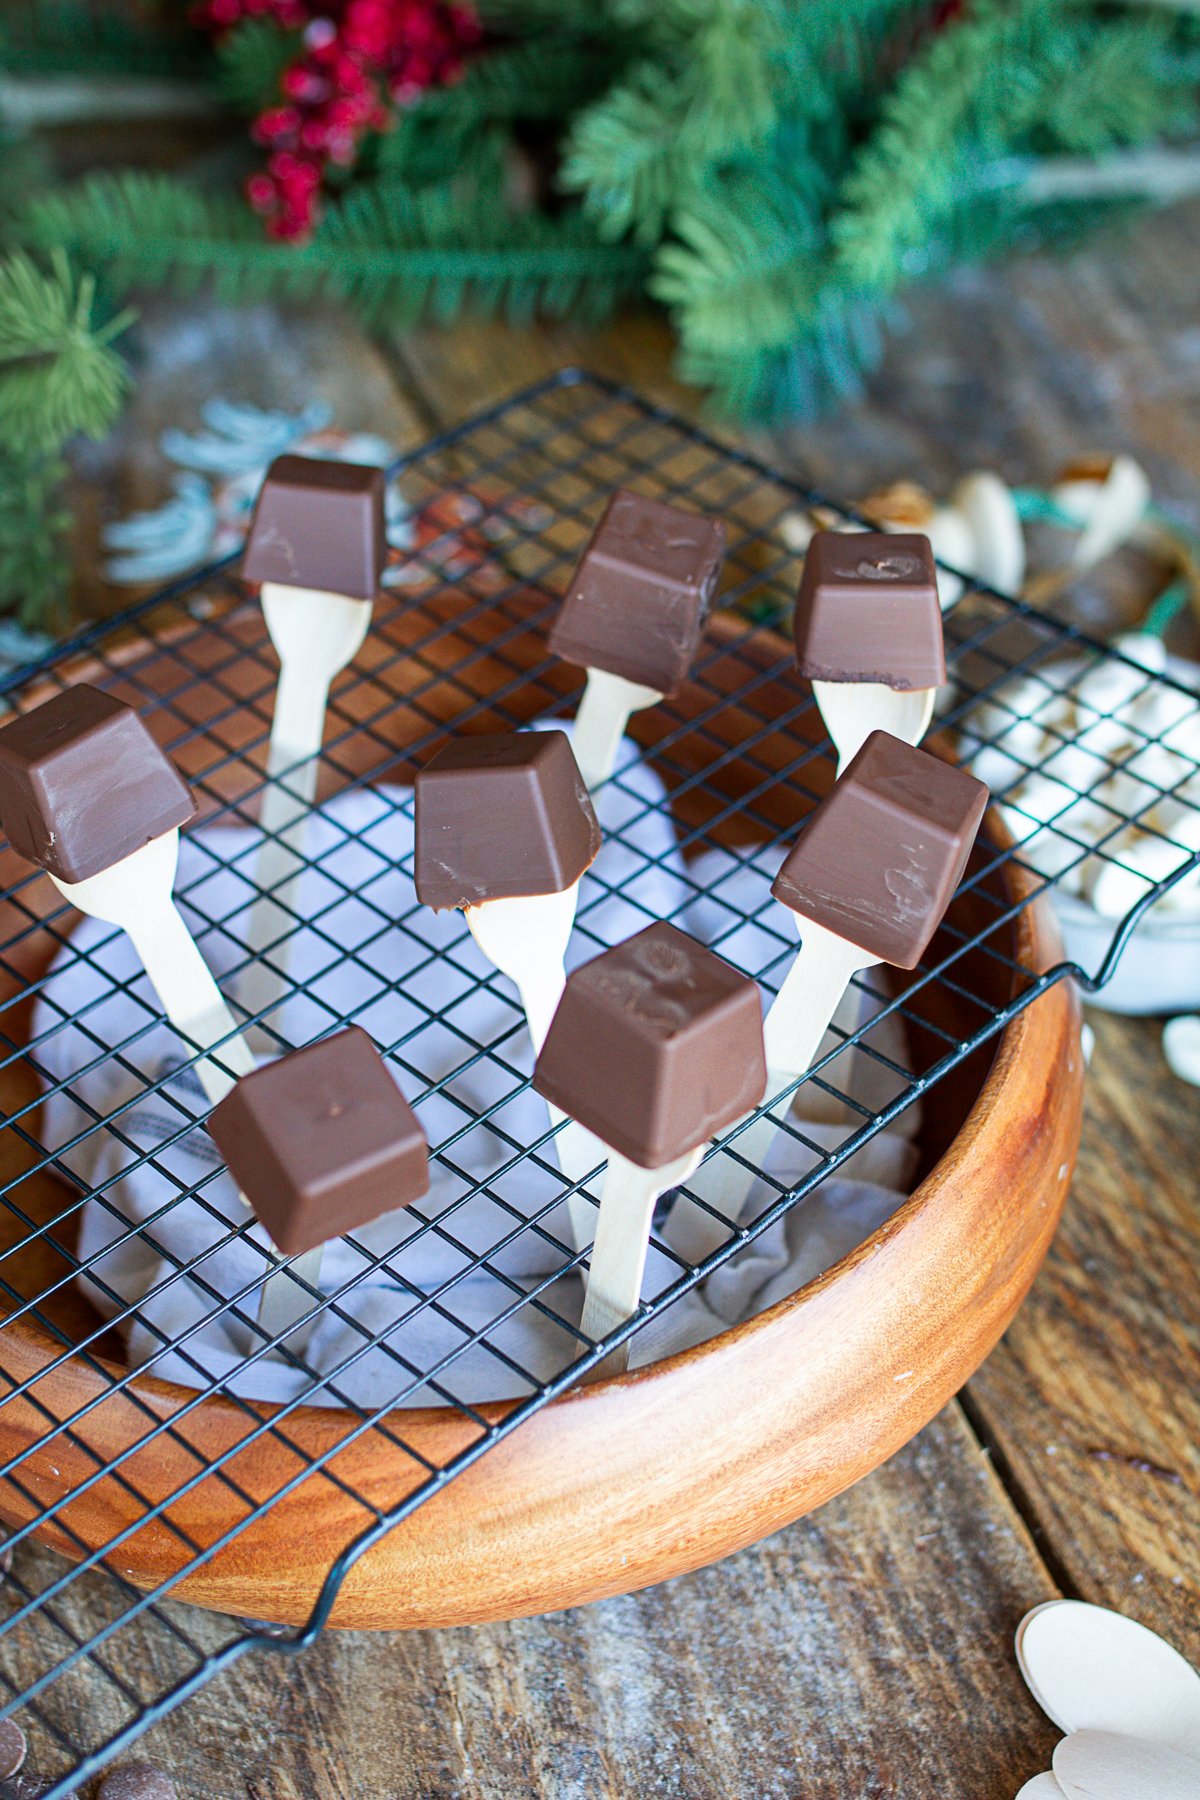
- To set up an easy decorating station, start by placing a few layers of paper towel inside a shallow bowl. This gives the wooden spoon handles a soft, non-slip surface to rest against and catches any chocolate drips or stray sprinkles. Set a cooling rack over the top of the bowl and make sure it sits flat, then secure the rack to the bowl with a few small pieces of painter's tape so it doesn't shift while you work. Slide each wooden spoon handle down through the rack grates, allowing the chocolate block to sit above the rack while the handle rests inside the bowl. The paper towels add just enough friction to keep everything from slipping, giving you a steady setup for drizzling and decorating.
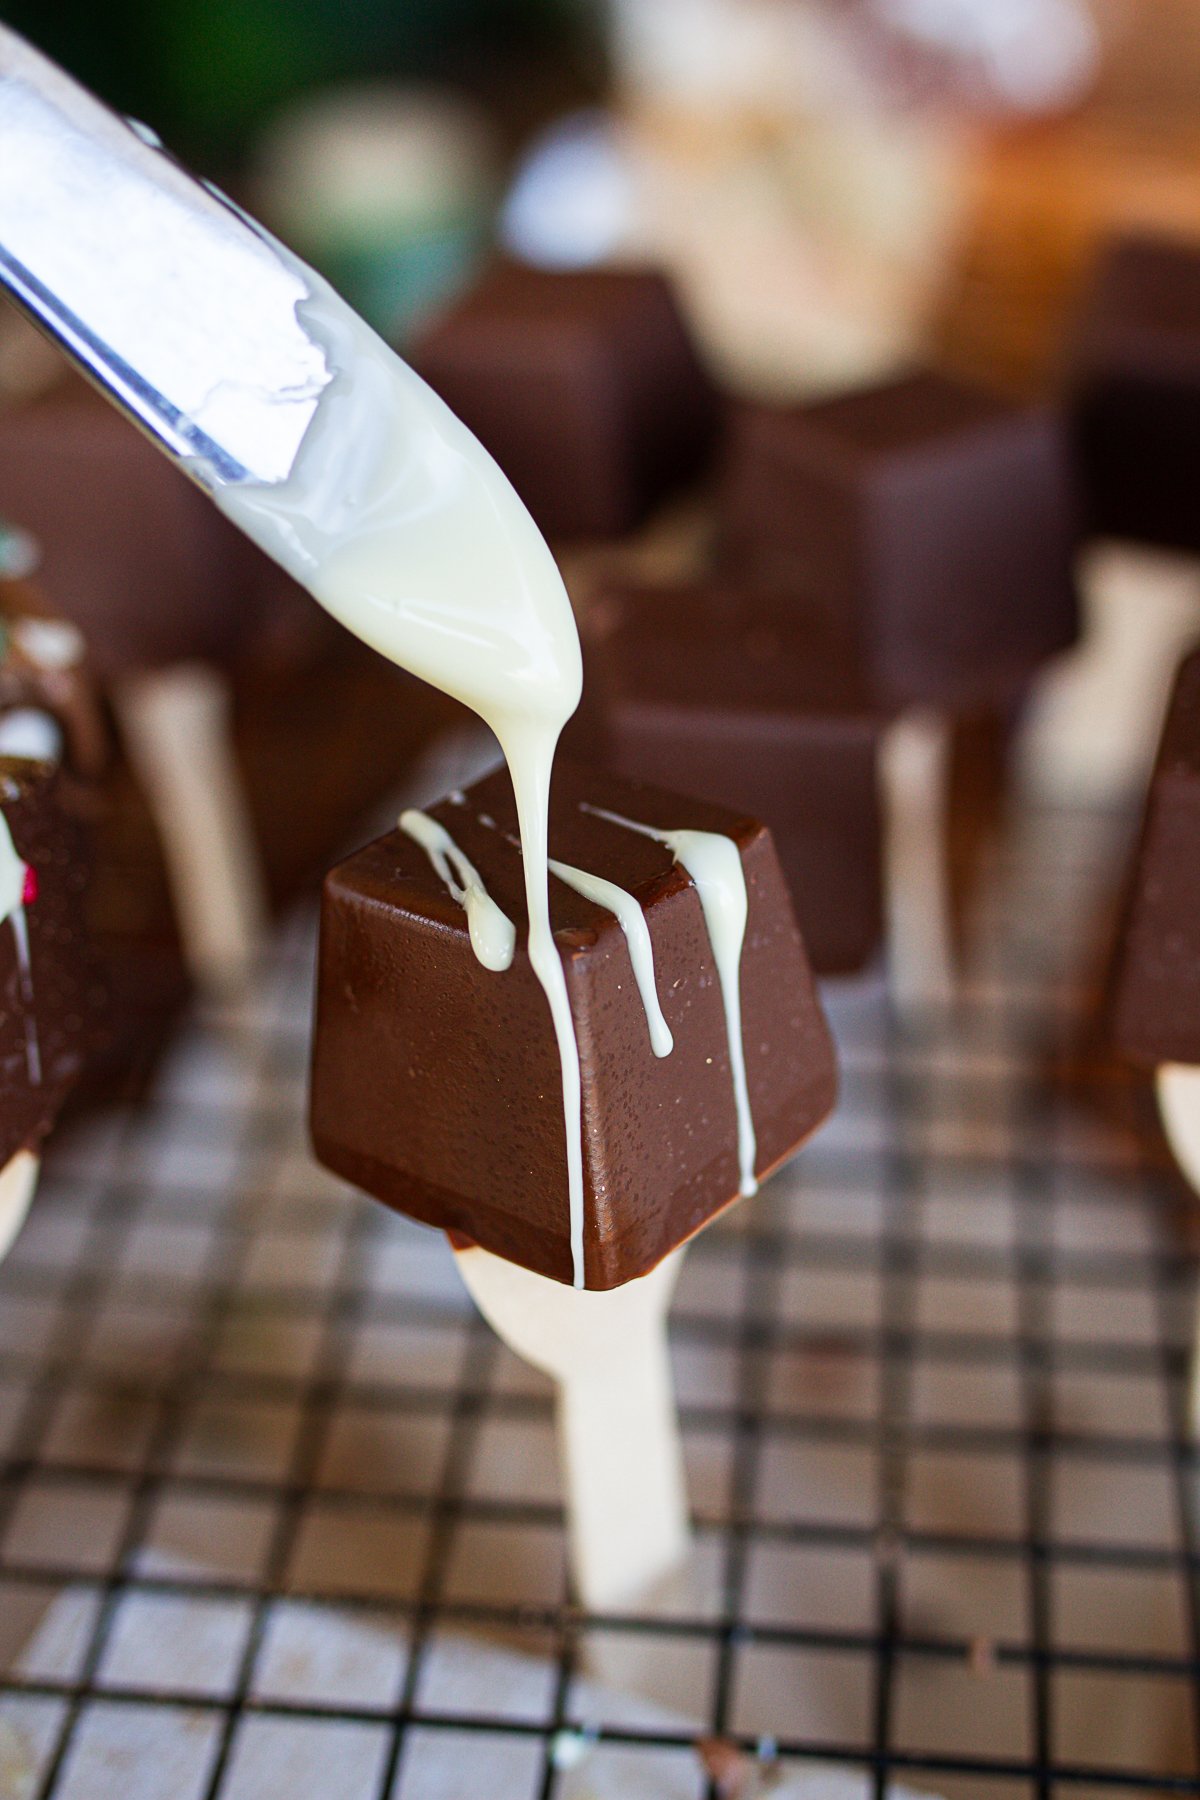
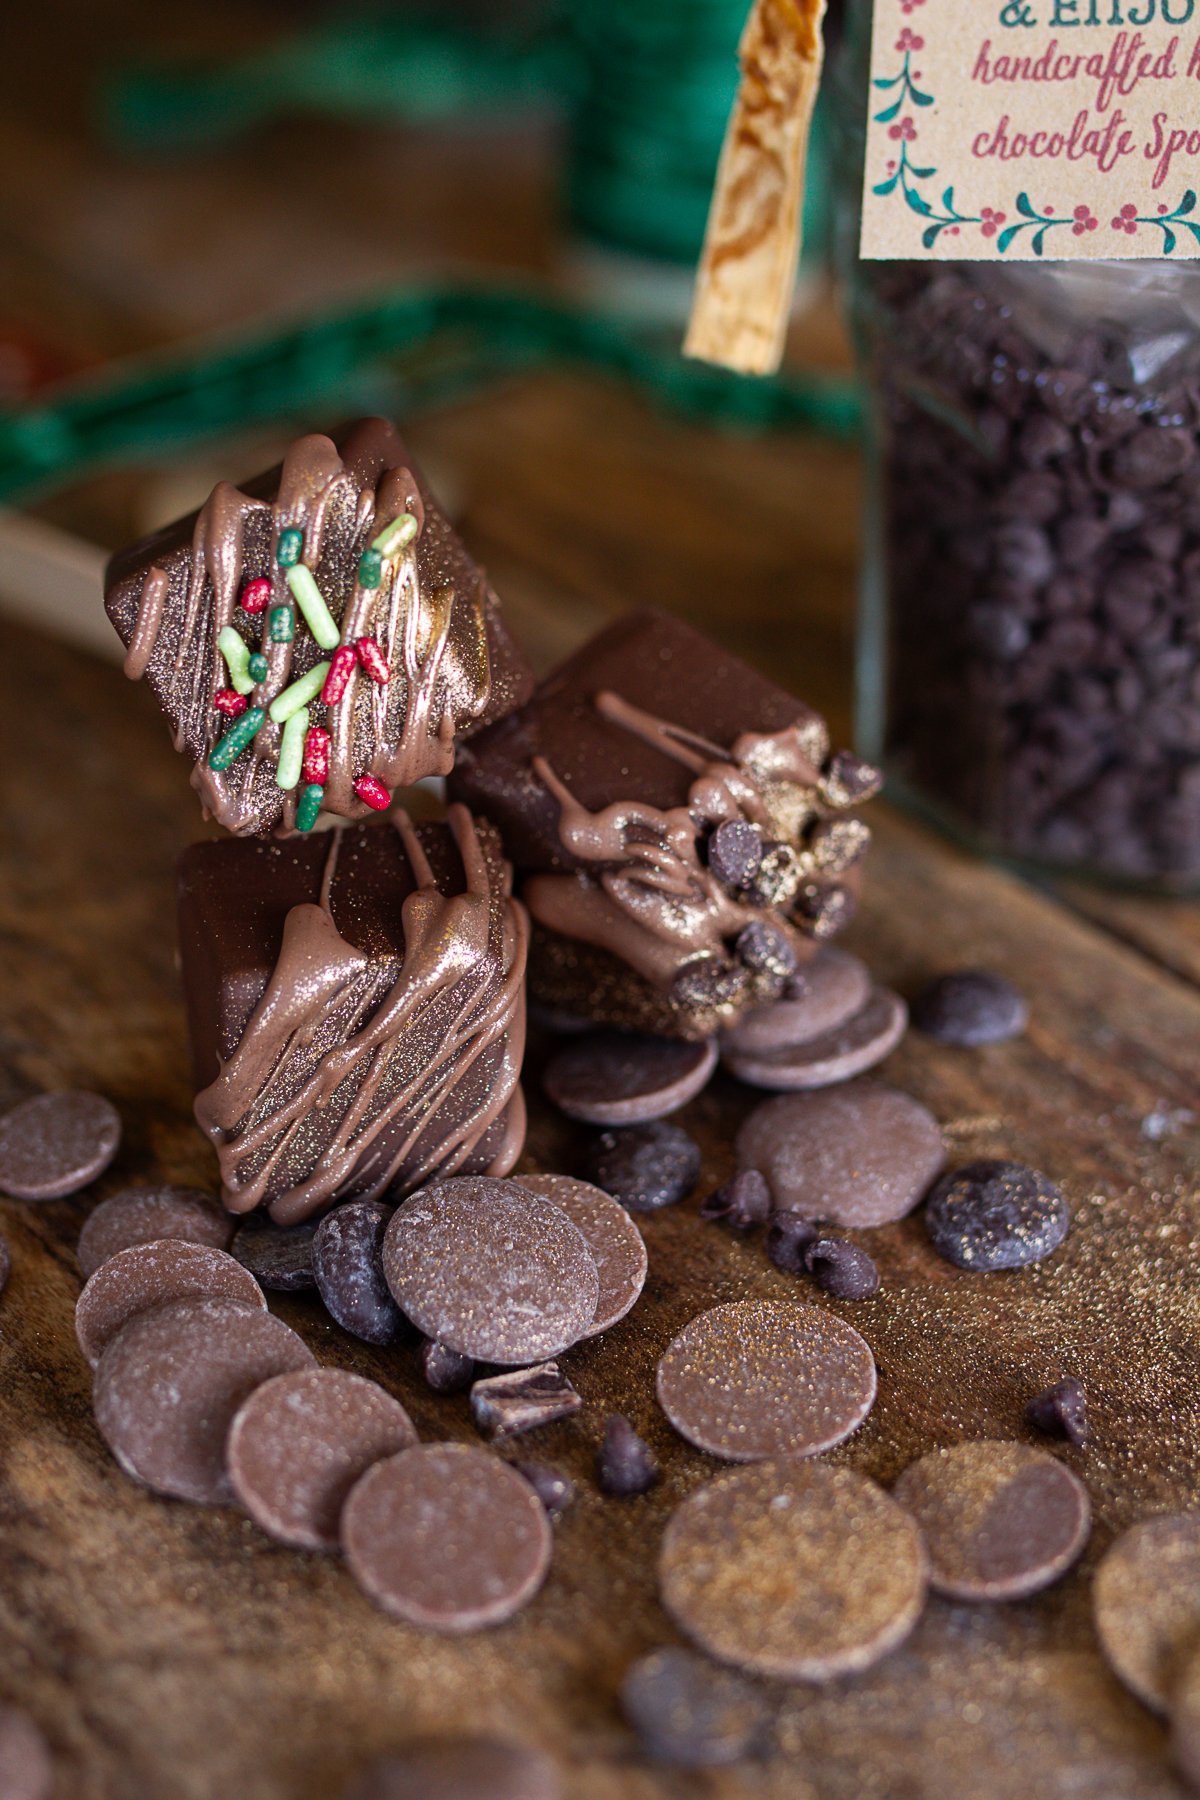
- With the spoons standing upright, you're hands-free and ready to decorate. Drizzle a second coat of melted chocolate over the tops. (I used white chocolate for this one)
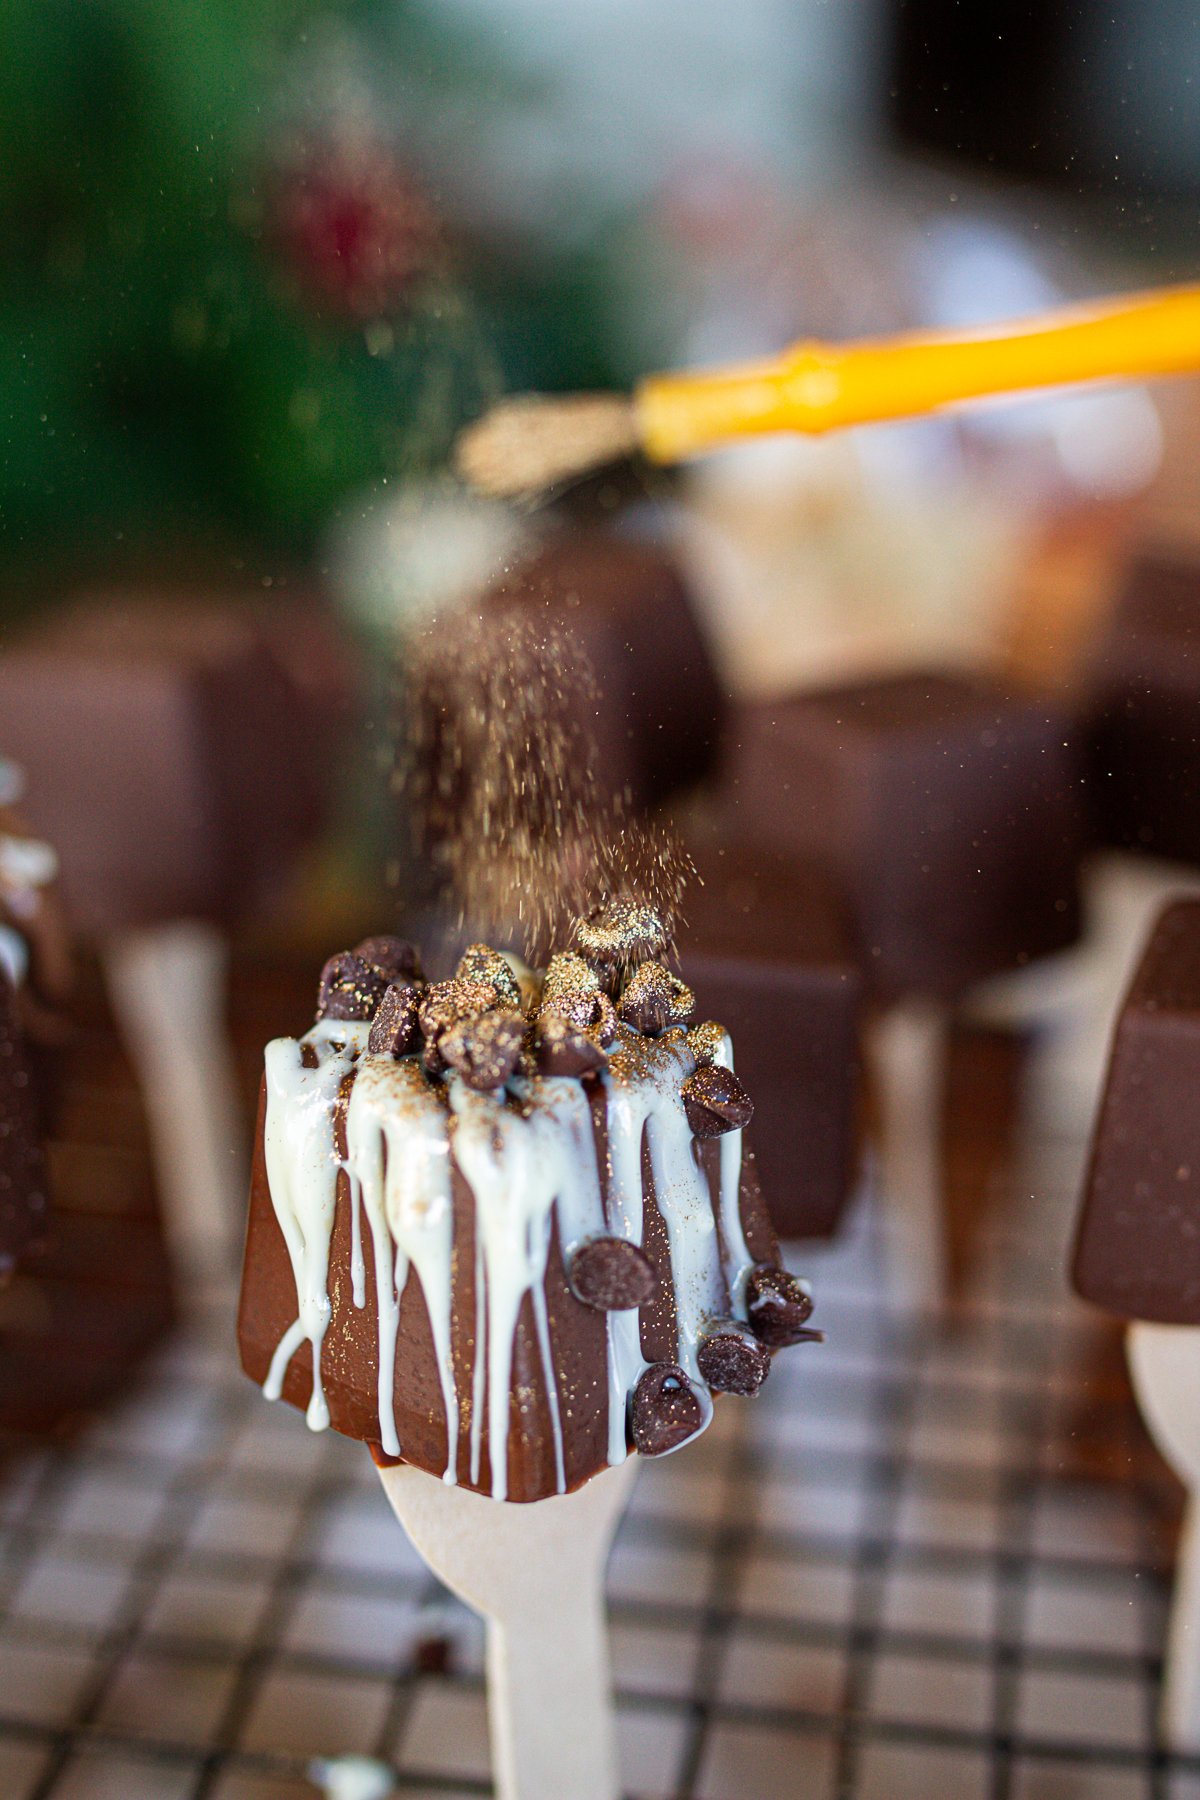
- Then, add sprinkles, edible glitter, crushed peppermint, or mini marshmallows while the coating is still soft. Any extra chocolate drips cleanly onto the paper towels below, keeping everything neat, preventing fingerprints, and making it easy to decorate several spoons at a time.
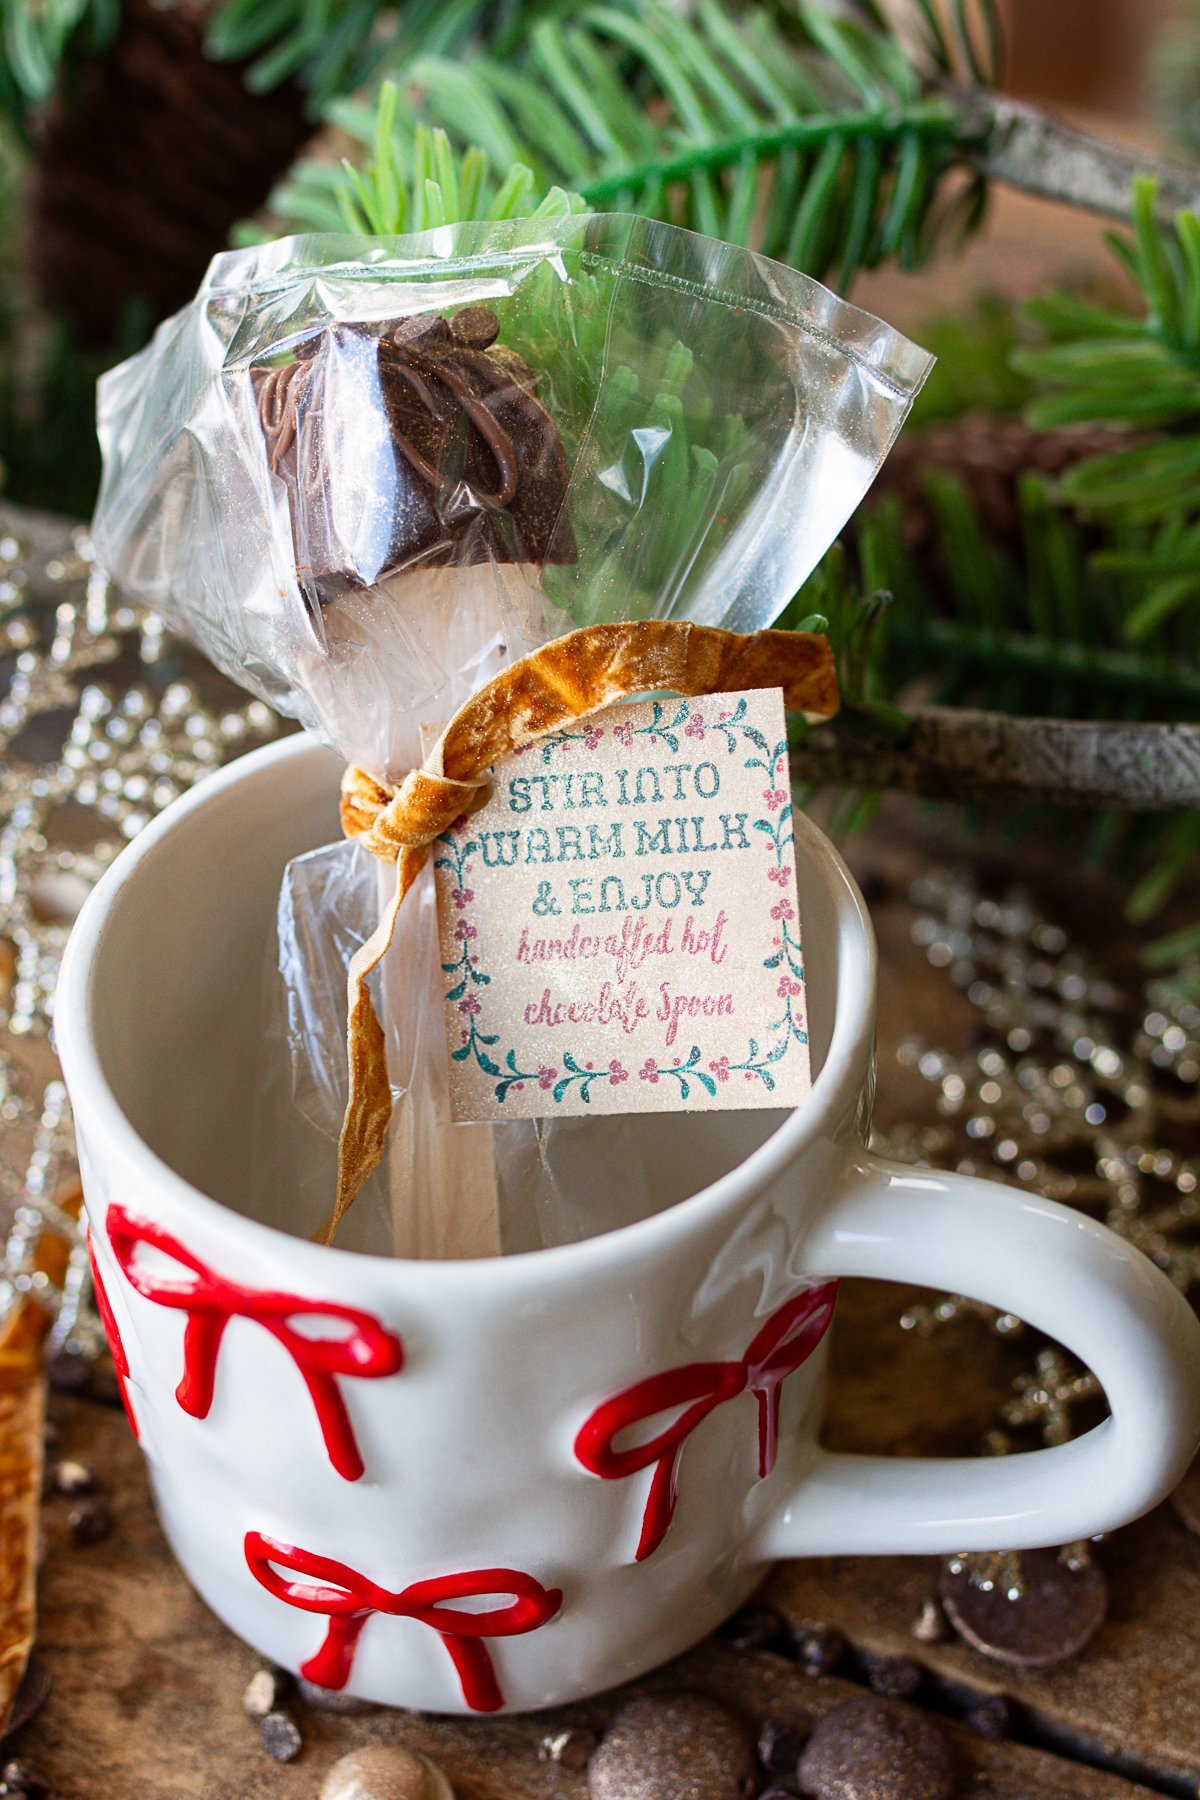
7. After decorating, let the chocolate drizzle firm up in the rack until it looks dull and dry to the touch, or place the whole setup in the fridge for 10-15 minutes if your kitchen is warm. Once the drizzle has set, lift each spoon straight out of the rack, slide the chocolate end into a clear treat bag, and smooth the bag around it for a neat fit. Gather the bag above the chocolate block, tie it with ribbon or twine, and finish by attaching the small tag.
8. When you're ready to use the spoon, warm 8 ounces of milk until it's hot but not simmering, about 160-170°F, or steaming with small bubbles forming around the edges. This temperature melts the chocolate smoothly without scorching the milk. Pour the hot milk into a mug, place the chocolate spoon inside, and stir slowly until the block dissolves into a rich, creamy cup of cocoa.
Variations or Different Ways to Use Them
Peppermint Hot Chocolate Spoons
Crushed candy cane sprinkled on top gives a bright, festive flavor.
Salted Caramel Spoons
Drop a caramel bit into the mold before adding chocolate, then drizzle more caramel over the top.
Mexican Hot Chocolate Spoons
A pinch of cinnamon and chili powder adds gentle warmth.
Mocha Spoons
Add a touch of espresso powder to the melted chocolate for a coffeehouse-style mug.
They're also wonderful paired with these easy candy caramels, homemade marshmallows, or our favorite Christmas sugar cookies.
FAQ About Chocolate Spoons
Each spoon needs about two tablespoons of melted chocolate, which comes out to roughly one ounce once it fully sets. This amount gives the spoon enough weight and richness to melt into a creamy cup of cocoa without being overly thick or heavy. If you prefer a stronger hot chocolate, increase the amount slightly.
They can melt in hot water, but the flavor will be much lighter and not nearly as creamy. These spoons are designed for warm whole milk, which supports the chocolate's cocoa butter and gives the drink a smooth, velvety finish. Hot water dissolves the chocolate but won't bring out the same depth. The drink will taste thinner. For the best experience use whole milk if possible.
Homemade hot chocolate stirrers are made by melting high-quality chocolate, pouring it into a mold, and inserting a spoon or stick while the chocolate cools. Once the base hardens, drizzle with chocolate, decorate as desired. When stirred into hot milk, the chocolate block melts into a rich cup of cocoa.
One hot chocolate spoon is perfect for 8 ounces of warm milk, which creates a creamy, balanced cup of cocoa. If you like your cocoa extra rich, you can reduce the milk to 6 ounces. Heat the milk to about 160-170°F, or until it's steaming but not boiling. This temperature melts the chocolate smoothly without scorching the milk.
Plastic spoons are not recommended. When dipped into hot liquid, some plastics can soften or release an off-taste, and they don't hold up well under the weight of a chocolate block. Wooden spoons are sturdy, heat-safe, and have a classic, gift-ready look.
Storage Tips
Store finished spoons in clear treat bags or an airtight container. If stacking, add parchment between layers to protect decorations. Keep them away from sunlight or heat to avoid chocolate bloom. Store for up to four months in a cool dark place.
Closing Thoughts from the Homestead
Making these hot chocolate spoons becomes one of those December traditions the kids look forward to. Let them help with the sprinkles and ribbons. I love that it's a simple gift that carries so much warmth. I hope your home enjoys them as much as we do.
If you make a batch, I'd love to see them. You can always find me sharing our daily homestead life on Instagram.

Other Homemade Gifts To Make:
Hot Chocolate Spoons
Ingredients
- 4 oz Cambie Milk Chocolate Couverture
- 4 loz Cambie Dark Chocolate Couverture
- ¼ teaspoon Vanilla Bean Paste
- 1 pinch fine sea salt
- ½ teaspoon coconut oil or cocoa butter
- Crushed peppermint or white chocolate for decorating
- 28 Wooden Spoons
Instructions
- Melt chocolate wafers in a double boiler with coconut oil until smooth.
- Stir in vanilla paste and salt.
- Fill silicone molds three quarters full and stand a wooden spoon in each. Chill until set.
- Remove spoons and drizzle more chocolate over tops.
- Decorate immediately.
- Chill again until firm. Wrap in plastic and attach tags.
- Stir spoon into 8 oz hot milk to serve.


These Hot Chocolate Spoons have become one of my favorite Christmas projects. They melt smoothly into warm milk and create the richest, creamiest cocoa, no grainy texture, no weak flavor, just deep chocolate and cozy vanilla warmth.