Homemade Hot Pepper Jelly Water Bath Canning Recipe
This homemade hot pepper jelly recipe is the ultimate way to preserve a backyard jalapeño harvest. Originally passed down from my dad's coworker years ago, this sweet and spicy blend quickly became a staple in our family's canning tradition. I have made this exact recipe every single summer on the homestead. It delivers a flawless, crystal-clear set and a time-tested flavor that beats any store-bought alternative.
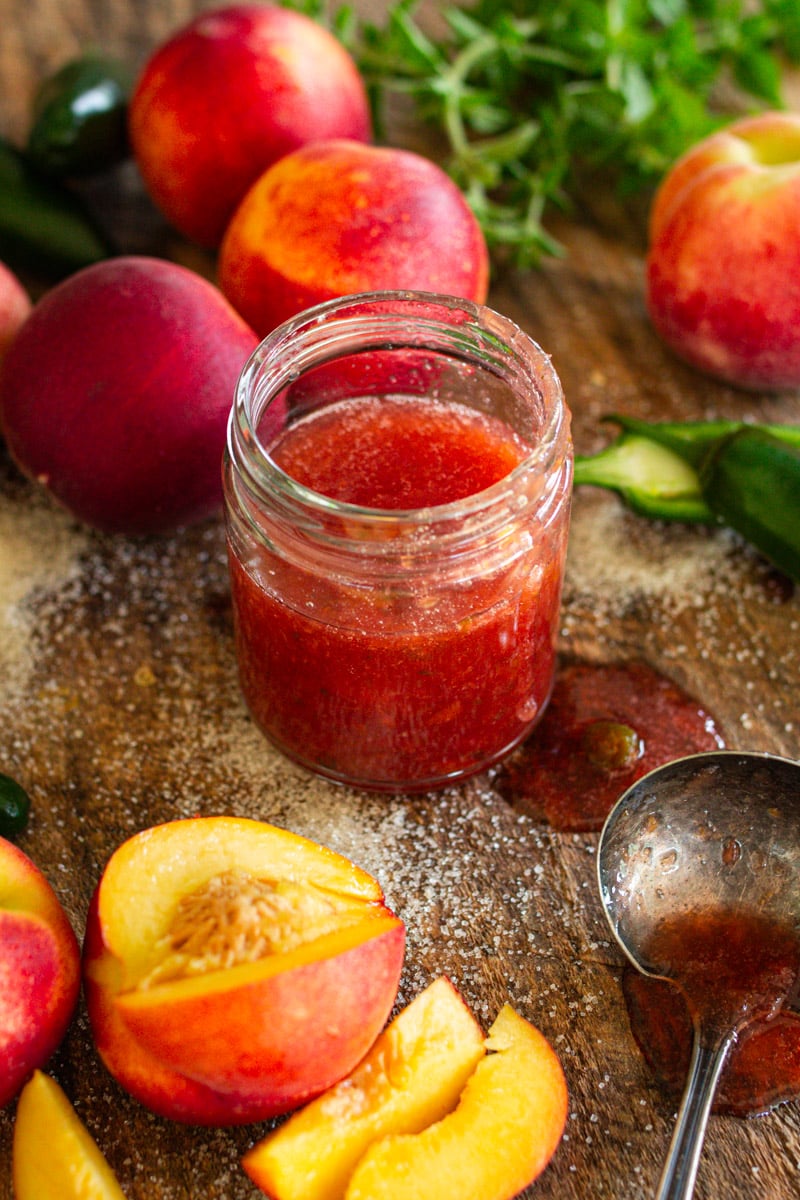
The unique, addicting flavor makes of this pepper jelly makes it a necessity for winter charcuterie boards and quick holiday appetizers. My jalapeño plants always thrive in the garden, and this simple water bath recipe is my favorite way to use up an extra harvest. Once you master this easy pepper jelly method, you can keep the home preservation momentum going by checking out my Honeysuckle jam recipe or making a batch of peach jalapeno jam.

Managing a Bumper Crop of Jalapeños
If you've ever stood in your kitchen staring at a mountain of garden jalapeños wondering how on earth you're going to use them before they go soft, this recipe is your answer. It takes less than 30 minutes of hands-on time to turn a counter full of chaotic garden produce into a row of beautiful, shelf-stable pantry jewels.

A Quick Look at This Hot Pepper Jelly
🌶️ The Flavor: A delicious balance of sweet sugar, tangy vinegar, and just the right spicy pepper kick.
✨ The Texture: Crystal-clear, perfectly set jelly with tiny flecks of fresh peppers and onions throughout.
🥫 The Canning Method: A simple, beginner-friendly water bath recipe that creates a shelf-stable pantry favorite.
🍽️ The Versatility: Easily customize the heat from mild and sweet to bold and fiery to match your family's taste.
Jump to:
- Managing a Bumper Crop of Jalapeños
- A Quick Look at This Hot Pepper Jelly
- Why You Will Love This Recipe
- Ingredient Notes & Equipment
- My Personal Testing Notes: What to Look For
- Step-by-Step Instructions: How to Make Pepper Jelly
- Serving Suggestions
- Storage and Shelf Life
- Other Jams To Try:
- Homemade Hot Pepper Jelly Water Bath Canning Recipe

Why You Will Love This Recipe
Baking and preserving from scratch lets you control exactly what goes into your family's food.
- Garden-to-Table: It is a beautiful, efficient way to preserve a bumper crop of summer jalapeños and bell peppers.
- Pantry Staples: Aside from the fresh peppers, it relies on basic kitchen ingredients like sugar and apple cider vinegar.
- The Perfect Gift: A jar of beautiful, vibrant green pepper jelly paired with a block of cream cheese makes an incredible holiday or hostess gift.
- Completely Adaptable: You can easily swap the pepper ratios to fit your exact heat preference.
Ingredient Notes & Equipment
The original recipe called for 2 cups of chopped mild green peppers and only a ¼ cup of chopped jalapeños. I prefer a lot more kick. So, I modified the measurements to use 1 cup of fresh jalapeños and 1 ¼ cups of mild bell peppers. Make it once and see what your tastebuds prefer!
- The Peppers: A mix of green bell peppers for bulk and fresh jalapeños for heat. Leave the jalapeño seeds in for extra spice, or scoop them out for a milder jelly.
- The Vinegar: Apple cider vinegar adds a wonderful, subtle fruitiness that balances the heat, but standard white vinegar works perfectly too.
- The Sugar: This recipe requires 4 ½ cups of granulated sugar. I always stock up on organic sugar from Azure Standard for my canning projects. Do not try to reduce the sugar in this specific recipe, or the jelly will not set properly.
- The Pectin: You will need one standard box of liquid pectin (or 6 tablespoons of powdered pectin) to achieve that perfect, stable gel.
My Personal Testing Notes: What to Look For
After making dozens of batches of this jelly over the years, I've learned exactly where people tend to trip up.
- The "Sheet" Test for Pectin (How to check the set): Don't just rely on a kitchen timer. To know if your jelly is ready to jar, dip a cold metal spoon into the boiling pot and lift it up sideways. The jelly shouldn't run off in thin drops like water. It should come together and slide off the edge of the spoon in a single, thick "sheet." If it sheets, your gel structure is perfect.
- The Onion Quirk: Do not skip the half-cup of minced onion. It sounds strange for a sweet jelly, but as it slow-cooks in the vinegar and sugar, it loses its raw bite and turns into a savory, clear background note that makes the pepper flavor round out beautifully.
- The Floating Pepper Problem: If you notice all your beautiful pepper flecks floating straight to the top of your jars after pouring, your jelly was a little too hot and liquid when jarred. Next time, let the pot sit off the heat for 2 to 3 minutes. Then, give it one final stir to distribute the peppers evenly right before ladling.
Step-by-Step Instructions: How to Make Pepper Jelly
Step 1: Puree the Base
Add your chopped green bell peppers, jalapeños, minced onion, and lemon juice into a food processor or blender. Process the mixture until it forms a completely smooth pepper puree. This vibrant puree will be the aromatic base of your hot jelly.
Step 2: Bring to a Full Rolling Boil
Pour the pepper puree into a large saucepan or heavy-bottomed pot. Stir in the sugar and apple cider vinegar. Bring the mixture to a full rolling boil over medium-high heat. A "rolling boil" means the bubbles cannot be stirred down with a spoon-if you stir and the boiling pauses, it's not hot enough yet. Boil hard for exactly 5 minutes, stirring constantly to prevent the sugar from scorching on the bottom of the pot.
Step 3: Add Pectin and Jar
Pour in your package of liquid pectin and let the mixture return to a hard boil for an additional 2 minutes, continuing to stir continuously. Remove the pot from the heat. Carefully ladle the hot jelly into warm, sterilized half-pint canning jars, leaving ¼ inch headspace at the top of the jar. Use a jar lifter to handle the hot glass safely. Wipe the rims clean with a damp paper towel to ensure a perfect seal, then place the flat lids and screw bands on until finger-tight.
Step 4: Water Bath Process
Lower your filled jars into a prepared water bath canner, ensuring the water covers the lids by at least one inch. Bring the water to a rolling boil and process the jars for 10 minutes (adjusting for altitude if needed). Turn off the heat and let the jars rest in the hot water for 5 minutes. Carefully remove them with your jar lifter and let them cool undisturbed on a towel-lined counter for 12 to 24 hours until the lids pop and seal.
Serving Suggestions
This homemade jelly is famous for a reason. Pour a generous amount directly over a block of softened cream cheese or goat cheese, and serve it alongside rustic crackers or sourdough crostini. It also adds a beautiful pop of color and bold flavor to a backyard charcuterie board filled with cured meats, nuts, and hard cheeses.
Storage and Shelf Life
Store your sealed jars in a cool, dark pantry or storage cupboard for up to one year. Always check that the lid is tightly sealed and doesn't flex before opening. Once you pop the seal, store the open jar in your refrigerator and enjoy it within one month.

Other Jams To Try:


Homemade Hot Pepper Jelly Water Bath Canning Recipe
Ingredients
- 1 ¼ cups green bell peppers chopped (150g)
- 1 cup jalapeño peppers chopped (120g)
- 2 tablespoons lemon juice 30g
- ½ cup onion minced (60g)
- 4 ½ cups granulated sugar 900g
- 1 cup apple cider vinegar 240g
- 1 package liquid pectin or 6 tablespoons powdered pectin (170g)
Instructions
- Puree the Base: Add the chopped bell peppers, jalapeños, minced onion, and lemon juice to a food processor or blender. Process until completely smooth. This pepper puree forms the base of your jelly.
- Bring to a Boil: Pour the pepper puree into a large saucepan and stir in the sugar and apple cider vinegar. Bring the mixture to a full rolling boil over medium-high heat, stirring constantly. Boil hard for 5 minutes.
- Add Pectin and Jar: Pour in the liquid pectin and boil hard for an additional 2 minutes, stirring continuously. Remove from the heat. Ladle the hot jelly into warm, sterilized jars, leaving ¼ inch of headspace. Wipe the rims clean and apply lids and bands until finger-tight.
- Water Bath Process: Place the jars into a boiling water bath canner, ensuring they are covered by at least one inch of water. Process for 10 minutes (adjusting for your altitude if necessary). Turn off the heat and let the jars rest in the water for 5 minutes before removing them to cool on a towel-lined counter for 12 to 24 hours. Check for proper seals before storing.
Notes
- Adjusting the Heat: For a very mild jelly, use entirely bell peppers. For a fiery kick, leave all the jalapeño seeds and ribs inside the blender.
- Safe Canning Practices: While "rebel canning" or flipping jars to achieve a seal was common in past generations, water bath processing for 10 minutes ensures a safe, shelf-stable product that won't spoil in your pantry.
- Azure Standard: I prefer using organic granulated sugar sourced in bulk from Azure Standard for all my sweet preservation projects.



This hot pepper jelly is one of my favorite canning recipes. I make it every single summer when the jalapeños are coming on strong, and it never lasts long in our pantry. The balance of sweet and heat is perfection, and it’s so good poured over cream cheese with crackers or brushed on grilled chicken. It’s simple, dependable, and turns out great every time.