Pressure Canning Green Beans: An Easy Step-By-Step Guide
As spring blooms into summer, gardeners eagerly anticipate the first harvests of the year. Among the earliest vegetables to grace the dinner table are radishes, peas, lettuces, and fresh beans, a beloved staple in many households. The arrival of these beautiful beans usher in the summer season. When you pick them, you know summer has well and truly begun.
We've waited, usually impatiently, all winter for good things to grow from our gardens again. Green beans, whether grown by yourself or sourced from local farmers' markets, mark the beginning of the canning season, offering a taste of spring once again.
In this full guide, we'll explore the art of canning green beans using both the raw packing and hot pack methods, demystifying the process and giving you to confidence to preserve your own home-canned green beans.

A Childhood Tradition:
Growing up, my mother instilled in me a love for home food preservation.
I remember the days spent picking beans alongside her, turning every leaf to get the beans hidden inside each plant. Back then, canning green beans was a practical necessity. I can still see the string beans lining the pantry shelves each fall ready for use in all the stews and side dishes mom had planned throughout the winter months. Green bean casserole takes on a whole new level of flavor when using your own green beans, trust me.
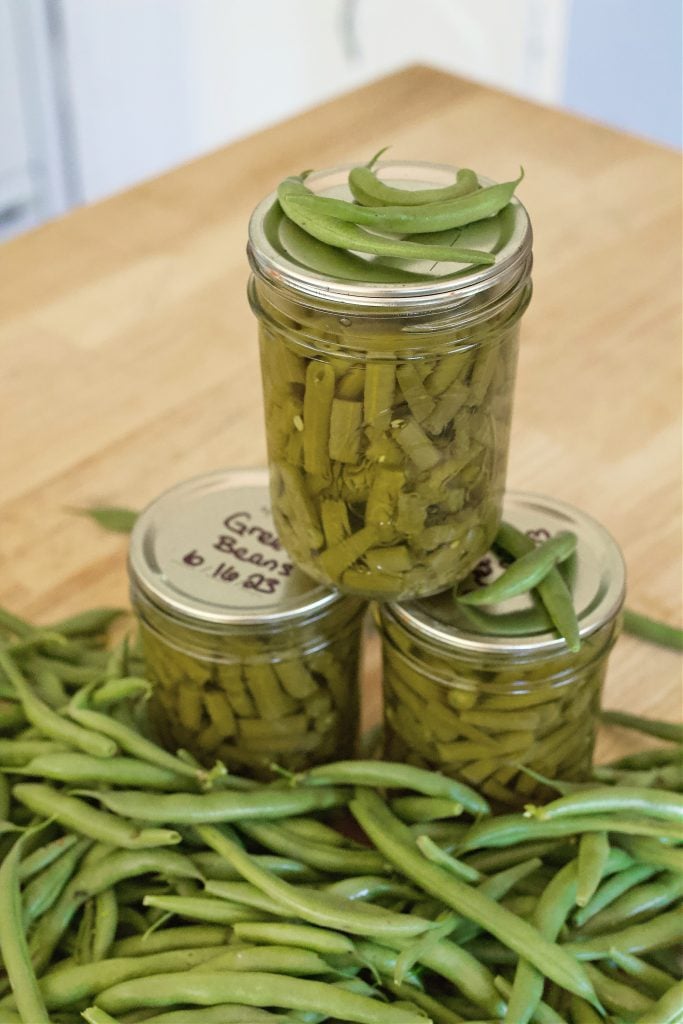
It was always comforting walking into the pantry and see the jars lining each shelf. A rainbow of colors encased in glass.
Pressure canning is the preferred method for safely canning low-acid foods
Pressure canning is ideal for: vegetables, meats, fish, and poultry.
This method is achieved through the application of pressurized steam. The pressurized steam is necessary to reach a higher temperature that destroys bacteria present in the low-acid foods, preventing the growth of botulism.
I understand that pressure canning can seem intimidating.
However, whenever I am intimidated about something or concerned with how it works I go to the source. Although there are many resources online sharing how to use a pressure canner, the best resource is the canner instructions itself.

Each pressure canned comes with comprehensive and easy-to-follow instructions that make the entire process accessible and understandable to even the most novice of home canners.
I would not recommend purchasing a pressure canner used. Especially if you're new to the process with little experience. You want to be confident the seals work and the canner can come to pressure.
Begin with a good investment and knowledge that it's ready to go. With a little guidance, pressure canning can be a fun and rewarding experience.
Getting Started:
Whether you're a seasoned home canner or a first-time enthusiast, gathering the necessary equipment and ingredients is the first step towards a successful canning journey.
You'll need:
- quart or pint jars
- a reliable pressure cooker
- a jar lifter
- canning funnel
- bubble popper
- canning salt
- fresh green beans (either from your own garden or the local grocery store)
I recommend the Presto 23-Quart Induction Compatible Pressure Canner


When you need to pressure can, and what is okay to water bath can
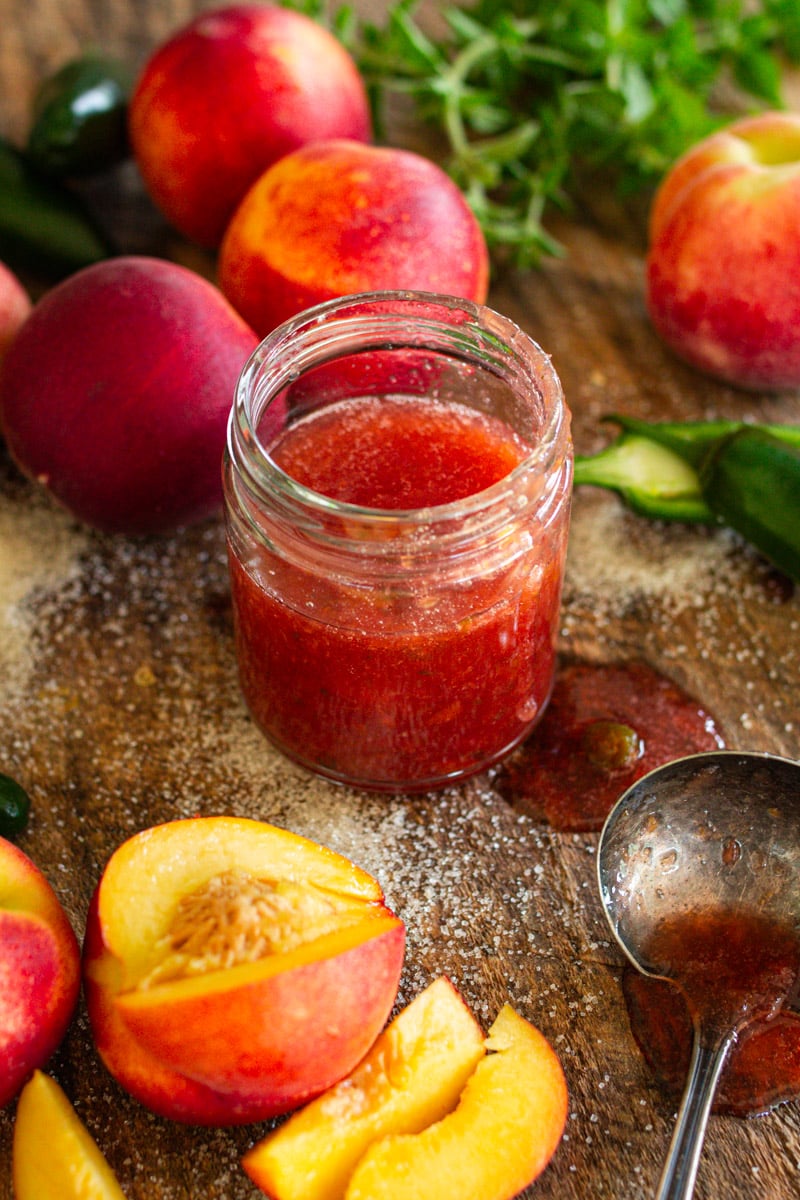
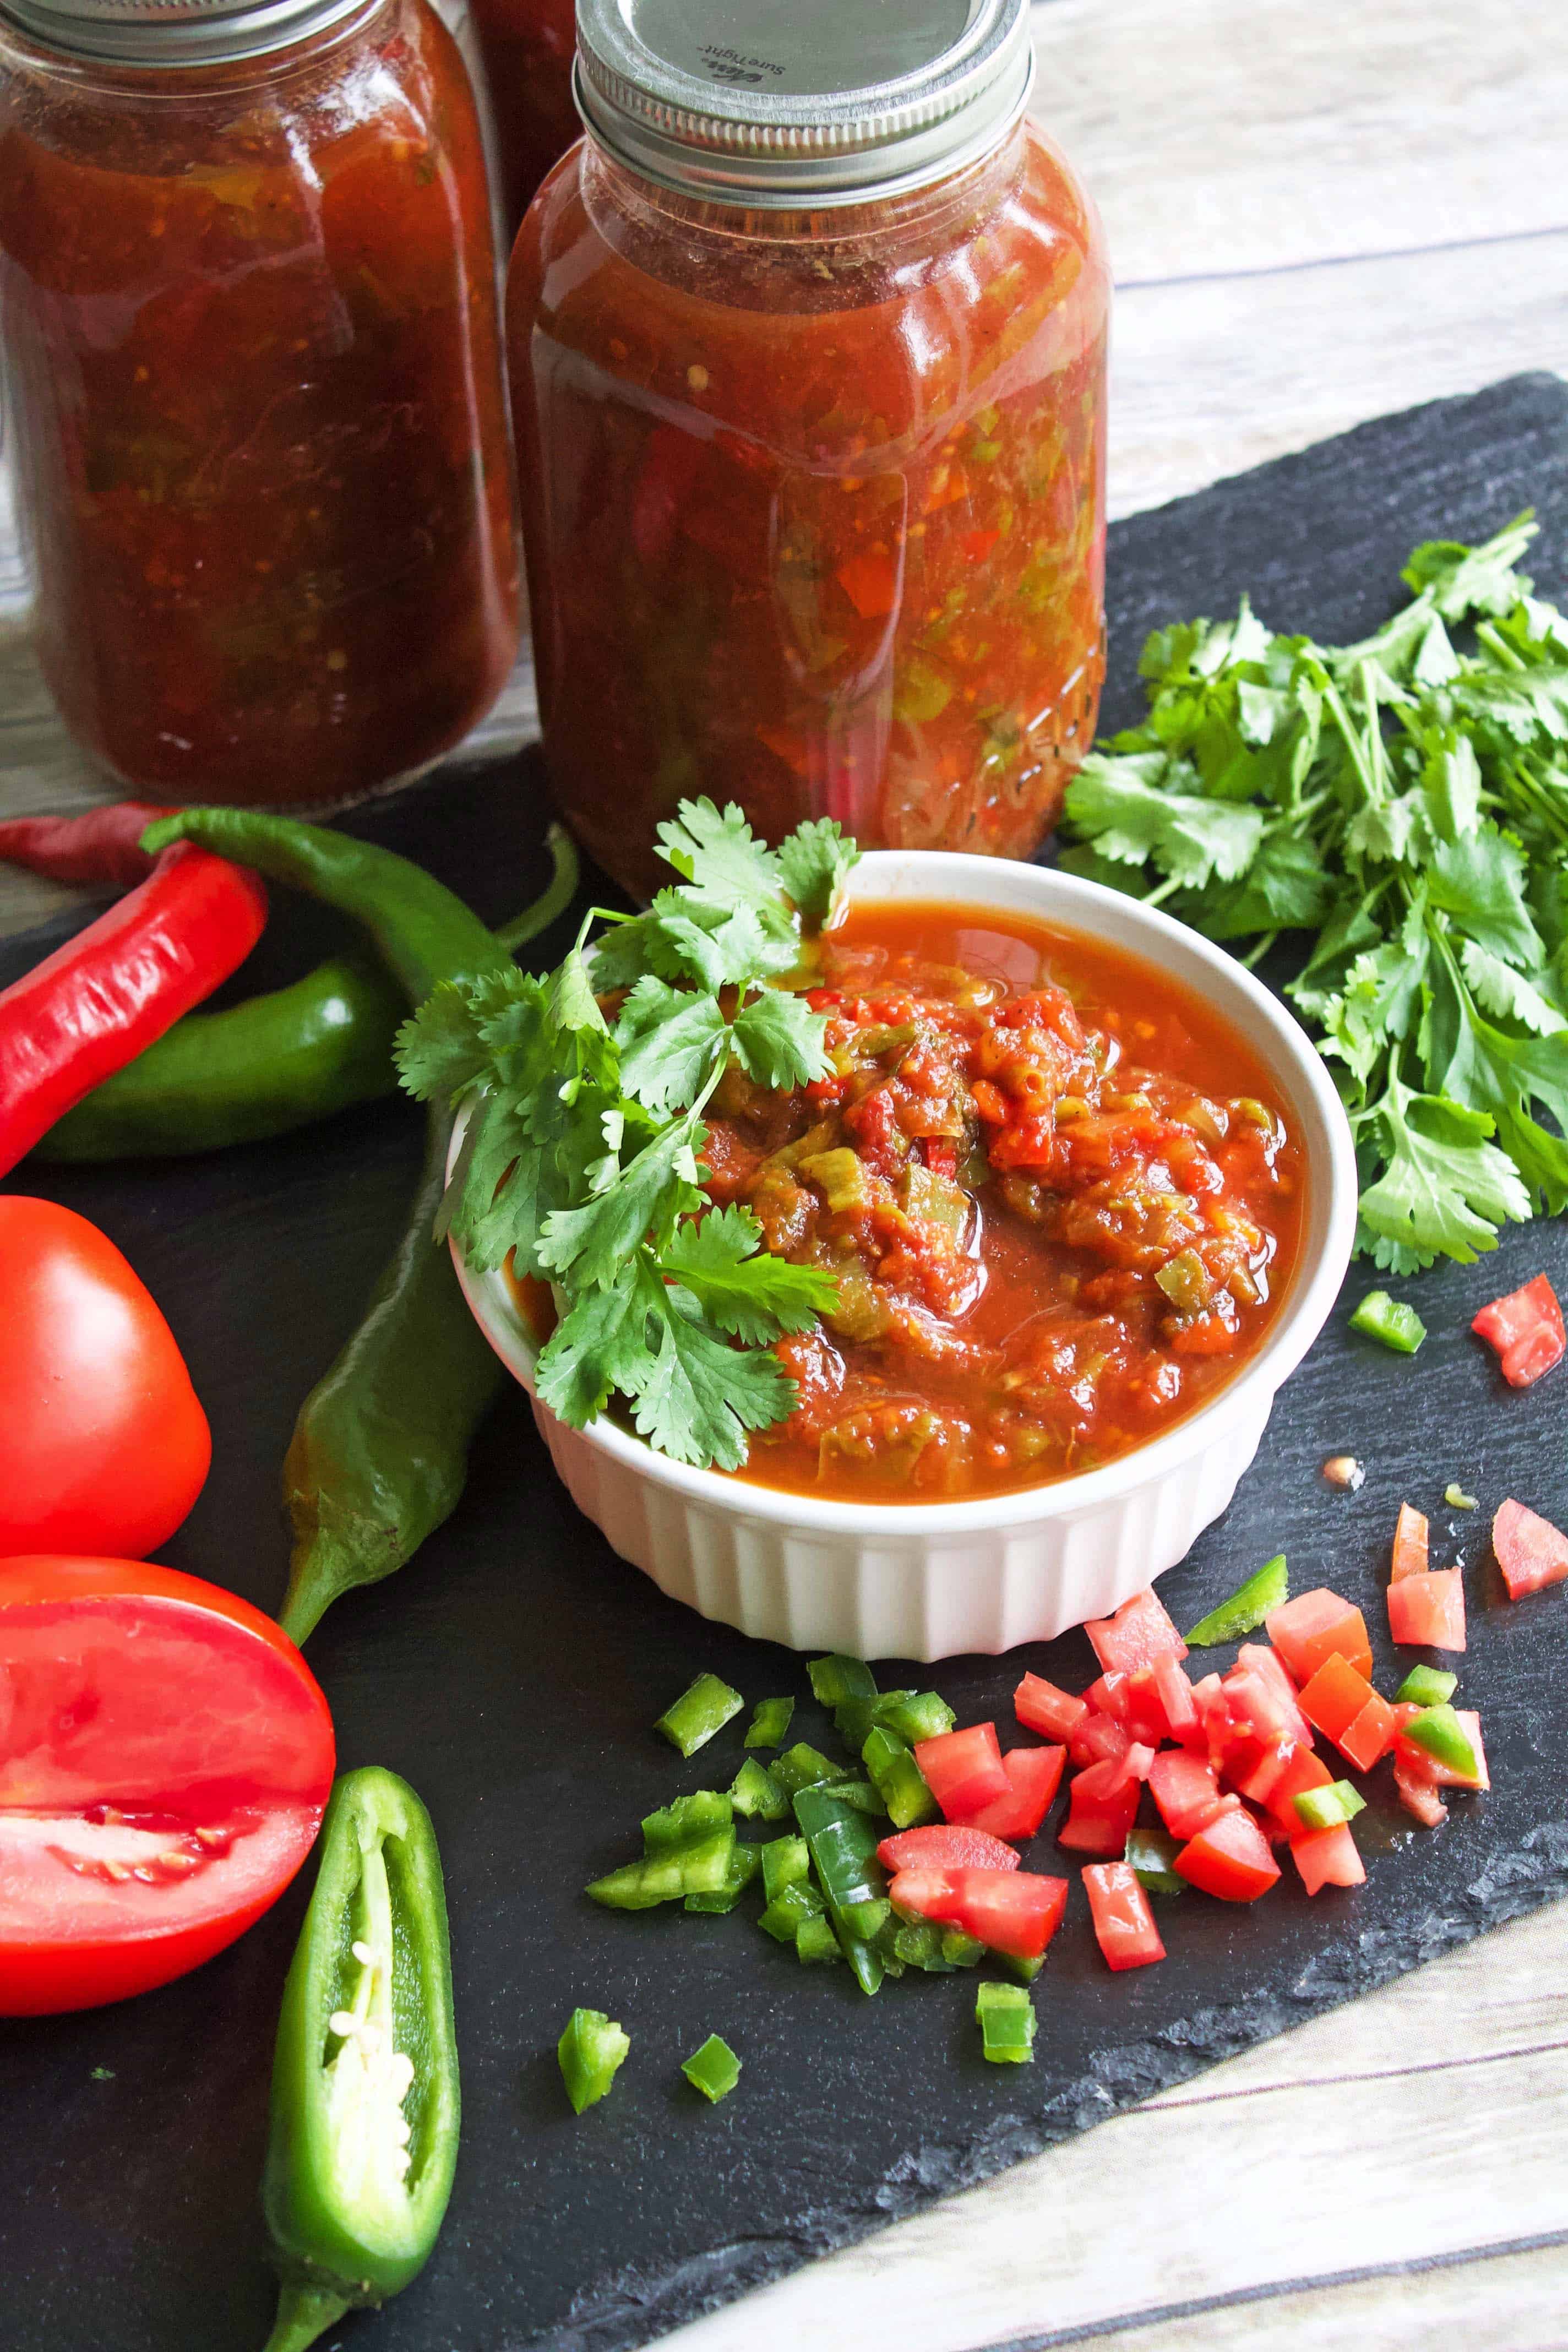
Water bath canning is only used to safely can acid foods. These include fruits, acidic tomatoes, jams and jellies, and relishes. The boiling water does not reach the temperatures necessary to destroy botulism-causing bacteria, but it does destroy yeast, mold, and some bacteria. Therefore, this method is appropriate for high-acid foods that can easily be acidic enough to prevent the growth of dangerous bacteria.

Different beans you can pressure can:
Yellow wax beans and purple beans can be processed using the same methods as green beans. Whether you're using the raw pack or hot pack method, the process for canning yellow and purple beans is virtually identical to that of green beans.
Preparing the Beans:
Before diving into the canning process, wash and trim the ends of the green beans, making sure they are clean and free from any blemishes.
Packing methods
Instructions from the booklet that came with my pressure canner:
- Hot Pack Method:
- Cover beans with boiling water and boil 5 minutes. Pack hot beans loosely in clean, hot mason jars, leaving 1 inch of head space.
- Raw Pack Method:
- Rack raw beans tightly in clean, hot mason jars leaving 1-inch head space.
To save time, in my personal experience the raw packed method is best. My beans have always turned out great!
Once beans are packed, add ½ teaspoon salt for pint jars, and 1 teaspoon salt for quart jars.
Why add salt?
Salt serves several purposes when canning:
- Flavor Enhancement: Salt enhances the natural flavor of the green beans, making them more enjoyable to eat. It adds a subtle savory element that complements the earthy sweetness of the beans.
- Preservation: Salt acts as a natural preservative by inhibiting the growth of bacteria and other microorganisms that can spoil the food. While pressure canning itself is an effective method of preservation, the addition of salt further extends the shelf life of the canned green beans.
- Texture Improvement: Salt helps to retain the firmness and texture of the green beans during the canning process. It can prevent the beans from becoming mushy or overly soft.
- Safety: While the primary reason for adding salt to pressure canned green beans is for flavor and preservation, it also plays a minor role in food safety. Salt helps to create an environment that is less hospitable to certain types of bacteria, reducing the risk of spoilage and food borne illness.
Adding salt is a simple and effective way to enhance flavor, texture, and shelf life.
Adding the Water
Cover beans in jars with boiling water, leaving 1-inch headspace. Adjust jar lids.
Processing in the Pressure Canner:
Process at 11 pounds pressure - Pints 20 minutes and quarts 25 minutes.
Processing Time Altitude adjustments:
- 2,001 - 4,000 ft = 12 pounds of pressure
- 4,001 - 6,000 ft = 13 pounds of pressure
- 6,001 - 8,000 ft = 14 pounds of pressure
Google or simply ask Alexa what your altitude is for your zip code or city.
Notes on canner:
Most models will have a fill line inside the canner. Mine uses 3 quarts of water, but yours may be different.
Note: Don't completely cover the jars as you do in water bath canning. Place the water, canning rack, and then jars in canner. To prevent water stains on jars, you can add 2 Tablespoons white vinegar to canner water. Always use a canning rack on the bottom of your canner or jars may break.
Continuing the Tradition:
As I carry on the tradition of canning my abundance of green beans in my own home, I'm reminded of the lessons learned from my mother. The rhythmic clink of jars being filled, the hiss of steam escaping from the pressure canner-these sounds bring back memories of springs spent preserving the bounty of our garden. With each jar of home-canned green beans, I honor the legacy of generations past and create new memories to share with my friends and loved ones.
Canning green beans is not only a practical way to preserve the abundance of spring but also a rewarding experience that connects us to our food and the changing seasons.
With a blend of tradition, science, and careful preparation, anyone can confidently preserve their own home-canned green beans to enjoy throughout the year. So roll up your sleeves, gather your tools, and embark on a journey of preserving spring's bounty one jar at a time. Jars of home grown beans lining your shelves will soon make your heart go pitter patter.
Happy canning!
Ingredients:
- Fresh green beans
- Canning salt
Instructions:
- Wash and trim the ends of the green beans.
- Pack the raw beans into quart jars, leaving 1-inch headspace at the top.
- Add a teaspoon of salt to each jar, if desired.
- Process the jars in a pressure canner for 20 minutes at the appropriate pounds of pressure for your altitude.
- Allow the pressure canner to cool naturally, then remove the jars and let them cool completely on a towel.
- Store the cooled jars in a cool, dark place and enjoy your home-canned green beans throughout the year.
Other ways to preserve green beans
There are many other methods for preserving green beans, each offering a slightly different flavor profile and texture. In addition to the raw pack and hot pack methods mentioned earlier.
Here are some options:
- Pickled Green Beans (Dilly Beans): Pickling green beans adds a tangy flavor and crisp texture to this beloved summer vegetable. To make dilly beans, you'll prepare a brine consisting of vinegar, water, salt, and spices such as dill seeds, garlic, and red pepper flakes. Pack raw green beans into jars along with the brine, then process in a water bath canner for a deliciously tangy treat.
- Fermented Green Beans: Fermenting green beans is another option for preserving them while enhancing their flavor and nutritional value. Simply pack raw green beans into jars along with a brine made from water and salt, ensuring the beans are fully submerged. Allow the jars to ferment at room temperature for several days to develop their signature tangy flavor before transferring them to cold storage.
- Blanch and Freeze: If you prefer a simpler method of preserving green beans, blanching and freezing them is a quick and easy option. Begin by blanching the beans in boiling water for a few minutes, then immediately transfer them to an ice water bath to stop the cooking process. Once cooled, drain the beans and pack them into freezer-safe containers or bags, removing as much air as possible before sealing. Frozen green beans can be stored for several months and used in soups, stews, and stir-fries.
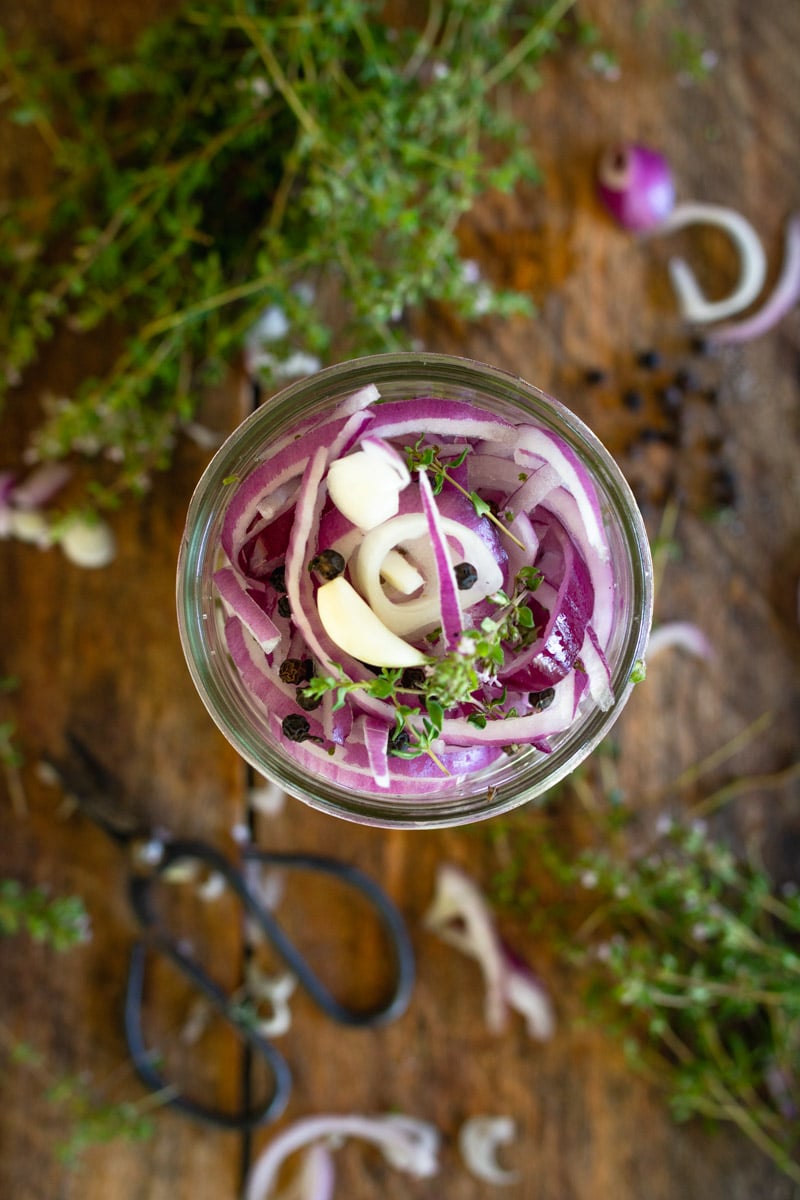
- Pressure Canning with Added Ingredients: Get creative with your green bean canning by adding additional ingredients such as onions, garlic, herbs, or spices to the jars before processing. These flavor-enhancing additions can elevate your canned green beans to new culinary heights, offering endless possibilities for customization and experimentation.
Regardless of the method you choose, canning green beans allows you to enjoy the flavors of summer long after the harvest season has passed.
Whether you prefer the crisp crunch of pickled dilly beans or the convenience of frozen green beans in your favorite recipes, there's a canning method to suit every taste and preference. So roll up your sleeves, gather your ingredients, and embark on a journey of preserving summer's bounty one jar at a time.

Canned Green Beans
Ingredients
- 15 pounds Fresh green beans
- 6 teaspoon Canning salt
Instructions
- Wash and trim the ends of the green beans.
- Pack the raw beans into quart jars, leaving 1-inch headspace at the top.
- Add a teaspoon of salt to each jar, if desired.
- Process the jars in a pressure canner for 20 minutes at the appropriate pounds of pressure for your altitude.
- Allow the pressure canner to cool naturally, then remove the jars and let them cool completely on a towel.
- Store the cooled jars in a cool, dark place and enjoy your home-canned green beans throughout the year.
Notes
There are many other methods for preserving green beans, each offering a slightly different flavor profile and texture. In addition to the raw pack and hot pack methods mentioned earlier. Here are some options:
Pickled Green Beans (Dilly Beans): Pickling green beans adds a tangy flavor and crisp texture to this beloved summer vegetable. To make dilly beans, you’ll prepare a brine consisting of vinegar, water, salt, and spices such as dill seeds, garlic, and red pepper flakes. Pack raw green beans into jars along with the brine, then process in a water bath canner for a deliciously tangy treat. Fermented Green Beans: Fermenting green beans is another option for preserving them while enhancing their flavor and nutritional value. Simply pack raw green beans into jars along with a brine made from water and salt, ensuring the beans are fully submerged. Allow the jars to ferment at room temperature for several days to develop their signature tangy flavor before transferring them to cold storage. Blanch and Freeze: If you prefer a simpler method of preserving green beans, blanching and freezing them is a quick and easy option. Begin by blanching the beans in boiling water for a few minutes, then immediately transfer them to an ice water bath to stop the cooking process. Once cooled, drain the beans and pack them into freezer-safe containers or bags, removing as much air as possible before sealing. Frozen green beans can be stored for several months and used in soups, stews, and stir-fries. Pressure Canning with Added Ingredients: Get creative with your green bean canning by adding additional ingredients such as onions, garlic, herbs, or spices to the jars before processing. These flavor-enhancing additions can elevate your canned green beans to new culinary heights, offering endless possibilities for customization and experimentation.
Nutrition

Make sure to follow along on IG and if you make these, tag me over on Instagram.


This green bean canning guide made the entire pressure canning process feel approachable and doable. The step-by-step instructions are clear, the altitude adjustments are easy to follow, and the beans turn out perfectly tender every time. There’s nothing more satisfying than seeing rows of home-canned green beans lining the pantry shelves, ready for soups, casseroles, and cozy winter meals.