Easy Homemade Marshmallows Recipe (No Corn Syrup!)
If you've ever wanted to try making marshmallows at home but were turned off by high-fructose corn syrup or fussing with candy thermometers, this recipe is a total game-changer. I didn't invent this recipe, it was passed down to me from a friend who got it from a friend, and the minute I tried it, I knew it had a permanent spot in our homestead kitchen!
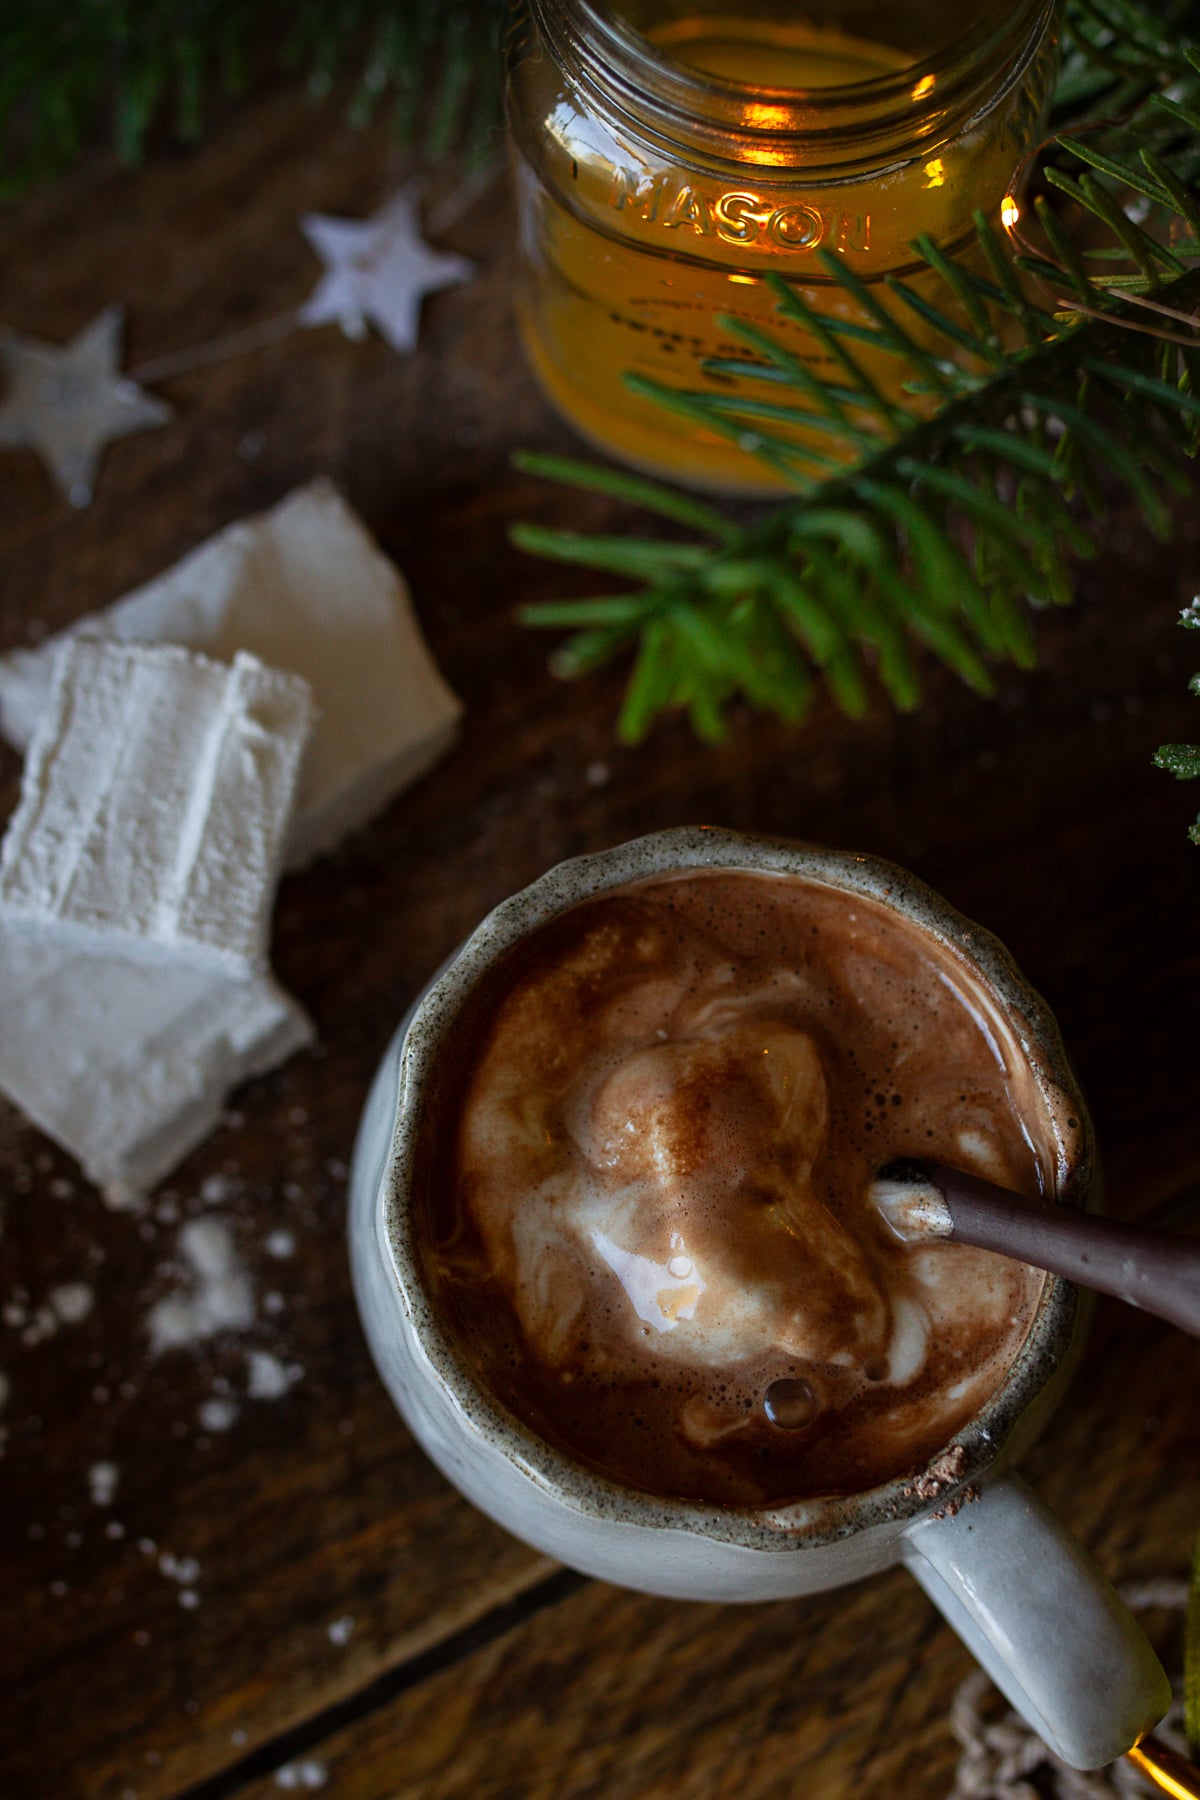
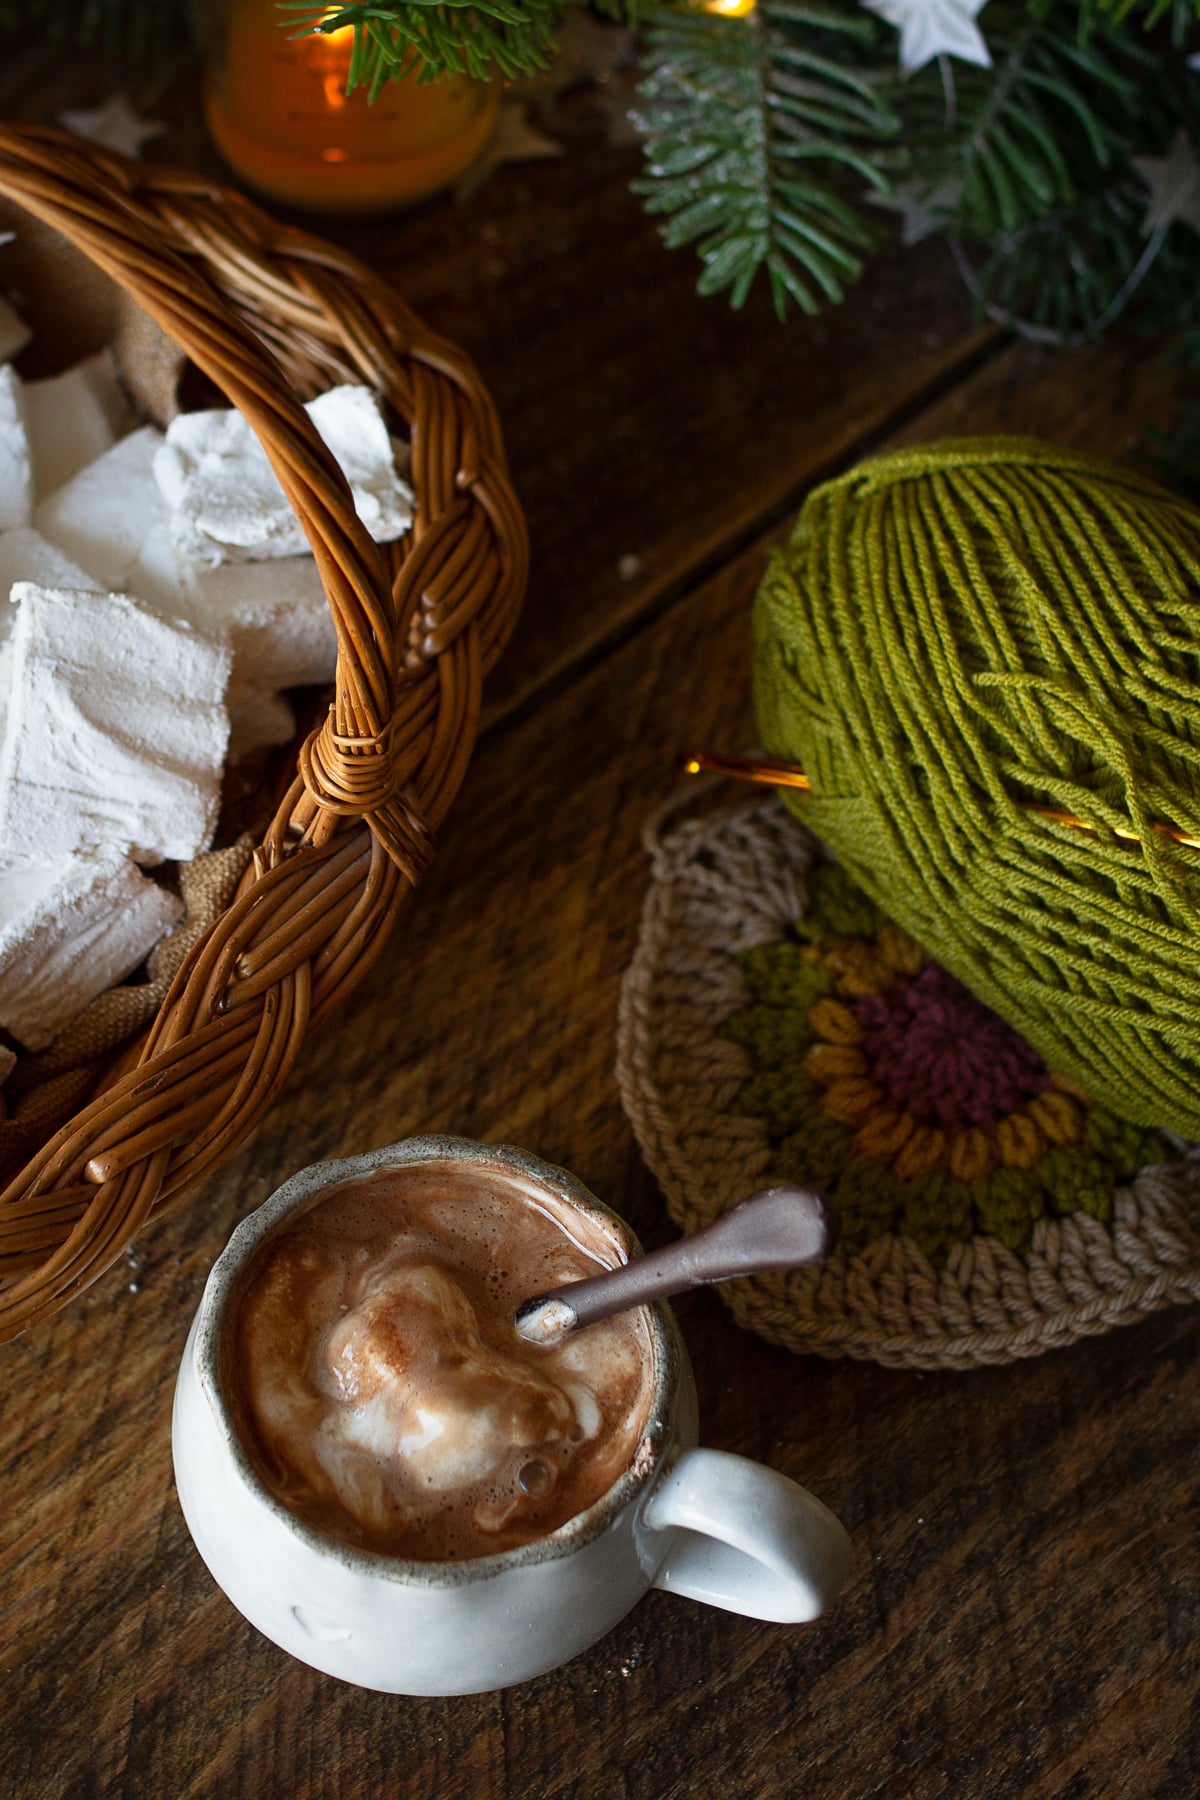
We strictly avoid high-fructose corn syrup in our house (just like with my favorite Homemade Candy Caramels), and finding a simple, corn-syrup-free marshmallow recipe used to feel almost impossible. Most traditional recipes rely heavily on corn syrup or demand precise softball stage temperature checks. This version uses basic pantry sugar, comes together with zero fuss, and whips up into the pillowy, cloud-like marshmallows of your dreams. We make our Homemade Hot Cocoa Mix year-round on the farmstead, and having a batch of these sweet, soft marshmallows sitting on the counter to drop into a steaming mug is pure heaven!
Quick Look at These Easy Marshmallows
☁️ Texture & Flavor: Soft, fluffy vanilla marshmallows that put the store-bought bags to shame
⏱️ Time: About 10 minutes at the stove, then let your KitchenAid do the whipping. Smooth into a pan, let cool until set, cut into squares!
🍬 Yield: 12 large marshmallows or about 30 smaller squares
🫙 Simple Ingredients: Sugar, gelatin, water, vanilla, and a pinch of salt. Nothing fancy!
✨ Why I Love This Recipe: No corn syrup, no candy thermometer, and surprisingly little hands-on work
☕ Best Enjoyed: Melting into a mug of homemade hot cocoa, tucked into s'mores, or eaten straight from the jar
🎄 Make Ahead: They keep for up to two weeks in an airtight container, making them perfect for Christmas gifting or keeping the pantry stocked all winter long
SUMMARIZE & SAVE THIS CONTENT ON
Why You'll Love These Corn-Syrup-Free Marshmallows
- Zero High-Fructose Corn Syrup: Made with 100% natural granulated sugar, water, and pure gelatin.
- No Candy Thermometer Needed: Unlike traditional confectionery recipes that require precise boiling stages, this recipe simply boils the sugar-gelatin syrup briefly before whipping.
- Pillowy, Cloud-Like Texture: Superior flavor and lightness compared to stiff, store-bought bag marshmallows.
- Perfect for Gifting & Cocoa: Drops beautifully into hot cocoa, melts like a dream, and makes a gorgeous homemade holiday gift packed in cellophane bags!
Ingredients
Understanding why each ingredient is used helps ensure your marshmallows whip up light and airy every single time:
- Unflavored Gelatin: The essential structural backbone (like Knox envelopes). Soaking it in cold water allows it to "bloom" so it dissolves smoothly into the hot syrup.
- Cold Water: Divided into two parts-one to bloom the gelatin and one to dissolve the sugar into a clean syrup.
- Granulated Sugar: Provides clean, pure sweetness without needing corn syrup or glucose.
- Fine Sea Salt: A tiny pinch balances the sweet sugar and brings out the vanilla flavor.
- Pure Vanilla Extract: Adds that classic warm, nostalgic marshmallow flavor.
- Powdered Sugar: For dusting the pan and coating the cut squares so they don't stick to your fingers!
Instructions
- Prep Pan & Bloom Gelatin: Dust an 8-inch square pan generously with powdered sugar. In a small bowl, sprinkle the gelatin over 8 tablespoons of cold water and set it aside to bloom.
- Dissolve & Short Boil: Combine granulated sugar and cup of cold water in a heavy saucepan over medium heat, stirring for about 5 minutes until dissolved. Stir in the bloomed gelatin, bring to a full boil for just 30 seconds, and immediately remove from heat.
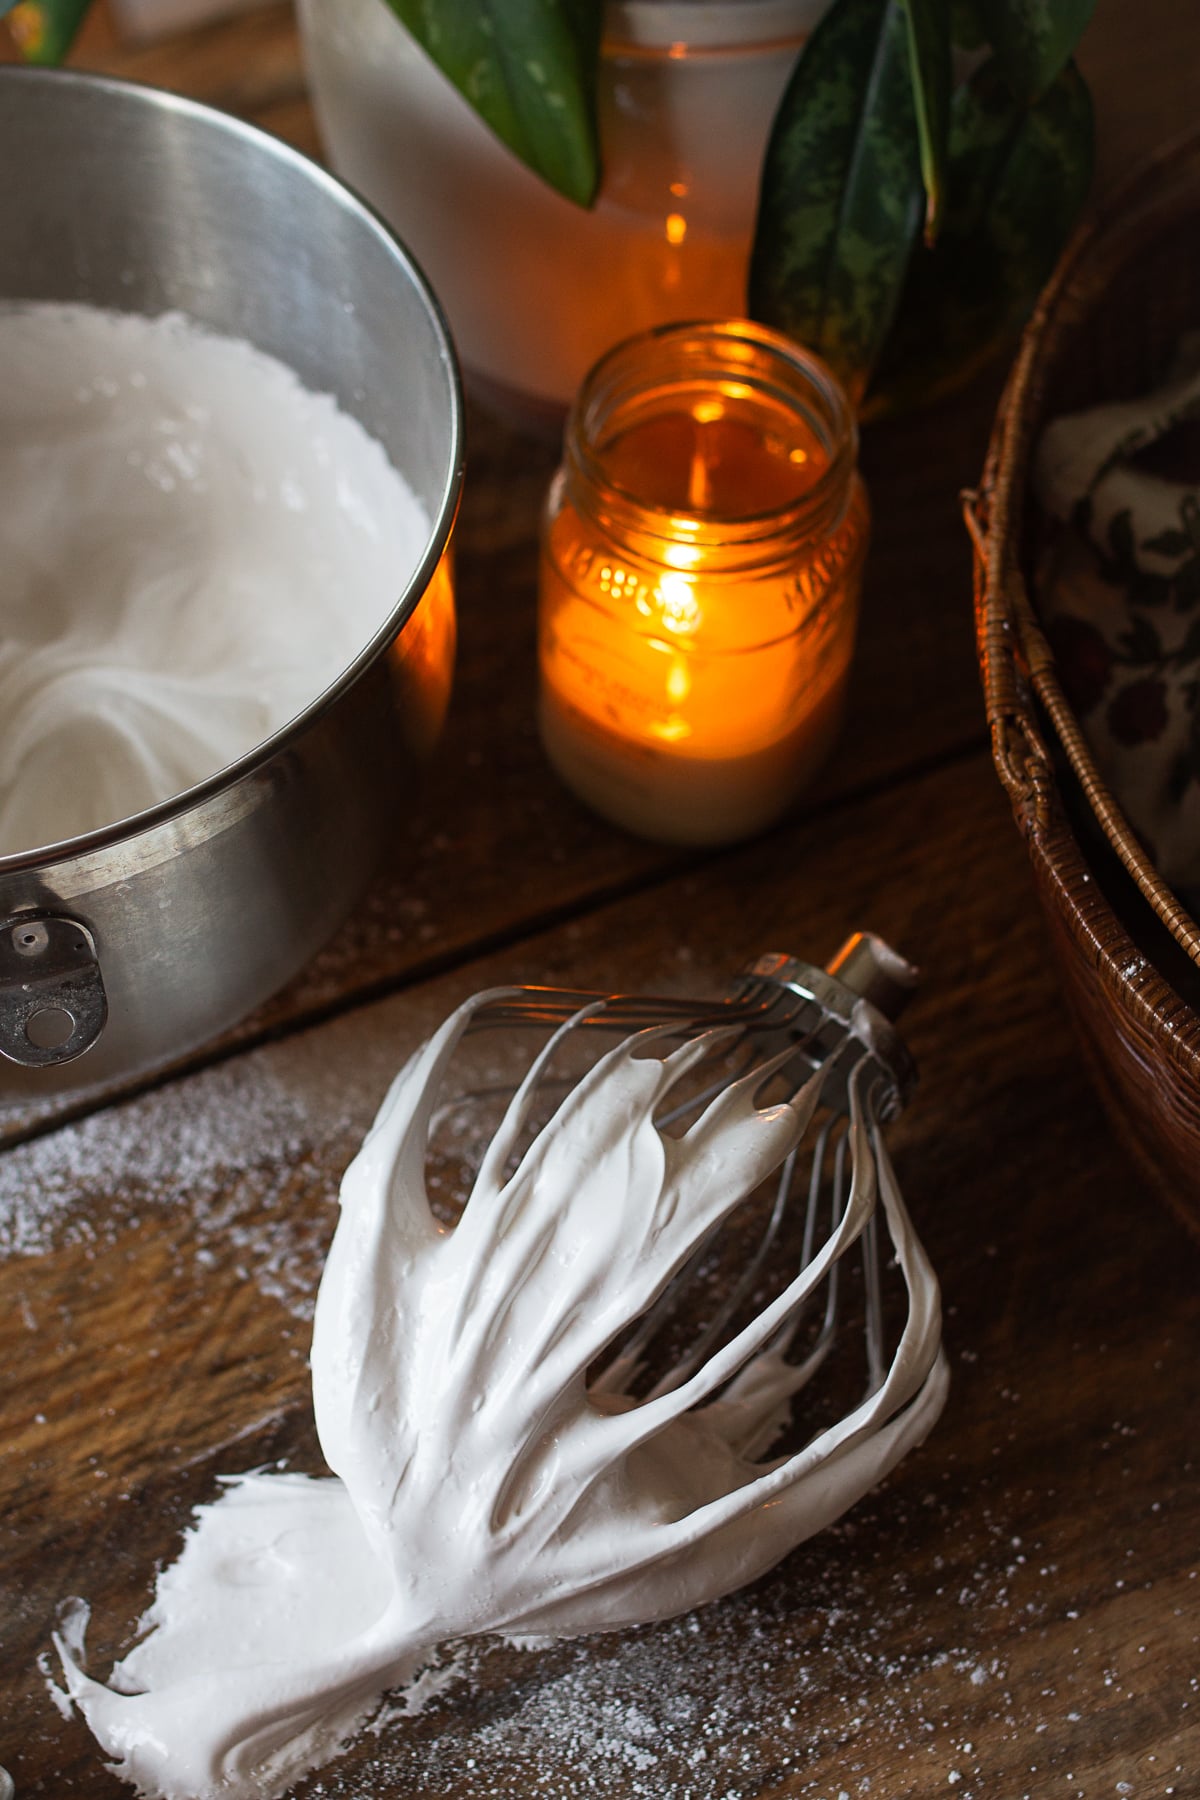
- Rest & Whip in the KitchenAid: Pour the hot syrup directly into your KitchenAid bowl and let it sit for about 10 minutes to cool slightly. Add the salt and vanilla extract, then turn on the whisk attachment-in a stand mixer, it takes only about 7 minutes of hands-free whipping to turn thick, bright white, and double in size! (If using a handheld electric mixer, beat on high speed for 10 to 12 minutes).
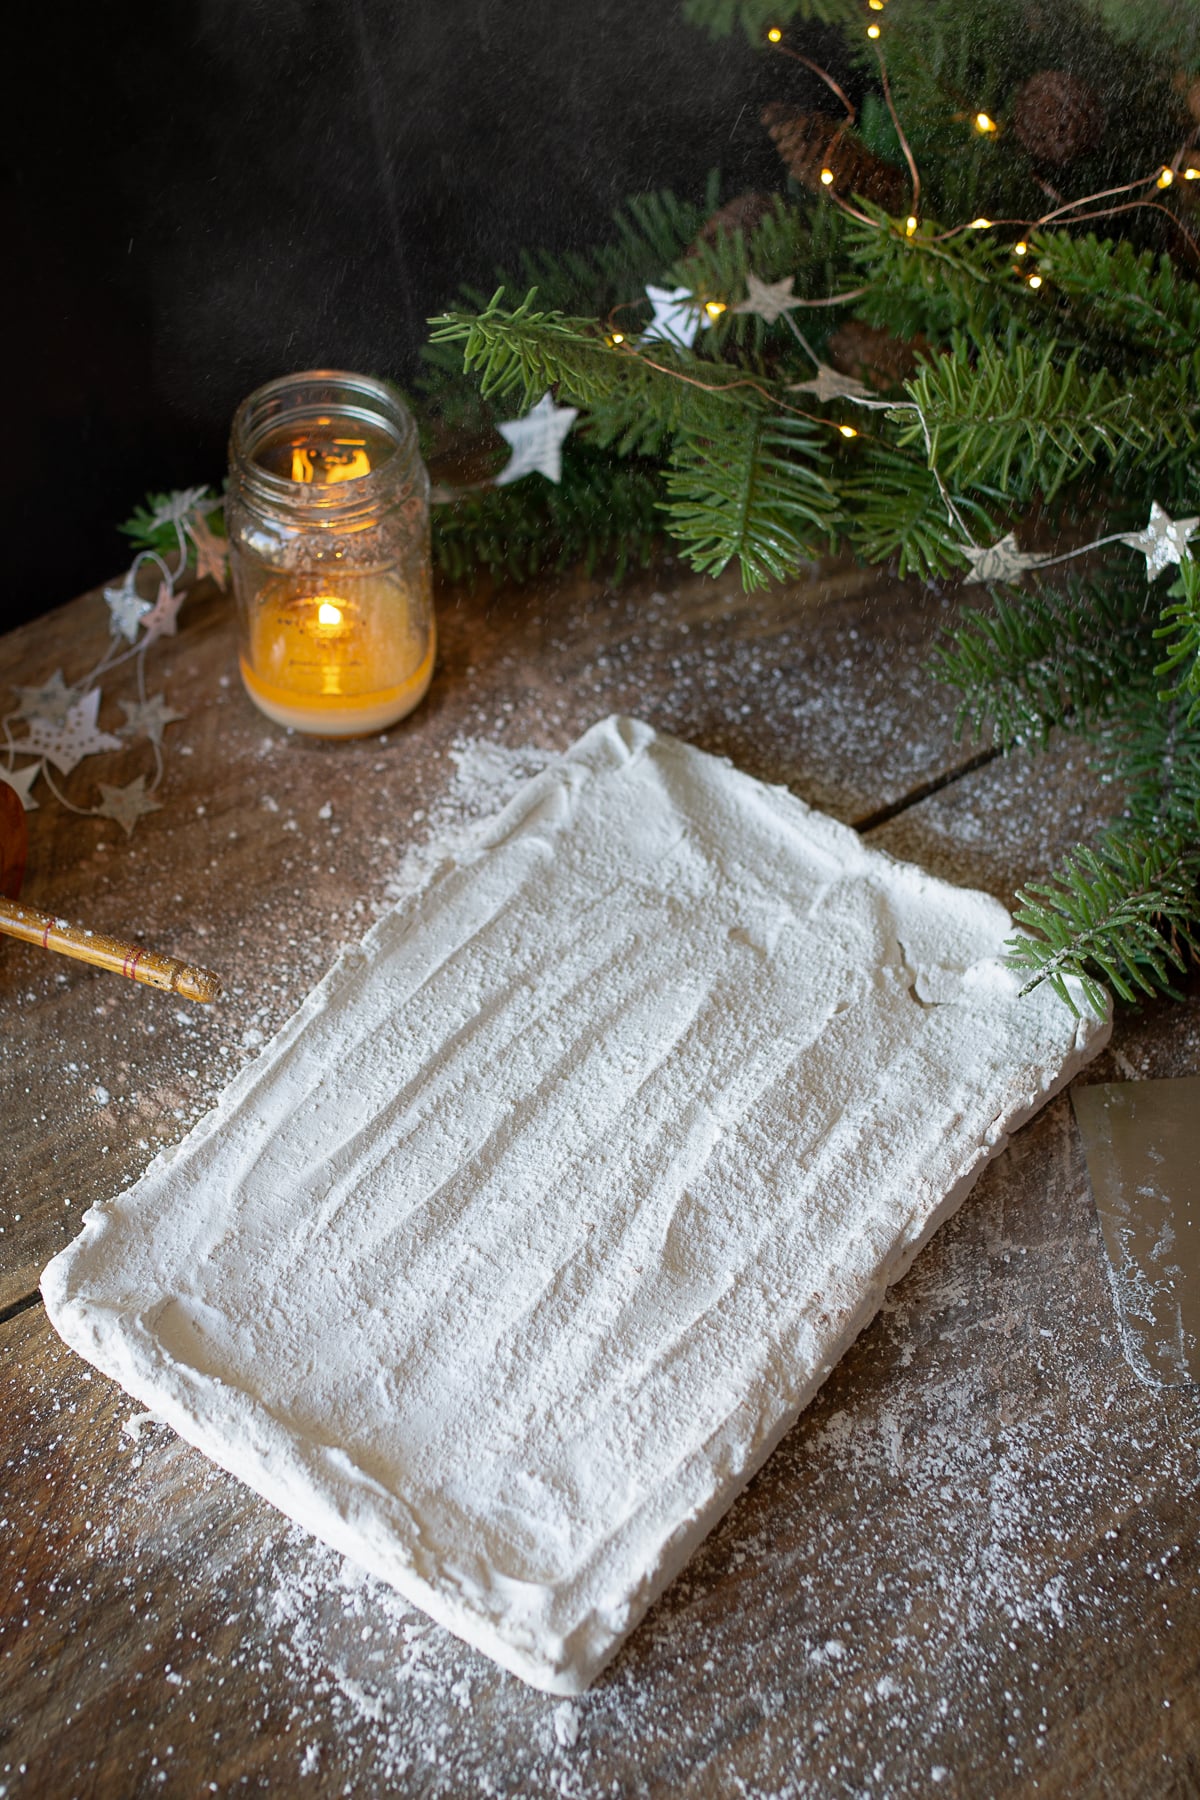
- Set, Cut & Toss: Pour the fluffy marshmallow mixture into your prepared pan and let sit at room temperature for 35 to 45 minutes until set. Slice into squares with a dusted knife and toss in powdered sugar, arrowroot powder, or toasted coconut to coat!
Eryn's Homestead Hint: Using a KitchenAid stand mixer makes this the easiest, hands-off recipe ever! You can walk away for those 7 minutes while it whips up into cloud-like fluff. If you are using a standard hand mixer with beaters, it will still turn out great, just expect it to take a few extra minutes of holding the mixer.
Substitutions & Flavor Variations
- Dusting Alternatives: If you want to avoid cornstarch-based powdered sugar, use arrowroot powder or potato starch mixed with powdered sugar. You can also roll the sticky marshmallow squares in toasted coconut or unsweetened cocoa powder!
- Flavor Extracts: Swap the vanilla extract for peppermint extract (perfect for winter cocoa!), almond extract, or maple extract.
- Natural Sugars: Readers have successfully substituted sucanat, raw cane sugar, or maple sugar for a deeper, caramel-toned marshmallow.
Equipment
- 13"x9" Pan: For shaping and setting your marshmallow slab.
- Heavy Saucepan: Ensures the sugar dissolves evenly without scorching.
- Stand Mixer or Electric Hand Mixer: Crucial for whipping enough air into the gelatin syrup.
- Chef's Knife or Pizza Cutter: Dust the blade with powdered sugar for clean, effortless slices!
Storage & Shelf Life
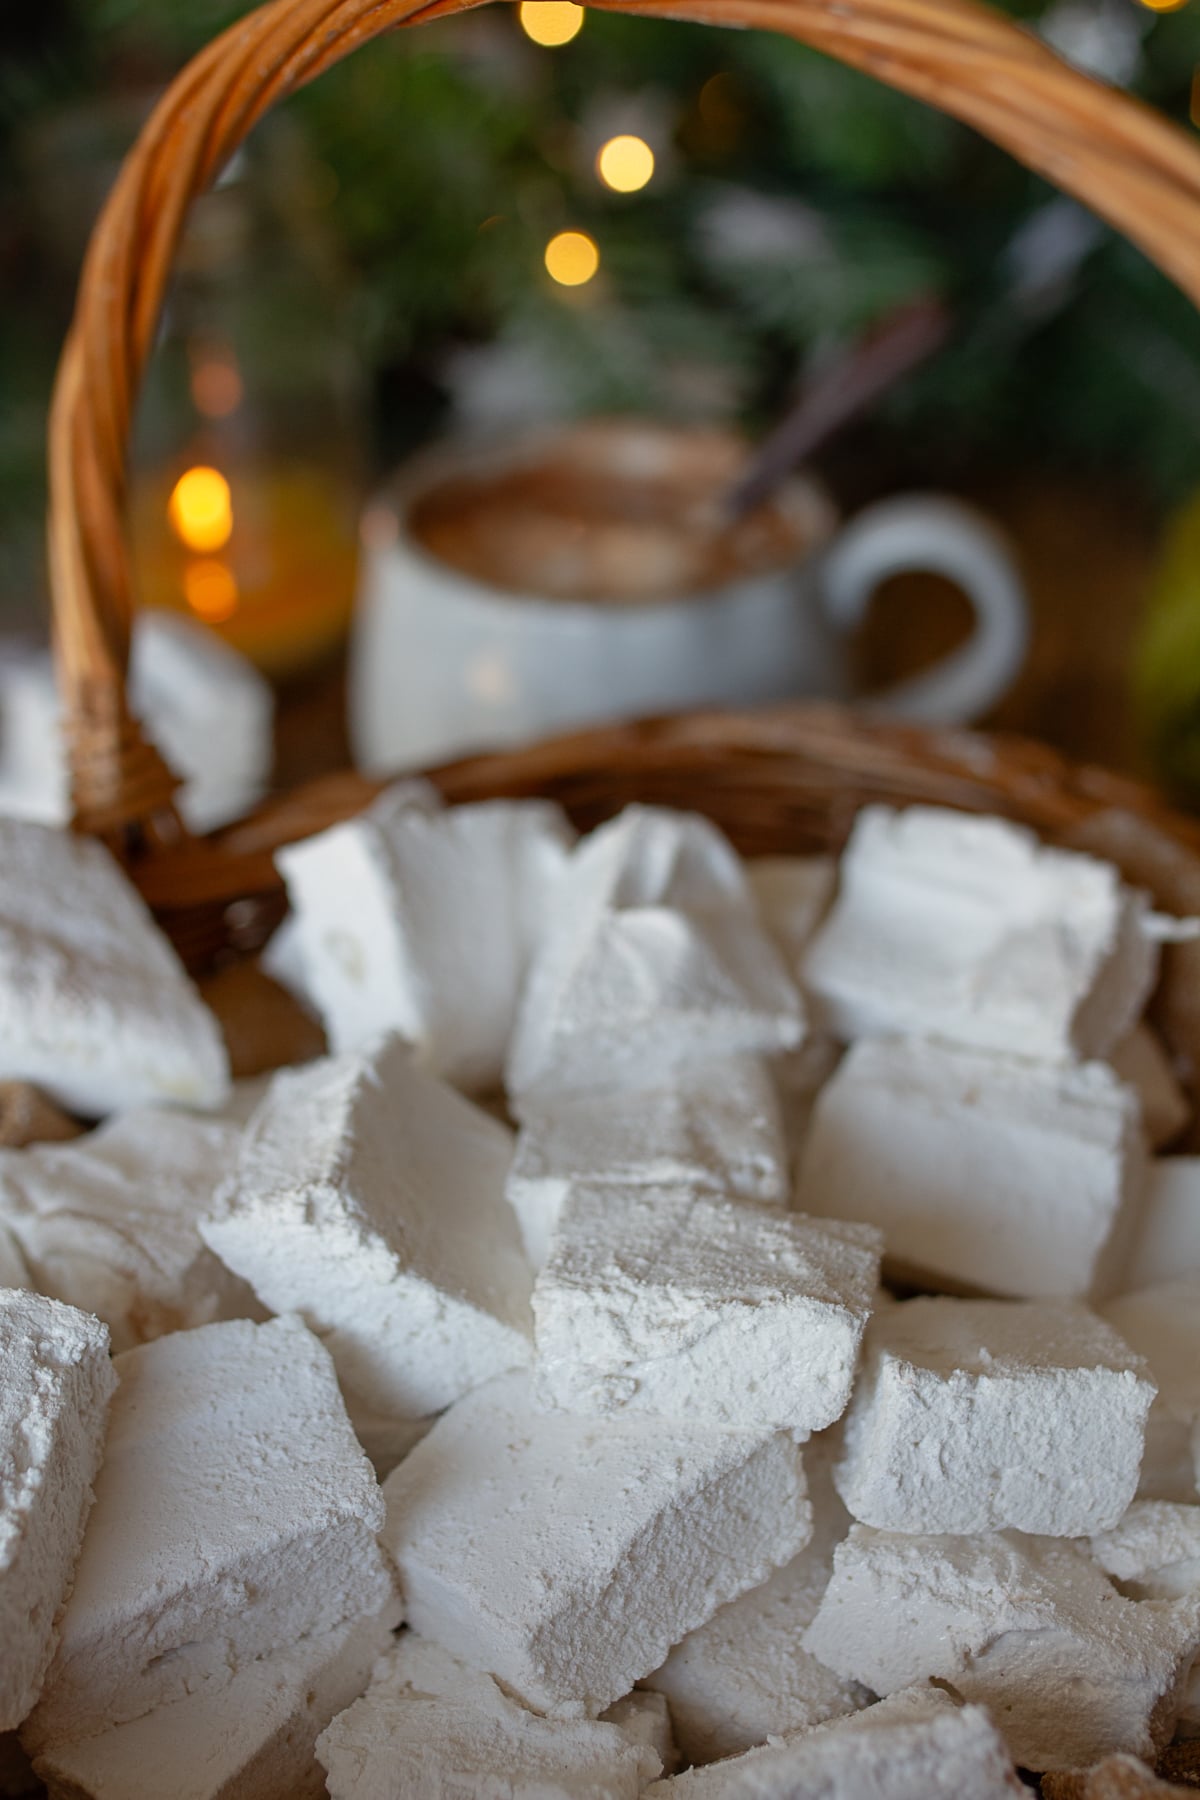
- Pantry Storage: Keep cut marshmallows in an airtight container at room temperature with a sheet of parchment paper between layers. They stay fresh for up to 2 weeks.
- Do Not Refrigerate: Storing set marshmallows in the fridge can introduce condensation, which makes the sugar coating sticky!
Top Tip
Dust Everything with Powdered Sugar and Corn Starch combo! Marshmallow fluff is naturally very sticky. Dusting your baking pan, knife blade, counter surface, and hands with a 50/50 mix of powdered sugar and corn starch. makes cutting and handling much easier.
Frequently Asked Questions
Do I need a candy thermometer for this marshmallow recipe?
No! That's the beauty of this passed-down recipe. You simply bring the sugar and bloomed gelatin mixture to a boil for 30 seconds, remove it from the heat, let it rest for 10 minutes, and whip.
Can I use these marshmallows for S'mores or Rice Krispies Treats?
Yes! They melt wonderfully over a campfire or in a saucepan for cereal treats. If making Rice Krispies treats, let the marshmallows set first, then melt them down with butter as you normally would.
How long does it take for the marshmallows to set?
At room temperature, they will firm up in about 35 to 45 minutes until they no longer stick to a clean fingertip.
Related Recipes:
Final Thoughts from the Homestead
Having a jar of these homemade marshmallows sitting in the pantry next to our hot cocoa mix makes winter evenings on the farm feel extra special! The kids get so excited when we drop a big, fluffy marshmallow into their warm mugs after chores, and I love knowing there's not a drop of high-fructose corn syrup in them.
EASY HOMEMADE MARSHMALLOWS
Ingredients
- 2 tablespoons unflavored gelatin 2 envelopes Knox gelatin
- 8 tablespoons cold water for blooming gelatin
- 2 cups granulated sugar
- ½ cup cold water for sugar syrup
- ¼ teaspoon fine sea salt
- 2 teaspoons pure vanilla extract
- ¼ cup powdered sugar for coating marshmallows
Instructions
- Prep Pan & Bloom Gelatin: Grease with butter a 9x13 inch pan and coat generously with a 50/50 powdered sugar and corn starch mix. (reserve remainder to toss cut marshmallows in.) In a small bowl, sprinkle gelatin over 8 tablespoon cold water and set aside for 5 minutes to bloom.
- Dissolve & Boil 30 Seconds: Combine granulated sugar and ½ cup cold water in a heavy saucepan over medium heat, stirring ~5 minutes until sugar dissolves. Stir in the bloomed gelatin, bring to a boil for just 30 seconds, and remove from heat.
- Rest 10 Mins & Whip: Pour hot syrup into your KitchenAid stand mixer bowl and let sit for 10 minutes to cool. Add salt and vanilla, then whip on high with the whisk attachment for ~7 minutes until double in size, bright white, and fluffy. (If using a hand mixer, beat for 10-12 minutes).
- Set, Cut & Toss: Pour into the prepared pan and let set at room temperature for 35-45 minutes until no longer sticky. Run a spatula along sides and flip out onto counter. Slice into squares with a dusted knife and toss in powdered sugar corn starch mix to coat.



Mine never set up after following to a T. A simple Google search explained why. You aren’t even supposed to cook the gelatin and there’s too much water to only boil it for 30 seconds. Also, who rates their own recipes? Come on.
Hi Leah, I’m sorry your marshmallows didn’t set. Gelatin can be heated to dissolve it, but overheating or prolonged boiling can weaken its ability to set. My first suggestion would be to shorten the boiling time, making sure it doesn’t exceed the 30 seconds in the instructions. If you’d like to troubleshoot further, I’d love to help!
I saw this recipe on tiktok, and naturally, it has always been intimidating to make marshmallows due to needing a candy thermometer.
I followed the recipe to the T, and OH MY GOSH!! These are insane. They melt in your mouth. I'm going to be making a bunch for little gifts this year. Thank you!
Oh, this makes me so happy, Kate!! ❤️ I'm thrilled they turned out so beautifully! Homemade marshmallows make the sweetest gifts, and I know everyone will love them! Thank you for sharing! xoxo - Eryn
These homemade marshmallows are unbelievably fluffy, soft, and full of real vanilla flavor. The texture is far superior to anything store-bought, and they melt beautifully into hot cocoa. Once you make them from scratch, especially for the holidays, they feel like a special tradition worth repeating.