Easy Homemade Peach Jam Water Bath Canning Recipe
If you have been searching for an easy homemade peach jam recipe to preserve the sweet, juicy flavor of summer fruit, this straightforward guide is the perfect place to start. Growing up surrounded by bountiful fruit orchards in Washington, I spent years learning how to make peach jam straight from the tree to the kitchen on the very same day it was picked. Since moving to the South, opening up a fresh box of ripe Georgia peaches instantly brings me back to those childhood roots. Turning that fragrant harvest into a vibrant, sweet spread is one of my favorite yearly homestead traditions.
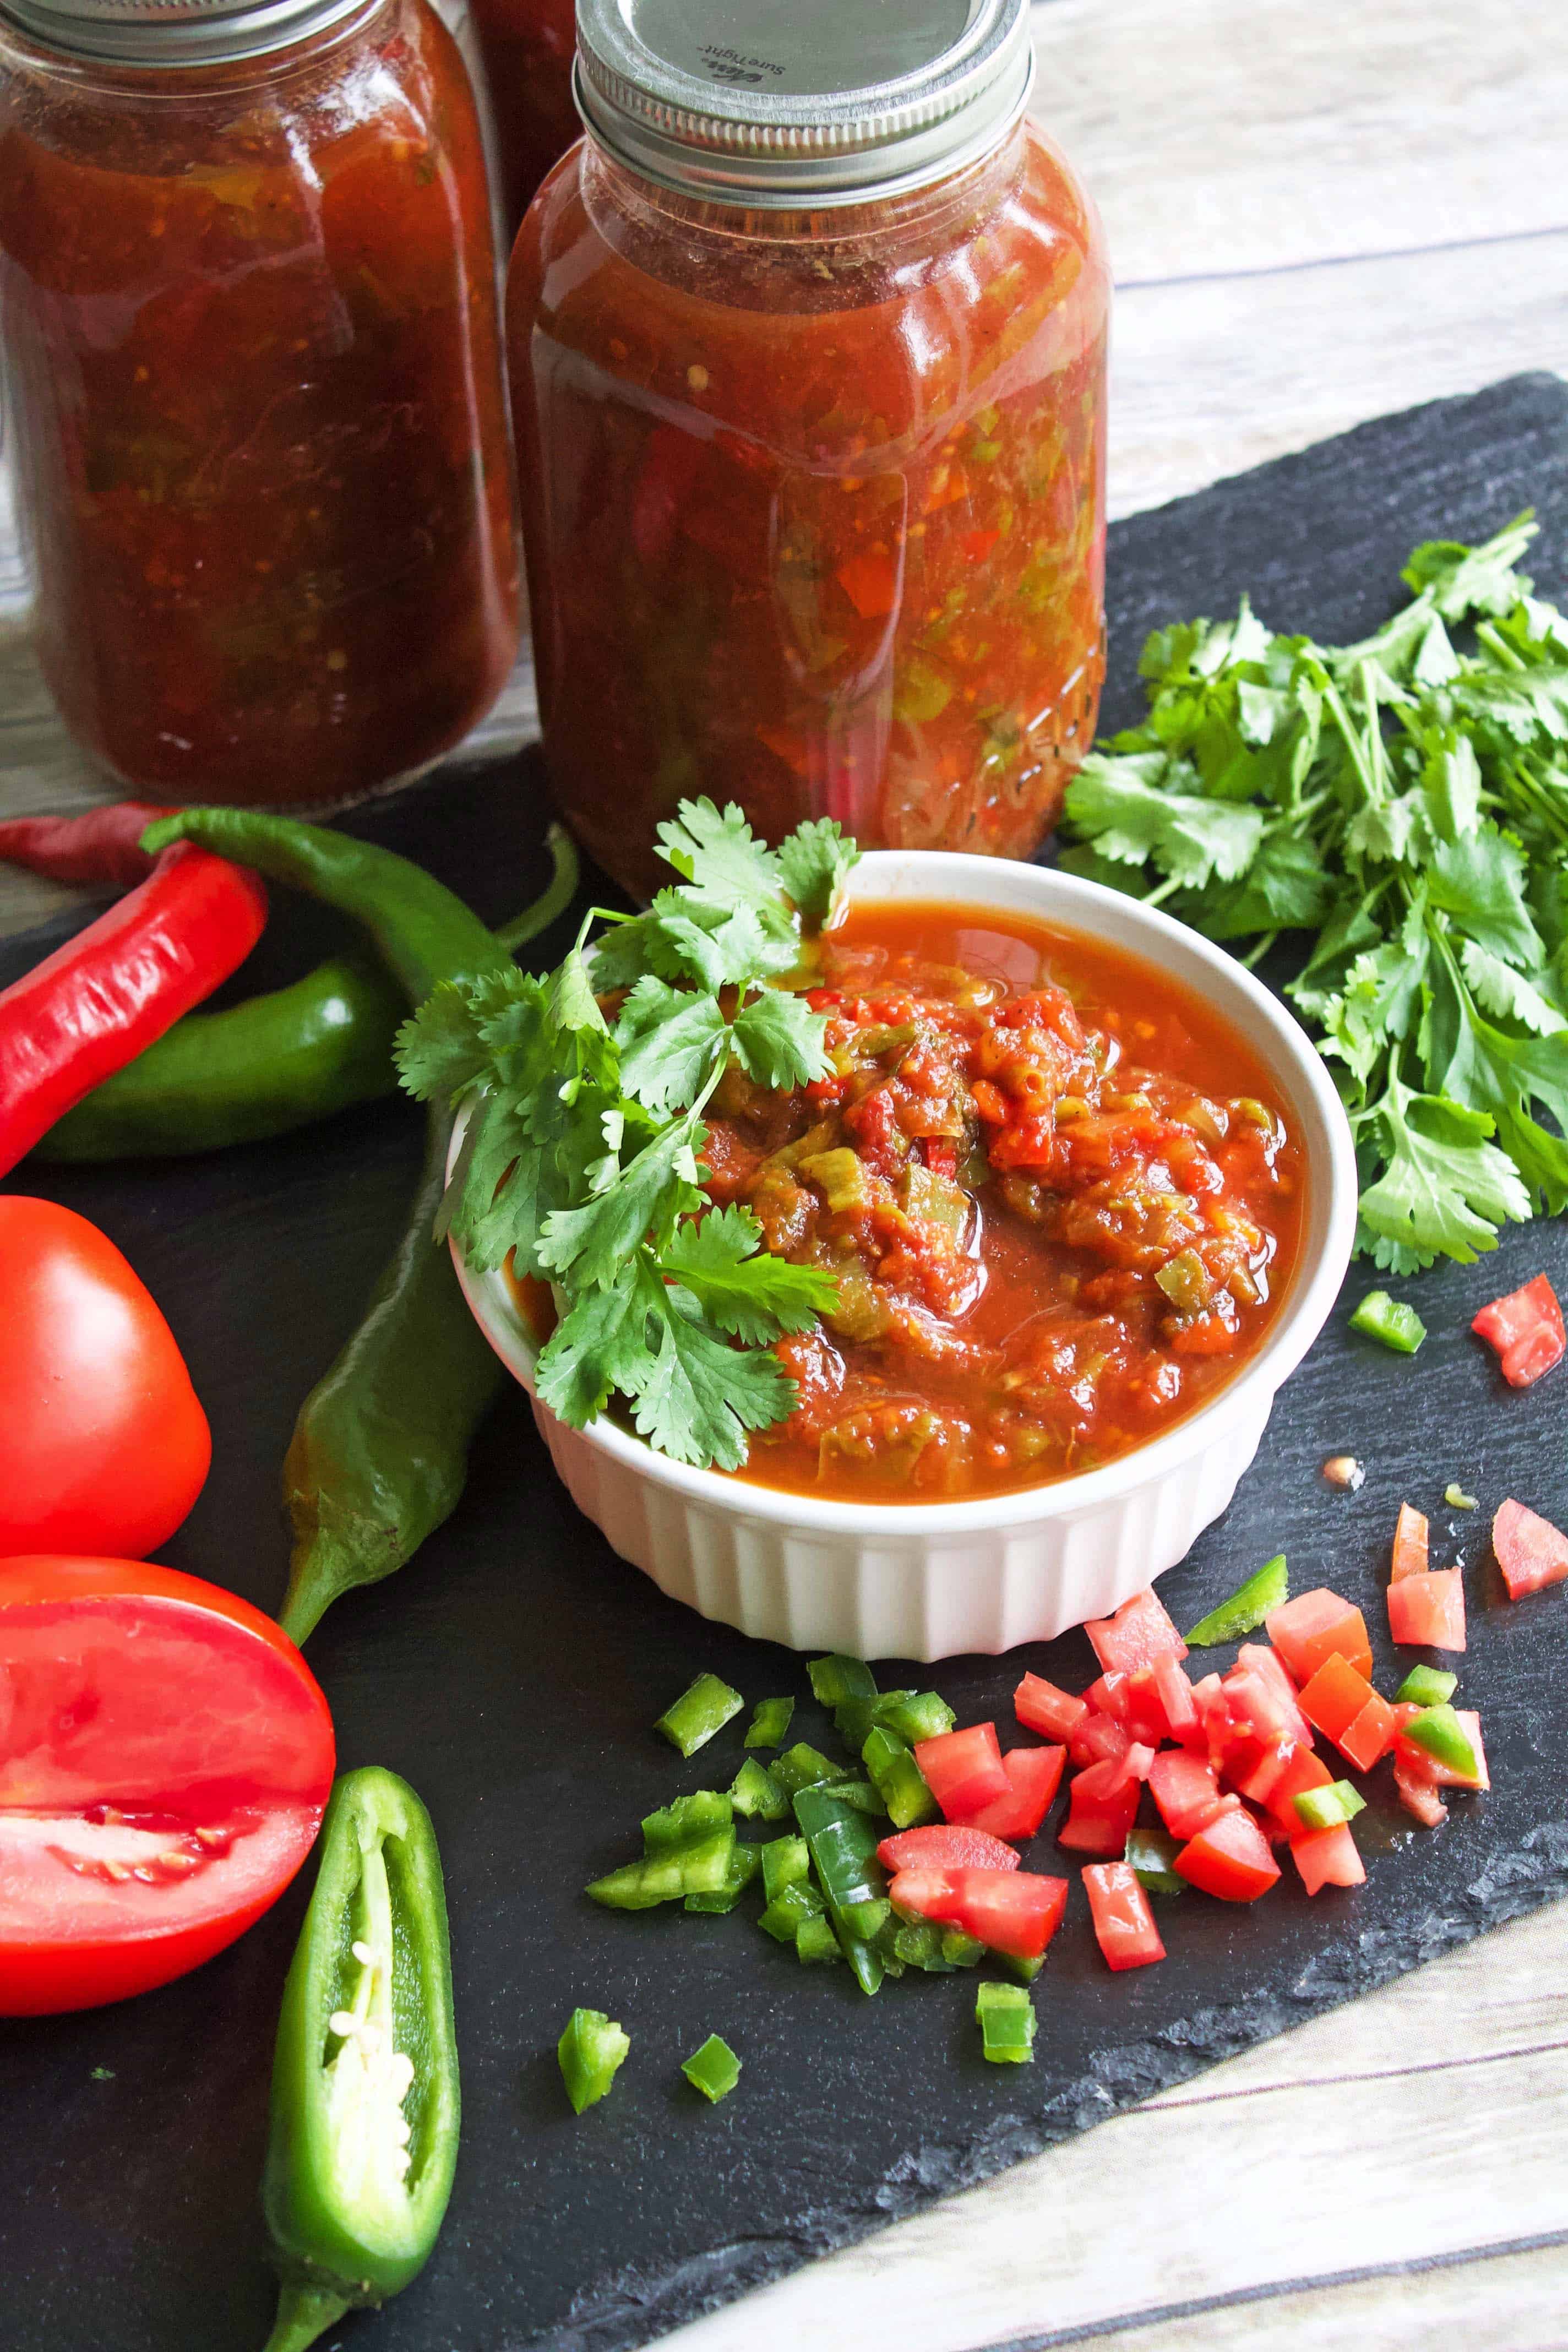
This reliable peach jam water bath canning recipe creates a beautiful, shelf-stable preserve without taking up precious freezer space like standard freezer jams do. It coordinates perfectly with a busy preservation schedule. So, if you are already processing your summer harvest with my Best Homemade Salsa Recipe for Canning or setting up your boiling water pot for Canning Tomatoes Whole or Halved, adding a few half-pint jars of this golden preserve to your canning day is an effortless way to keep your pantry shelves fully stocked all winter long.
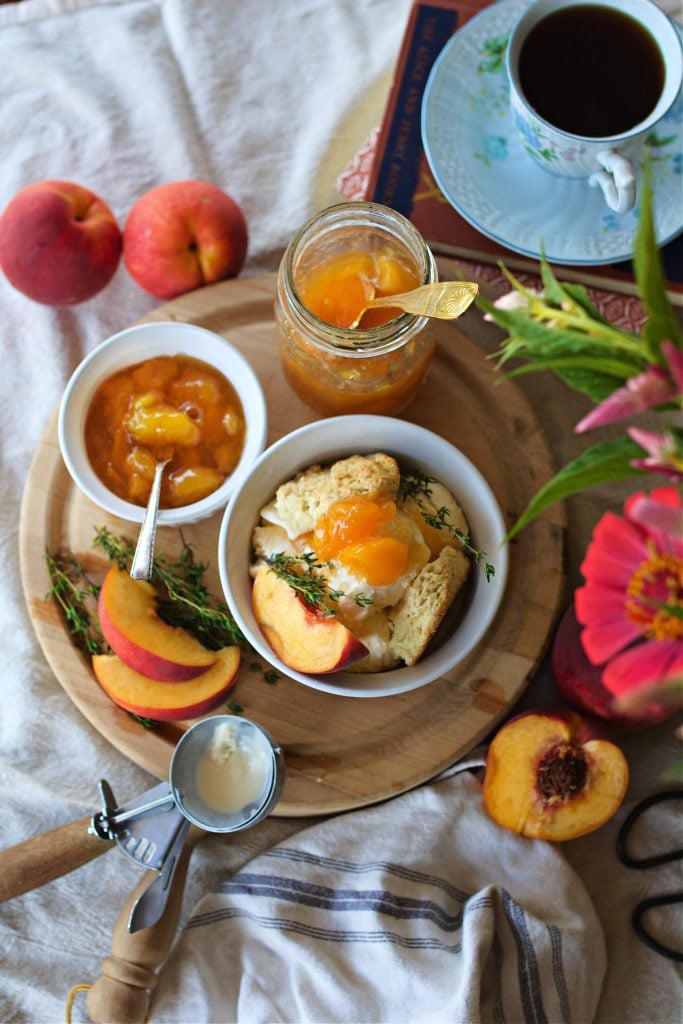
A Quick Look at This Peach Jam Recipe
🍑 The Ingredients: Fresh peaches, a splash of standardized bottled lemon juice, classic pectin, and sugar.
🍯 The Texture: Soft, spreadable, and bright with chunks of real peach throughout.
🕰️ Time: About 45 minutes of prep (including easy peeling) and 15 minutes of active cooking.
🥫 Pantry Life: Water bath canned for a shelf-stable peach jam that keeps for up to 12 months.
Jump to:
- A Quick Look at This Peach Jam Recipe
- Why Make Your Own Shelf-Stable Peach Jam?
- Selecting and Preparing the Peaches
- Ingredient Notes & Equipment
- Step-by-Step Instructions: How to Make Peach Jam
- Water Bath Canning Process
- Troubleshooting & Pro Tips
- FAQ
- Closing Thoughts from the Homestead
- More Traditional Canning Recipes You May Enjoy:
- Canned Peach Jam
Why Make Your Own Shelf-Stable Peach Jam?
Making your own jam at home is an incredibly rewarding. There is no comparison to the taste of homemade preserves made from fresh, ripe peaches compared to a store-bought jar filled with corn syrup and artificial preservatives. When you process your own fruit, you are completely in control of the ingredients. The sugar quality, and the final fruit texture.
While a quick freezer jam is nice, freezer space is always at a premium on a working homestead. Utilizing a traditional water bath canner allows you to store your jars safely at room temperature on your pantry shelves. This ensures your summer abundance never goes to waste and stays delicious all year long.
Selecting and Preparing the Peaches
To ensure your jam sets up perfectly with a vibrant color, you need to start with the right raw materials.
- Choosing the Fruit: Look for freestone peaches that are ripe, highly fragrant, and slightly soft to the touch. Freestone varieties make your job much simpler because the flesh pulls away effortlessly from the center pit. Avoid peaches with large green spots, as underripe fruit lacks the natural sugars needed for the best flavor.
- The Easy Peeling Trick: Trying to peel a ripe peach with a knife is messy and wastes too much fruit. Instead, bring a large pot of water to a rolling boil. Drop the whole peaches in for exactly 30 seconds, then immediately transfer them with a slotted spoon into a clean sink or bowl filled with a cold ice water bath. The skins will slip right off with zero effort.
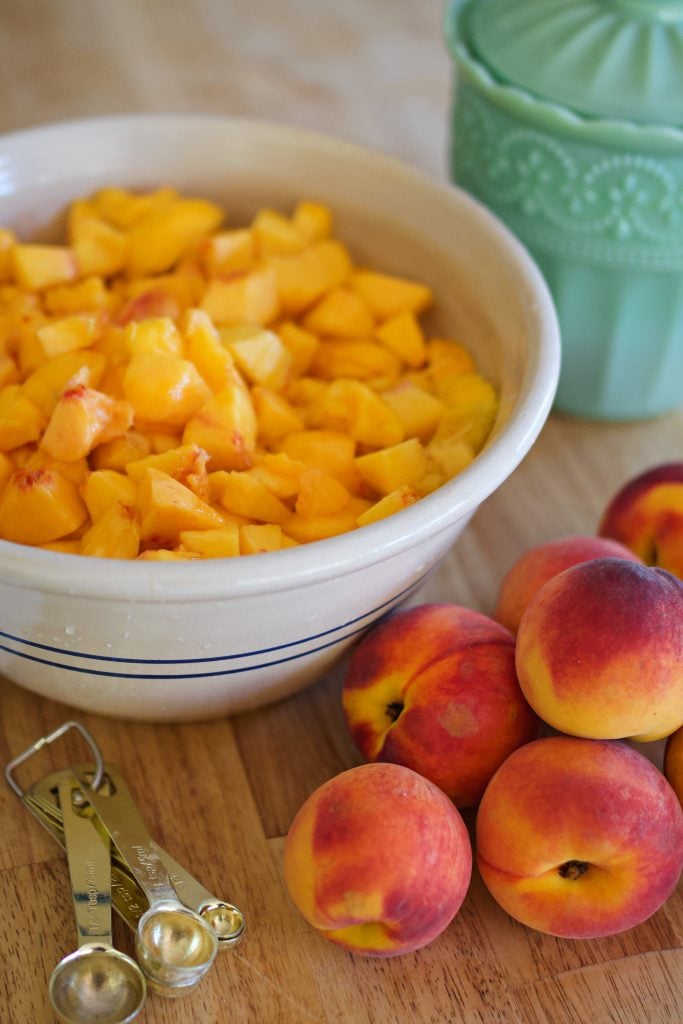
- Prepping the Flesh: Remove the pits and chop the peaches into uniform, small pieces. Immediately toss your chopped fruit with bottled lemon juice to prevent the flesh from oxidizing and turning brown on your counter.
Ingredient Notes & Equipment
This basic recipe relies on simple staples to achieve a beautiful, bright set.
- Peaches: You will need 6 ⅔ cups of peeled, cored, and chopped fruit.
- Bottled Lemon Juice: Adds necessary acidity to balance the sweetness and help the pectin form a proper bond. For home canning safety, always use bottled juice rather than fresh, as fresh lemons vary too much in their natural pH levels.
- Pectin: Classic powder pectin or low-sugar pectin works beautifully here.
- Sugar: I prefer purchasing our granulated sugar in bulk from Azure Standard for the highest quality.
- Water Bath Canner: A large pot with an interior rack to keep your glass jars elevated off the direct heat of the stove burner.
Step-by-Step Instructions: How to Make Peach Jam
1. Sterilize Your Jars
Thoroughly wash your half-pint mason jars, lids, and bands in hot, soapy water. Submerge the clean jars into your boiling water bath canner for at least 10 minutes to sterilize them, and leave them in the warm water until you are ready to ladle in the fruit.
2. Cook the Fruit Base
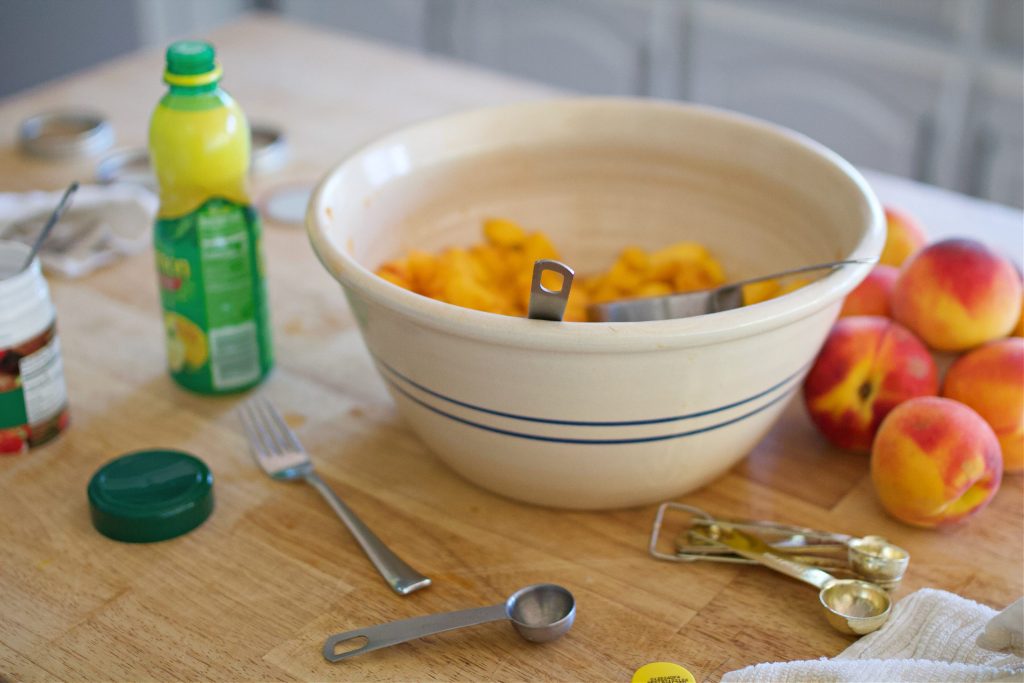
In a large, heavy-bottomed stockpot, combine your 6 ⅔ cups of prepared peaches, 5 tablespoons of bottled lemon juice, and 7 ½ tablespoons of pectin. Use a potato masher or an immersion blender to break down the fruit pieces slightly. This releases their natural juices into the bottom of the pot. Bring the mixture to a boil over medium-high heat, stirring frequently to prevent sticking.
3. Add the Sugar and Hard Boil
The moment the fruit mixture hits a full boil, dump in the 5 cups of sugar all at once, stirring constantly until every grain is completely dissolved. Bring the pot back up to a full rolling boil (a boil that cannot be stirred down with a spoon). Let it cook aggressively for 20 to 30 minutes, stirring continuously so the sugar does not scorch on the bottom of the pot, until the mixture thickens.
4. Test the Set
To guarantee your jam will firm up nicely in the jar, place a small ceramic plate in your freezer before you start cooking. When the jam looks thick, drop a small spoonful of the hot liquid onto the frozen plate and return it to the freezer for one minute. Push the edge of the jam gently with your finger-if it wrinkles and holds its shape, your jam is ready for the jars!
Water Bath Canning Process
1. Fill the Jars
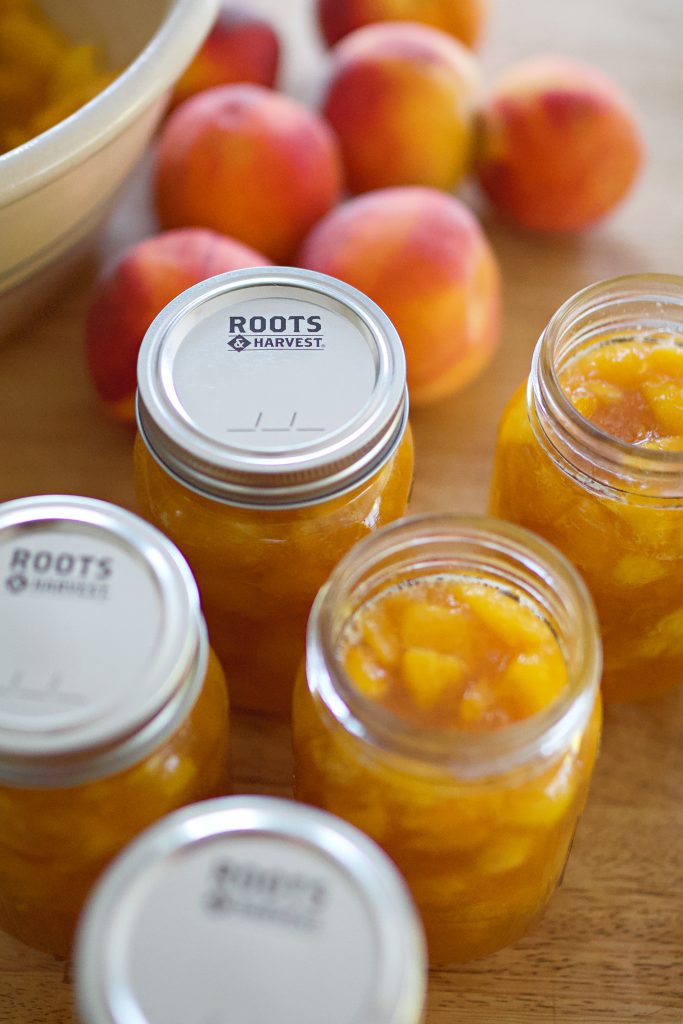
Using a canning funnel, ladle the hot peach jam into your sterilized jars. Leave exactly ¼-inch of headspace at the top. Run a non-metallic bubble remover or spatula around the inside walls of the jar to release any trapped air pockets. Use a clean, damp cloth to wipe the glass rims to guarantee a perfect seal. Place the lids on top and screw the bands on until they are just fingertip-tight.

2. Process in the Canner
Use a sturdy jar lifter to lower your filled jars carefully into the boiling water bath canner. Make sure the water level covers the tops of the lids by at least 1 inch. Bring the canner back to a full rolling boil and process the jars for 15 minutes (adjusting for altitude if you live above 1,000 feet).
3. Cool and Check Seals
Carefully lift the jars out of the water and place them onto a thick kitchen towel on your counter. Let them sit completely undisturbed for 12 to 24 hours. You will hear those beautiful, rewarding "ping" sounds as the jars cool! After 24 hours, press the center of each lid. If it is sucked down tightly and doesn't pop back up, your jam is perfectly shelf-stable.
Troubleshooting & Pro Tips
- Floating Fruit: If your chopped peach pieces are all floating to the top of the jar instead of staying suspended in the jelly, it means the jam was slightly too thin when jarred. Give your pot a good, thorough stir right before ladling, and ensure you hit a true wrinkle test on your cold plate next time.
- Jam Didn't Set Properly: If your jars are still completely runny after 24 hours, the fruit might have been overripe (which lowers natural pectin levels) or it wasn't boiled hard enough. You can easily empty the jars back into a pot, add a few extra tablespoons of pectin, and re-process the batch.
- Cloudy Appearance: This is typically caused by trapping natural fruit foam inside the jars. Always use a spoon to skim the white foam off the top surface of your boiling jam right before you turn off the burner.
FAQ
Standard sugar acts as a preservative and structural binder in traditional canning. If you want to safely lower the sugar content, you must use a specific "Low-Sugar Pectin" box instead of classic pectin. Follow the exact ratios provided inside that package insert to ensure a safe, firm set.
A failed seal usually happens if microscopic bits of sticky jam were left on the glass rim before the lid went on, or if the screw bands were cranked down too tightly, preventing air from escaping during the boil. Wipe your rims thoroughly next time and keep the bands fingertip-tight.
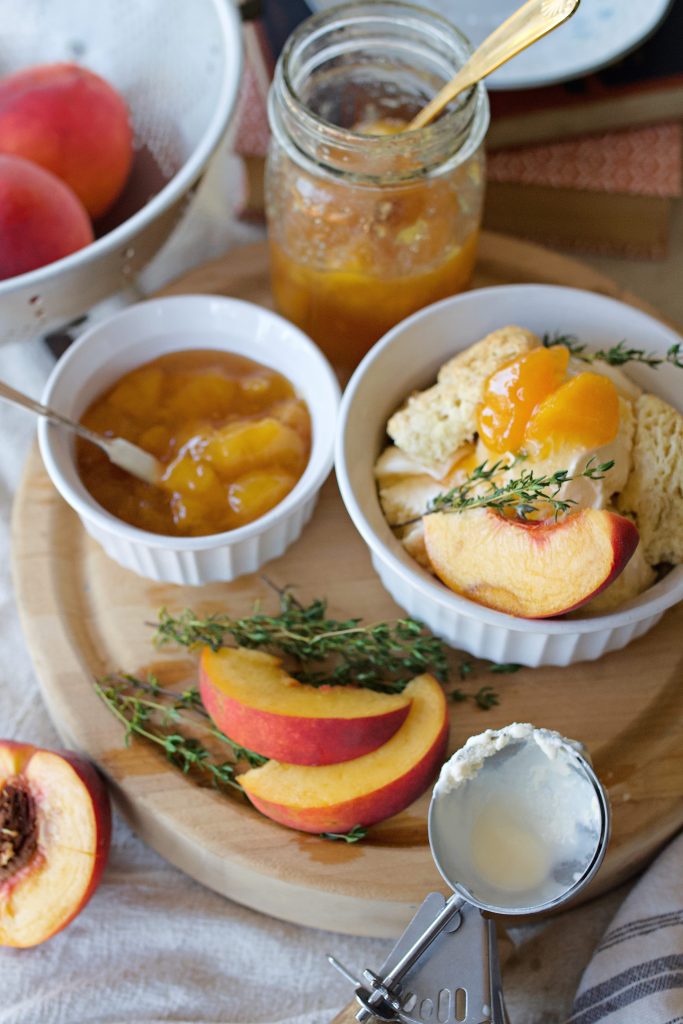
This golden preserve is incredibly versatile! It is beautiful spread over hot sourdough toast, stirred directly into your weekly batch of Homemade Yogurt, drizzled over fresh morning pancakes, or poured over a brick of cream cheese as an easy cracker dip for guests.
Closing Thoughts from the Homestead
Capturing the sweet, golden warmth of summer peaches in a glass jar is such a satisfying way to build up your home food security. The traditional canning process can feel a bit intimidating if you are a beginner, but with a little patience and a steady rolling boil, you will quickly find your rhythm. Walking into your pantry in the middle of winter and pulling down a jar of sunshine you preserved yourself makes every single bit of the kitchen work worth it.
If you give this recipe a run in your own kitchen, I would love to see your jars! Leave a comment down below or tag me in your canning day updates over on Instagram. Happy preserving, friends!
More Traditional Canning Recipes You May Enjoy:


Canned Peach Jam
Ingredients
- 6 ⅔ cups peeled pitted, and chopped peaches
- 5 tablespoons Bottled lemon juice
- 7 ½ tablespoons classic pectin or low-sugar pectin
- 5 cups sugar or sugar substitutes
Instructions
- Sterilize Jars: Sterilize your canning jars and lids in boiling water for 10 minutes. Keep them warm until ready to use.
- Prepare Peaches: Wash peaches in warm water, blanch in boiling water for 30 seconds, then transfer to cold water. Peel, pit, and chop into small pieces. Toss with lemon juice.
- Cook Jam: In a large pot, combine peaches, lemon juice, and pectin. Use a potato masher or immersion blender to break down the peaches slightly. Cook over medium-high heat, stirring frequently. Add sugar once boiling, stirring constantly until dissolved. Continue cooking until thickened (20-30 minutes).
- Test for Set: Place a small plate in the freezer. Drop a spoonful of jam onto the plate and return it to the freezer for a minute. If the jam wrinkles when pushed, it's ready.
- Fill Jars: Ladle hot jam into sterilized jars, leaving ¼-inch headspace. Remove air bubbles, wipe rims clean, and place lids on jars. Screw bands until fingertip-tight.
- Process Jars: Place jars in a water bath canner, ensuring they are covered with at least 1 inch of water. Bring to a rolling boil and process for 15 minutes.
- Cool and Seal: Remove jars with a jar lifter and place them on a towel to cool. Do not disturb for 12-24 hours. Check seals before storing.
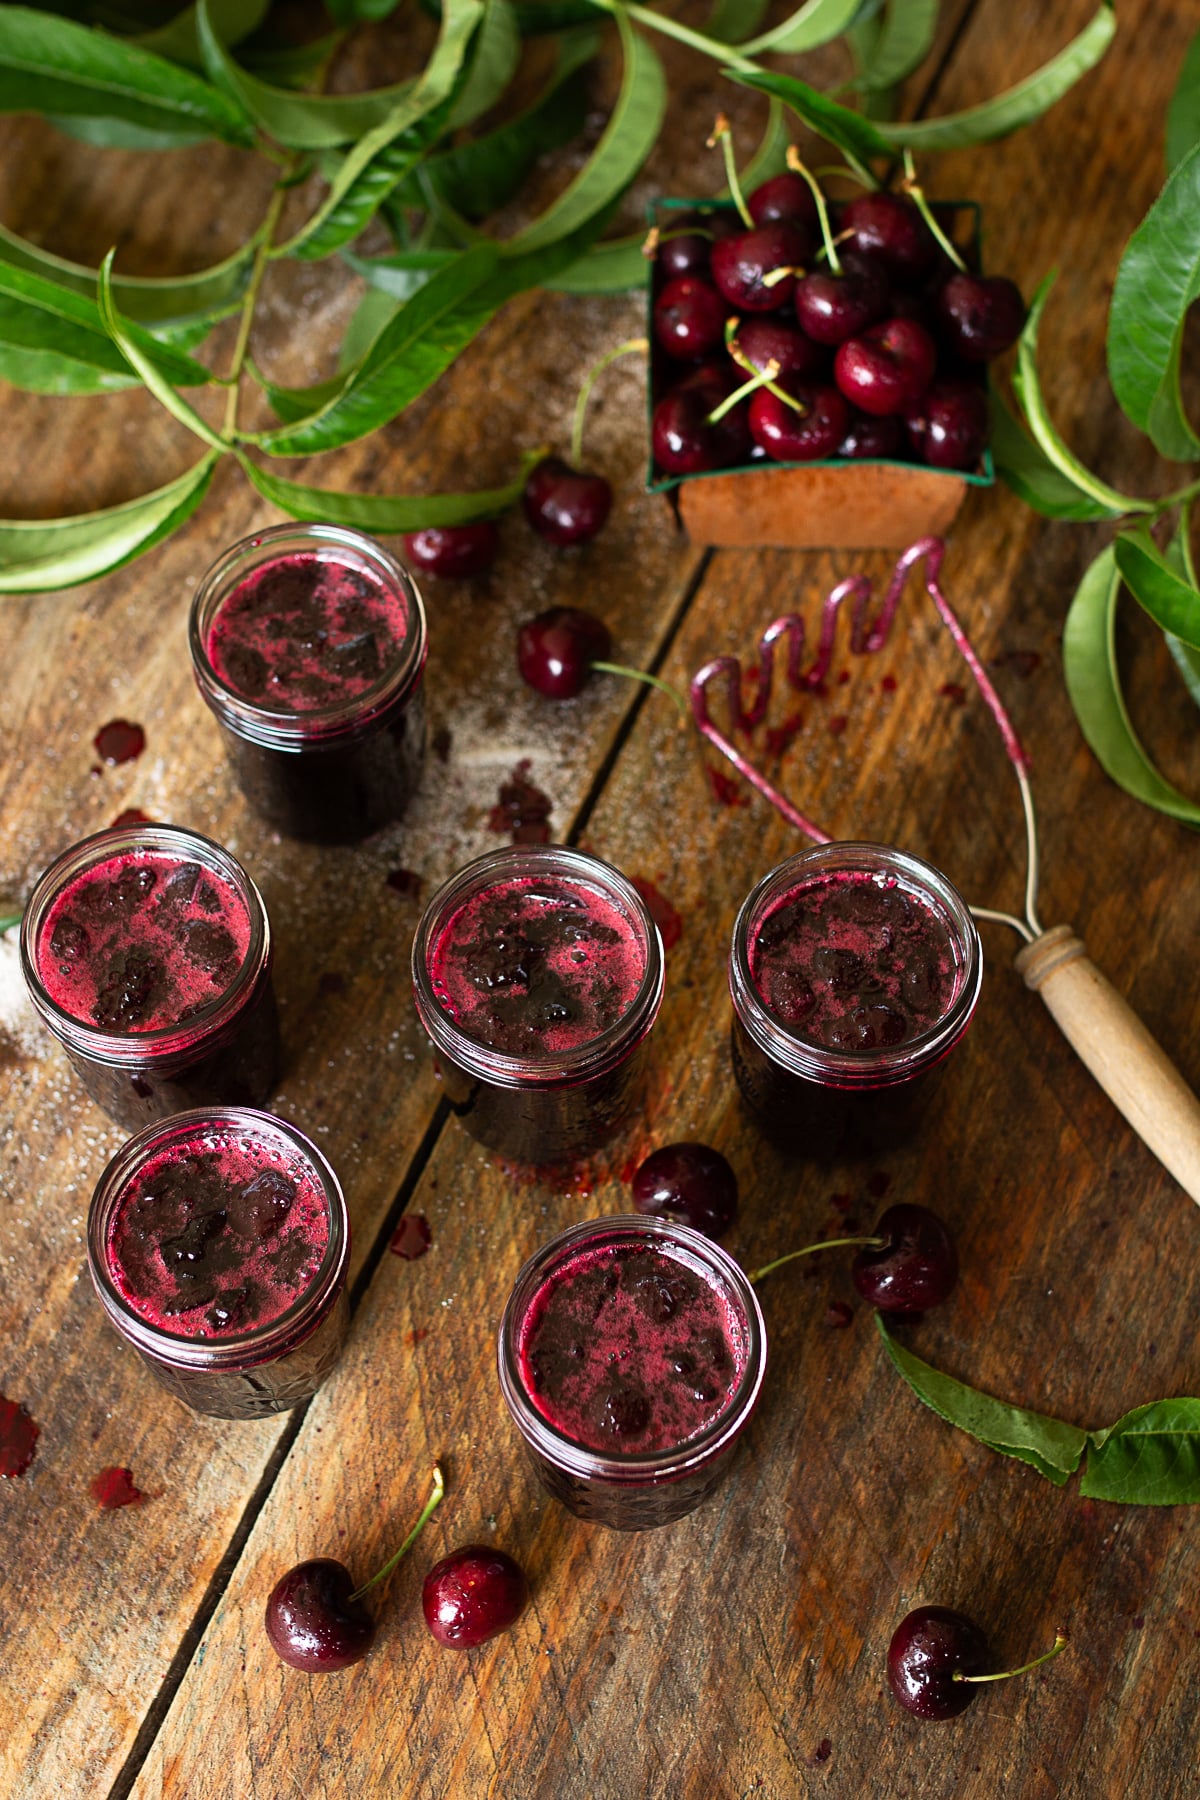





I’ve been making this peach jam for years, and it never disappoints. It’s sweet, fresh, and perfectly captures summer in a jar. I love how it thickens up beautifully and keeps its bright flavor all year long. This one’s a true staple in my pantry.