How To Make Homemade Yogurt | Full Step-By-Step Recipe
If you have been searching for an easy homemade yogurt recipe that doesn't require complicated equipment or commercial starter packets, let me put your mind completely at ease. As a homestead mom who has spent years perfecting how to make yogurt at home using both fresh raw dairy and store-bought whole milk, I can promise you that crafting your own thick, creamy homemade yogurt only requires two simple ingredients and a little bit of hands-off time. Culturing your own dairy is one of the most rewarding traditional skills you can bring into your kitchen, allowing you to cut grocery costs while serving your family a premium, probiotic-rich snack that your kids will absolutely love.
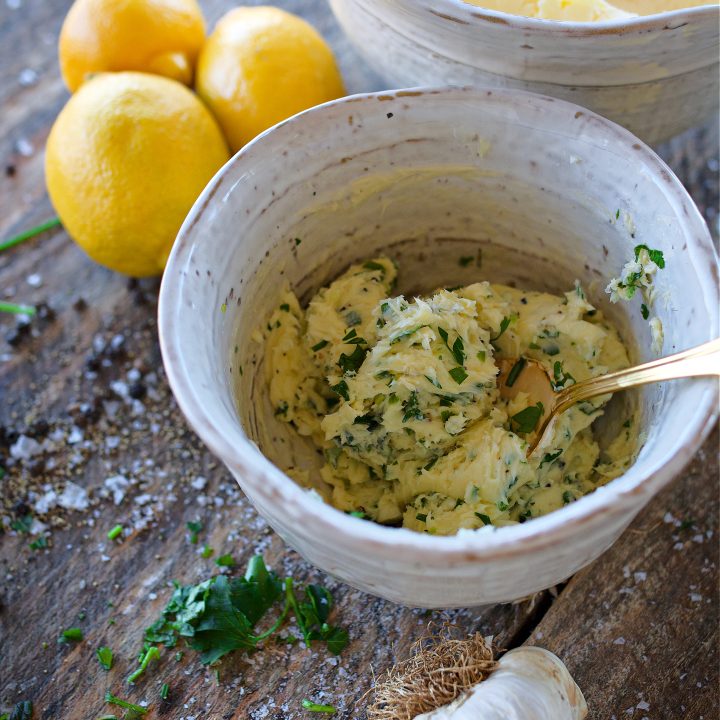
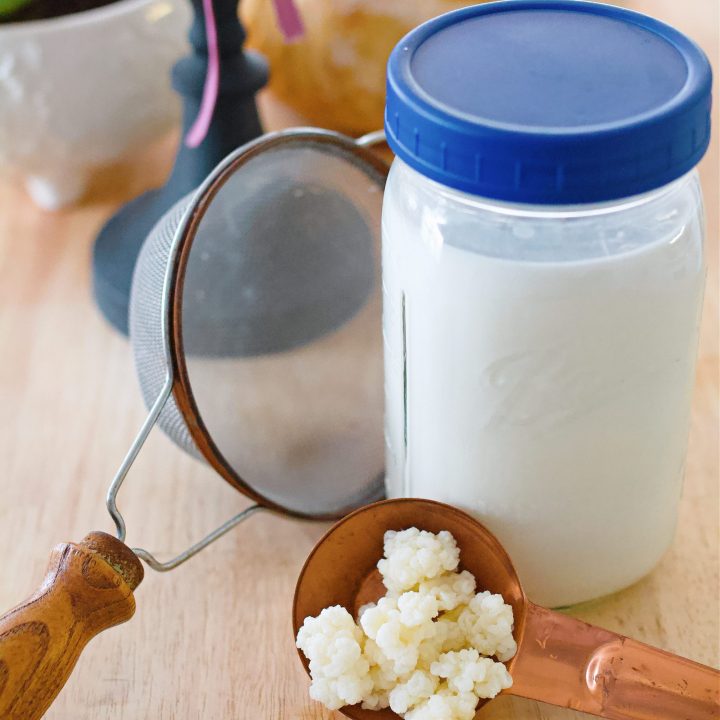
It also pairs beautifully with a busy farm kitchen schedule. If you are already setting up your counters to culture a probiotic batch of Homemade Milk Kefir or churning through your weekly cream supply to make Homemade Butter, adding a routine batch of this creamy recipe to your week is the ultimate way to maximize your milk yields.

A Quick Look at This Homemade Yogurt Recipe
🥛The Ingredients: Just pure milk and a few spoonfuls of live-culture yogurt. That's it!
🥄The Texture: Rich, smooth, and naturally thick whole-milk yogurt with a mild, clean tang.
🕰️Time: 15 minutes of hands-on prep, followed by an 8-to-12-hour warm incubation rest.
🎛️Appliance Versatility: Can be made effortlessly using an Instant Pot, a standard stovetop, or a classic slow cooker.
Jump to:
- A Quick Look at This Homemade Yogurt Recipe
- Why Making Homemade Yogurt is Worth the Effort
- Ingredient Notes & Equipment
- Step-by-Step Guide: How to Make Homemade Yogurt
- How to Turn It into Thick Greek Yogurt
- Common Yogurt-Making Mistakes & Troubleshooting
- Custom Variations & Fun Add-ins
- FAQ
- Closing Thoughts from the Homestead
- More Dairy Recipes You May Enjoy:
- Yogurt recipe
Why Making Homemade Yogurt is Worth the Effort
First-time fermenters are often shocked by how much better a jar of fresh, cultured whole milk yogurt tastes compared to a plastic tub from the commercial grocery store. When you culture dairy right on your counter or stovetop, you are completely in control of the ingredients, the fermentation time, and the final tartness level.
From a homestead budget perspective, it is incredibly cost-effective. Instead of repeatedly purchasing expensive individual organic cups for your kids, a single half-gallon of milk transforms into two full quarts of premium, probiotic-rich food. Once you successfully finish your very first batch, you can continuously save a few tablespoons of the old culture to seed the next run, meaning you'll never have to buy commercial starters again!
Ingredient Notes & Equipment
To ensure a reliable, creamy set every single time, it helps to understand how your raw materials interact during the culturing cycle.
- Milk (Raw or Store-Bought): Whole milk works best because the natural milk fats create a luxurious, velvety mouthfeel. I prefer utilizing raw milk fresh from our homestead because it retains incredible depth of flavor. However, standard pasteurized store-bought milk functions flawlessly too. Just avoid ultra-pasteurized (UHT) milk, as the high heat treatments alter the protein structures and prevent a proper firm set.
- Yogurt Starter: You need a starter containing live and active bacterial cultures (specifically Lactobacillus bulgaricus and Streptococcus thermophilus). You can use plain, unflavored store-bought yogurt or a scoop from your own previous homemade batch.
- Kitchen Thermometer: A non-negotiable tool. Accurate temperature control is the secret to keeping your good bacteria alive and thriving.
Step-by-Step Guide: How to Make Homemade Yogurt
1. Heat the Milk to 180°F
Pour your milk into your chosen appliance base. You must bring the temperature of the milk up to 180°F, stirring occasionally to prevent scorching on the bottom. Heating the milk serves two vital scientific purposes: it denatures the whey proteins so the yogurt sets with a creamier texture, and it eliminates any competing wild bacteria so your added cultures can thrive without opposition.
- Instant Pot Method (To Scald the Milk): Pour your milk in and secure the lid. Press the Yogurt button, then press Adjust (or turn the dial) until the screen displays the word "boil". The machine will automatically heat your milk to 180°F and beep when it's done.
- Stove Method: Heat the milk in a heavy-bottomed pot over medium heat, stirring frequently with a whisk.
- Crock Pot Method: Pour the milk in, cover, and cook on HIGH for roughly 2 to 3 hours until it hits temperature.
2. Cool the Milk to 110°F
Once your milk hits 180°F, immediately remove it from the heat source. You must let the temperature naturally drop down to 110°F. If you try to add your live cultures while the liquid is still hot, the residual heat will instantly kill the beneficial bacteria and your milk will never set. To speed up this step, you can place the base pot into a clean sink filled with a cold ice water bath, stirring occasionally until your thermometer reads 110°F.
3. Inoculate with the Starter Culture
In a small separate bowl, ladle out roughly one cup of your warm, cooled milk. Add your active starter yogurt to the bowl and whisk vigorously until it is completely smooth and free of lumps. Pour this tempered mixture back into the large pot of warm milk and stir gently with a whisk to evenly distribute the cultures throughout the entire batch.
4. Incubate and Ferment (8 to 12 Hours)
Now, the bacteria need a steady, warm environment to feed on the natural lactose (milk sugars) and convert it into lactic acid, which thickens the dairy. Keep the mixture wrapped and warm without moving or jiggling the pot.
- Instant Pot Method: Secure the lid, select the 'Yogurt' setting, and set the timer for 8 to 12 hours.
- Stove/Jar Method: Ladle the mixture into clean glass jars, pop the lids on, and place them inside an unlit oven with the oven light turned on for heat, or inside an insulated cooler filled with warm water.
- Crock Pot Method: Leave the covered ceramic insert inside the cooker base, unplug the unit completely, and wrap the entire appliance tightly in thick bath towels to trap the ambient heat.
Note: The longer your yogurt ferments, the more tart and sour the flavor profile will become. For a mild profile, check it at 6 to 8 hours. For a classic tangy farmhouse style, let it ride for 8 to 12 hours.
How to Turn It into Thick Greek Yogurt
All traditional Greek yogurt is is standard yogurt that has had its liquid whey strained out! If you prefer an extra thick, spoonable, commercial-style texture, place a large fine-mesh strainer lined with a clean cheesecloth or a nut milk bag over a deep bowl.
Ladle your warm, freshly incubated yogurt into the cloth and let it sit at room temperature to drain for 1 to 2 hours. The clear liquid whey will drain down into the bowl (save this for baking sourdough bread or feeding to your chickens!), leaving a dense, rich Greek-style spread inside the cloth. Transfer it to an airtight container and chill.
Common Yogurt-Making Mistakes & Troubleshooting
- Yogurt is Too Runny: This is usually caused by an uneven or low incubation temperature, or using an old starter culture that lost its strength. Next time, verify your thermometer accuracy and let it incubate a few hours longer.
- Yogurt is Excessively Tart or Sour: The batch was incubated for too long or allowed to stay warm past the 12-hour mark. Start checking the firmness around 6 to 8 hours next time and move it to the fridge sooner.
- Grainy or Lumpy Texture: The milk was likely heated too aggressively or wasn't stirred enough during the cooling phase, causing uneven protein clusters. Whisking the finished chilled yogurt vigorously before serving can easily restore a smooth texture.
- Separation of Liquid Whey: A small layer of clear liquid on top is completely natural! You can simply stir it right back into the jar before eating, or pour it off if you prefer a thicker bite.
Custom Variations & Fun Add-ins
One of the absolute best parts of making cultured dairy at home is customizing the flavor profile of each batch! While a splash of pure maple syrup and a drop of vanilla bean paste is our daily farmhouse standard, you can turn your jars into an absolute gourmet treat by folding in a few spoonfuls of your favorite homestead preserves.
Here are a few of our absolute favorite flavor combinations to try out:
- The Berry Patch Blend: Gently fold 2 to 3 tablespoons of my sweet, classic Strawberry Jam Canned Recipe into the bottom of each glass jar before ladling the chilled yogurt on top for a beautiful, nostalgic "fruit-on-the-bottom" style cup.
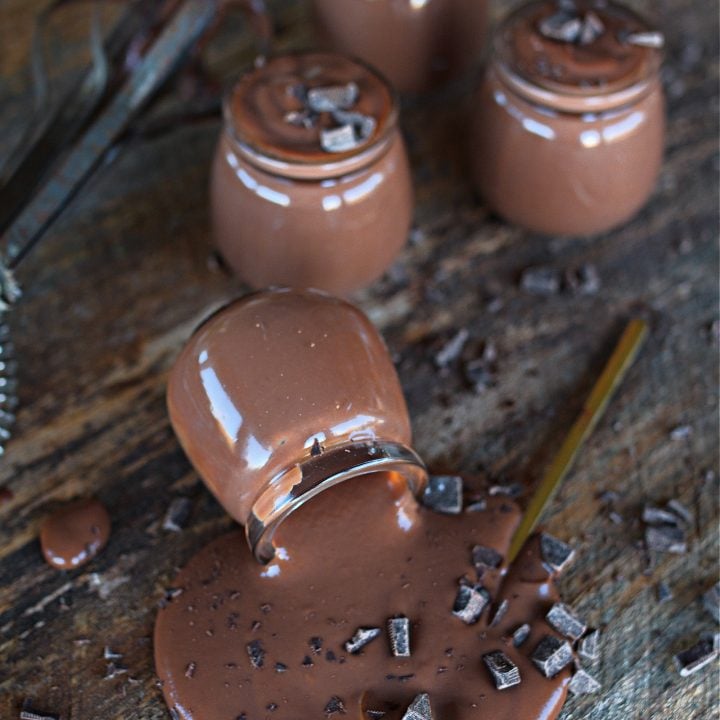
- Sunny Citrus Swirl: Stir a generous dollop of my bright, velvety Homemade Lemon Curd Recipe directly into a fresh batch of thick Greek-style yogurt. The intensely tart, rich citrus pairs magnificently with the smooth dairy tang.
- Warm Orchard Crunch: Mix a spoonful of unsweetened applesauce, a dusting of ground cinnamon, and a handful of crispy Homemade Granola into a bowl for a cozy, comforting autumn-style breakfast bowl.
- Honey Nut Farmhouse Cup: Drizzle raw wildflower honey over a fresh bowl and top with toasted pecans and a handful of fresh, backyard summer blackberries or blueberries.
FAQ
Yes, you can absolutely use fresh goat milk! The culturing process is exactly the same as cow's milk. Just keep in mind that due to the natural protein structures of goat milk, the resulting yogurt will be naturally thinner and more pourable. If you want it thicker, you can whisk in a clean thickening agent like a pinch of unflavored gelatin or powdered milk during the initial heating phase.
When stored inside a clean, airtight glass mason jar or container, your yogurt will remain completely fresh and delicious for up to 2 weeks. Just remember to scoop out 4 tablespoons and set it aside in a separate small container early on so you have a clean starter ready for your next batch!
Technically, you can skip the 180°F heating step with raw milk, which is often called the "cold start" method. However, because raw milk contains its own native, beneficial wild bacteria, those strains will compete with your added yogurt culture. Skipping the boil often results in a much runnier, unpredictable set. For a thick, reliable consistency, heating to 180°F is recommended, but I've also had success at temps as low as 140°F, it just might need to set for a few hours longer to become thick.
Closing Thoughts from the Homestead
Culturing your own fresh homemade yogurt is such a rewarding, grounding way to provide your family with nutrient-dense, gut-healthy food straight from the kitchen counter. It is simple, satisfying, and a true testament to the beauty of traditional food preservation skills.
Whether you keep it perfectly plain, sweeten it with a bit of honey, or layer it with your favorite summer jams and fruit curds, it is a staple that you will feel so proud to keep stocked in your refrigerator shelves.
If you give this recipe a try, I would love to hear how your jars set up! Leave a comment down below or tag me over on Instagram so I can see your beautiful breakfast setups. Happy fermenting!

Yogurt recipe
Ingredients
- 8 cups of milk raw or store-bought
- 4 tablespoons of yogurt with live cultures
Instructions
- Heat the milk to 180°F using your preferred method: Instant Pot, stove, or slow cooker all work well. This step helps the milk proteins break down for a smoother yogurt. Once it reaches temperature, let it cool to around 110°F. This is the ideal temperature for the culture to grow.
- Only add the culture once the milk has cooled to 110°F. If you add it while it's still too hot, it can kill the good bacteria and your yogurt won't set. After it's cooled, remove about a cup of the warm milk to a separate bowl and whisk in 4 tablespoons of plain yogurt until smooth. Pour it back into the pot and stir well to combine.
- Incubate the yogurt at around 110°F for 6 to 8 hours. The longer it sits, the thicker and tangier it will become. Once it's set to your liking, strain it through a fine mesh strainer or cheesecloth before refrigerating. Straining while it's still warm helps remove whey more easily. Strain for about an hour for a creamier yogurt, or several hours for a thick, Greek-style version.
- After straining, I pour the yogurt into a large bowl and stir in the flavorings for the entire batch. I usually use a mix of jam and maple syrup with a small pinch of salt, or sometimes fresh berries and maple syrup. Once it's all flavored, I portion it into small glass jars so the kids can grab one from the fridge. Each jar is already perfectly mixed and ready to eat.
- Store your finished yogurt in airtight containers or jars in the refrigerator for up to two weeks. Be sure to save a few tablespoons from this batch as the starter for your next one.


I’ve been making homemade yogurt for years now, and it’s truly become a staple in our kitchen. Once you try it, you’ll never go back to store-bought. It’s creamy, rich, and so easy to flavor just how you like. My kids love grabbing their little jars from the fridge, and I love knowing exactly what’s in it.