How to Make Farmer’s Cheese | Crumbly or Sliceable Options
Learning how to make farmer's cheese is one of the most rewarding milestones for anyone interested in home cheesemaking. There is nothing quite like watching a gallon of milk transform into a batch of fresh, mild white cheese right on your stovetop. This simple, unripened easy farmer's cheese recipe is completely foolproof and requires no complicated aging steps or specialty cultures. With just a single gallon of whole milk and a splash of household acid, you can easily create a beautiful, versatile dairy staple to enjoy on your homestead all year long.
This beginner friendly cheese fits seamlessly into a busy farm routine. You can use a fresh gallon of raw milk from your own dairy cow or a good quality bottle of organic milk from the grocery store. Making cheese is a perfect way to utilize your extra milk yield alongside a weekly batch of my staple homemade yogurt. It also coordinates perfectly with other simple homestead dairy projects. Once you master one of these methods, you can round out your farmhouse dairy shelf by whipping up a batch of rich homemade Butter from extra fresh cream or setting up a continuous probiotic-rich homemade Kefir.
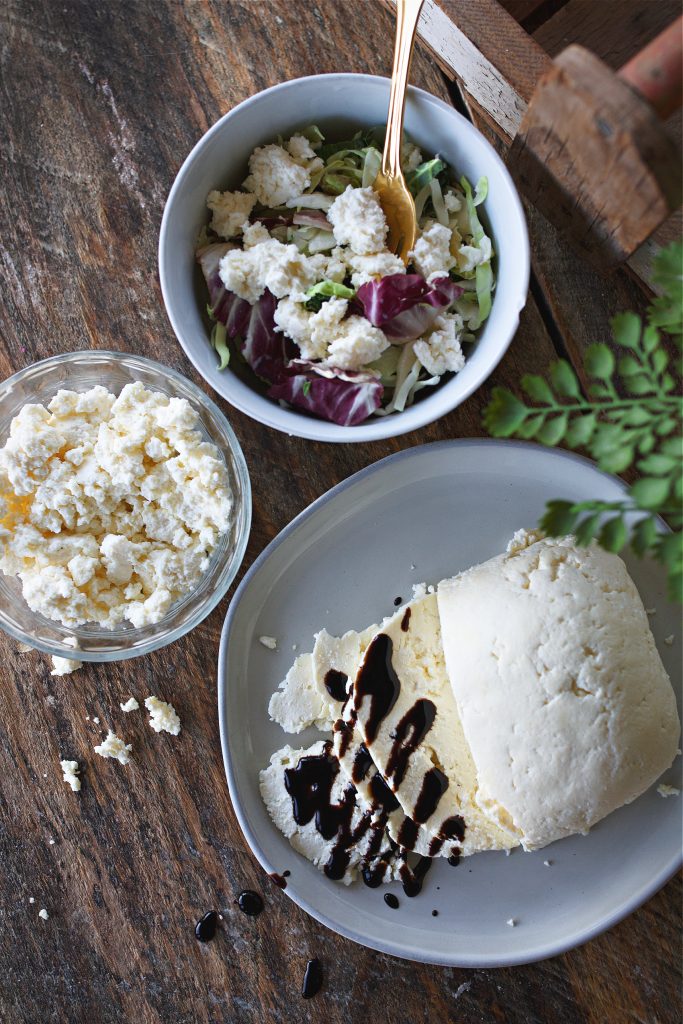
A Quick Look at This Farmer's Cheese Recipe
🥛The Ingredients: One gallon of whole milk, a splash of vinegar or lemon juice, and a pinch of salt.
🧀The Texture: Completely customizable! Keep it soft and crumbly like ricotta cheese, or press it into a firm, sliceable block.
🕰️Time: 5 minutes of active prep and 15 minutes to cook, followed by a brief rest to drain the curds.
🏡Shelf Life: Keeps beautifully in an airtight container in the refrigerator for up to one week.
Jump to:
The Beauty of Homemade Farmer's Cheese
Making your own cheese at home can sound intimidating at first, but a basic fresh farmer's cheese is the ultimate starting point for beginners. Because this is an unripened cheese, you do not have to worry about temperature-controlled aging caves or tracking down traditional cheese rennet. The entire process relies on a basic scientific reaction. Heat and a simple acid cause the milk solids to naturally separate from the liquid whey.
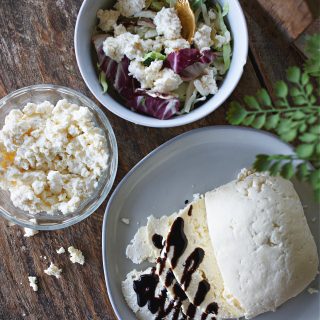
By adjusting how you handle the warm curds after cooking, you can easily control the final texture of your cheese. Minimal draining leaves you with a soft, delicate crumble that mimics cottage cheese or ricotta. Applying a little bit of weight to press the curds dries the mixture out, creating a firm, sliceable block. This style holds its shape beautifully. It also pairs wonderfully with fresh garden herbs, cracked black pepper, or a rich drizzle of balsamic glaze.
Ingredient Notes & Equipment
You only need three basic kitchen staples and a few everyday tools to start your first batch of fresh dairy preservation.
- Whole Milk: High-quality raw milk, or organic whole milk will give you the highest yield and best texture. Avoid ultra-pasteurized milk entirely. The extreme heat processing used for shelf-stable store milk damages the proteins, preventing the curds from bonding correctly.
- The Acid Catalyst: White vinegar or bottled lemon juice are the most reliable choices for a clean, predictable split. White vinegar provides a traditional, sharp tang. Lemon juice offers a slightly milder, fruitier finish. Apple cider vinegar can also be used, though it will introduce a distinct apple background flavor to your final cheese.
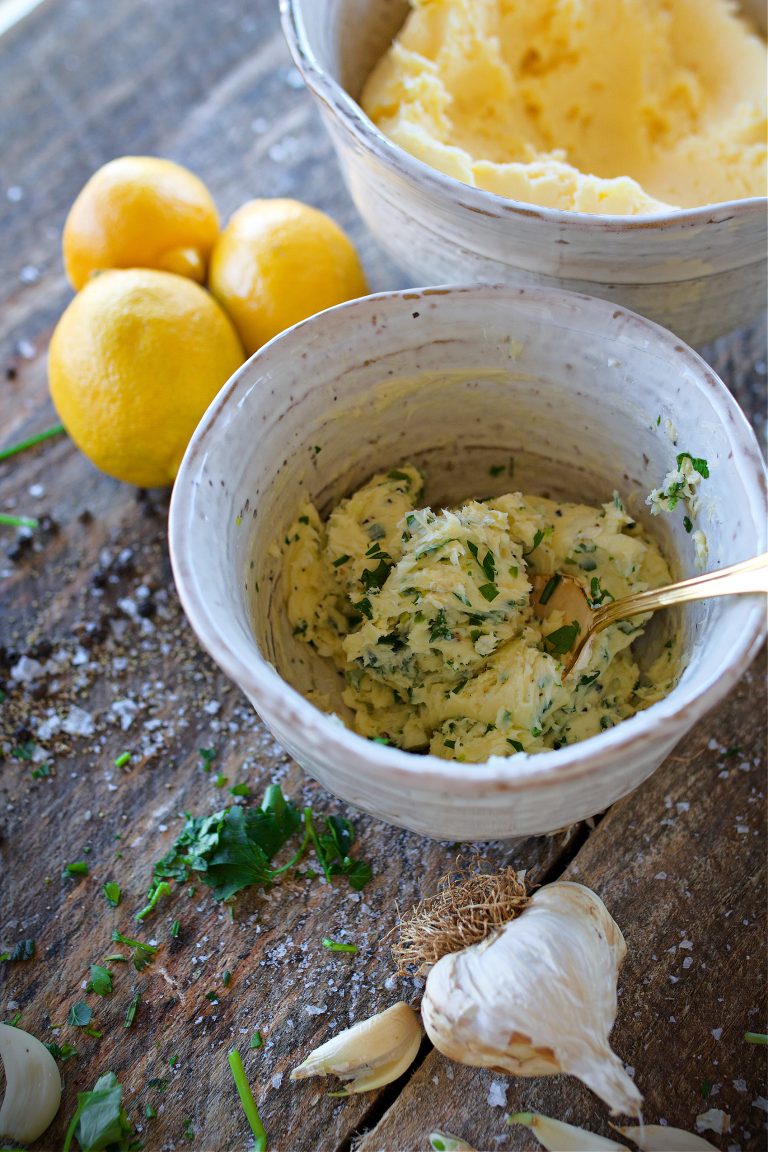
- Salt and Extras: Fine sea salt or unrefined mineral salt rounds out the mild flavor of the dairy. You can also mix in a handful of fresh minced herbs. My favorites are chives, dill, and rosemary. Some garlic powder at the very end is also great!
- Essential Tools: You'll need a large, heavy-bottomed stockpot to prevent scorching. Also, a wooden spoon, colander, large mixing bowl, and a few layers of clean, fine-mesh cheesecloth.
Step-by-Step Instructions: How to Make Farmer's Cheese
1. Heat the Milk Slowly
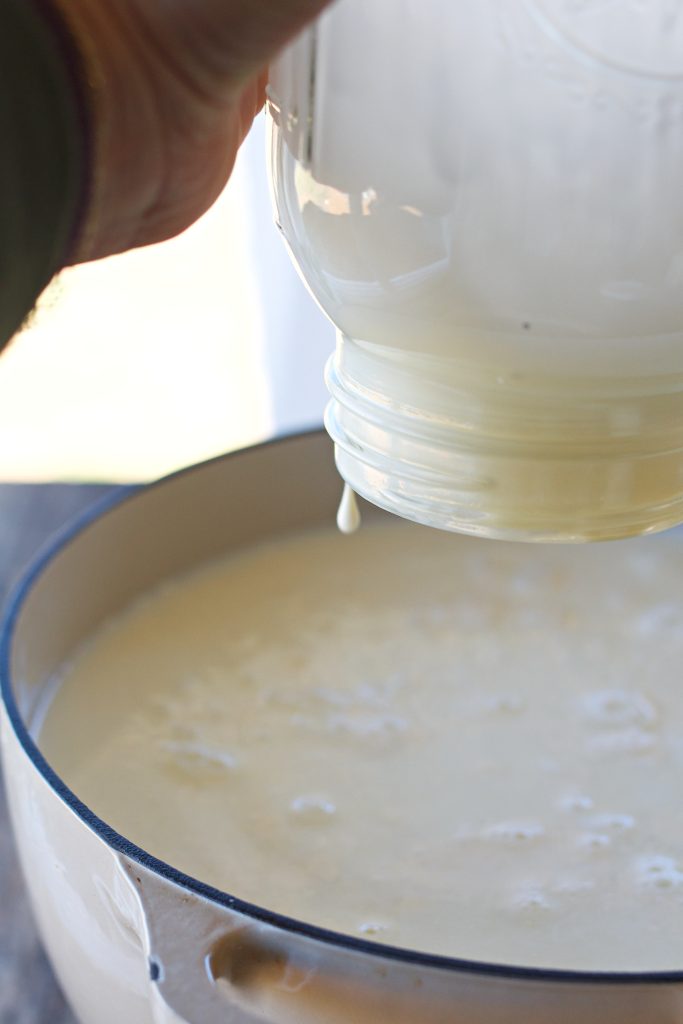
Pour your gallon of whole milk into your large stockpot. Place it over medium-low heat. Bring the temperature up slowly, stirring occasionally with a wooden spoon to prevent the milk sugars from catching and scorching on the bottom of the pan. You are aiming for exactly 190°F. The milk should be steaming heavily and showing tiny bubbles around the edges. It should not reach a rolling boil.
2. Add the Acid and Rest
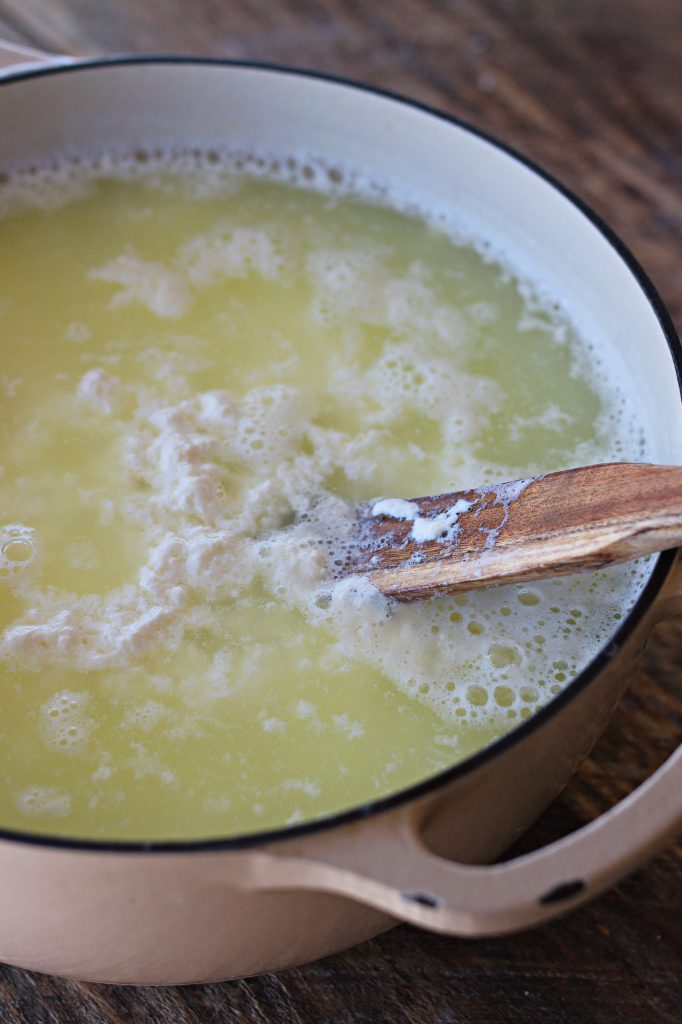
The moment your milk hits temperature, remove the pot completely from the burner. Slowly pour in your half-cup of vinegar or lemon juice. Give it a gentle, brief stir. You will see the milk react instantly as clear, golden liquid whey separates from the snowy white curds. Leave the pot sitting completely undisturbed on your counter for 15 minutes to allow the curdling process to finish.
3. Strain the Curds
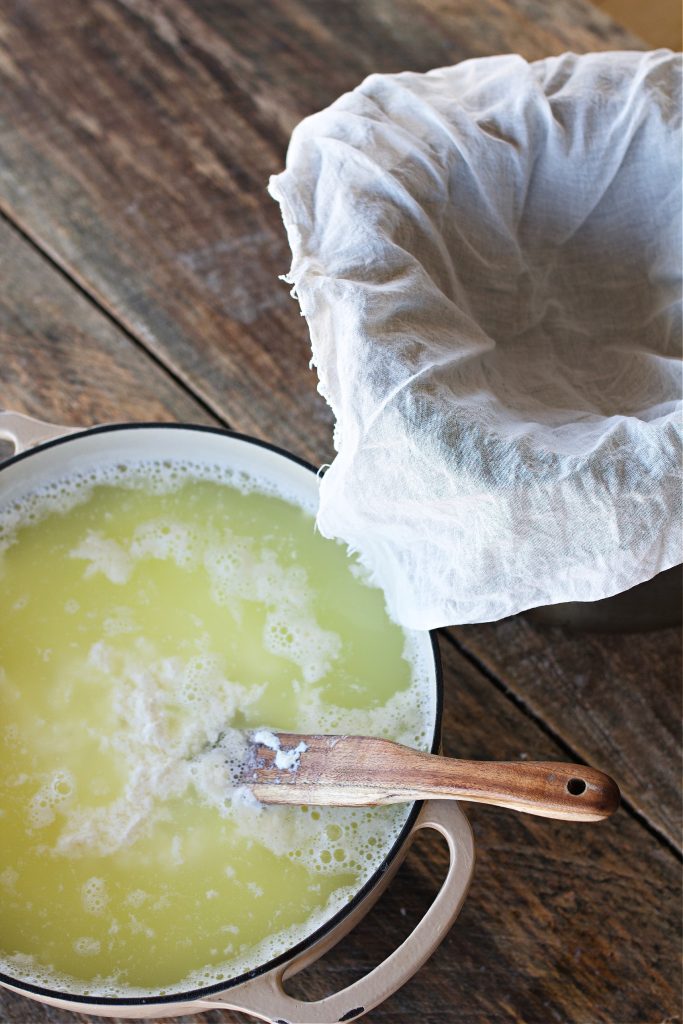
Line your large colander with two to three layers of clean cheesecloth and set it over a large bowl to catch the liquid. Carefully ladle or pour the contents of the pot through the cloth. The cheesecloth will collect your fresh curds while the nutrient-dense liquid whey drains through the bottom. Make sure to save that leftover whey, as it is an incredible liquid substitute for baking bread, mixing into smoothies, or adding to animal feed.
4. Customize Your Cheese Texture
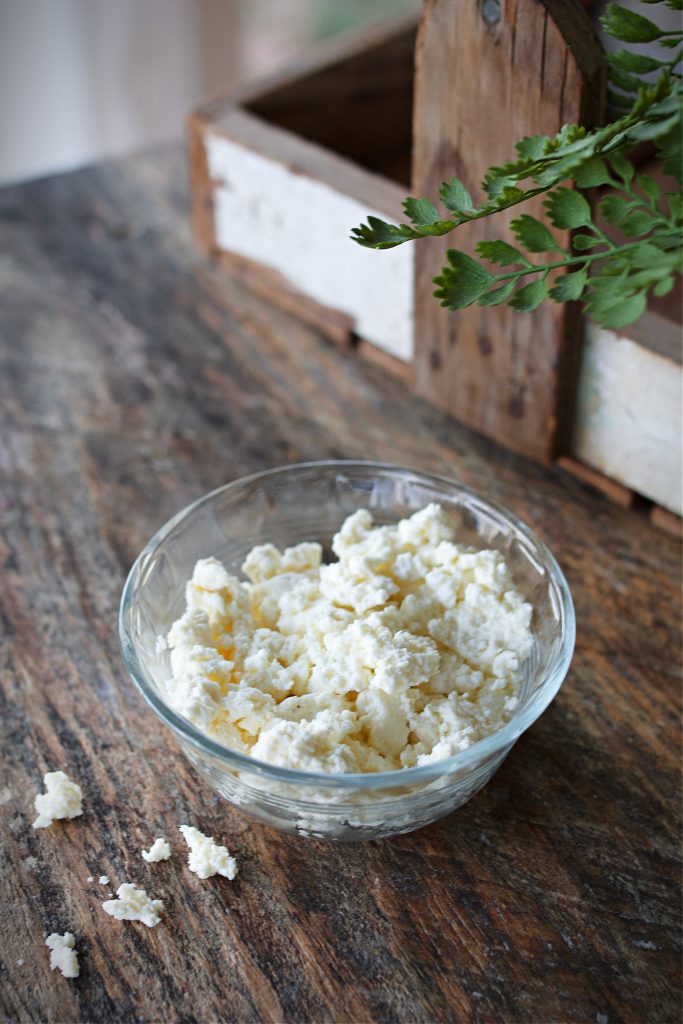
- For a Crumbly Texture: Let the curds drain in the colander for about 10 to 15 minutes until they stop dripping. While the cheese is still warm, transfer it to a bowl and use a fork to gently break the curds apart. Stir in your salt and optional herbs thoroughly.
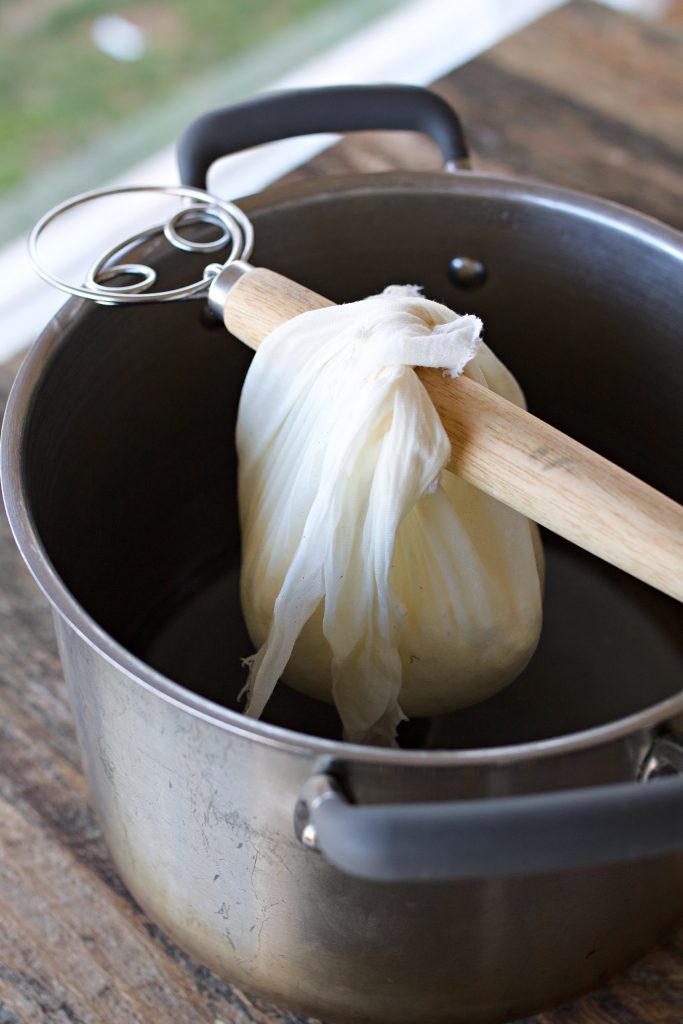
- For a Firm, Sliceable Texture: Gather the four corners of your cheesecloth and twist them tightly over the curds to form a compact bundle. Place the wrapped cheese back in the colander, lay a small cutting board or flat plate directly on top of the bundle, and weigh it down with a heavy object like a cast-iron skillet or a large filled jar. Press the cheese for a full hour to squeeze out the remaining moisture.
5. Pack and Store
Unwrap your pressed cheese block or seasoned crumbles and place them directly into an airtight storage container. Keep the cheese refrigerated and use it up within one week.
Simple Ways to Serve Fresh Farmer's Cheese
This mild, creamy cheese is incredibly versatile in a traditional farmhouse kitchen.
- The Fresh Summer Appetizer: Slice the firm block into uniform squares, arrange them on a platter with ripe garden tomatoes. Then, drizzle generously with high-quality olive oil and thick balsamic glaze.
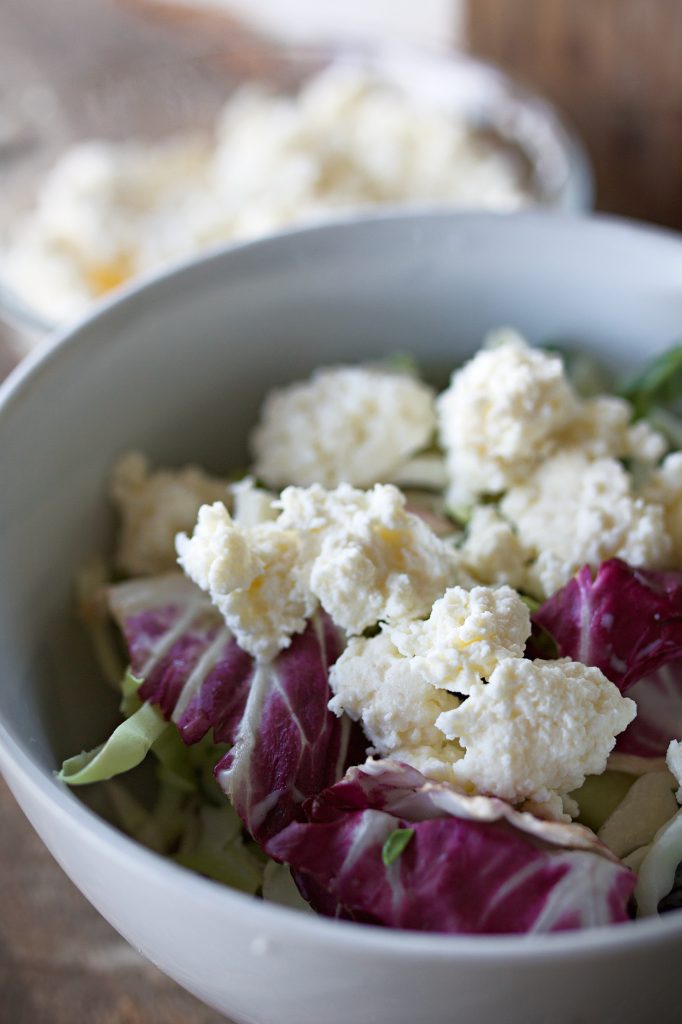
- The Morning Skillet: Crumble a handful of soft curds directly into scrambled eggs. Or, sprinkle over a hot pasta dish right before serving to add instant creaminess and rich flavor.
- The Perfect Spread: Blend the soft crumbles with a spoonful of sour cream, fresh chives, and a pinch of garlic powder to create a luxurious, savory spread for crackers or sourdough bread.
FAQ
This almost always happens if your milk was ultra-pasteurized (often labeled as UHT) or if the milk did not get hot enough. Double-check your carton labels next time, and ensure you hit a full 190°F with a reliable kitchen thermometer before adding your acid.
While both are easy, acid-precipitated fresh cheeses, traditional ricotta is made by reheating the leftover whey from other cheesemaking projects. Farmer's cheese uses the whole milk directly and is pressed to remove extra moisture, making it much drier, firmer, and easier to crumble or slice.
Yes! Goat milk works beautifully with this exact method. Because goat milk has a different fat molecule structure, your final cheese will have a noticeably softer texture and a wonderful, signature earthy tang.
Closing Thoughts from the Homestead
Bringing the traditional art of cheesemaking into your kitchen is such a simple way to connect with old-fashioned homestead skills. There is something deeply satisfying about looking into your refrigerator and seeing a beautiful block of cheese that you crafted yourself from scratch using just two basic ingredients. It is the perfect project to boost your confidence and make your family meals feel special.
If you make this recipe, I would love to see how it turns out! Leave a comment down below or tag over on Instagram. Happy cheesemaking, friends!
Homestead Dairy Guides You May Enjoy:

Farmer's Cheese
Ingredients
- 1 gallon whole milk raw milk or minimal-process organic whole milk works best (3899g)
- ½ cup white vinegar or bottled lemon juice (119g)
- ½ teaspoon fine sea salt adjusted to taste (3g)
- 1 teaspoon fresh herbs optional; minced chives, dill, or parsley (3g)
Instructions
- Heat the Milk: Pour your gallon of whole milk into a large, heavy-bottomed stockpot. Heat slowly over medium-low heat, stirring occasionally with a wooden spoon to prevent any scorching on the bottom. Heat until your thermometer reads exactly 190°F (steaming heavily with tiny bubbles around the edges, but not boiling).
- Curdle: Remove the pot completely from the heat source. Slowly pour in your vinegar or lemon juice, stirring gently for a few seconds to distribute the acid. Let the pot sit completely undisturbed on your counter for 15 minutes to allow the white curds to fully separate from the golden liquid whey.
- Strain: Line a large colander with two to three layers of clean cheesecloth and place it over a large bowl. Carefully pour the contents of the pot through the cloth, letting the curds collect inside the cheesecloth while the liquid whey drains through into the bowl. Save the nutrient-rich whey for baking projects!
- Form the Texture:
- For Crumbly Cheese: Let the curds drain for 15 minutes. Transfer the warm cheese to a bowl, use a fork to gently break the curds apart, and stir in the sea salt and optional fresh herbs.
- For Sliceable Cheese: Gather the corners of the cheesecloth and twist tightly to pack the curds into a ball. Place a flat cutting board or plate over the bundle inside the colander, and weigh it down with a heavy cast-iron skillet. Let it press for 1 full hour to remove the remaining moisture.
- Store: Remove the finished cheese block or seasoned crumbles from the cloth and place inside an airtight storage container. Keep refrigerated and use within one week.



I love how this recipe turns something as simple as milk into the most satisfying cheese. Warm, rich, and a little tangy, it reminds me why I enjoy homemade dairy so much. A slice of this with a drizzle of olive oil and herbs feels like pure comfort. I’s old-fashioned goodness at its best.