Garden Before & After: New Chicken Coop & Garden Layout
It's finally time for a garden update! Last night as I was walking the garden, surveying everything we've done I realized I'll never be 100% ready to share it with you! There's always going to be something I'd like to improve! So, I need to get over myself and share anyway!

Garden Update
I knew the garden had to change this year. As our poultry family grew, the little coop that Travis converted from an old dog house wasn't cutting it anymore. We needed a larger space that was also more predator proof. Losing three of our girls to racoons last fall was not something I'd like to repeat!

A new coop meant a new garden layout. I wanted to move the chickens to a more shaded area since their current spot gets intensely hot in the summer. Our lilac bush offered the perfect afternoon shade so we decided to move it there.
First thing first we had to remove the bed that was in the spot for the new coop.

Talk about a garden under construction!

Once we had the dirt moved it was time to start building!

You can access the plans here. Travis said they were super simple to follow and very efficient!

It took about two days solid to build the chicken house.

I'll do a entire post about making the coop and outdoor enclosure soon!

Travis's dad Dean came out for a bit and helped with the stuff that needed two people, and was there for overall support and general questions Travis had about building.

I still need to paint, but the chickens and ducks are loving their new digs!

Now that that was done we had some serious work to do on the garden. I wanted to get all my plants in before it was too late in the season. Time to remove the old coop!

We spent $50 total to build the first coop and repurposed a whole lot of items to make it. Just goes to show if you're resourceful you can have chickens for cheap!

Though the coop itself came together fast the project as a whole felt like it was never ending! We'd get one part done, then have to deconstruct the other coop, and then make new beds, and so on! I'm extremely glad it's over!

We were originally going to make the new outdoor enclosure the same width of the new coop and extend it to the end of the garden. But, when we were taking measurements it was plain to see that the size simply wasn't going to be large enough. We needed to remove the bed next to the new coop and widen the area a bit.

Again, I'll get into the cost and construction of the coop in an upcoming post, just know predator proofing the outdoor area is intense!!!!! However, I feel very secure knowing there is no way any predator is making it's way into the coop!

While Travis did the coop almost entirely by himself, the enclosure was a tag team effort. We were digging trenches, pouring concrete, and stretching wire all day!

Time to give a husband shout out here: Travis was such a trooper constructing my ideas. I came to him with plans in my head, and he helped turn them into reality. I feel extremely blessed to have a husband that's willing and ready to try most anything I throw at him!
Once the structure was built, Travis left it to me to even out the ground, fill in the holes, and decorate. This is always my favorite part and I was glad to have some time in the garden playing with ideas.

I have a couple fun projects to make the outdoor area more enjoyable for the chickens when they're not allowed to free range as my harvest grows. But, that's something we'll work on later. 😉

It was hard to wait and I actually caved and planted a lot before we finished the enclosure. To keep the plants from getting eaten I placed mesh over them. I kept the beds in the sections we were working around mostly free of plants and will fill those spots in within the next couple weeks!
For perspective, this is where the old coop was.

And where the two old beds were.

That huge mound of dirt on the right side of my bed has to go somewhere, I'm just not sure where yet. Originally Travis was going to build a quarter sized bed right in front of the coop, but with the door to the outdoor enclosure right there it's not going to work as I planned, so I'm still thinking of what to do in that area.
To the left side of the mound of dirt are sweet peas, which I placed some chicken wire on top of so they can vine out. In front of the peas I have three mounds. One of pumpkins, squash, and watermelon. I've never had luck with watermelon but had a seed pack that was about five years old and thinking they wouldn't grow, just threw them there and low and behold about five sprouted! We'll see if they can grow large enough to produce before the fall.
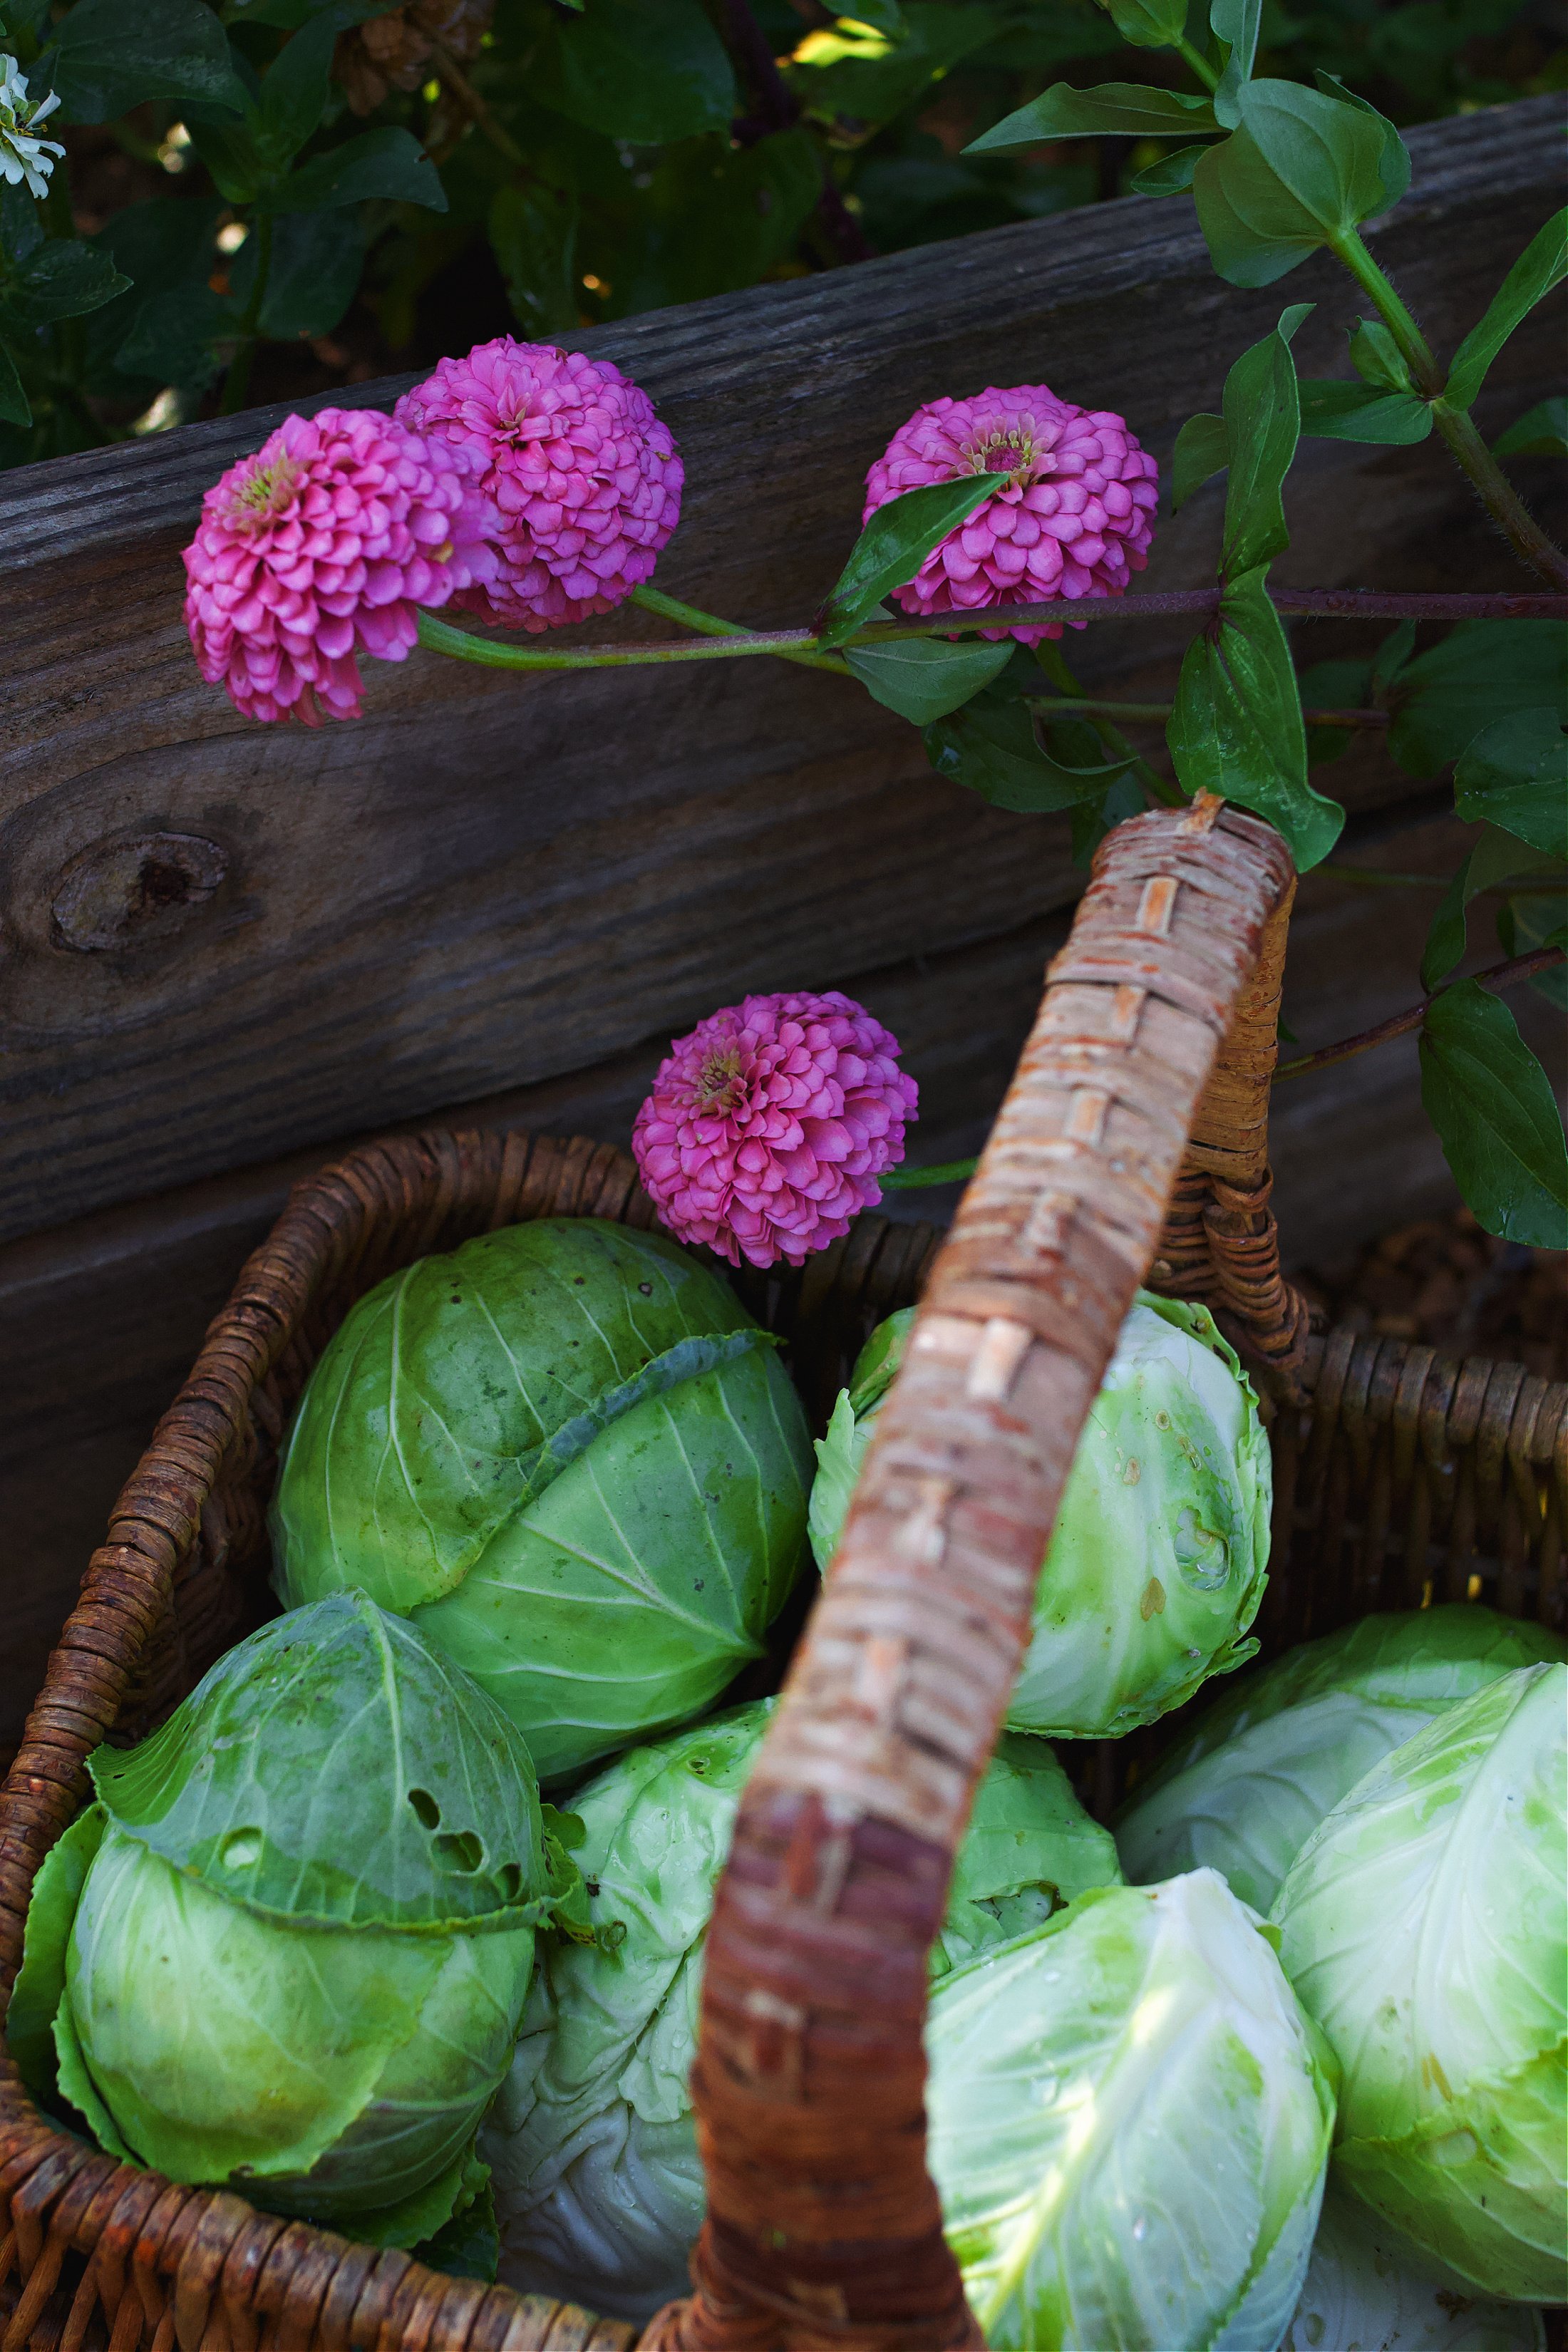
The next bed over is tomatoes (not pictured) and after that is the bed pictured below, which has perennials and annuals at the back, two mounds of cabbage, six bell pepper plants, radishes, and some carrots.

The next bed is full of various lettuces, some purple cabbage, another squash, and a cucumber.

Along the front of my garden I have raspberries, and on the inside left are all my containers of herbs, with irises and pots of annuals between them all.

Not pictured is my little area on the opposite of the yard that contains our blueberry bush and rhubarb. It's received little attention because of our project and is overflowing with weeds. Once It looks semi cared for I'll include it in a summer garden post later next month.
We also have strawberries this year. I removed the grass under the kid's playhouse and planted them there. So far they haven't been squashed and seem to enjoy the spot!

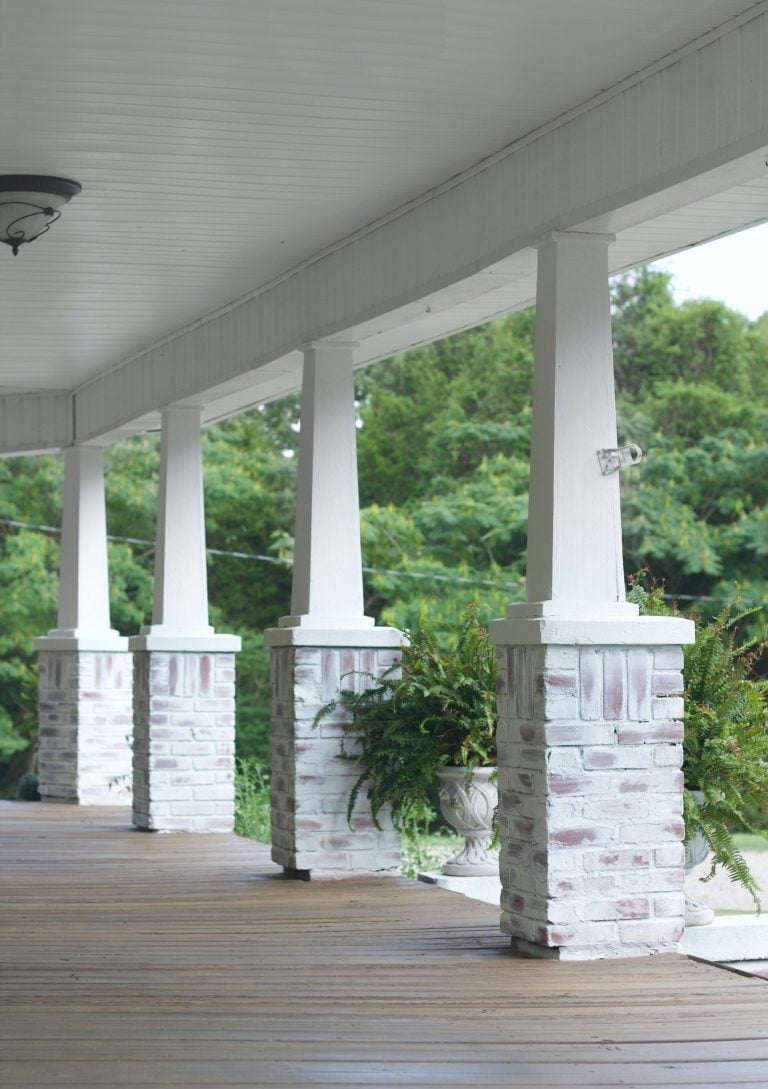
Just for fun, here are a few before pics of our yard right after we moved in, (We were in the process of taking down the large hedge trees along the back of our property so we could build our fence) and what it looks like now!
Before:

Now:

Before:

Now:

It's be fun to do a larger scale before and after in a different post. I'd have to do a little digging to come up with some choice before photos of our place!
And that's the late spring 2017 garden update! We've got a little more planting and building to do, but what's important is already done, and that takes a big burden off our shoulders. We wanted it to be completed by spring/early summer so we have the rest of the season to play and not be held back because of a ton of yard projects. Can't wait to post a harvest update later next month!
How's your garden coming along? Did you change things up this year?
See more about our backyard farm here!


Wow this little farm of yours looks very nice. I'm sure the kids would enjoy helping you out.
They really do! It's a family effort for sure!
WOW! What a difference! Your yard looks amazing. Hard work really does pay off! I hope you are enjoying all your new space, garden and chickens!
Thank you! We truly are!
Wow this is awesome. It's such a huge difference from the before and after. But the garden and everything just looks amazing. Those chickens are in a good home! I love it!
Fromunderapalmtree.com
This is awesome! It looks like a lot of hard work that paid off. It's beautiful!
Thank you! I'm just glad we got it over when we did so we can enjoy the rest of the summer!
That looks amazing! You all put a lot of hard work into sprucing that area up!
Thank you! It was hard but completely worth it!
Wonderful makeover! I am longing to add chickens to our family. The idea of fresh eggs is so delightful!
Fresh eggs are the best! And when they free range they taste even better!!!
What a cool backyard! I love it!!
Thank you!
Wow! It looks so nice! I love how you got your kids involved in the process! It looks like SO MUCH WORK! Hopefully your girls will be safe from raccoons now!
If raccoons can make it in there I might just give up on life! lol
Girl this is looking awesome! You have me wanting a garden and a chicken coop so bad! The new coop looks great! I don't know how you do it all...I wish I was motivated to do this! SO jealous!!
The rest of my life was a complete mess while we did this. Laundry to the ceiling and pretty much disowning friends and family until it was done! But it's over and now we can have a life again! 😉
Are chickens noisy or hard to take care of? I've always wanted chickens but it seems like such a big commitment.
Just don't get a rooster! They are the noisy ones. The girls cluck a bit but aren't that bad. Honestly they are very easy keepers and when they free range the yard (which we have completely enclosed) they keep the bugs and pests down!
It looks awesome! Are strawberries pretty hardy? I'd love if we could grow some, but I don't have the greenest of thumbs. Thanks!
Wow, this looks like a lot of work! You have put so much thought into the planning process and it looks like it's paying off! And, as with any project, there is always more to do! Great job!