How To Spruce Up An Old Closet With Paint And Elbow Grease
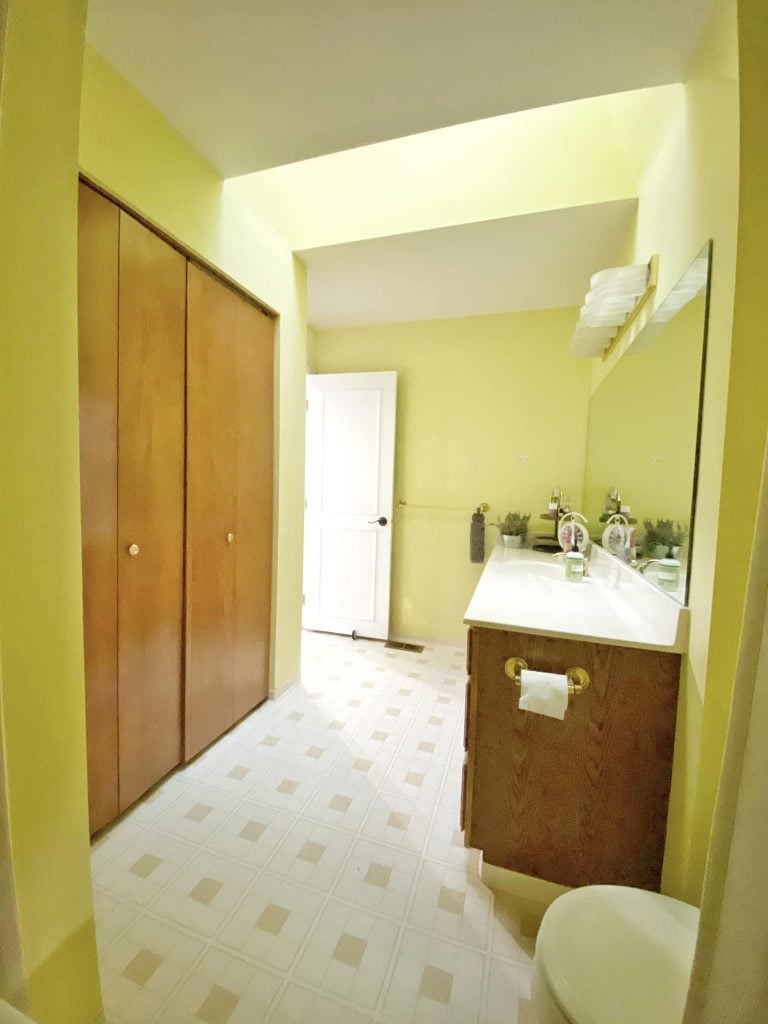
We’re knee-deep in our bathroom renovation. The cabinets and walls have been painted, and the lights ordered. I knew when we started this we’d have to pay special attention to our old dingy closet, and now, this gal has a whole new look.
The closet went from this:

To this bright and happy after:

Before we start, make sure to check out the other posts on this bathroom project.
Bathroom Mood Board Inspiration | Updating Our 90’s Bathroom
Painting Inside of Cabinets | Why It’s A Must For Resale Value. Plus, It’s Plain Pretty!
HOW TO TRANSFORM YOUR CLOSET
This bathroom has sat untouched since we moved in. That was three years ago last month. And why did I live with it like this? Because it was daunting! First, we need a new floor and new subfloors. The laminate beside the bath peeled up, and every bath or shower the water seeped under the laminate.

It’s also the largest of the three bathrooms we have, so tiling the floor was going to be expensive. We also want to tile the tub surround, and the counter on the vanity needs to be dealt with.
It also needed all new lighting.
So you see . . . it’s a lot. And it’s expensive.

Thankfully I have some great brands that came alongside to partner with us on this, and that lightened the load a bit.
I can’t wait to get it all done and share the ending.
But for today, let’s talk about the closet.
Sand first
The shelves of the closet were rough particle boards that had never been touched, so they were ready to paint right away. I simply cleaned them well with a semi-damp cloth to remove all dust and debris.
We removed the closet doors from the bathroom and sanded them well (going with the wood grain), and then spray painted them with my Wagner Flexio 200 HVLP. For info on that see this post where I share my spray painter tips. (It provides a professional, streak-free look.)

While the doors were drying, I changed out the pain in my Wagner and got to work on the shelves.

It took about two coats with the sprayer, and then I touched up with a paint brush in the corners and undersides. The shelves were a bit awkward to spray paint, so you’ll miss a bit because of the angles.
Once I painted the whole thing I stood back and although it was much improved, it now looked washed out to me. Then it came to me!
I’d do a “painted contact paper!”
please tell me you know what contact paper is? In Instagram stories, a lot of people were like, “What?”
I’m doing a little feature wall behind the toilet, and decided to paint the shelves to match. It just pulls the room together a bit more and provides a pop of fun when you open the closet.

Although this project took a bit of time, it was really easy. Which I’m holding onto because the rest of this project from here on out is going to be a bit more complicated! We’re excited to finally have this room feel like home instead of a foreign, yellow tinged land every time we walk in.

This week we’re installing the lighting so stay tuned for that update! It’s going to be a huge transformation!


Hi Eryn!
I LOVE how the painted shelves turned out! The white made a huge difference, but the accent design on the shelves is definitely the showstopping part of this makeover!
It’s amazing how much of a difference just a little bit of paint makes. Your bathroom is turning out awesome 🙂
-Christine
Thank you! It’s amazing what paint and a little creativity can do!