DIY: Create a High Hanging Herbal & Floral Drying Rack
June. A transition month. A shift from the lighter days of spring to the hot days of summer. The garden is bursting to life. Veggies seems to double in size every 24 hours and new flowers bloom each morning.
Along with my indoor projects like the floral and herb drying rack I'm sharing today in conjunction with our pantry project, I have been busy outdoors hardscaping our kitchen garden.

Hardscaping is laying down stones and gravel to define the boundaries of an outdoor space.
We're on the beginning of year two here, and although we've worked hard to get the gardens up, we still have so much to do.
Starting from scratch is backbreaking labor. Sweat stinging your eyes, blister making, dirt in places you didn't know you could get dirt in labor. It's filthy, grimy gardening.
Not cute dress with a wide brimmed hat picking veggies kind of gardening. That will come, and I'm excited for it. But for now, it's just plain dirty.
While my main canning garden is raised beds, (see that here) for the kitchen garden I wanted a bit more country cottage. While I do have some wooden beds there, I'm lining all the outer gardens with rock. I'm thankful we're able to source it from our property. But it is a slow process of rock searching and gathering when we have time.
It will be worth it though.
Enough talk about rocks and sweat, today I wanted to share the hanging herb rack!
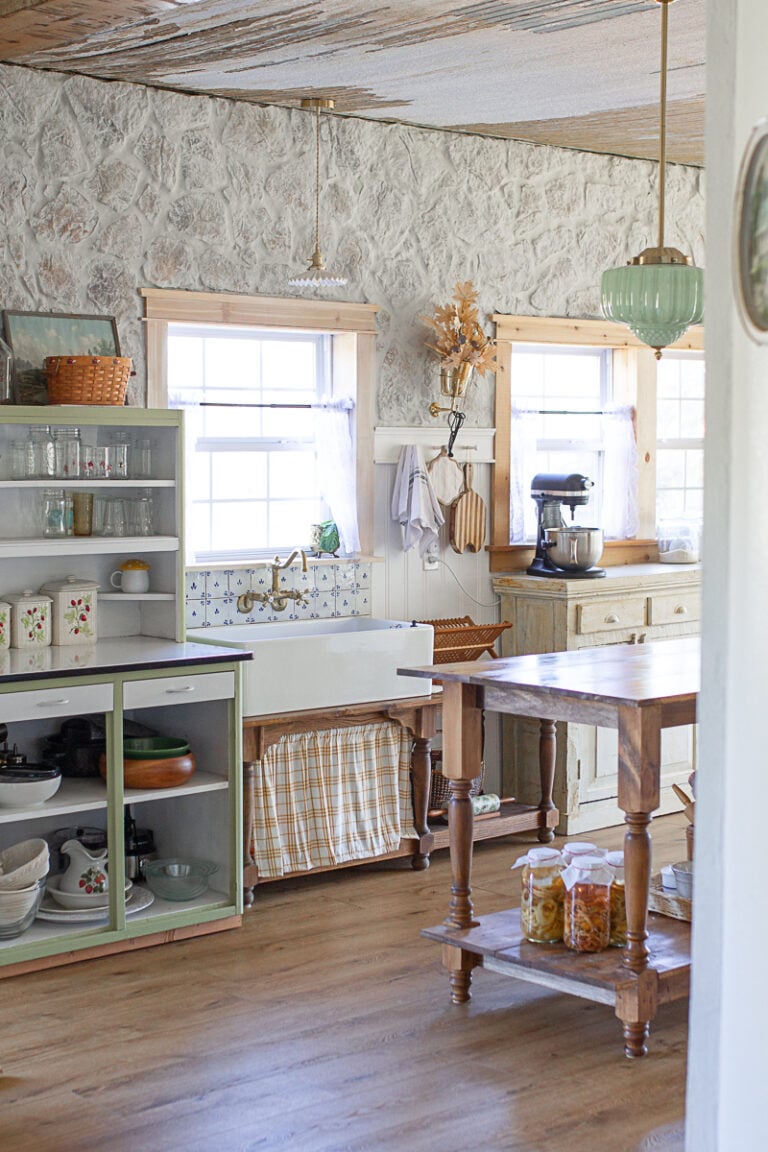
As you can see, the pantry still needs a few boards up on the walls. We painted the wall black behind the wood so the gaps between the boards weren't so apparent.
If you're looking to create a unique, space-saving indoor drying rack for herbs and flowers, a high hanging herbal and floral drying rack is the perfect solution.
This rack is easy to make, and provides a great way to maximize space in any room. Plus, given that it hangs up high, it's also a great way to keep out of reach of animals and avoid any pesky critter damage! It's also perfect for hanging flowers to make your own DIY Potpourri mix!

To make this type of drying rack, you'll need a few supplies, including stick cut from a few small tree, jute to tie them together, hooks to screw into the ceiling studs, and string to hang them from.
How to make the floral drying rack
Begin by arranging the sticks in a ladder like pattern. Now, tie the sticks together using jute or string in an overlapping criss cross pattern. Once the ladder is secured, find the point in the ceiling where you have two adjacent studs, and screw your hooks into those studs.

Hang your rack from the ceiling hooks using string or yarn. Once secured, the rack should hang at least a few inches below the ceiling, so you can easily get your hands around it to tie your herbs and flowers to the sticks. I like to use a slip knot so it's easy to remove them once dried.

This herbal drying rack should be able to hold quite a bit of material. Make it as long or large as you can to fit your space. Now instead of using counter-top space or investing in those small, store-bought drying rack, you can save both time and space with this easy to make high hanging herbal and floral drying rack.

Just another item I can check off my list and a way to dry and utilize more of my garden produce for not only cooking, but to use in all my salves, teas, and tinctures over the winter!

This space is coming along and in a couple weeks it will be finished! To see what it looked like before, make sure to check out my previous post about adding a pantry in our homeschool room/office.