Homemade Apple Cider Vinegar Recipe Made From Apple Scraps
Apple Cider Vinegar: A Simple Guide to Making Your Own
Apple cider vinegar is one of those staples every farmhouse kitchen should have. It's versatile, and surprisingly easy to make at home. It's also a base ingredient for my homemade mayo. From helping with blood sugar control and more, this powerhouse has earned its place in pantries for generations.
? Quick Look: Homemade Apple Cider Vinegar from Apple Scraps
⏱️ Prep Time: 15 minutes
? Ferment Time: 6-8 weeks total (2-3 weeks for first stage, 3-4 weeks for second)
? Total Time: About 2 months (longer aging = smoother flavor)
? Yield: 3-4 quarts (using two half-gallon jars)
? Cost: Nearly free - made entirely from apple peels and cores
? Main Ingredients: Apple scraps, filtered water, sugar, optional raw vinegar "starter"
? Equipment: Half-gallon glass jars, towel or muslin cover, spoon, fermentation weights
?? Skill Level: Beginner-friendly fermentation project
? Flavor Profile: Crisp, tangy, lightly fruity with a mellow finish that deepens over time
? Why Make It: Reduces waste, uses what's already in your kitchen, and adds a true homestead staple to your pantry
? Pro Tip: Stir daily during the first fermentation, then let the mother form undisturbed for a smooth, balanced vinegar
SUMMARIZE & SAVE THIS CONTENT ON
Jump to:
- Apple Cider Vinegar: A Simple Guide to Making Your Own
- This Is So Easy
- Why Make Apple Cider Vinegar at Home?
- Choosing the Right Apples for Your ACV
- Ingredients
- Supplies
- How to Make Apple Cider Vinegar
- Understanding the "Mother"
- To Stir or Not to Stir
- The Fermentation Process Day by Day
- Common Issues and Simple Fixes
- How to Store Your Apple Cider Vinegar
- FAQ: Apple Cider Vinegar Questions
- Apple Cider Vinegar
- Final Thoughts
- You may also enjoy:
- Meet Eryn
This Is So Easy
Making your own apple cider vinegar might sound complicated, but it's actually one of the easiest kitchen projects you'll ever do.
- You only need three ingredients and a few half gallon mason jars.
- It practically makes itself once you start.
- Each next batch of apple cider vinegar gets better with age.
- It's forgiving, even if your first try isn't perfect, you'll still learn and likely end up with usable vinegar.
Why Make Apple Cider Vinegar at Home?
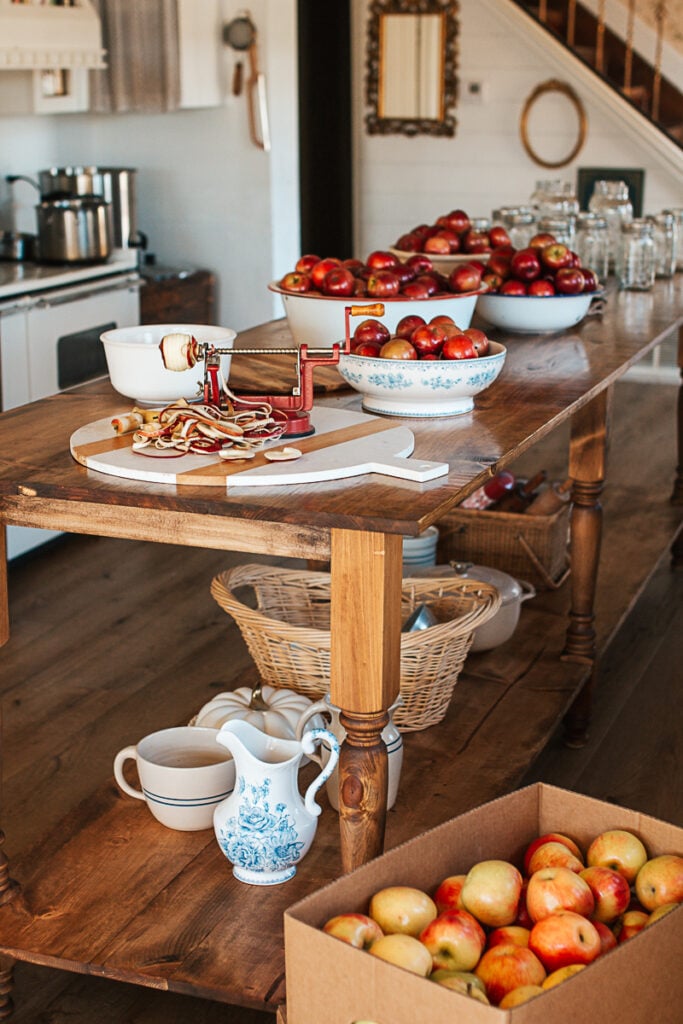
Making your own delicious apple cider vinegar is as satisfying as it is practical. Think of all those leftover peels and cores from canning or baking days. Scraps you'd normally toss. With just a little sugar and water, they can become something wonderful: your own homemade apple cider vinegar, naturally rich in acetic acid bacteria, the good microbes behind the fascinating fermentation process.
Store-bought brands are fine, but creating homemade fruit vinegar from your own apple scraps connects you to the rhythm of the seasons. Each jar captures a bit of your apple harvests, turning them into a versatile vinegar with countless uses in cooking, cleaning, and more. If you're thinking about planting trees of your own, I've put together simple tips and clear instructions on planting apple trees. to help you get started.
Choosing the Right Apples for Your ACV
For this recipe, you can use fresh apples like Honeycrisp, Gala, or Fuji. Organic fruit is best since pesticides can affect the acetic acid fermentation. Don't hesitate to mix varieties, each adds a slightly different flavor to your own homemade apple cider vinegar.
The goal is to keep waste out of the compost and put those scraps to good use, something every homesteader can appreciate.
Ingredients
- Apple scraps: peels, cores, and small bits from about 6-8 apples
- Filtered or cold water: enough to cover the apples completely
- 1 tablespoon sugar (brown or white) per cup of water
- 2 tablespoons raw apple cider vinegar (optional, from a previous batch for a head start)
Supplies
- Half-gallon mason jar
- Tea towel, coffee filter, paper towel, or cheese cloth
- Jar ring or rubber band to secure the cover
- Spoon for stirring
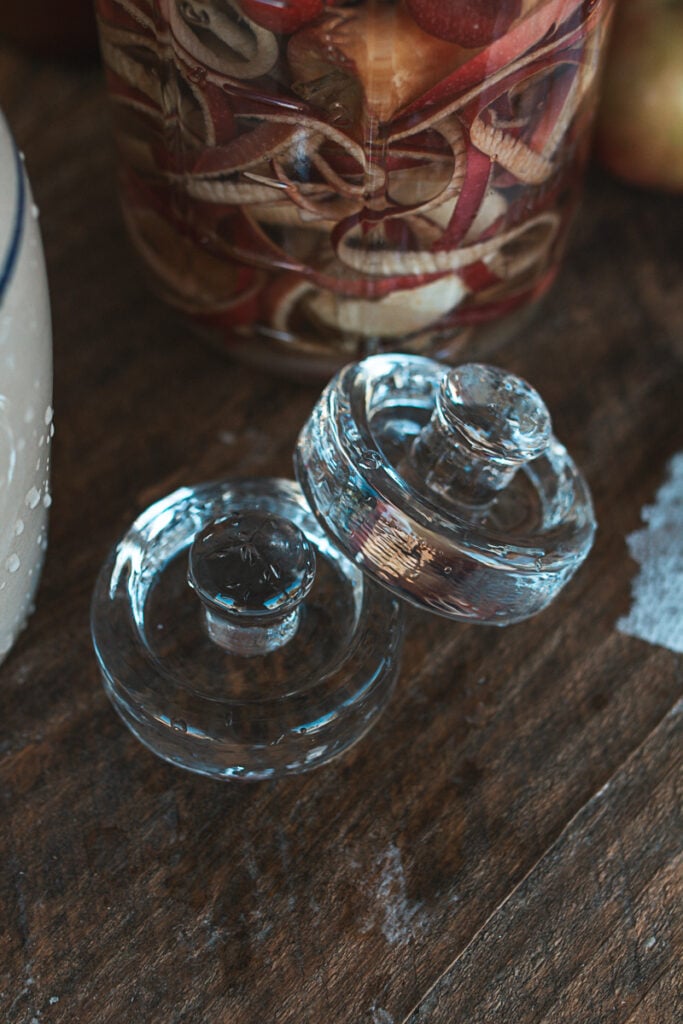
- Glass fermentation weights or pickle pipes (optional but helpful)
How to Make Apple Cider Vinegar
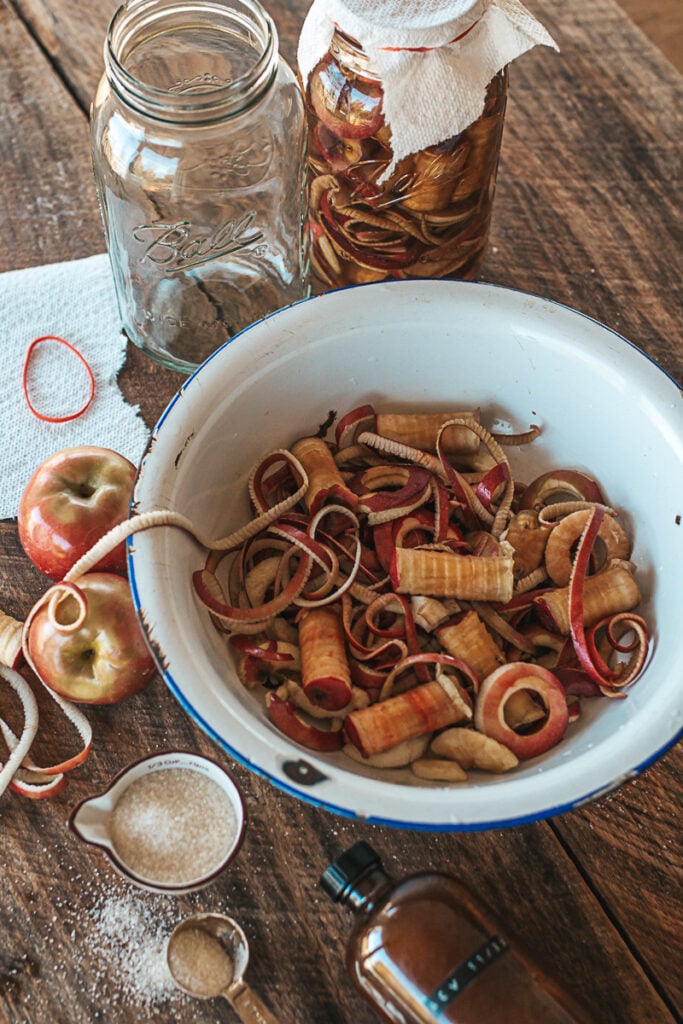
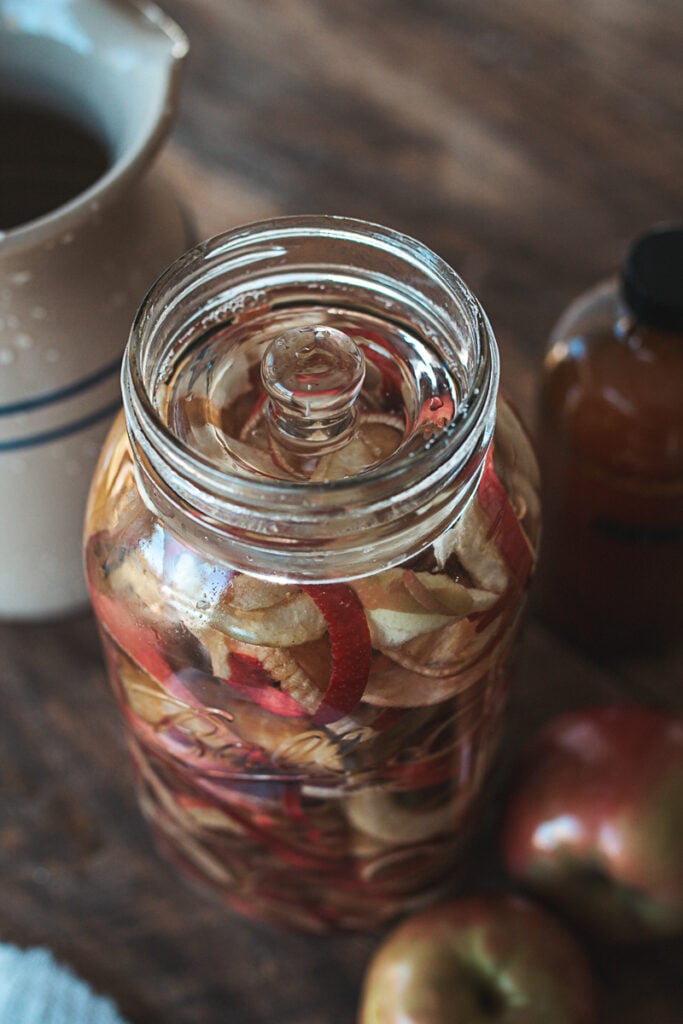
Step 1: Prepare the Jar
Fill a clean glass jar halfway with apple peels, cores, and any leftover apple pieces. Avoid using metal containers-they can react with the vinegar during fermentation.
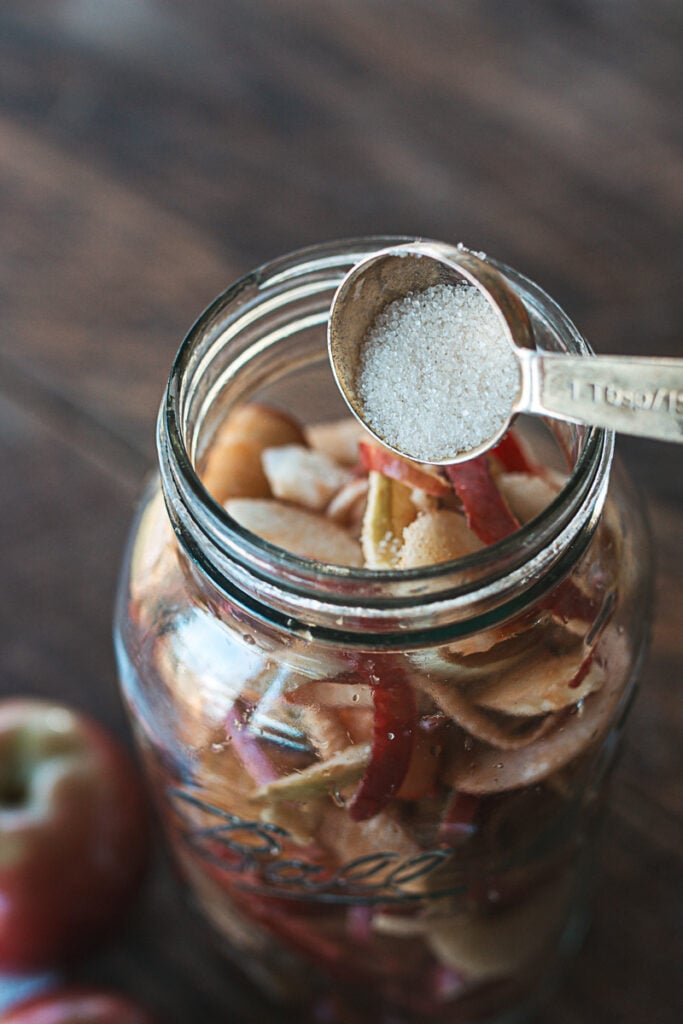
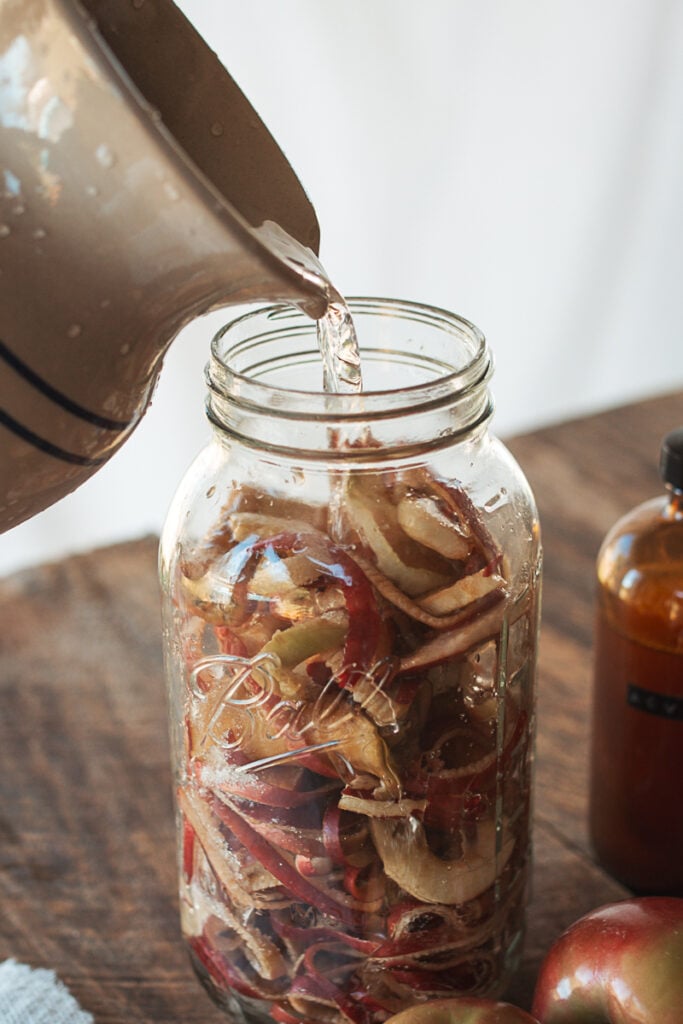
Step 2: Add Water and Sugar
Pour in enough water to completely cover the apple scraps. For every cup of water, stir in one tablespoon of sugar. The sugar feeds the natural yeast and encourages initial alcoholic fermentation results, which is the first stage in making vinegar.
If you have a little raw vinegar from a previous batch of apple cider vinegar, add a few tablespoons to give your new batch a head start.
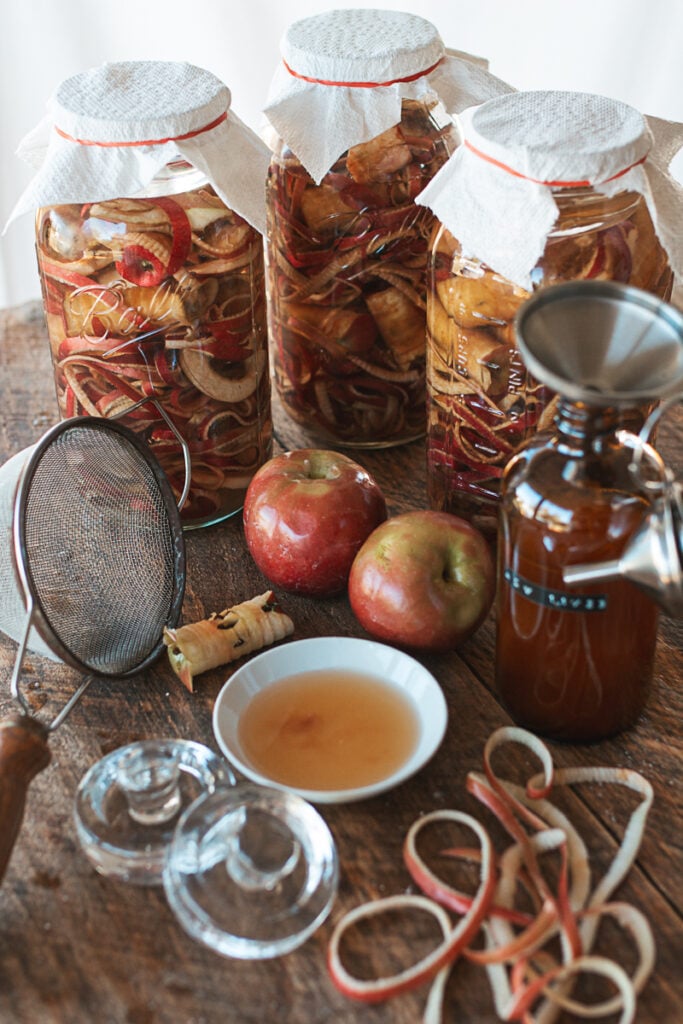
Step 3: Cover and Store
Cover the jar with a coffee filter, cheese cloth, or paper towel secured by a ring or rubber band. This allows air to flow while keeping out dust and fruit flies. Some people prefer to use pickle pipes or glass fermentation weights to keep the scraps submerged below the liquid-this helps prevent mold.
Step 4: First Fermentation
Place your jar in a dark spot or room temperature area, around 68-75°F. Stir the mixture once a day with a wooden spoon to introduce oxygen and release carbon dioxide.
After about two to three weeks, you'll notice bubbles forming and a mild sweet-to-tangy scent. This means fermentation is happening!
Step 5: Strain and Continue Fermenting
After the initial stage, strain out the solids using a fine mesh sieve or cheesecloth. Transfer the liquid back into the jar and cover it again.
Let it sit for another three to four weeks, stirring every few days. During this time, the acetic acid bacteria transform the alcohol into vinegar through acetic acid fermentation. The liquid will become cloudy, and a jelly-like film may form on the top of the jar-this is called the mother of vinegar, a natural collection of beneficial bacteria.
Understanding the "Mother"
That floating, cloudy layer is the heart of the fascinating fermentation process. It's made up of acetic acid bacteria that help strengthen your vinegar. If you've ever seen the mother in a bottle of store-bought ACV, it's the same thing-just homegrown.
This living culture is what gives vinegar its tangy flavor and its wide range of benefits. Beyond its wellness uses, that same bright tang makes it a staple in the kitchen. I love adding a splash to my homemade mayonnaise, Honey Mustard Dressing, marinades, and countless other recipes. It brings a clean, crisp depth of flavor that store-bought vinegar just can't match.
To Stir or Not to Stir
During the first stage of fermentation, stirring is important: but only up to a point.
In the early weeks, the goal is to help the natural yeasts get the oxygen they need to thrive. Stirring once a day with a wooden or plastic spoon keeps the apple scraps evenly mixed, prevents mold from forming on the surface, and helps release trapped carbon dioxide.
Once you've strained out the apple pieces and moved into the second fermentation stage (where the mother of vinegarwill form), stop stirring. Oxygen is no longer needed at this point, and disturbing the surface can break up or prevent the mother from developing properly.
So, in short:
- Stage one: Stir daily.
- Stage two: No stirring-just let the vinegar rest and do its work.
The Fermentation Process Day by Day
Making apple cider vinegar is a slow, living process. Each stage tells you something through smell, color, and small changes in texture. Here's what to expect from start to finish.
Days 1-2: The Quiet Start
After mixing your apple scraps, sugar, and water, cover the jar and set it in a warm spot around 68-75°F. Not much happens at first, but the natural yeasts on the apple skins are waking up. The water may look slightly cloudy, and you might see a few tiny bubbles near the edges.
Days 3-7: Bubbles and Yeast Activity
By the end of the first week, small bubbles will appear throughout the liquid. When stirred, the mixture will fizz slightly-this is carbon dioxide escaping as yeast turns the sugar into mild alcohol. The smell will shift from sweet apples to something lightly boozy and fruity.
Week 2: When to Strain
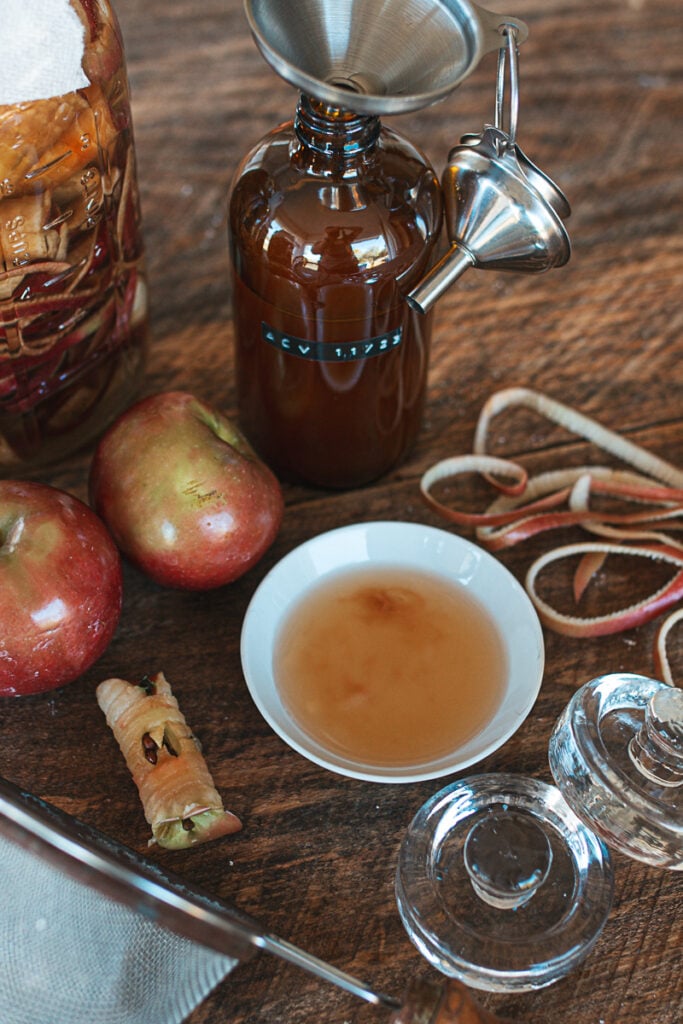
Around the two-week mark, the bubbling slows, and the liquid becomes a golden amber color. The scent now leans more toward hard cider than applesauce-this is your cue that the first fermentation is complete.
When you notice this gentle tang and the fruit pieces begin to float less actively, it's time to strain out the apple scraps.Don't wait too long, or the solids may start to break down and cloud the vinegar. Strain through a fine mesh sieve or cheesecloth into a clean glass jar or dark amber bottle.
Discard or compost the apple scraps.

Weeks 3-4: The Second Fermentation Begins
Now that the solids are removed, the liquid will begin its transformation from cider to vinegar. This is when the acetic acid bacteria take over, converting alcohol into acetic acid-the defining step of vinegar making.
Within a week or two, you may notice a thin, jelly-like film forming on the top. That's the mother of vinegar. It's completely natural and a sign your vinegar is thriving. From here, do not stir or move the jar too often; let it quietly develop.
Months 2-6: Aging and Flavor Development
As the weeks pass, the liquid grows clearer and the aroma sharper. By two months, your vinegar is safe to use in recipes like homemade mayonnaise, vinaigrettes, or marinades. The flavor will continue to deepen over the next few months, mellowing and rounding out beautifully by the six-month mark.

If you're patient, that extra time is worth it-after six months, the vinegar has a smooth tang and well-developed aroma that store versions can't match.
Common Issues and Simple Fixes
Even if you do everything right, small hiccups can happen. Here's what to look for:
- No Activity: Temperature can slow things down. Try a warmer spot, around 70°F.
- Fruit Flies: They love fermentation. Keep the jar well-covered with a tight cloth.
- Mold on Top: Skim it off gently, it happens if scraps are exposed to air. The vinegar below is still safe.
How to Store Your Apple Cider Vinegar
Once your vinegar smells clean, sharp, and pleasantly tangy, seal it in dark amber bottles or mason jars with tight-fitting lids. Keep it in a cool, dark spot like a pantry or cupboard.
Because vinegar is naturally acidic, it's self-preserving and shelf-stable. I like to label each jar with the batch date so I can track aging. After a few months, you'll notice how the flavor continues to evolve. Properly fermented vinegar will last indefinitely-and often gets even better as the years go by.
FAQ: Apple Cider Vinegar Questions
The vinegar is finished when it smells tangy, no longer like alcohol, and has a clean, sharp flavor. You can use a pH strip to check-between 2.5 and 3.5 is perfect.
Yes! Pears, peaches, and even citrus fruit make wonderful homemade fruit vinegars. Try mixing a few slices into your next batch for subtle flavor variations.
Yes! The bubbles show carbon dioxide being released. A light film or the mother is completely natural and a sign of healthy fermentation.

Apple Cider Vinegar
Ingredients
- 2 quarts Apple scraps (enough to fill ¾ of a half gallon mason jar) peels, cores, and any leftover apple pieces
- ½ gallon Filtered or tap water enough to cover the apple scraps
- 4 tablespoon of sugar per half gallon container
- 2 tablespoons of raw apple cider vinegar (optional, to kickstart fermentation)
Instructions
- Prepare Apple Scraps: Collect apple peels, cores, and leftover pieces. Remove any rotting parts. Place the apple scraps into a clean half gallon mason jar, filling it half to three quarters of the way to to top.
- Add Sugar and Water: Add 4 tablespoons of sugar into your clean half-gallon jar. Then pour in enough water to completely cover the apple scraps, leaving about an inch of headspace at the top. Stir gently to dissolve the sugar. If you have some on hand, add a couple of tablespoons of raw apple cider vinegar to help kickstart fermentation.
- Cover and Store: Cover the jar with a clean tea towel or butter muslin, and secure it with a jar ring or rubber band. Store the jar in a dark, warm spot (around 70°F), away from direct sunlight. Let the mixture ferment for 2-3 weeks, stirring daily.
- Strain and Ferment Further: After 2-3 weeks, strain out the solids, keeping the liquid. Return the liquid to the jar and cover again. Let it ferment for another 3-4 weeks. Taste periodically to check the acidity level until it's to your liking.
- Store and Enjoy: Once you're happy with the flavor, pour your homemade apple cider vinegar into jars with tight-fitting lids and store it in a cool, dry place. The vinegar will continue to develop in flavor over time.
Notes
If you’re not seeing bubbles or activity, don’t worry. The process can slow down based on the temperature.
You can add herbs like rosemary or thyme for extra flavor.
Nutrition
Final Thoughts
Making your own apple cider vinegar from food scraps is a simple way to reduce waste and create a kitchen staple. Whether it's your first time or you're already a pro, you'll love the taste and versatility of your homemade apple cider vinegar. Plus, it's a great way to make use of those extra apples from your apple trees!
Enjoy the additional benefits of your own vinegar, and don't forget to experiment with flavors by adding herbs or honey. Your next batch will only get better with time!
Come hang out on Instagram with me where I share our homesteading journey in Tennessee in real time.
You may also enjoy:
Meet Eryn
Eryn Whalen is a homestead blogger and recipe developer with decades of hands-on experience in gardening, home canning, animal husbandry, and traditional kitchen skills.On her family's 100-acre Tennessee farmstead, she shares the daily beauty of homestead life: from milking cows at sunrise to filling the pantry with homegrown food and baking from scratch in her farmhouse kitchen. Read more about Eryn here


When the process is done, do you pour the mother into the jars too? Or maybe do something different with it?
You’ll want to keep the mother in the jar. It’s the living culture that keeps the vinegar active and helps it continue to develop flavor and strength over time. It can also be reused to start a new batch later, or you can leave it in the jar and keep adding apple scraps as needed. 🙂
I've made this for years, my 2nd batch this year literally fizzled over after 3 days and is almost like jelly. What a mess! I understand it's like super mother but any clue how much longer I should keep it going or how to store this?
Isn't it so fun!? I'd let it ferment for at least a week, and then strain and place in amber jars and stored in a cool dark place until use! Enjoy! 🙂
It's a wonderful idea and great for health. Thanks for sharing this item.