How to Make Naturally Colored Rocket Pops
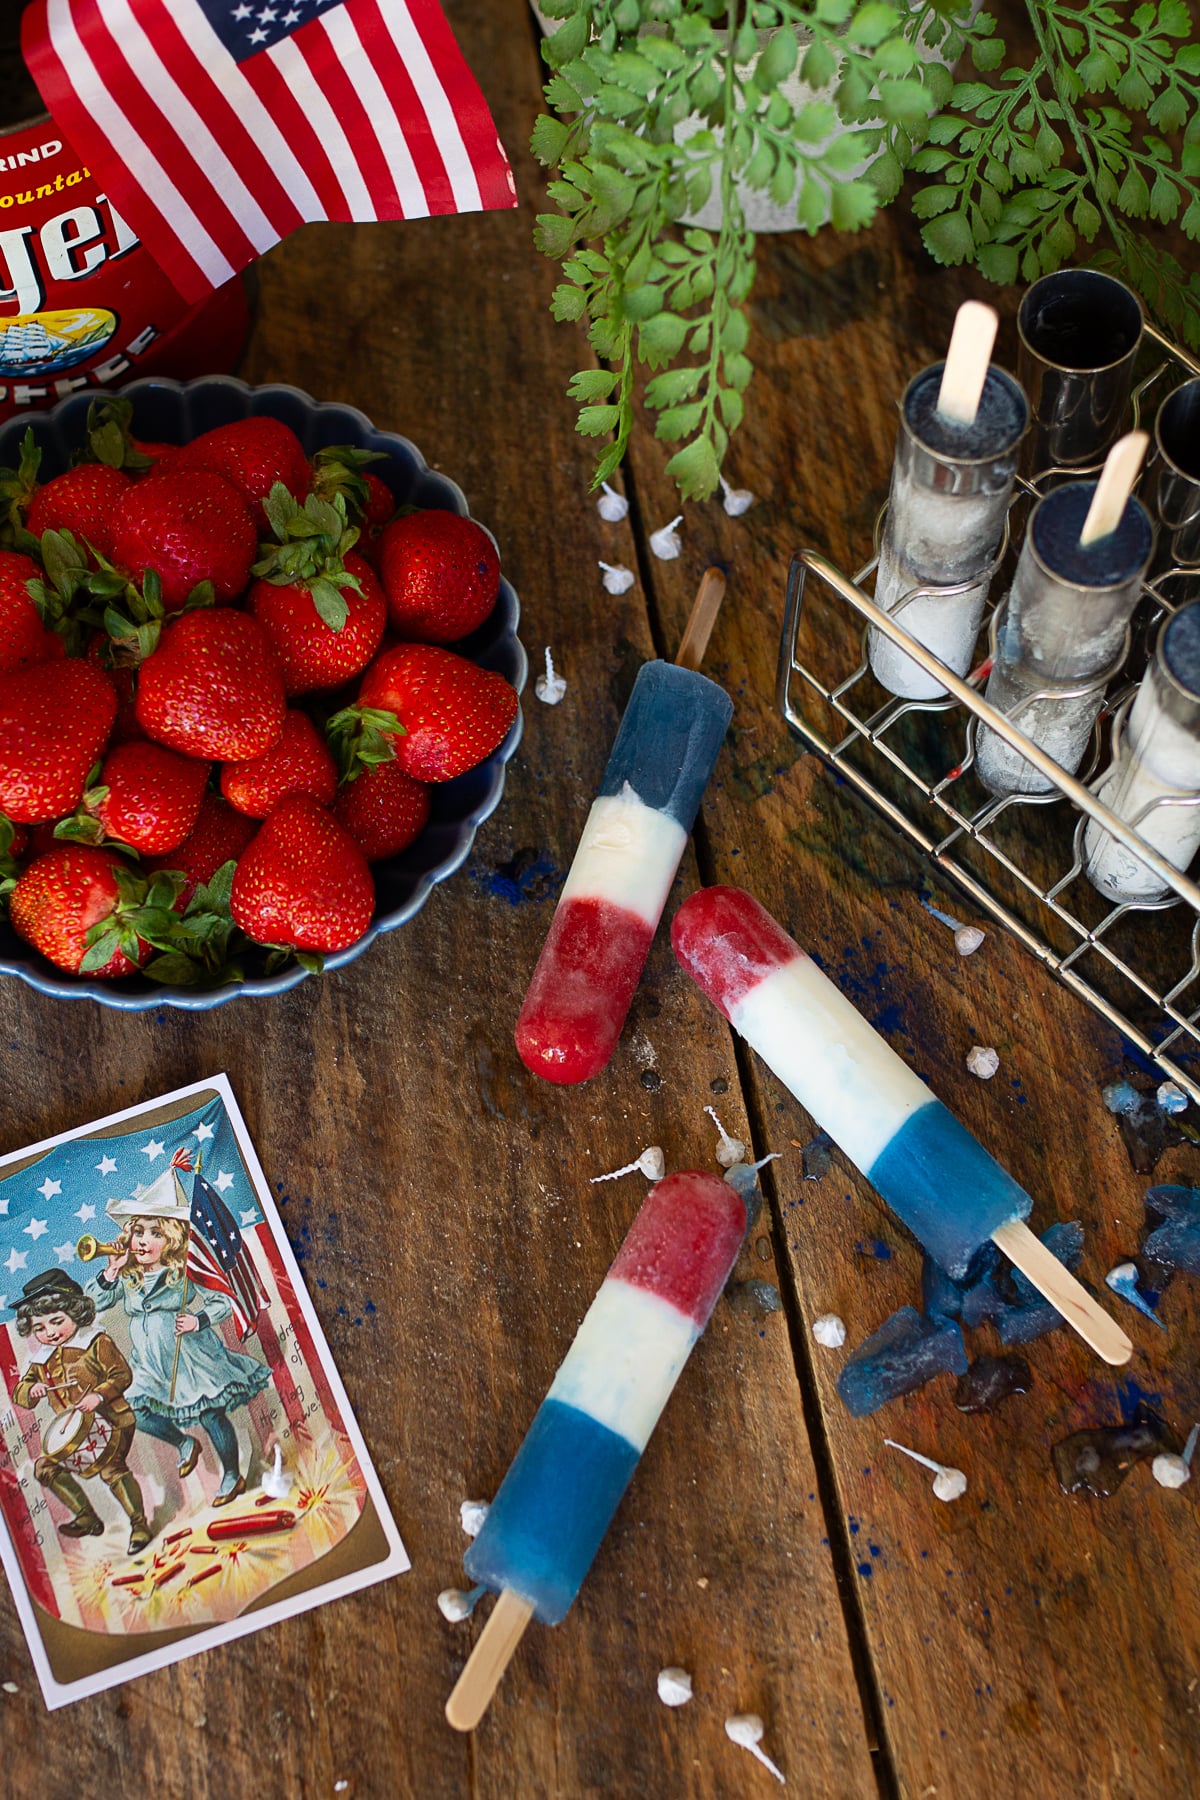
The warmer weather is finally rolling into the farm. That means my kitchen is shifting away from heavy baking and moving right into summer mode. Today, we are upgrading a childhood favorite with these creamy homemade rocket pops. I wanted a cool, layered treat that felt like a nostalgic red, white, and blue popsicle. However, I wanted it made with honest, traditional ingredients from a scratch kitchen.
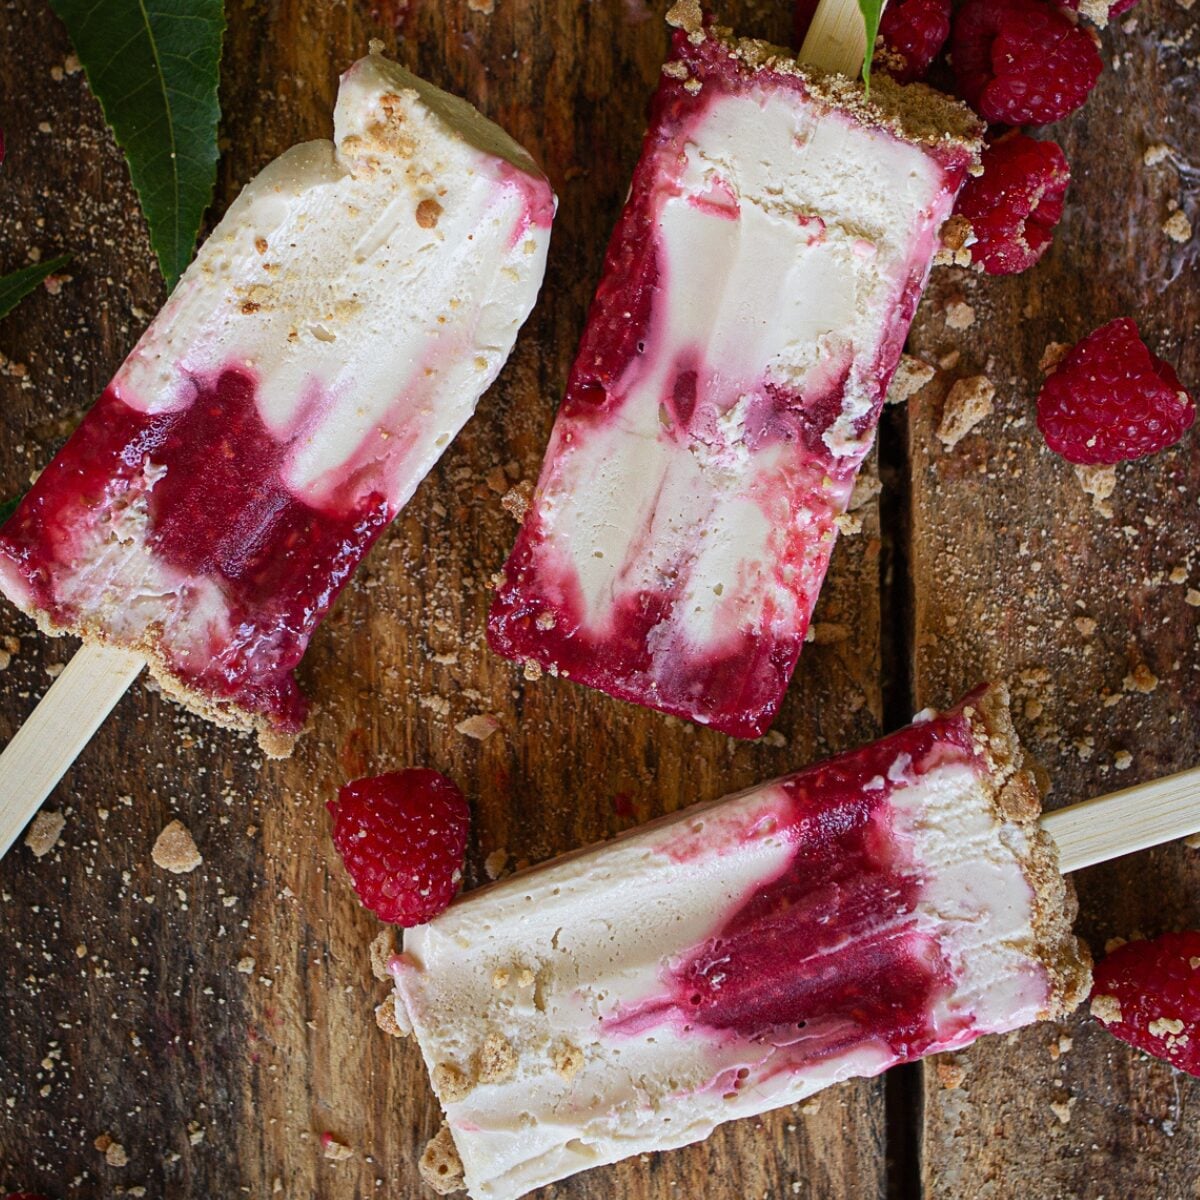
By using whole milk vanilla yogurt as a rich, velvety base for the white layer, and fresh fruit for the red, these popsicles are perfectly sweet and beautifully tart. They are always a massive hit with the kids after an afternoon in the summer heat. Once you master this refreshing layered technique, you can keep the summer momentum going by checking out my Raspberry Cheesecake Popsicles or whipping up a batch of my Homemade Easy Chocolate Fudge Popsicles.
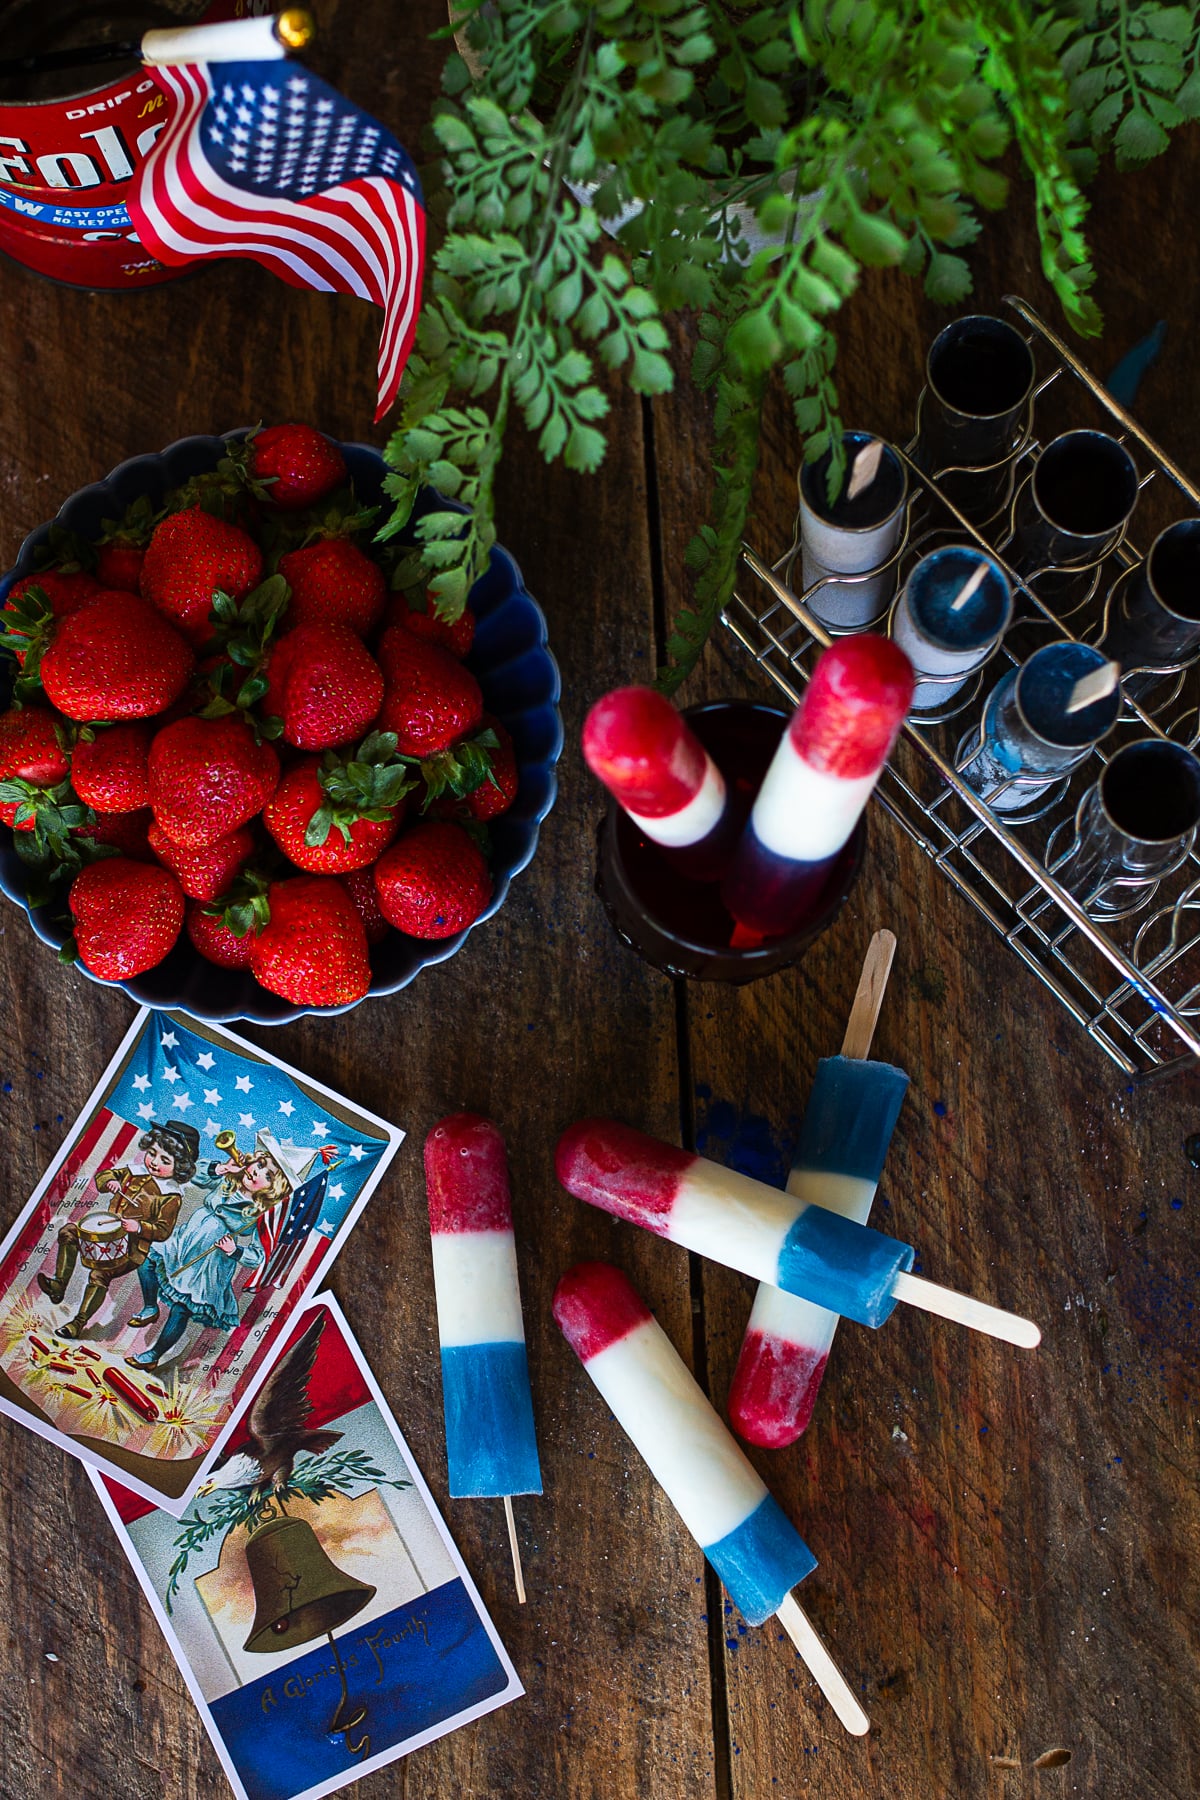
Managing the Summer Heat with Homemade Treats
When the sun beats down on the homestead, these rocket pops are our saving grace. It takes very little active time to prep the layers. The result is a freezer stocked with vibrant, clean snacks that you can feel completely good about serving to your family.
A Quick Look at These Homemade Rocket Pops
🎆 The Flavor: A refreshing balance of tart summer strawberries, zesty lime, and sweet fruit juice.
✨ The Texture: Velvety and soft rather than rock-hard ice, thanks to the rich whole milk yogurt base.
🥫 The Coloring: One hundred percent natural and free of artificial dyes, using real berries and plant-based superfoods.
🍽️ The Versatility: Easily swap out the sugar for raw honey or maple syrup to fit your family's preferences.
Jump to:
- Managing the Summer Heat with Homemade Treats
- A Quick Look at These Homemade Rocket Pops
- Why You Will Love This Recipe
- Ingredient Notes & Equipment
- My Personal Testing Notes: What to Look For
- Step-by-Step Instructions
- Storage and Shelf Life
- Frequently Asked Questions About The Rocket Pops
- Final Thoughts
- Other Frozen Treats to Try:
- Homemade Rocket Pops
Why You Will Love This Recipe
Making popsicles from scratch lets you control exactly what goes into your kids' treats.
- No Artificial Dyes: Pure summer strawberries and natural blue spirulina create gorgeous colors completely naturally.
- Farmhouse Texture: Whole milk yogurt keeps the center layer incredibly creamy instead of icy.
- Perfectly Scaled: This recipe is tailored to fit a standard 10-cavity stainless steel popsicle mold flawlessly.
- Budget-Friendly: It utilizes simple ingredients that you likely already stock in a whole-foods pantry.
Ingredient Notes & Equipment
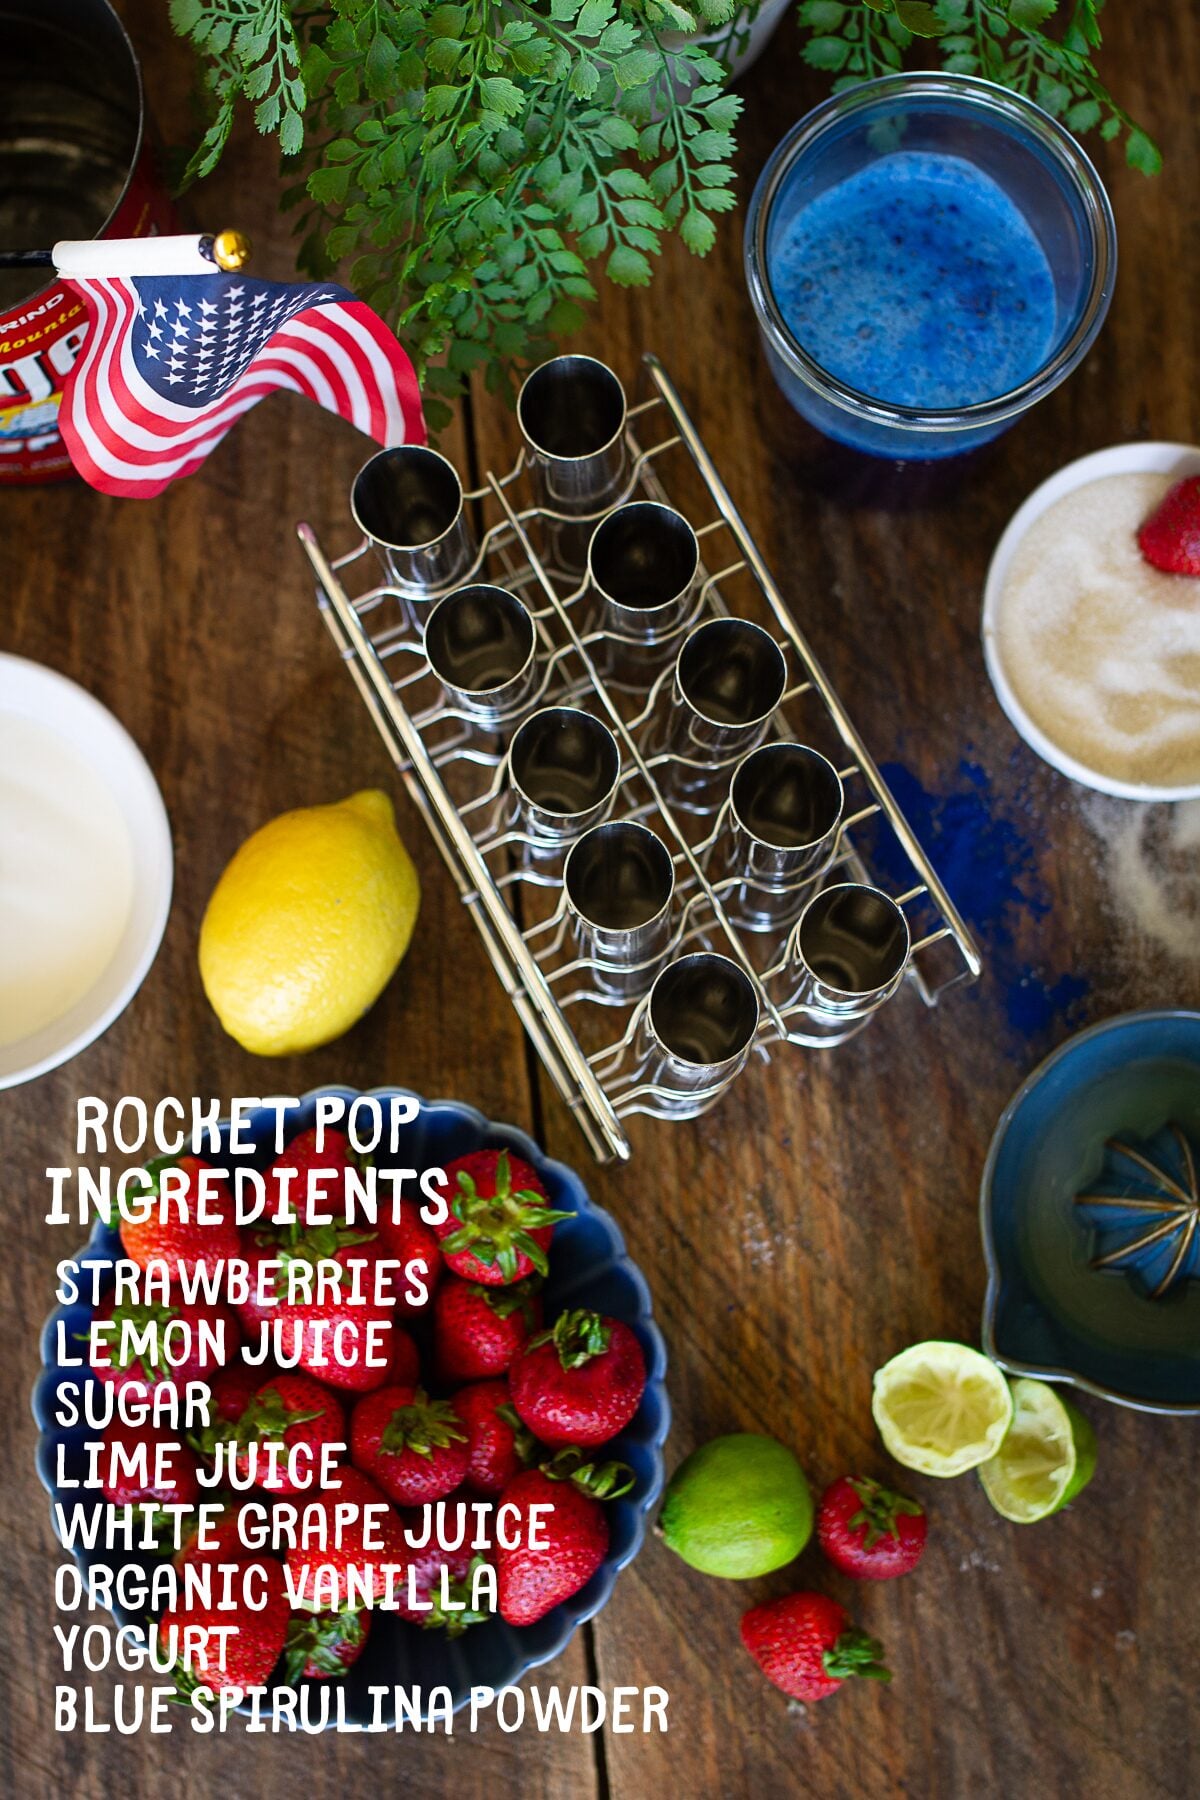
One of the greatest joys of a scratch kitchen is that you are in control. When you are working with real fruit, the natural sugar content changes depending on the season. Always taste your mixes before freezing them!
- The Red Layer: Fresh, hulled summer strawberries cooked down with a splash of fresh lemon juice to make a brilliant crimson syrup.
- The White Layer: Whole milk vanilla yogurt mixed with zesty lime juice. If you don't make your own yogurt, Brown Cow Cream Top Vanilla is my absolute favorite grocery store alternative for that premium farmhouse texture.
- The Blue Layer: A vibrant combination of white grape juice and blue spirulina powder. This gives you that classic, electric blue rocket pop look without a single drop of artificial food dye.
- The Molds: A standard 10-cavity stainless steel popsicle mold works best for clean, sharp layers and easy releasing.
My Personal Testing Notes: What to Look For
After testing different variations of this nostalgic treat, I've learned exactly how to get those clean, defined layers without them muddying together.
The Slanted Stick Trick: Waiting until the top layer is poured is the absolute best time to slide your wooden popsicle sticks in. The semi-firm yogurt layer underneath acts like an anchor. It holds the sticks perfectly straight and centered while the rest freezes.
The Secret to True Blue: In earlier versions, I used cooked blueberries and blackberries for the bottom layer. While delicious, it always turned out a dark, midnight purple instead of that bright, classic "rocket pop" blue. Swapping to white grape juice mixed with a teaspoon of blue spirulina powder solves this completely. It creates a stunning, brilliant blue layer that tastes like pure summer.
The 30-Minute Chill Window: Don't rush the freezing steps. If you pour a liquid layer directly onto a completely soft layer, they will bleed together and turn purple. Give each layer about 20 to 30 minutes to set to a semi-firm, slushy texture before adding the next one.
Step-by-Step Instructions
Step 1: Cook and Pour the Strawberry Layer
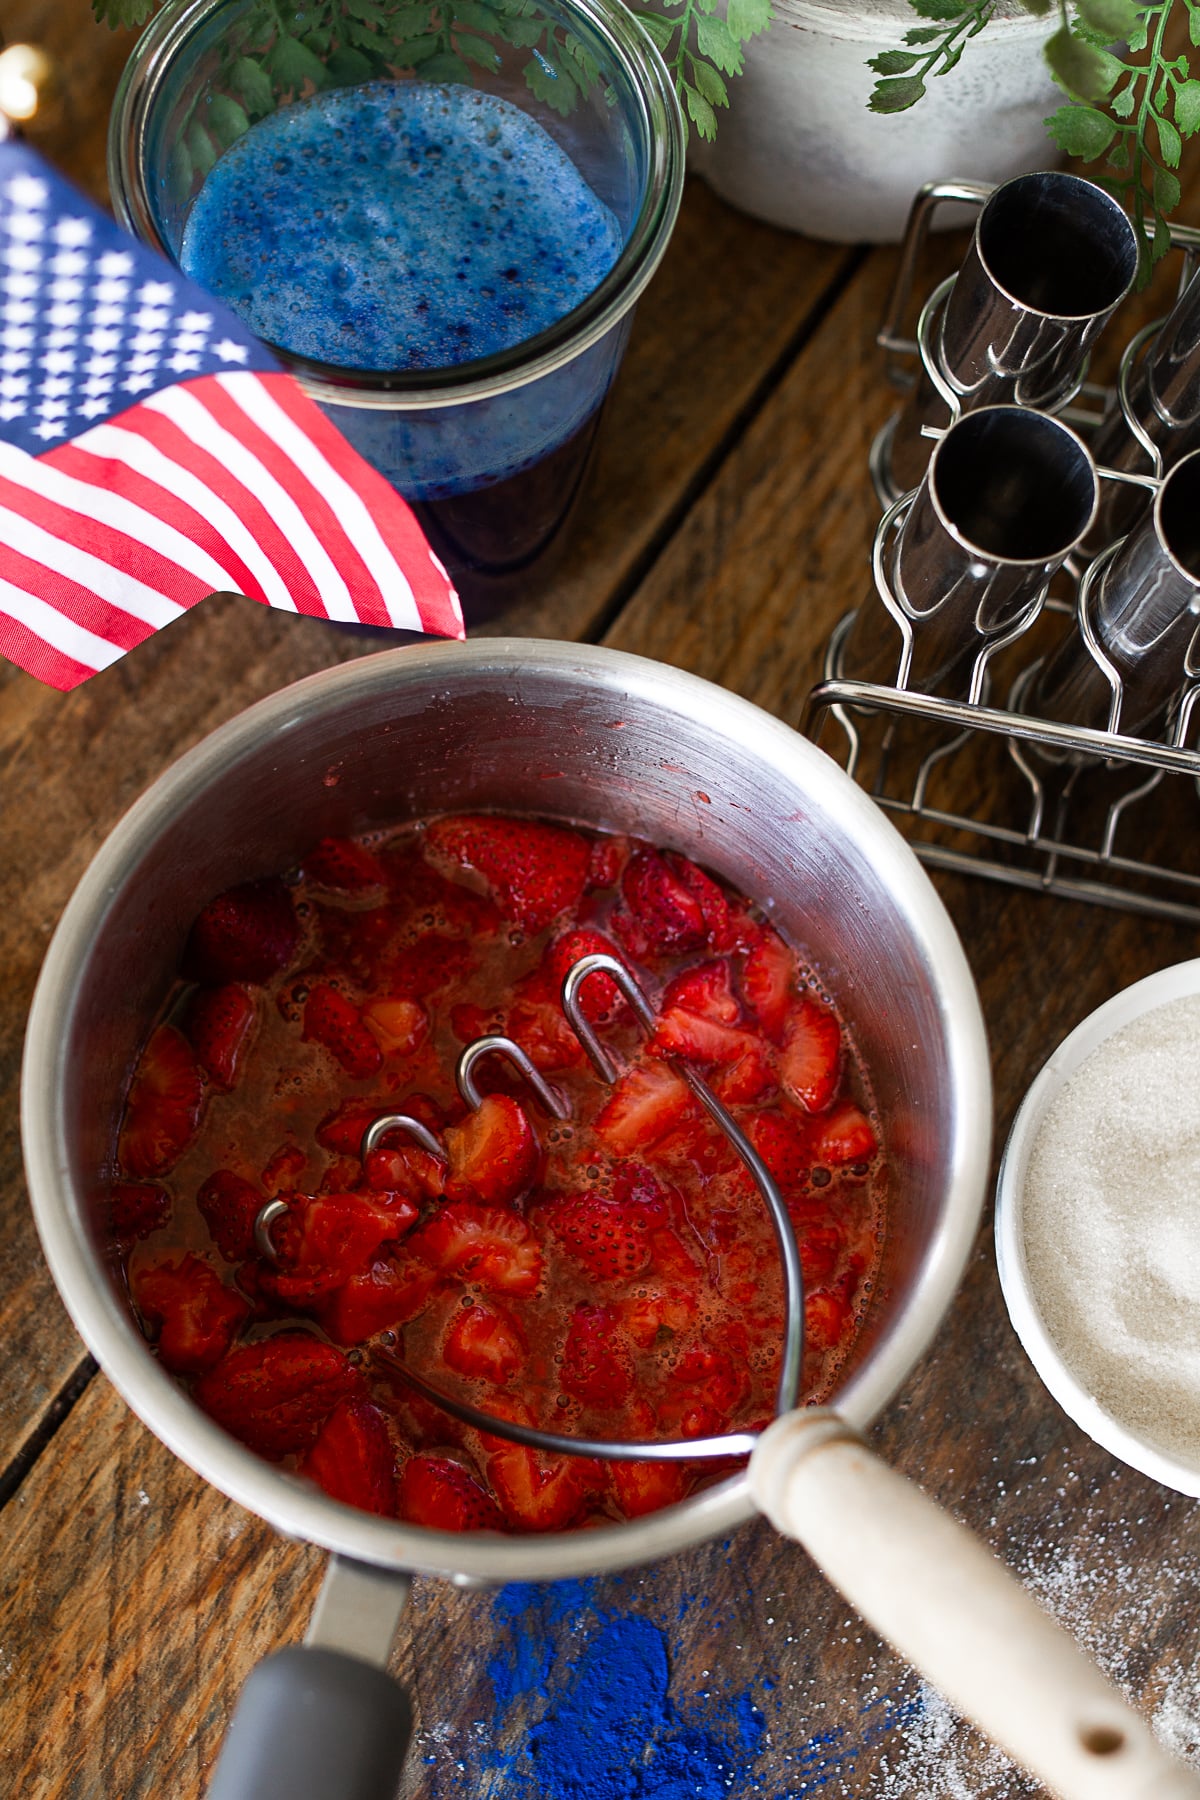
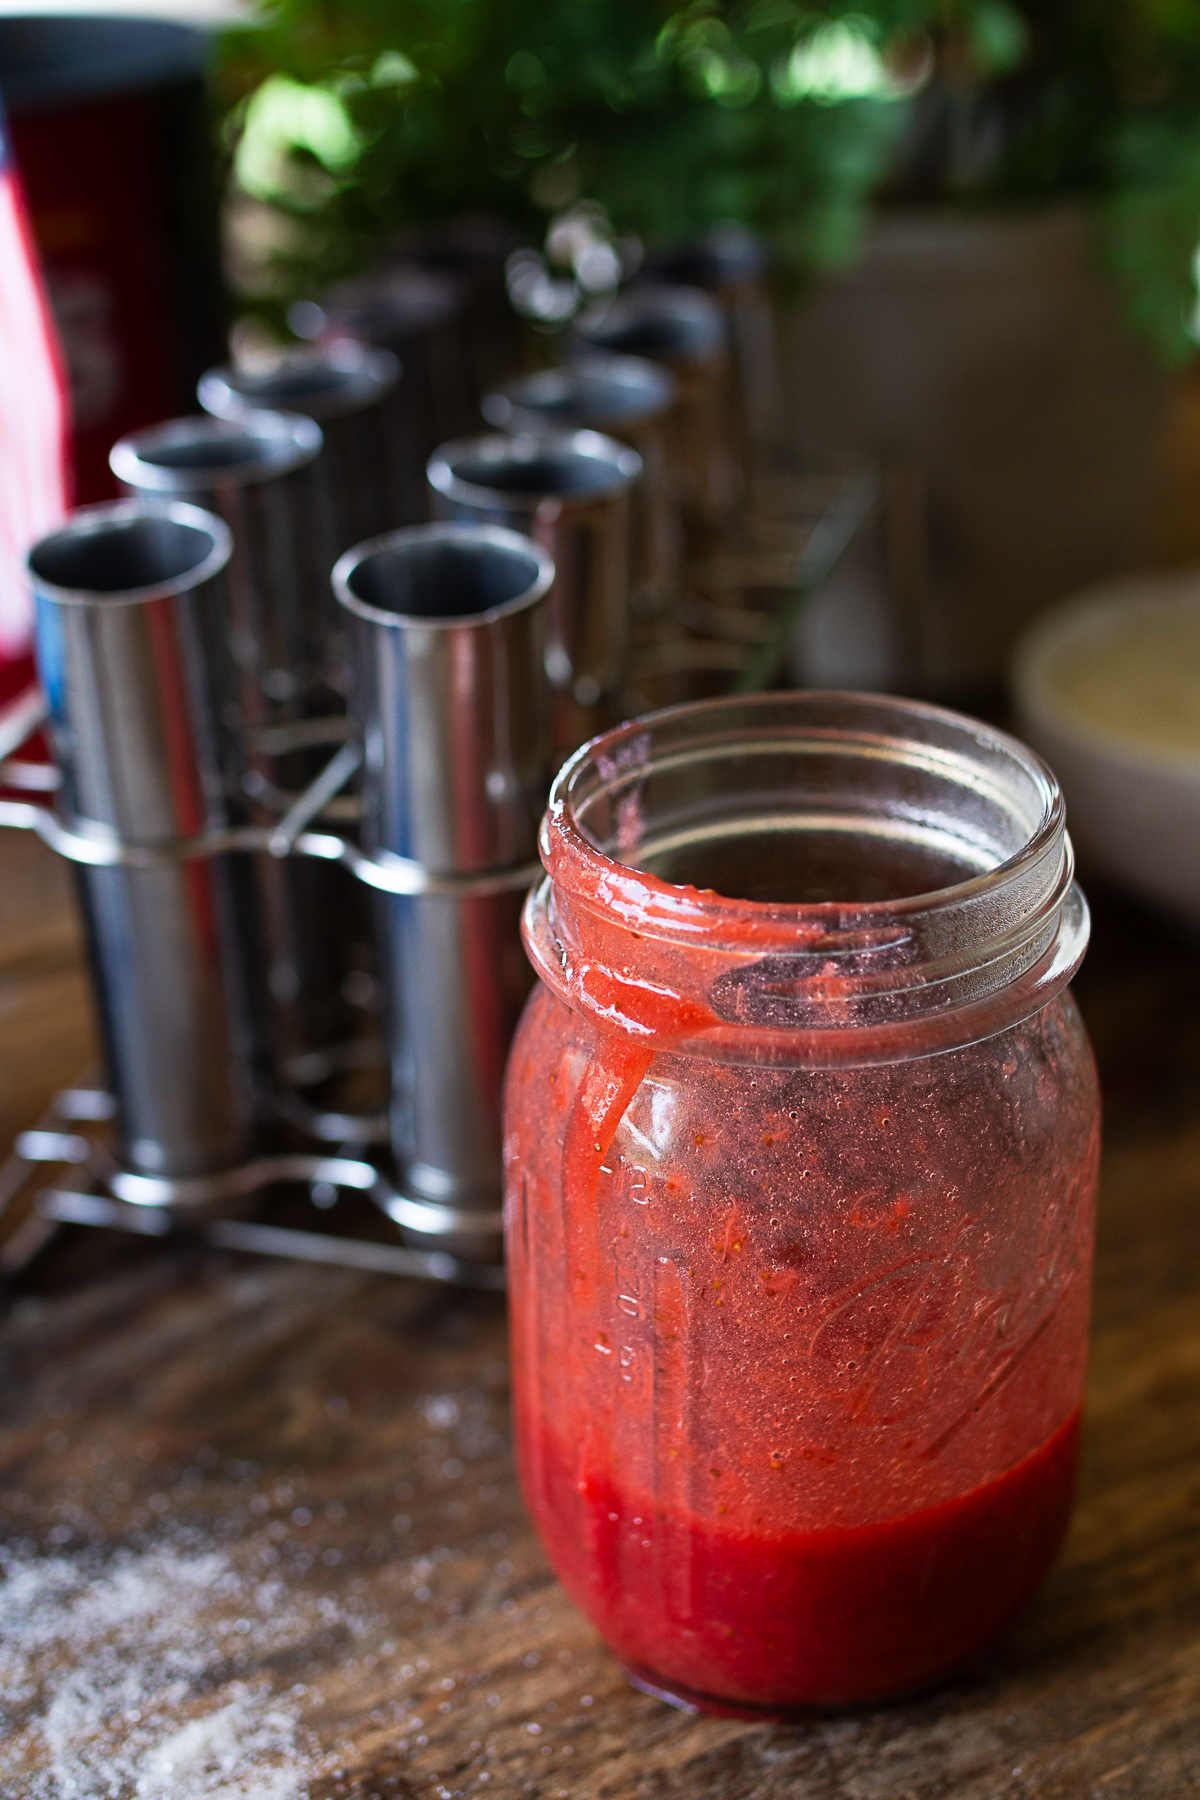
Place your sliced strawberries and sugar into a small saucepan over medium-low heat. Let the sugar draw out the natural juices. Bring to a gentle boil, then simmer for 5 minutes until the berries break down into a thick syrup. Stir in the fresh lemon juice, let it cool slightly, and blend on high until smooth. Divide the vibrant red liquid evenly among the top ⅓ of your popsicle molds. Freeze for 30 minutes.
Step 2: Mix and Layer the Lime Yogurt Base
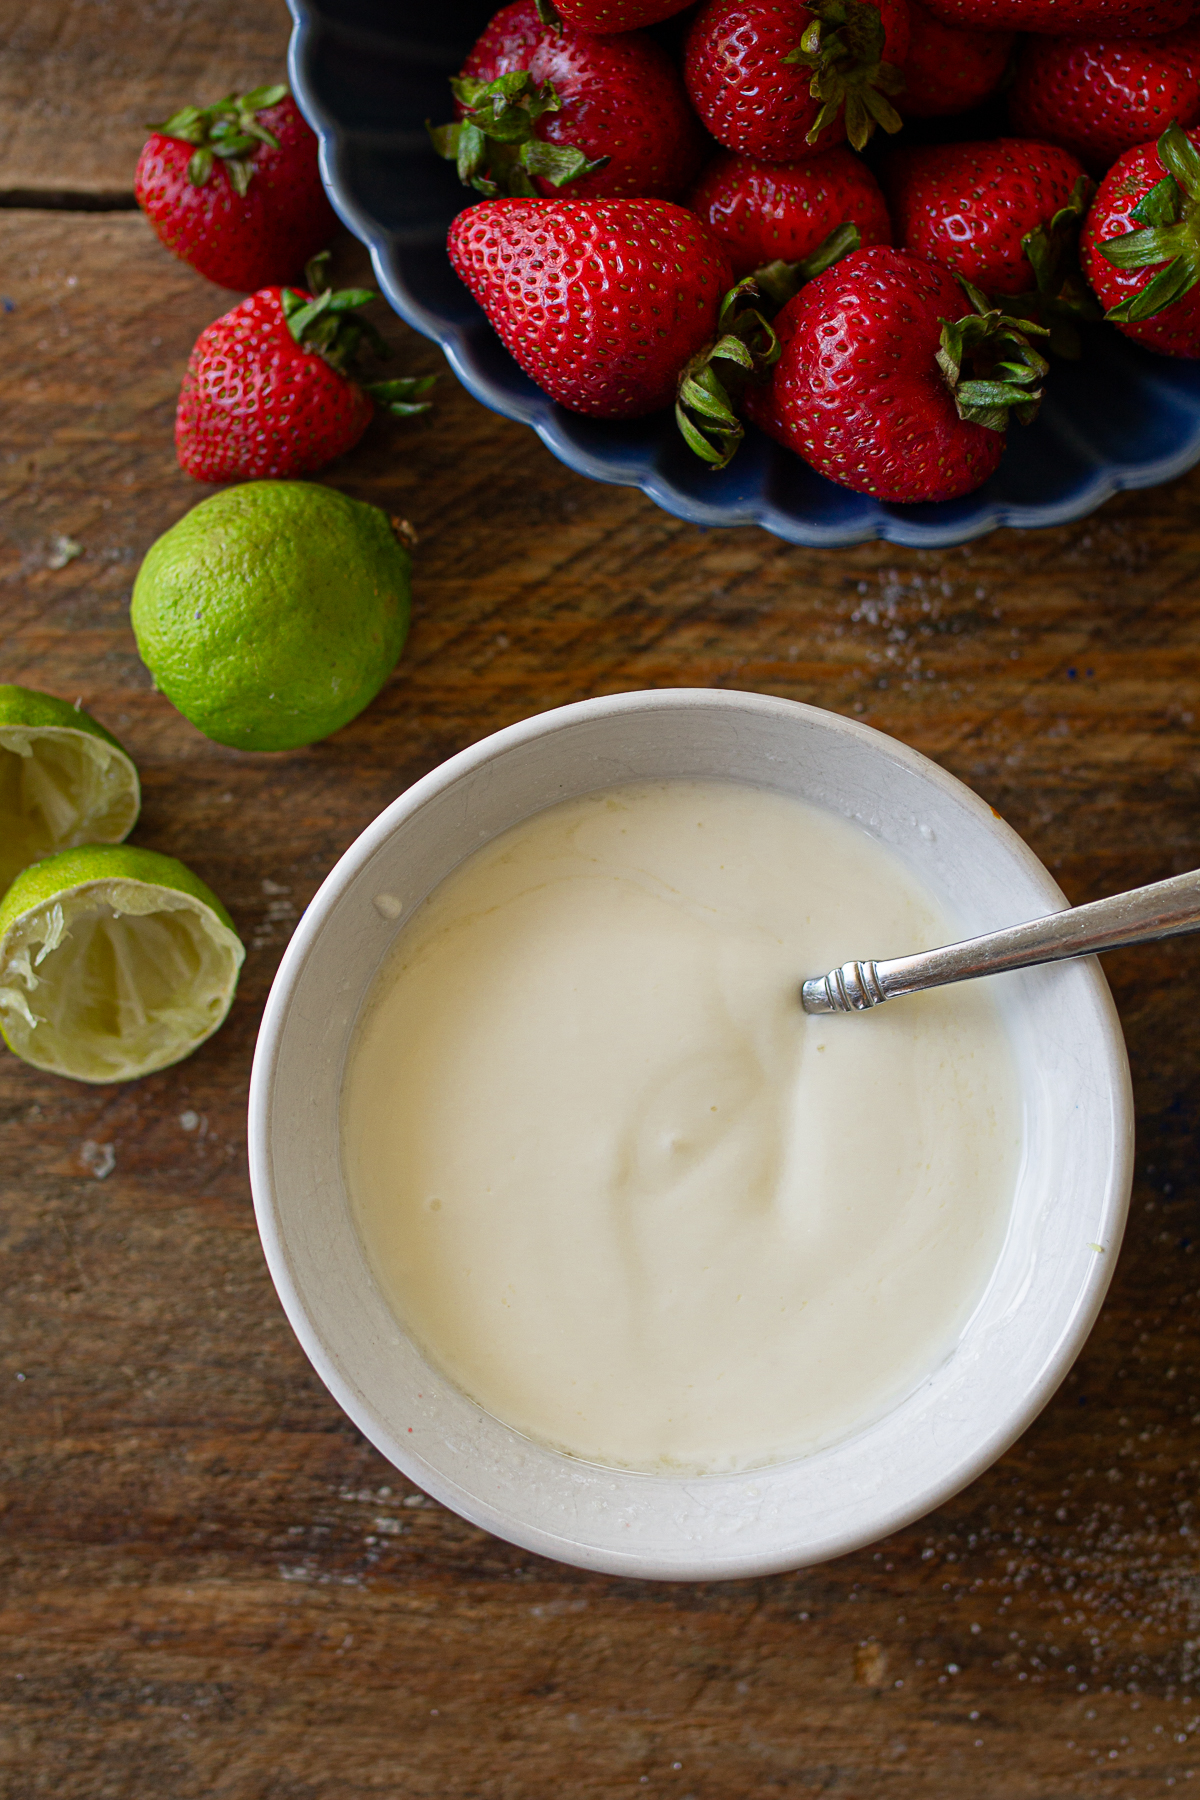
While the red layer chills, grab a small bowl and whisk together your vanilla whole milk yogurt, fresh lime juice, and sugar until completely smooth. Once the strawberry layer is stable enough to hold weight, carefully ladle the white yogurt mixture into the middle 31 of the molds. Slide your wooden popsicle sticks straight down through the center. Return the mold to the freezer for 20 to 30 minutes to set.
Step 3: Whisk the Natural Blue Layer
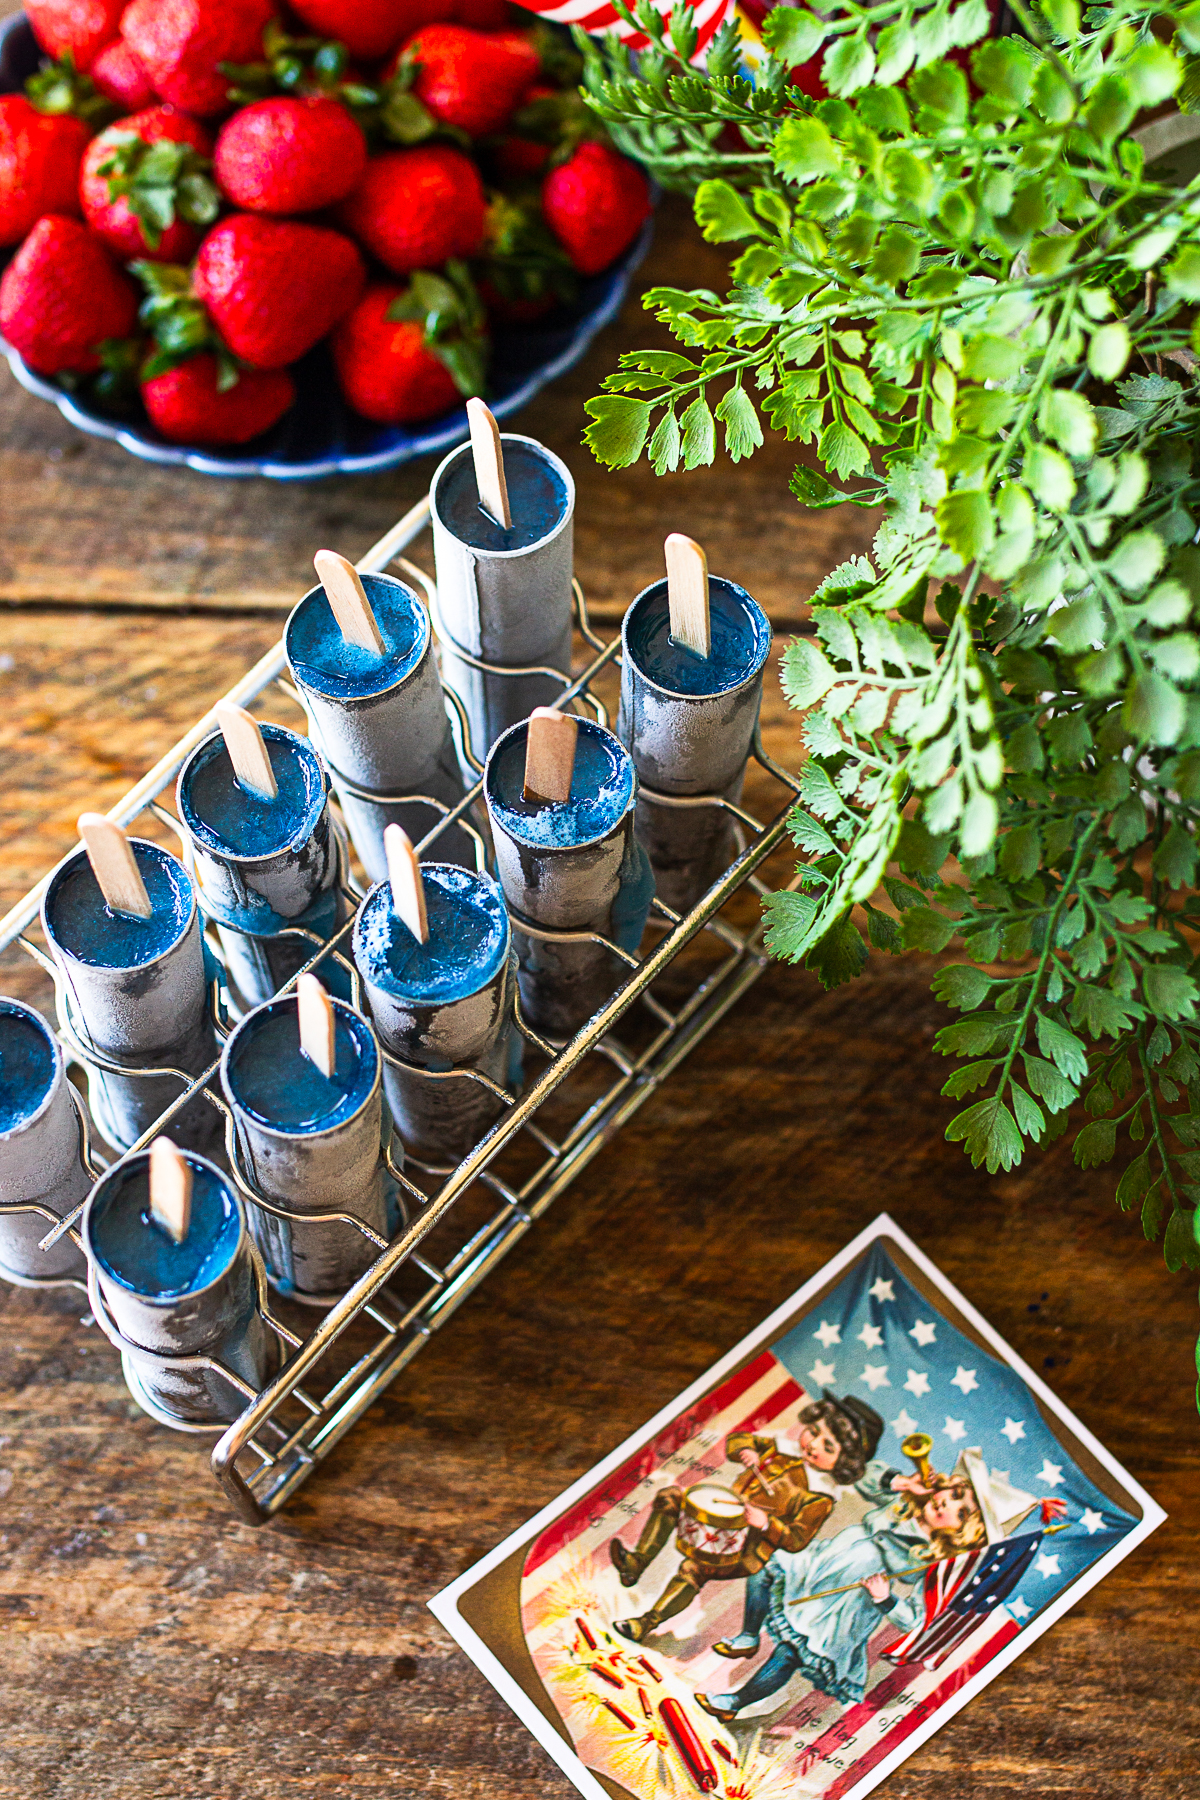
In a small measuring cup or bowl, thoroughly whisk together your white grape juice and blue spirulina powder until the color is completely uniform and vibrant. Carefully pour this blue liquid into the remaining 31 of your molds, filling them to the top line. Place the entire mold back into the freezer and let it harden completely for 6 to 12 hours, or overnight.
Step 4: How to Unmold Easily
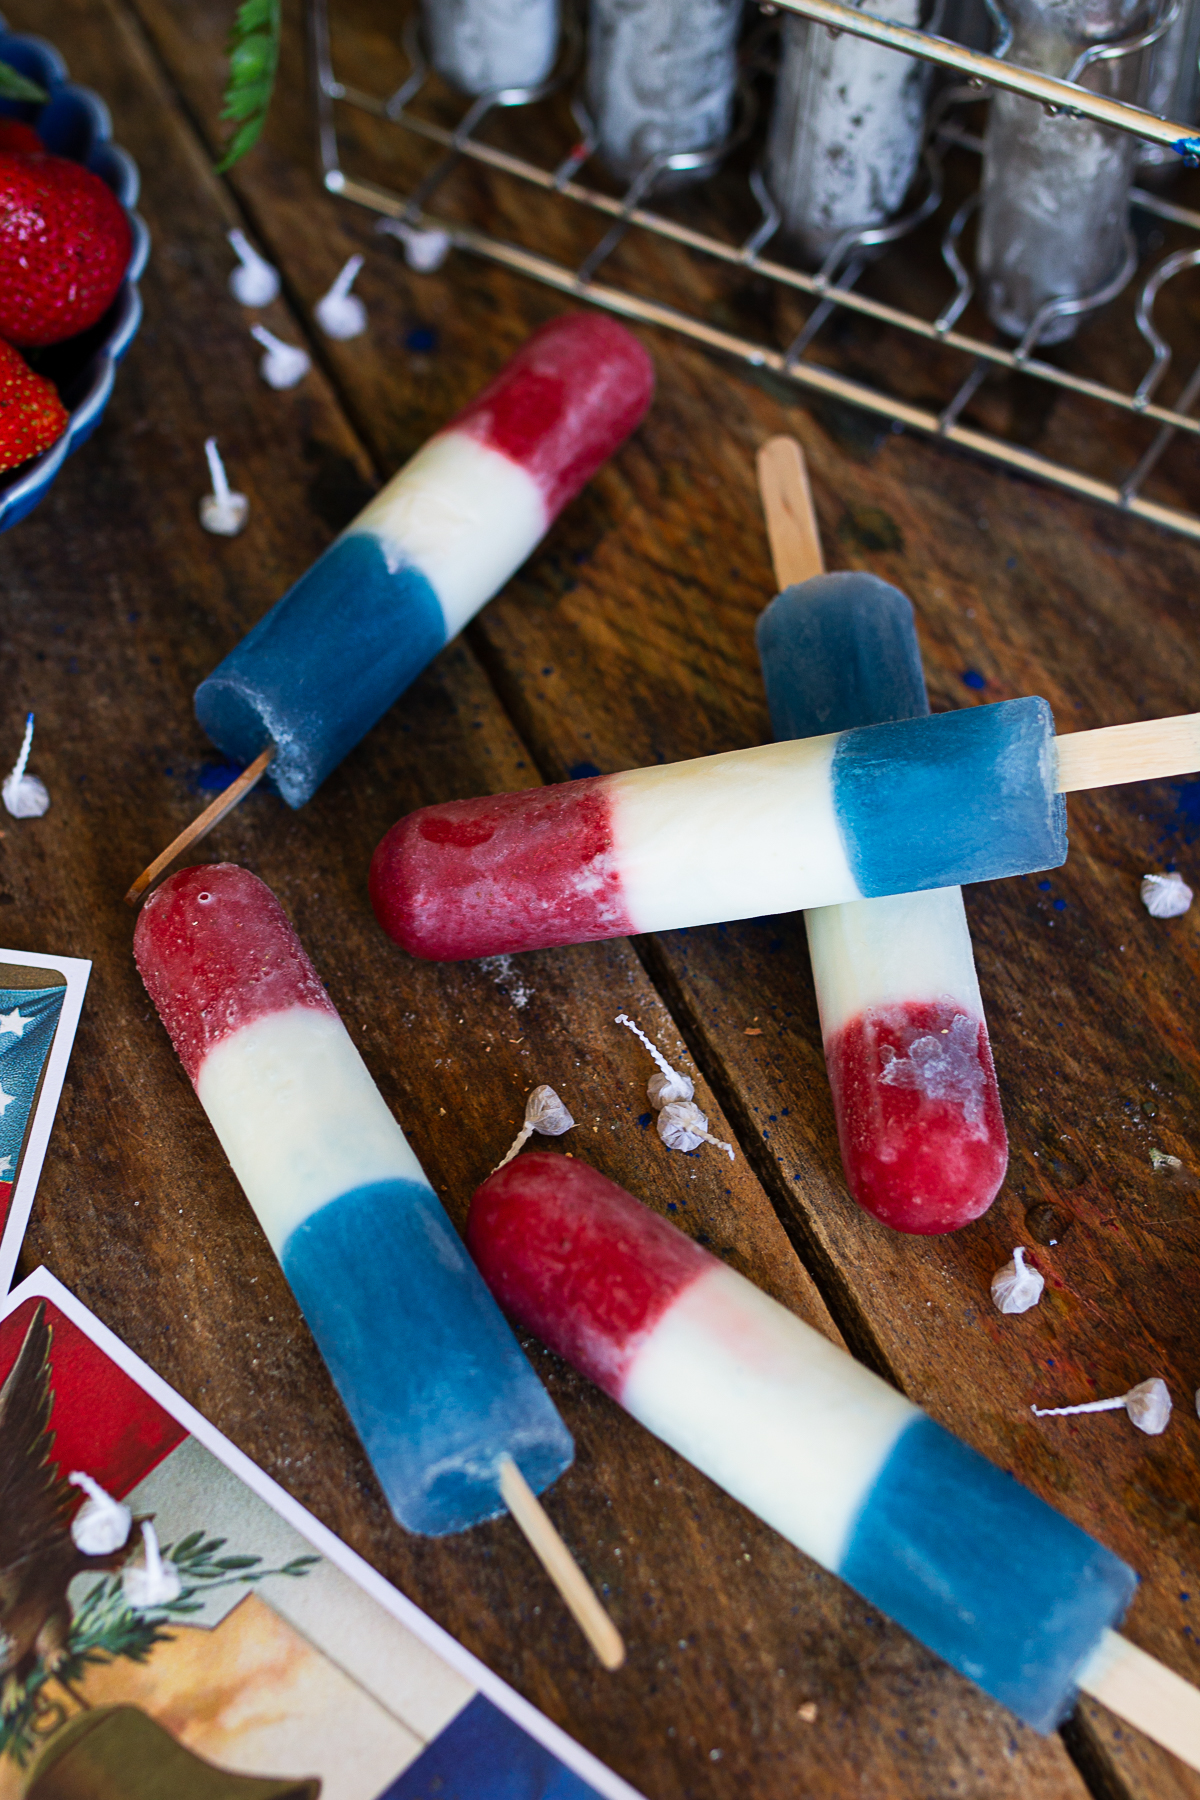
Don't yank or tug on the sticks when you are ready to serve! Simply run the outside walls of the metal popsicle molds under warm tap water for about 10 to 15 seconds. This loosens the edges cleanly, and the rocket pops will slide right out perfectly smooth and intact.
Storage and Shelf Life
Keep your popsicles stored right inside their molds until you are ready to eat them. Alternatively, you can unmold the entire batch at once and store them in a single layer inside an airtight, freezer-safe container. Separate the layers with sheets of parchment paper so they don't stick together. Enjoy them within three months for the best texture and freshest flavor!
Want More From-Scratch Summer Inspo? If your family devours these natural rocket pops, I would love to hear about it! Leave a comment below with your favorite summer memories, or tag me in your recipe photos on Instagram so I can see your beautiful layers!
Frequently Asked Questions About The Rocket Pops
Yes, you can use Greek yogurt, but you will need to thin it out slightly. Because Greek yogurt is strained and much thicker than traditional farmhouse whole milk yogurt, it can make the mixtures difficult to pour into the tight cavities of a stainless steel mold. If you use Greek yogurt, whisk in a tablespoon or two of milk or heavy cream to each layer until it reaches a smooth, pourable consistency.
If your colors bled together, the previous layer was likely still too soft. Do not rush the freezing steps! If you pour the liquid grape juice directly onto a completely soft yogurt layer, they will mix instantly and turn purple. Make sure each layer gets a full 20 to 30 minutes in the freezer. It should look slushy and be firm to the touch before you add the next color.
Not at all! High-quality blue spirulina powder is a natural superfood derived from algae. While it has an incredibly intense, vibrant blue color, it has an completely neutral flavor when mixed into fruit juice. Your kids will only taste the sweet, refreshing flavor of the white grape juice.
Final Thoughts
If you are looking for a reliable, clean, and nostalgic summer treat that your whole family will absolutely love, this recipe is a great one to keep in your scratch kitchen rotation. It checks all the farmhouse boxes. It is perfectly creamy, naturally sweet, and free of artificial junk.
These popsicles taste exactly like a hot afternoon porch day at our place. I hope they become a favorite part of your warm-weather family traditions, too.
Don't forget to print out the recipe card above and save this one to your summer Pinterest boards-you will definitely be making it again soon!
Other Frozen Treats to Try:


Homemade Rocket Pops
Ingredients
For the Red Strawberry Layer
- 2 cups fresh strawberries, hulled and sliced 300 grams
- 3 tablespoon sugar
- 2 tablespoon Lemon Juice
For the White Lime Layer
- 1 cup whole milk yogurt 240 ml (Homemade or Brown Cow Cream Top Vanilla)
- 2 tablespoon Lime Juice Juice of one lime
- 3 Tablespoons granulated sugar
For the Blueberry Layer
- 1 ½ cup white grape juice 140 grams
- 1 teaspoon Blue Spirulina Powder
Instructions
- Prepare and Pour the Red Strawberry Layer: Place the sliced strawberries and sugar directly into a small saucepan over medium-low heat. As the pan warms, the sugar will draw out the strawberries' natural juices. Bring to a gentle boil, then reduce the heat and simmer for about 5 minutes. The strawberries will completely break down into a thick, concentrated, brilliant crimson syrup.
- Remove the pan from the heat and stir in the fresh lemon juice. Let it cool for a few minutes. Pour the mixture into a blender and process on high until completely smooth.Divide the vibrant red liquid evenly among the top ⅓ of your popsicle molds. Place flat in the freezer for 30 minutes until firm to the touch but not rock solid.
- Prepare and Pour the White Lime Layer:While the red layer chills, grab a small bowl and whisk together the 121 cups of vanilla whole milk yogurt, 2 tablespoons of fresh lime juice, and optional sweetener until smooth.True Citrus
- Once the strawberry layer is stable enough to hold weight, carefully ladle the white yogurt mixture into the middle ⅓ of the molds.
- Slide your wooden popsicle sticks straight down through the center of the molds. The semi-firm red layer underneath will act as an anchor to hold the sticks perfectly straight and centered!Return the mold to the freezer for 20 to 30 minutes to set.
- Prepare your Blue Layer: Whisk together grape juice and Blue Spirulina powder. Pour into moldsLet harden in freezer for 6-12 hours. Enjoy!



I am so happy to share this naturally colored take on a childhood favorite! Swapping artificial dyes for real strawberries and blue spirulina gives these pops the absolute best vibrant colors, while the whole milk yogurt layer keeps them amazingly creamy instead of icy. They are one of our favorite ways to cool down after a warm day on the farm, and I hope they bring as much summer joy to your kitchen as they do to ours!