Raspberry Cheesecake Popsicles Recipe for Summer
The warmer weather is finally rolling into the farm, which means my kitchen is shifting away from heavy baking and moving right into homemade popsicle season. I wanted a cool summer treat that felt like a slice of real, old-fashioned raspberry cheesecake, but without any of the over-processed stuff you find in the grocery store freezer aisle. This easy summer dessert recipe is made with simple, traditional staples like real cream cheese, fresh berries, and heavy cream. It's rich, perfectly tart, and the absolute best way to beat the heat this summer.
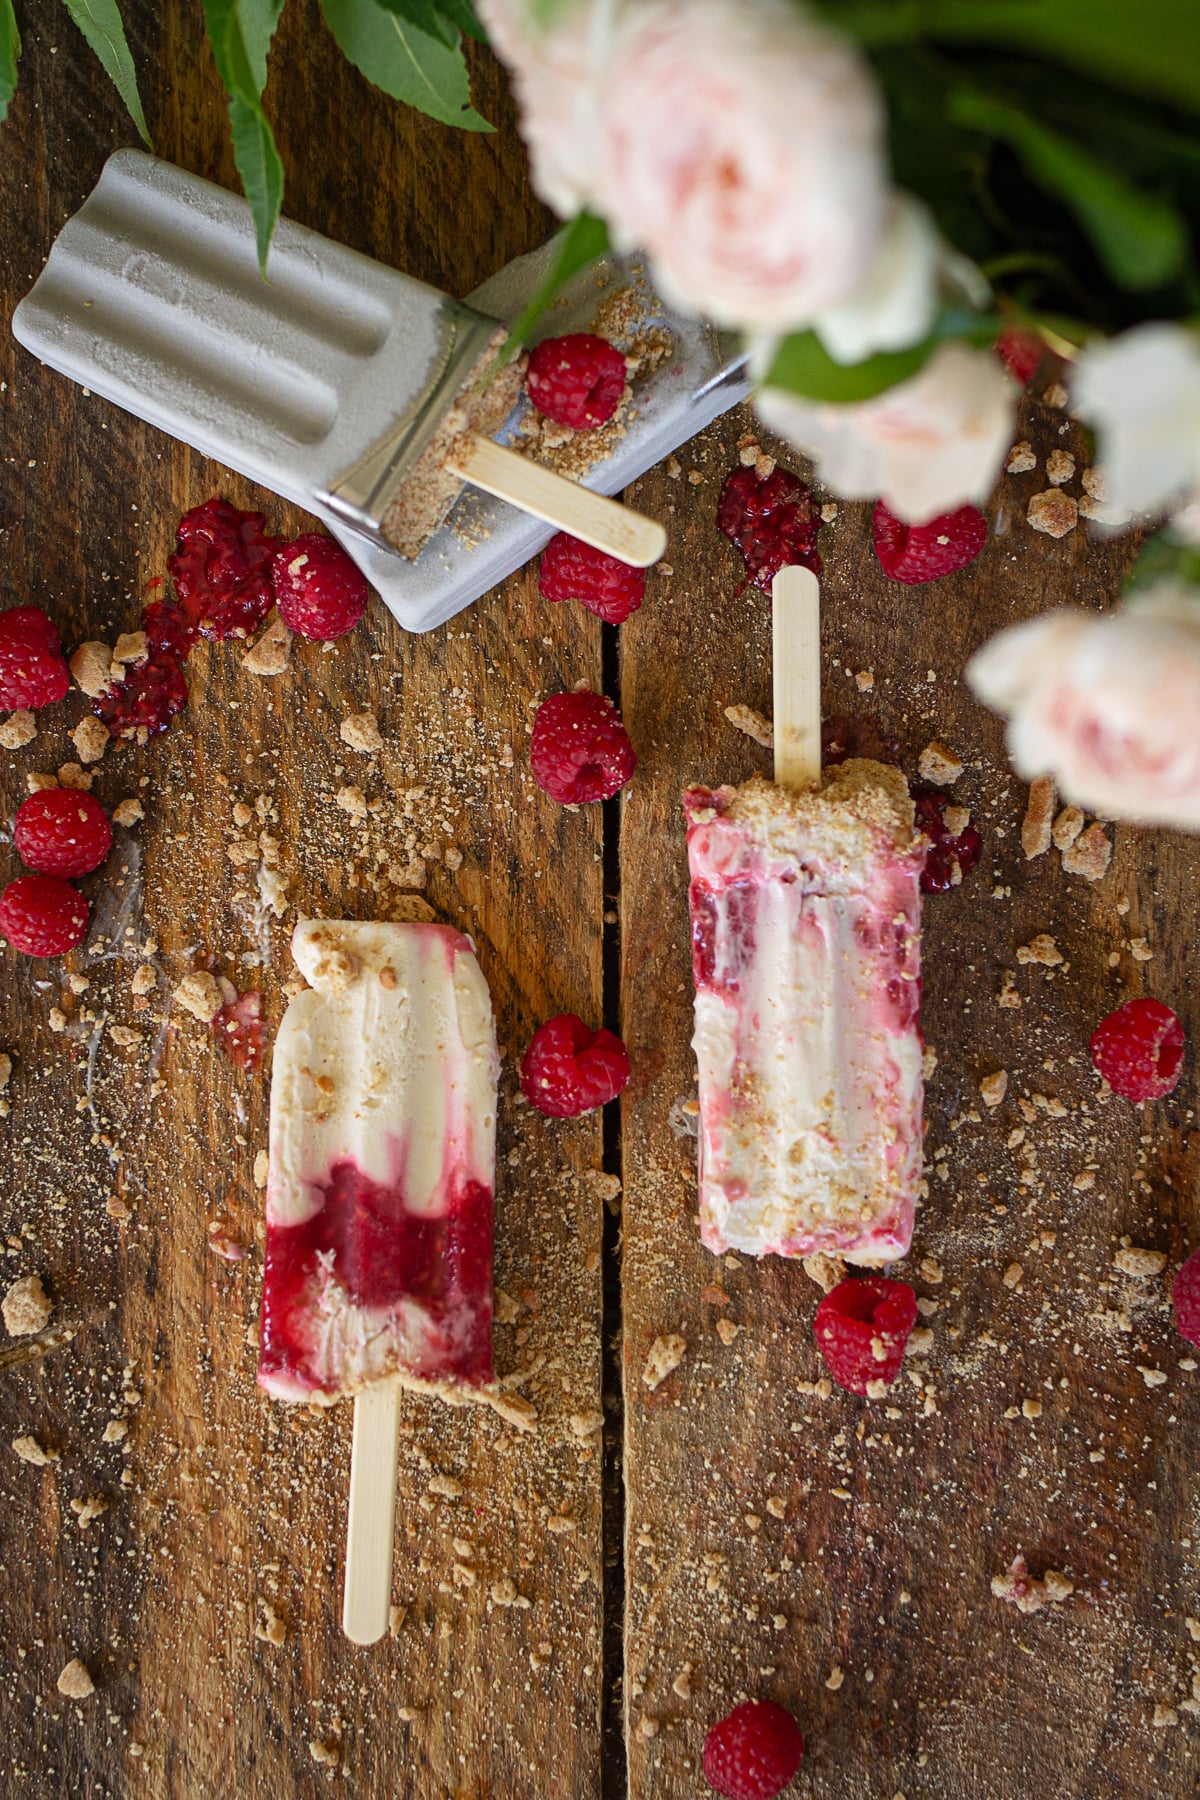
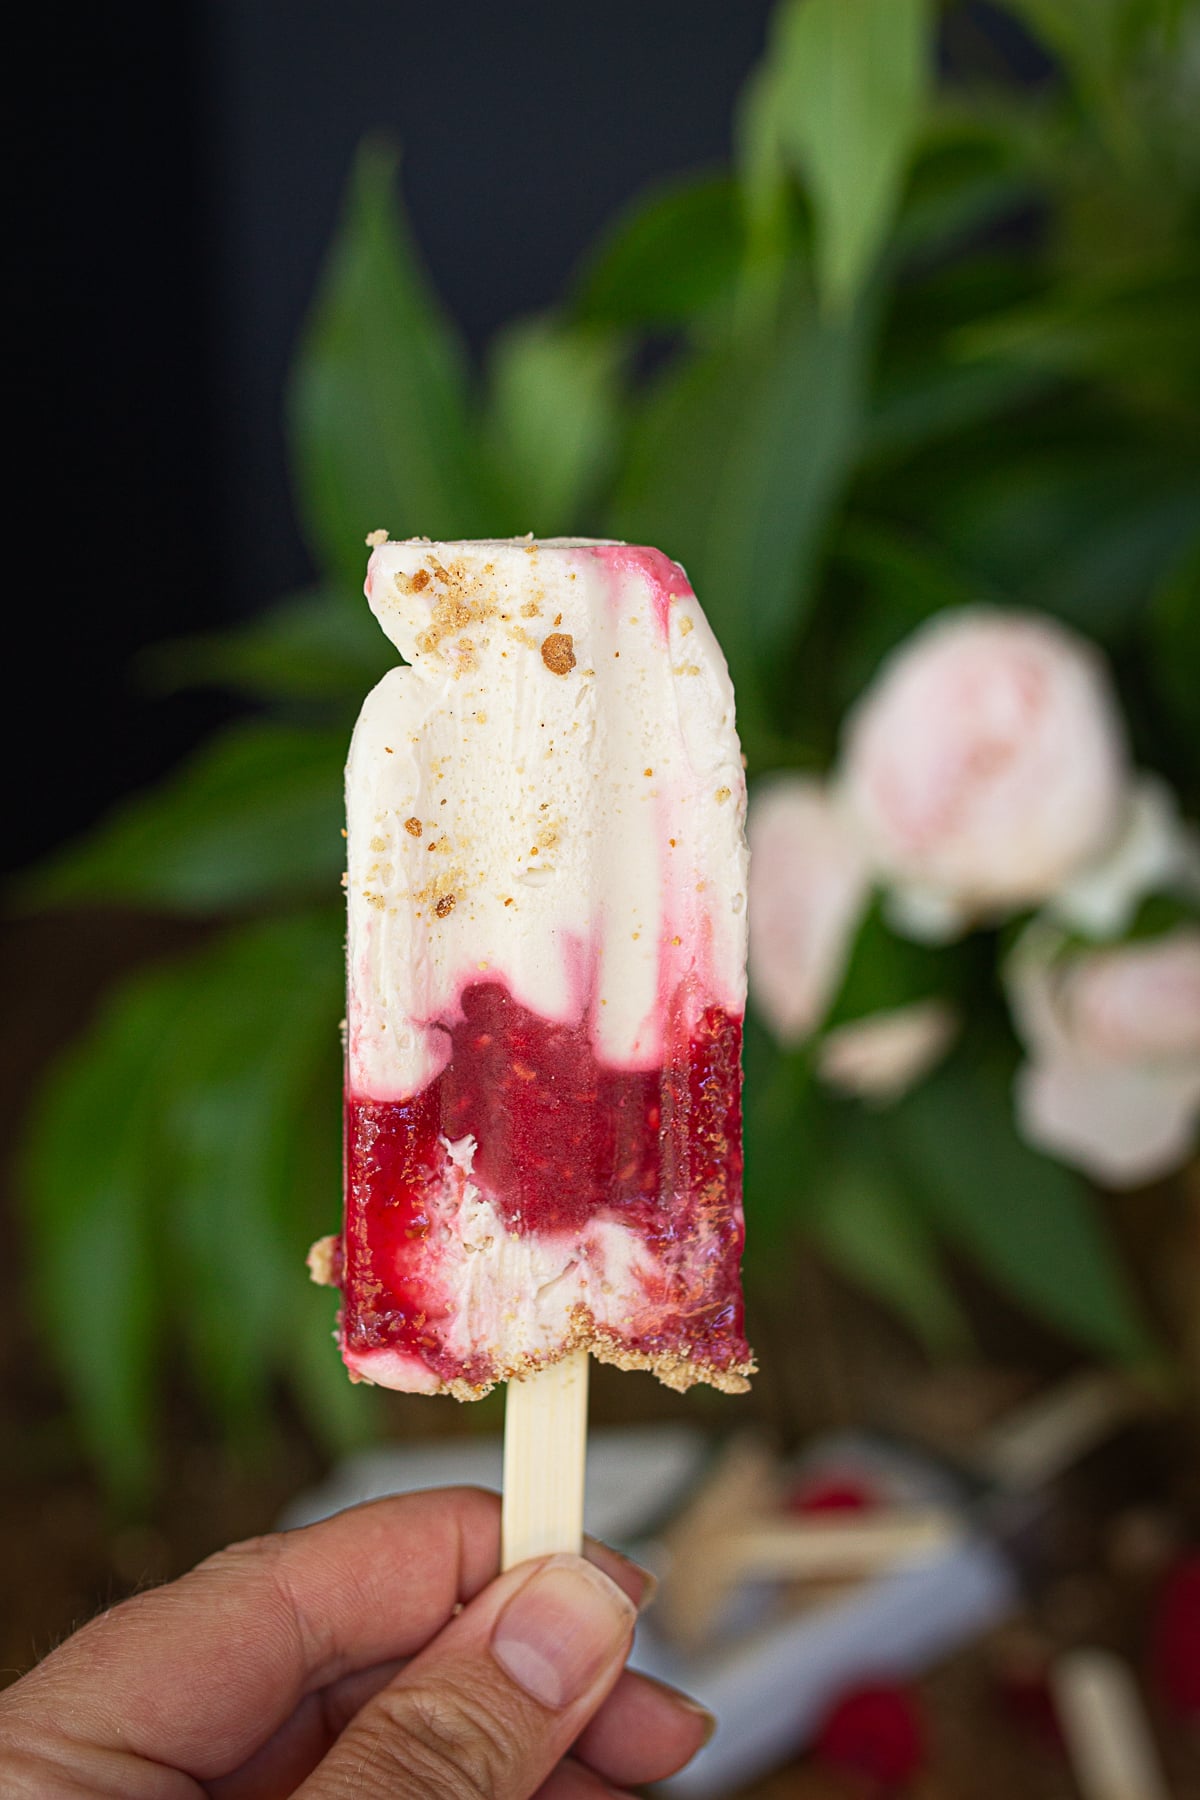
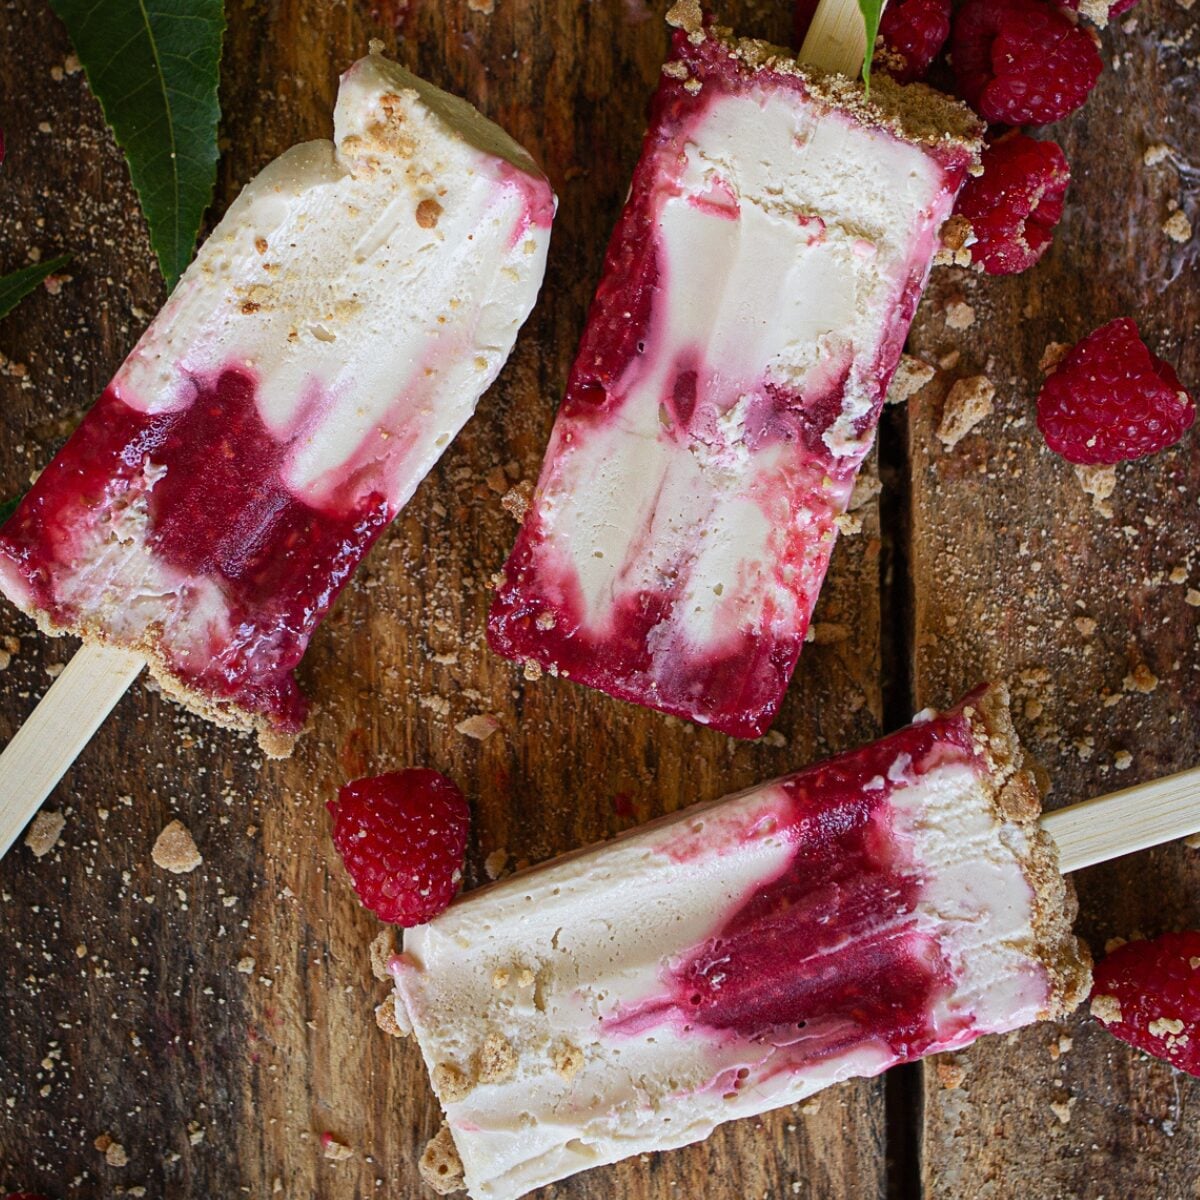
These creamy raspberry cheesecake popsicles are the ultimate scratch-made summer dessert. They feature a vibrant, tart raspberry swirl marbled into a rich, velvety cream cheese base, and are finished with a thick, buttery crunch using crumbs from my homemade Sourdough Discard Graham Crackers. They are perfectly sweet, beautifully tart, and a massive hit with the kids after an afternoon out in the garden.
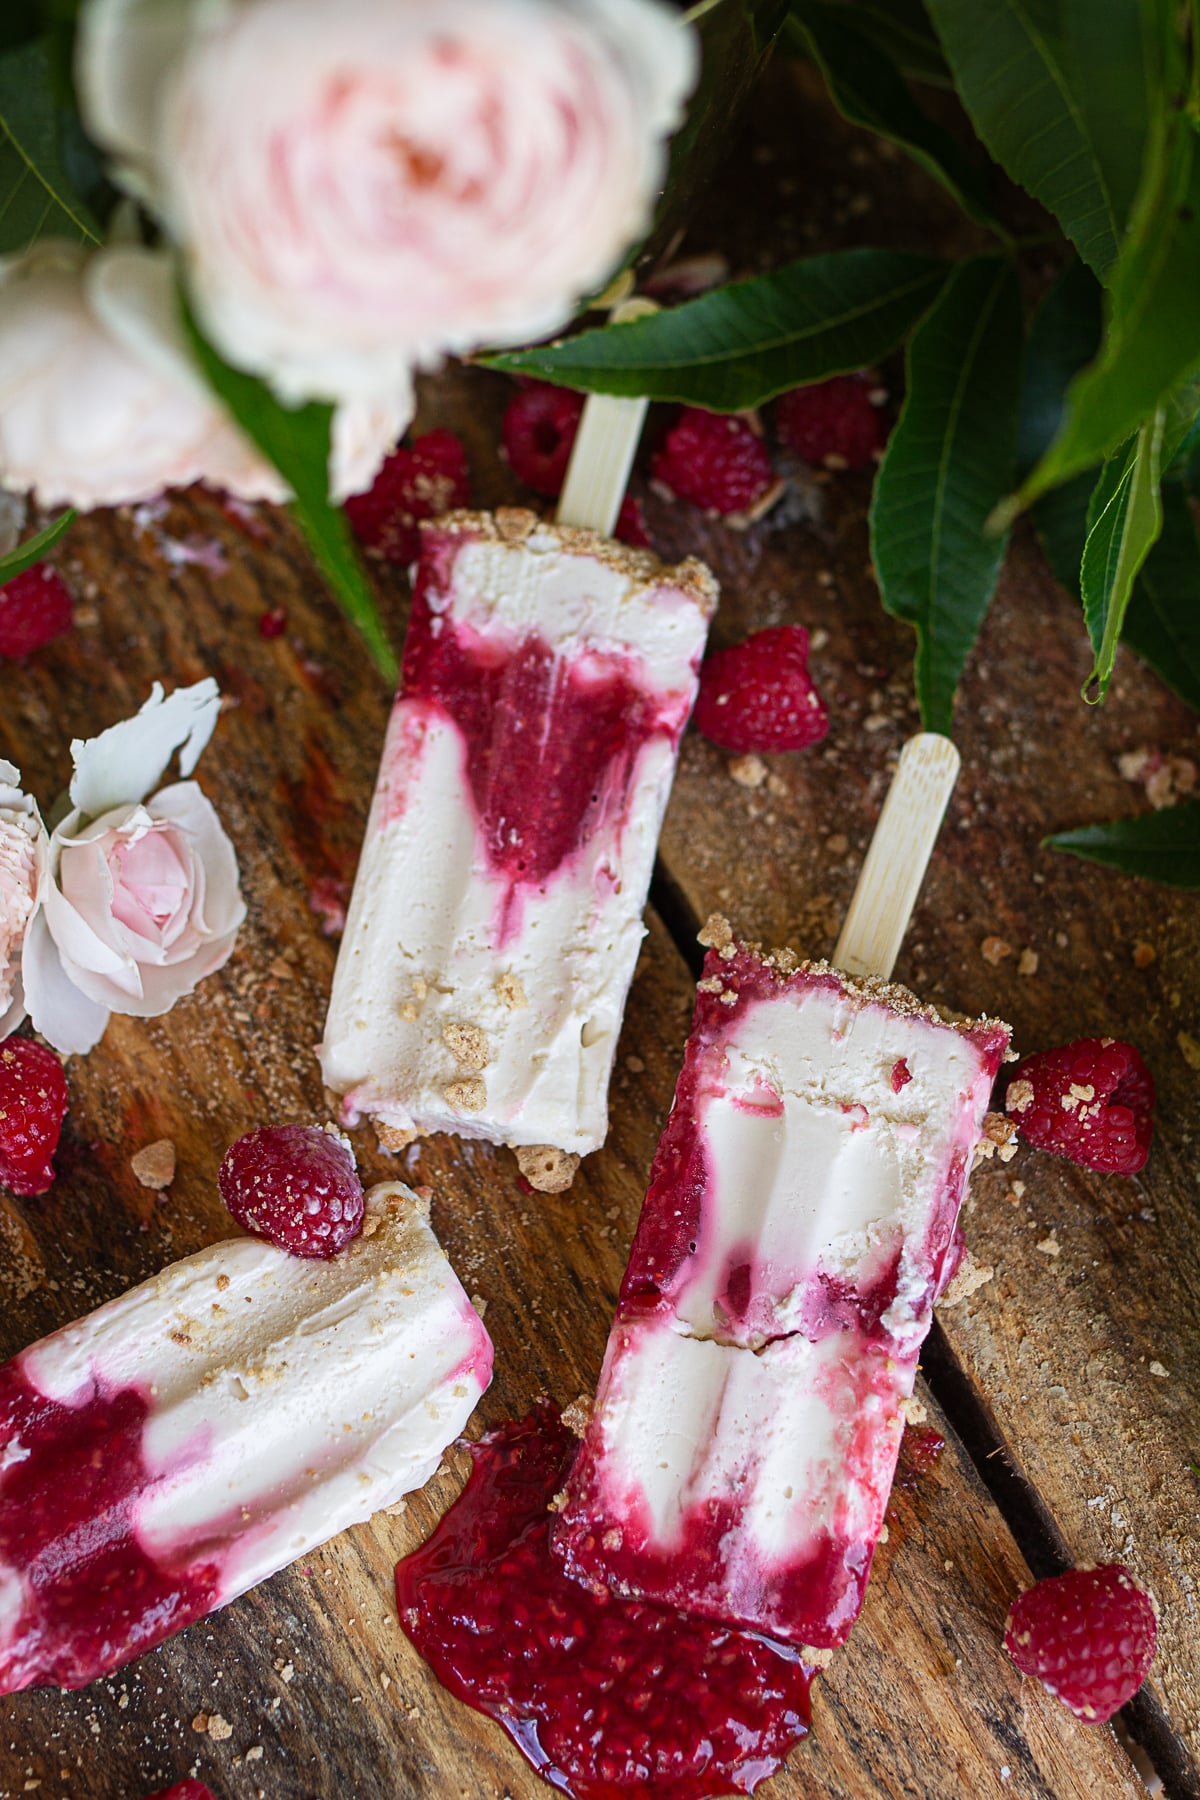
A Quick Look at This Popsicle Recipe
🍦 Texture: Ultra-creamy, velvety cheesecake ice pop with a thick, crunchy graham cracker crumb topping.
🌾 Style: Gourmet, whole-food farmhouse summer treat.
⏲️ Time: 20 minutes active prep time, 4-6 hours freezing time.
☀️ Best For: Hot summer afternoons, backyard BBQs, garden parties, and kids' summer snacks.
Ingredients
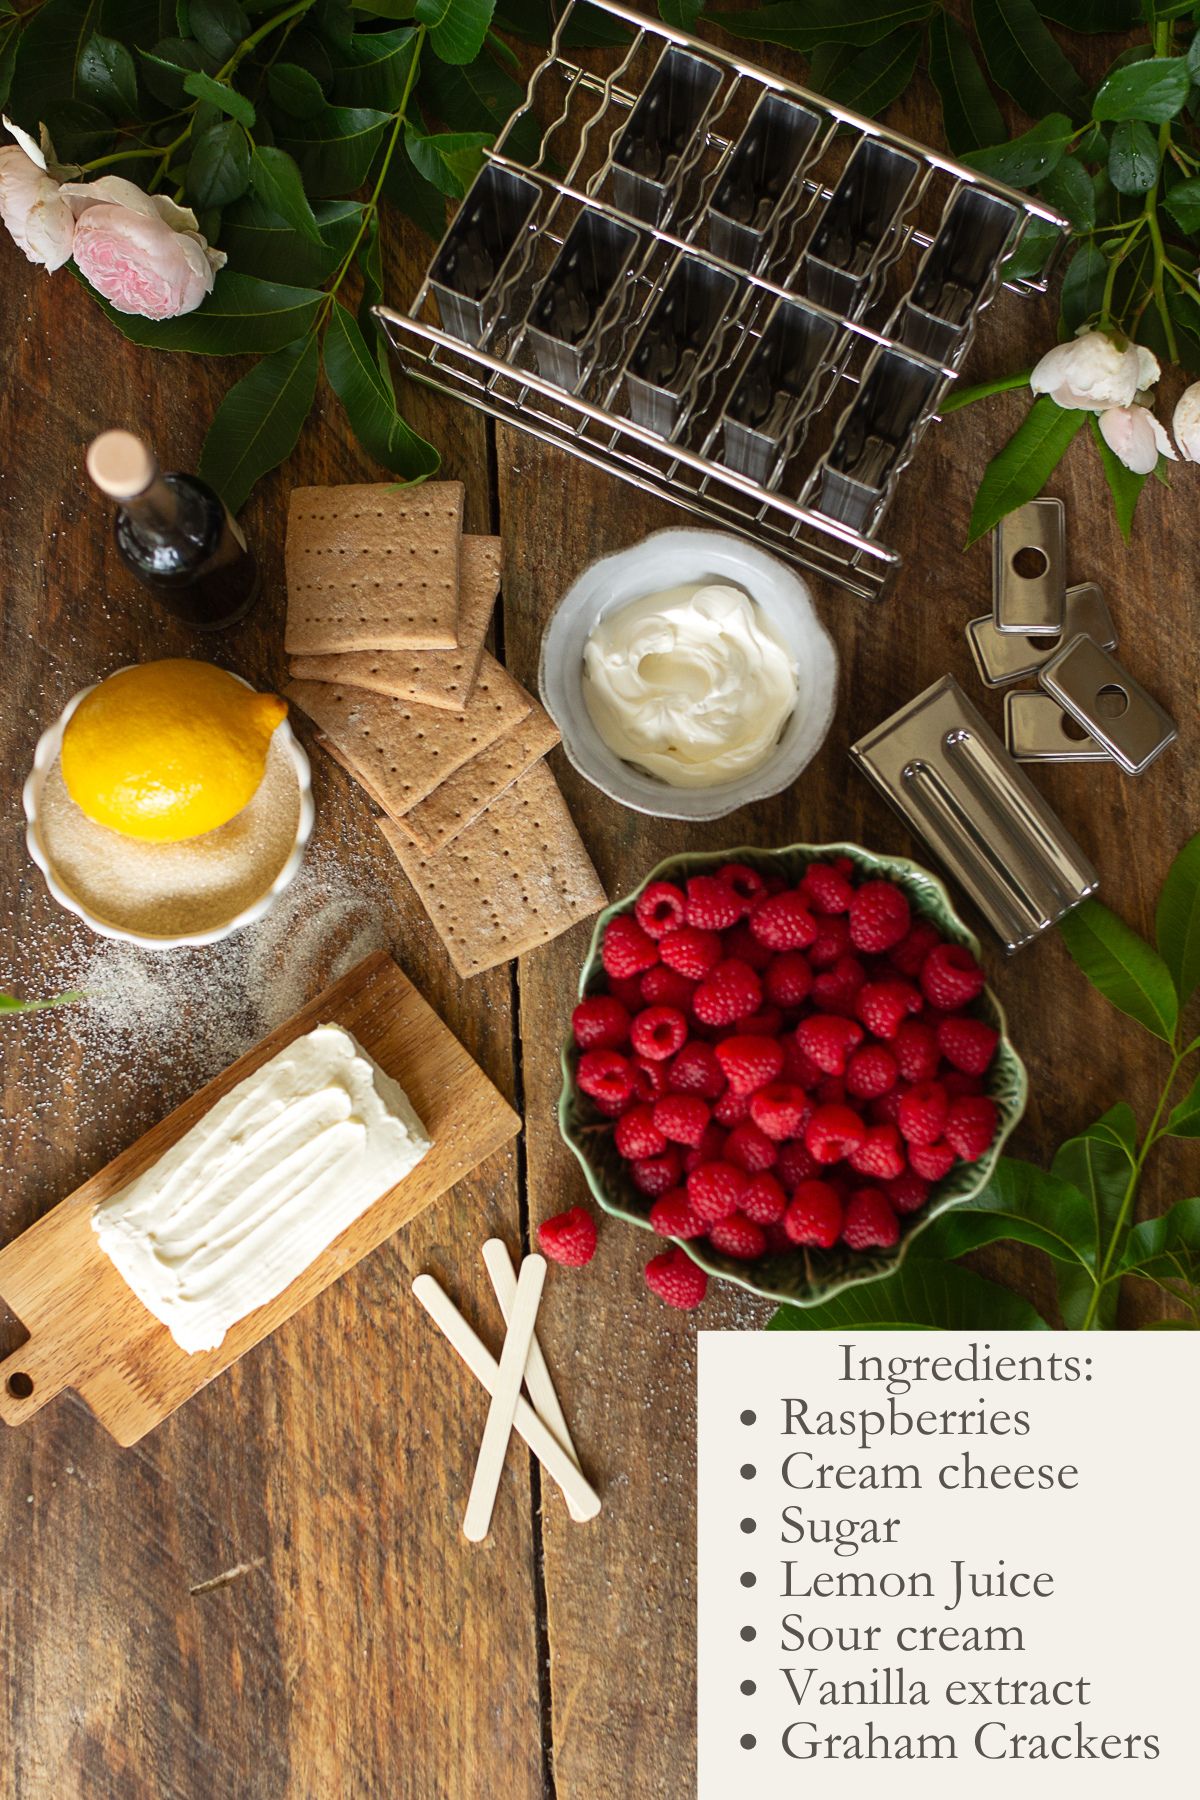
- Fresh or Frozen Raspberries: Raspberries provide that intense, beautiful pink swirl and a bright, tart punch that cuts through the richness of the cream cheese perfectly.
- Organic Granulated Sugar: I am all for real, traditional baking ingredients. Real cane sugar is completely natural and blends beautifully into both the fruit reduction and the cheesecake base, ensuring the popsicles freeze with a smooth texture instead of turning icy.
- Full-Fat Cream Cheese: This is the anchor of our cheesecake mixture. Make sure it is softened to room temperature so it whips into a flawless, lump-free base.
- Plain Greek Yogurt or Sour Cream: Adds a subtle tanginess that replicates a traditional baked cheesecake and provides a rich, thick texture.
- Fresh Milk or Heavy Cream: Thins out the cream cheese base just enough to make it easily go into your molds for ultimate creaminess.
- Pure Vanilla Extract: Adds a layer of warm depth and old-world bakery flavor to the cream layer.
- Sourdough Discard Graham Cracker Crumbs: The star of our crunch layer! Grinding up a batch of these homemade crackers gives you a clean-ingredient, high-flavor crust with zero hydrogenated processed oils or artificial flavorings.
Instructions
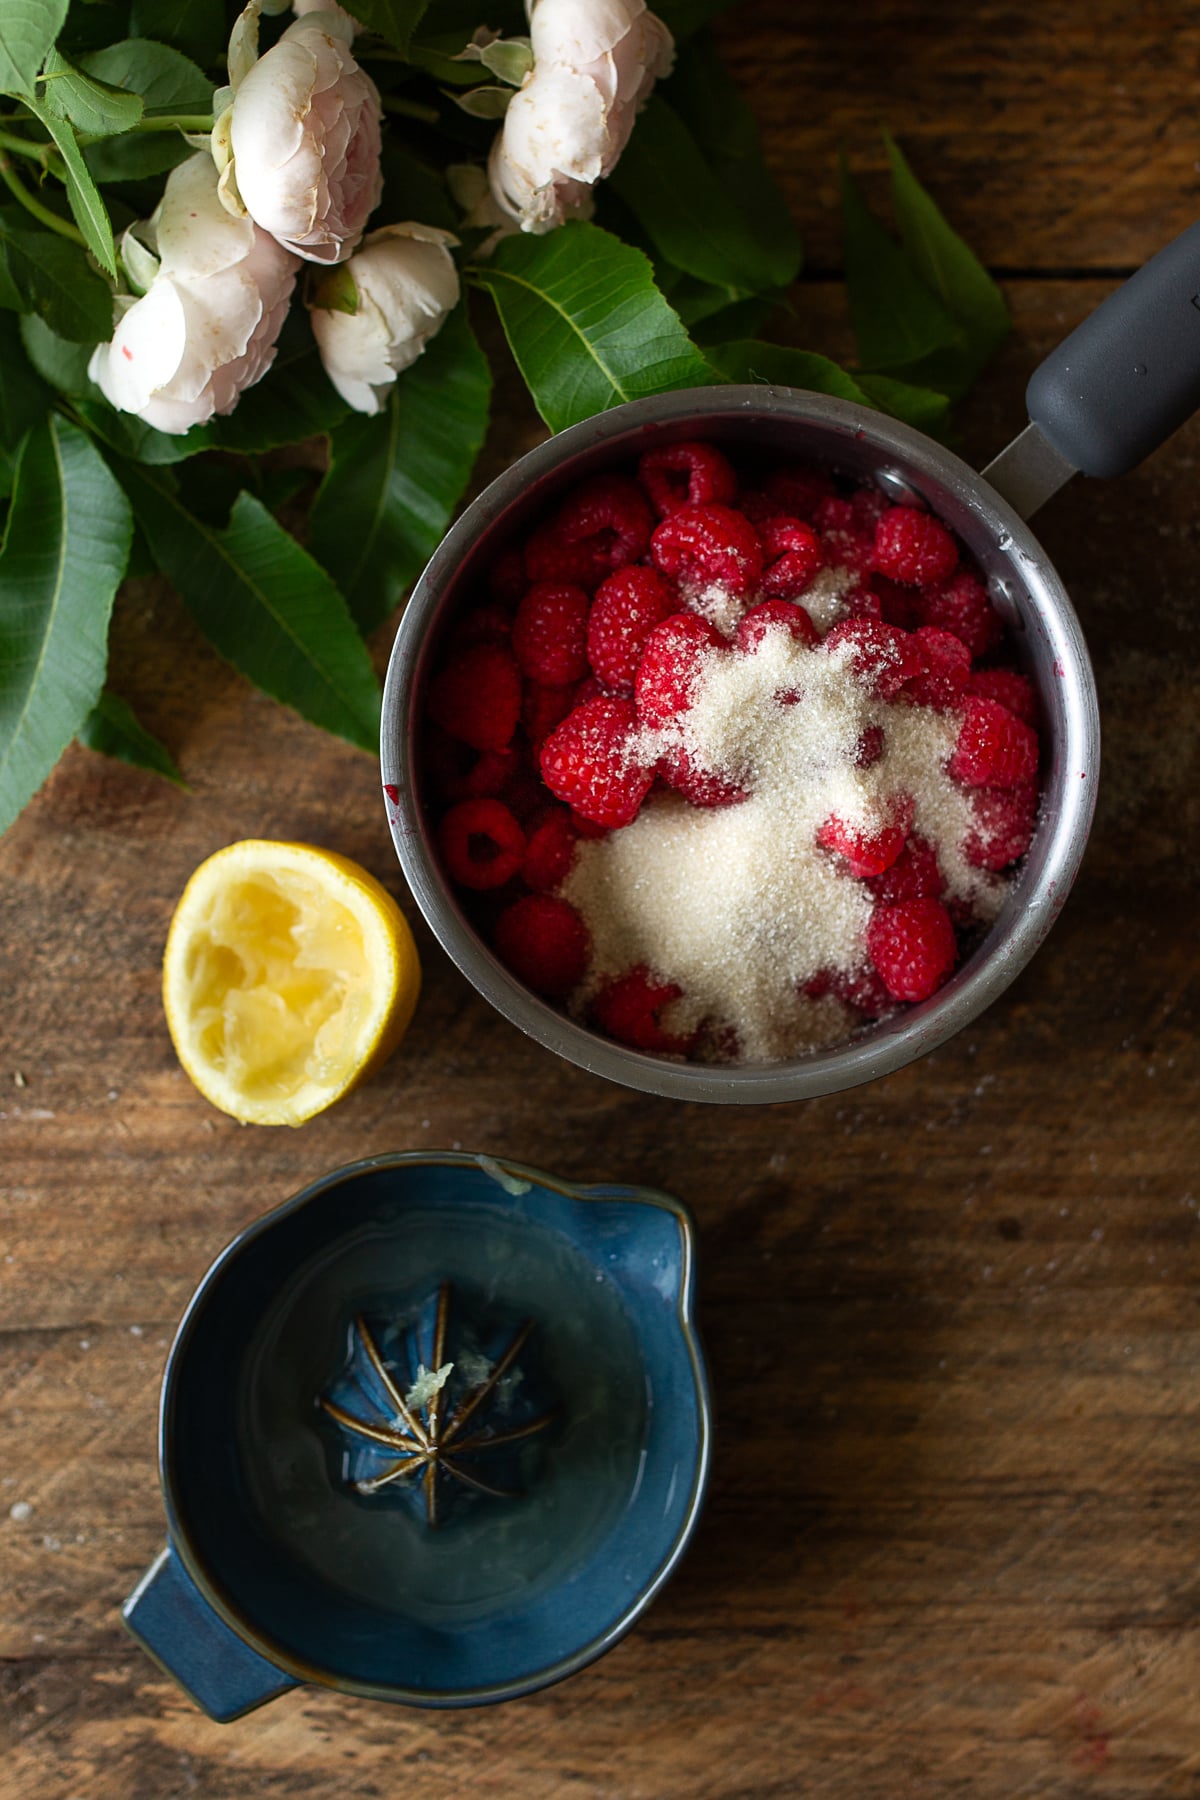
Step 1: Make the Raspberry Sauce
In a small saucepan over medium heat, combine your raspberries and organic granulated sugar. Cook for about 5-8 minutes, gently mashing the berries with a fork or wooden spoon as they heat up. Once the mixture is bubbling, thickened, and resembles a glossy jam, remove it from the heat and let it cool completely.
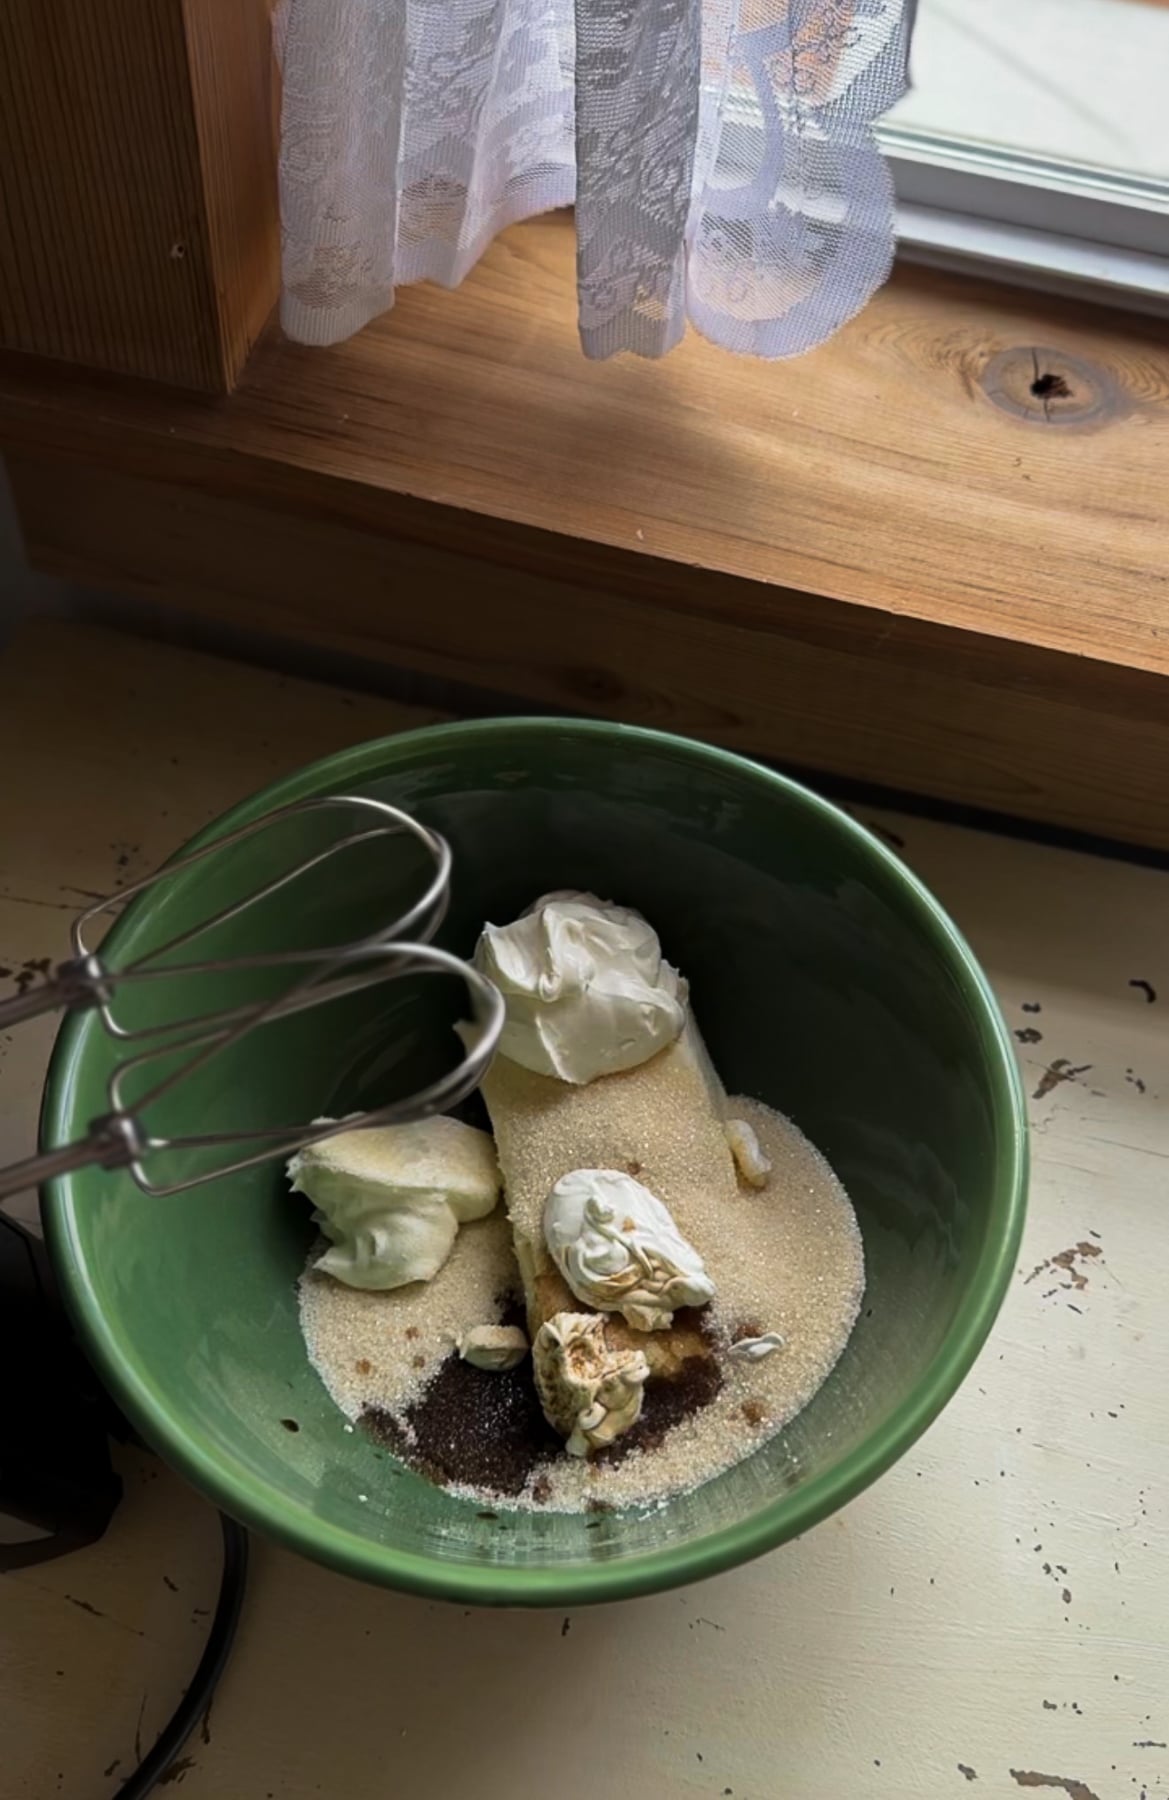
Step 2: Whip the Cheesecake Base
In a large mixing bowl (or the bowl of a stand mixer fitted with the paddle attachment), beat the softened cream cheese and granulated sugar together until smooth, fluffy, and completely free of lumps. Slowly mix in the Greek yogurt, milk (or heavy cream), and pure vanilla extract until fully incorporated. The mixture should be thick, smooth, and easily pourable.
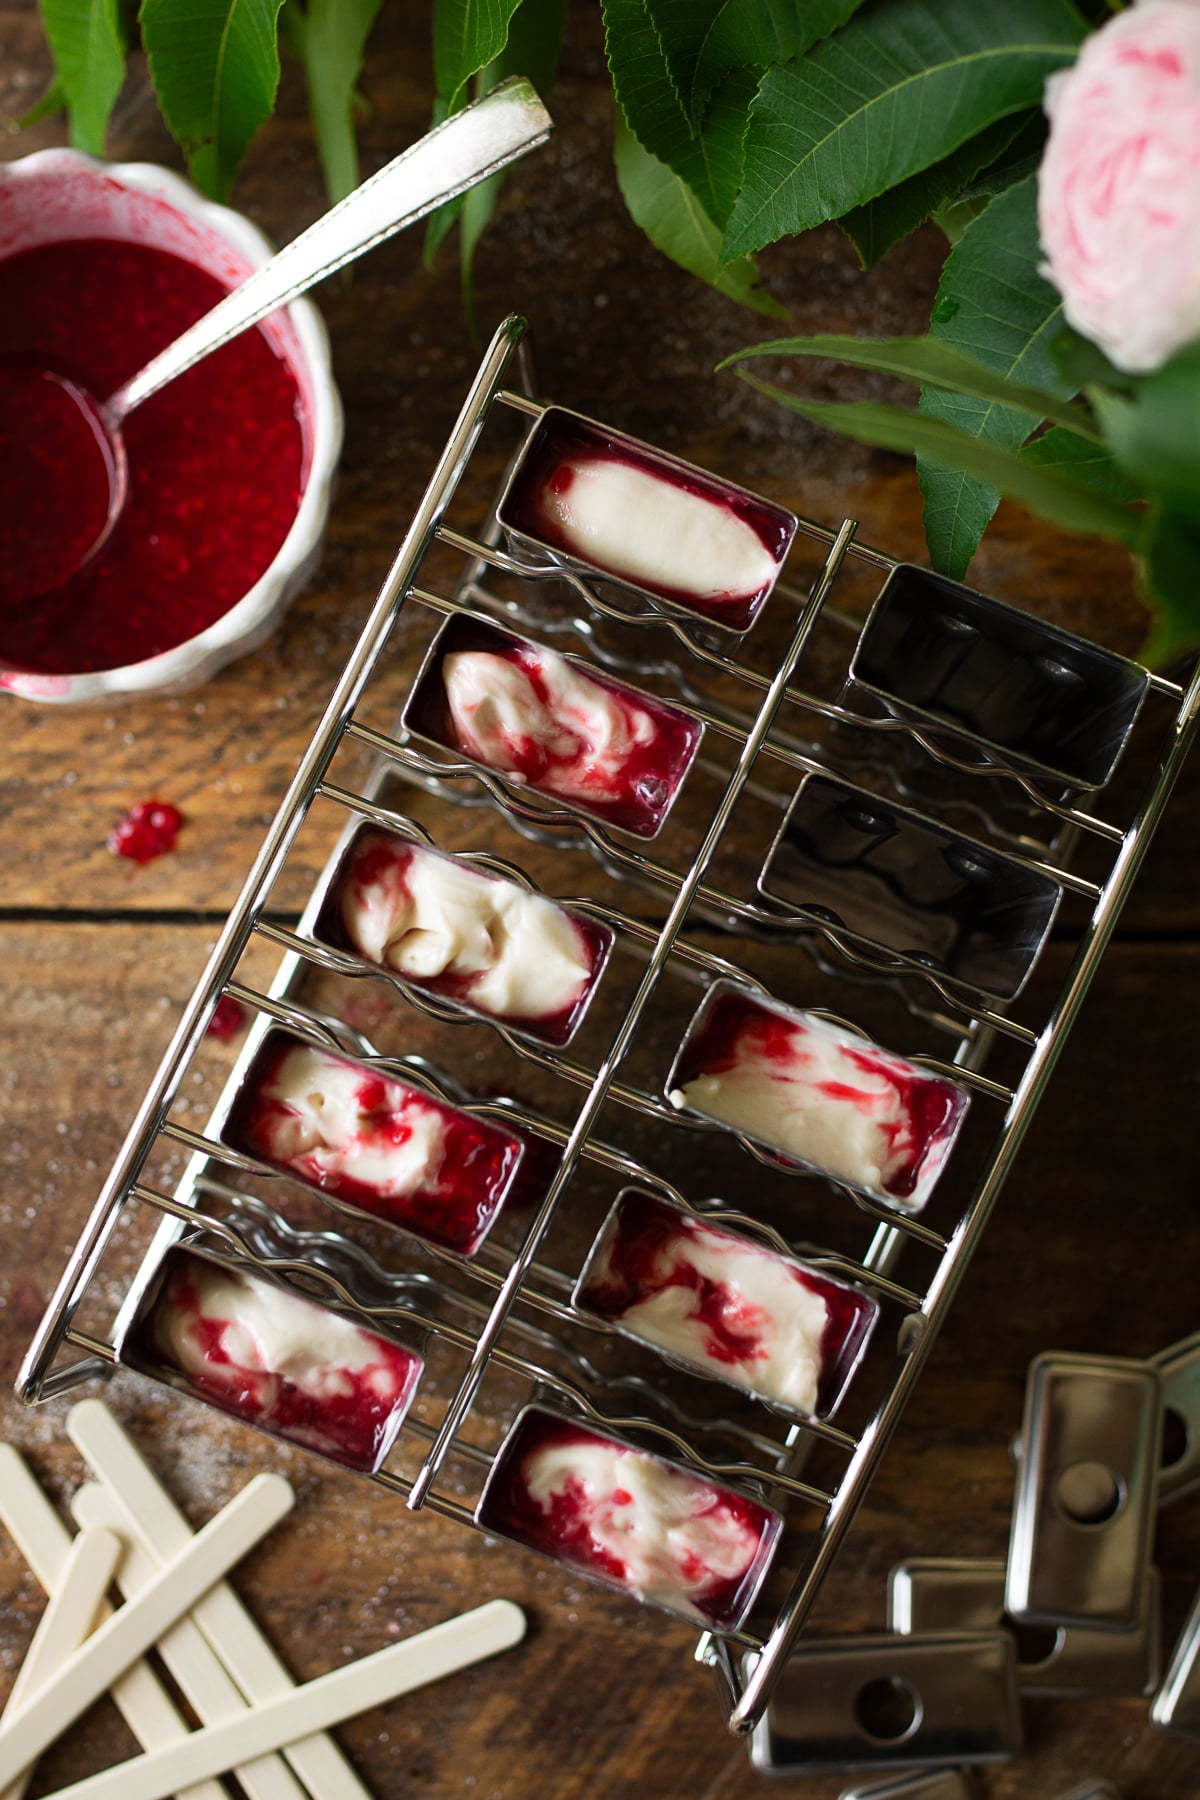
Step 3: Layer the Molds
Set out your popsicle molds on a clean workspace. I love this 10 piece stainless steel popsicle mold set from Amazon. Pour a small amount of the white cheesecake mixture into the bottom of each mold cavity, then drop a spoonful of the cooled raspberry reduction directly on top. Repeat this alternating pattern until the molds are filled nearly to the top, leaving about a half-inch of space at the rim for your crust.
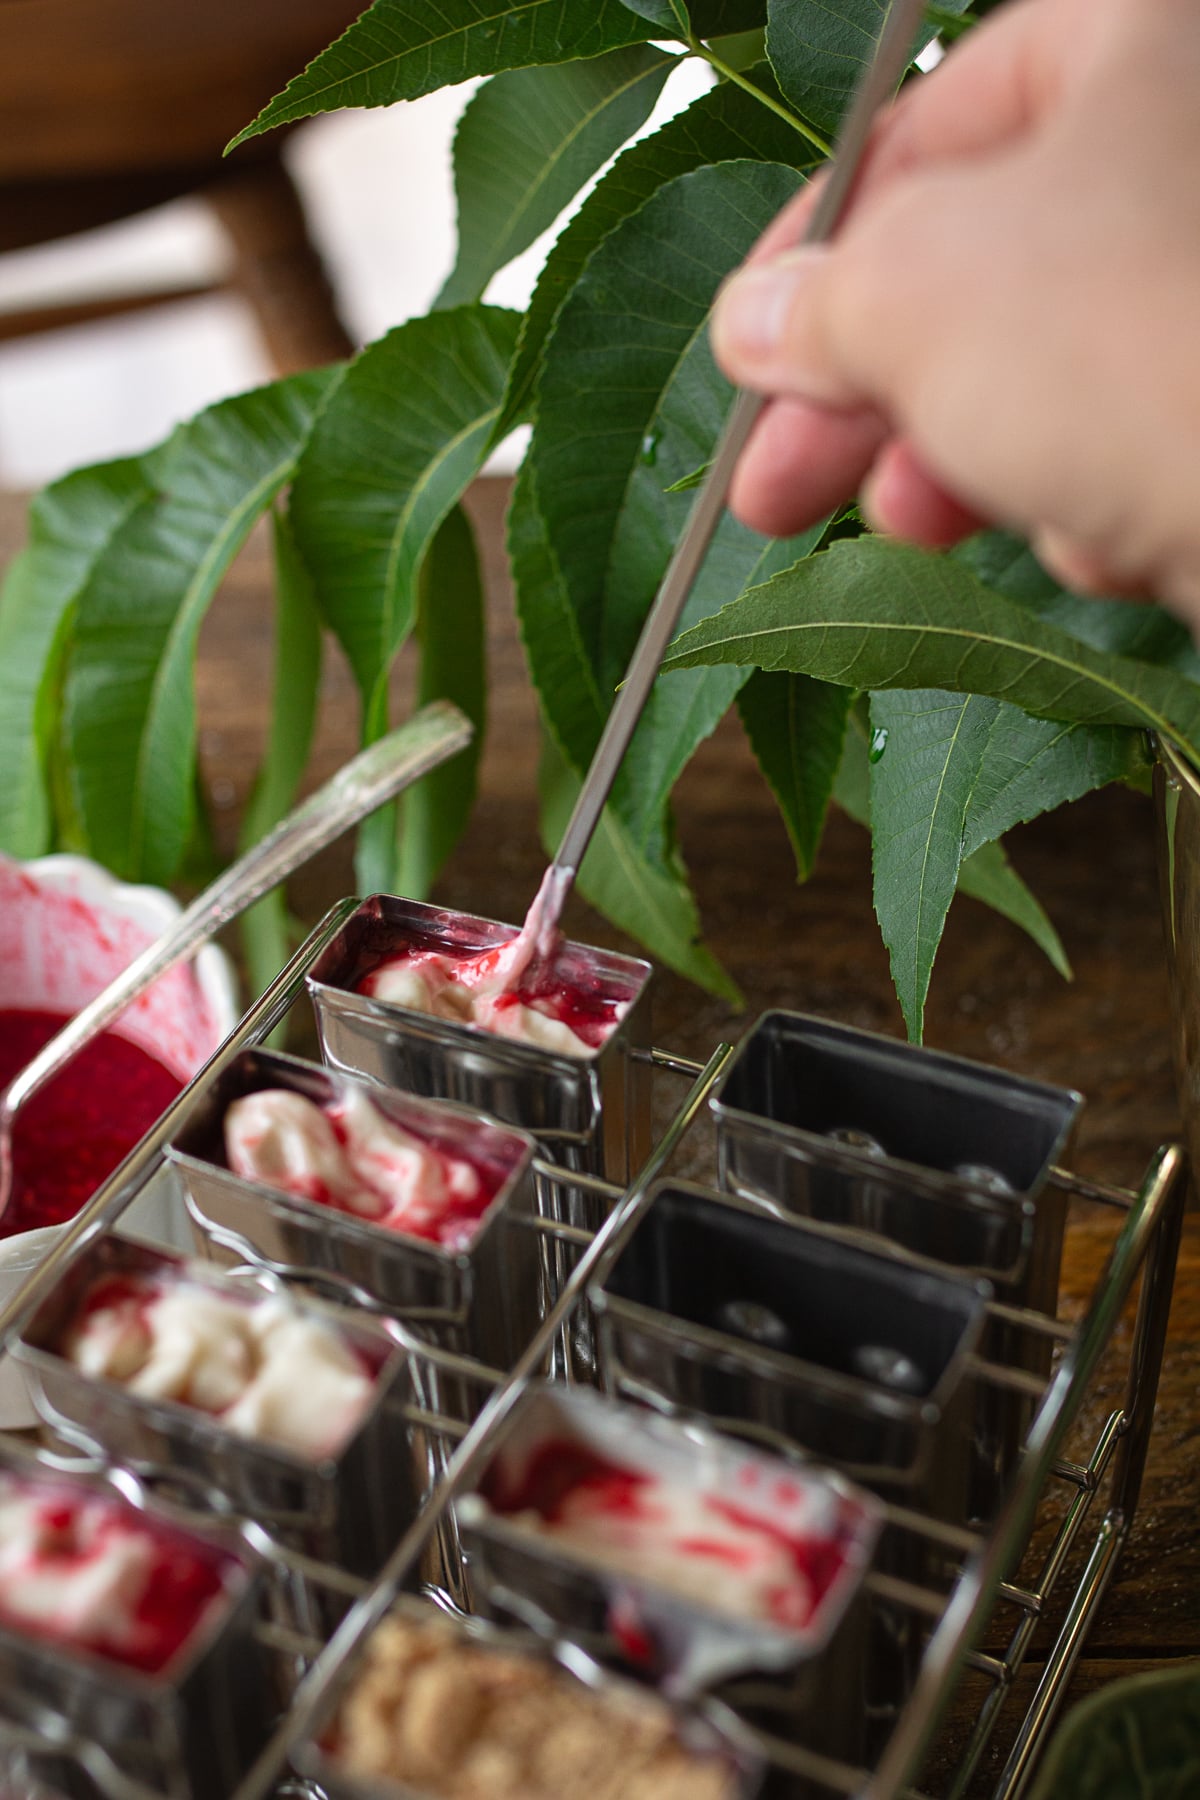
Step 4: Swirl the Flavors
Take a skewer, a toothpick, or a thin butter knife and gently drag it through the layered ingredients in an up-and-down motion. This creates that gorgeous, gourmet marbled look. Be careful not to over-mix, or the vibrant pink raspberry layer will completely blend into the white cream rather than forming distinct, beautiful swirls. You may need to "tap down" each mold to remove air bubbles.
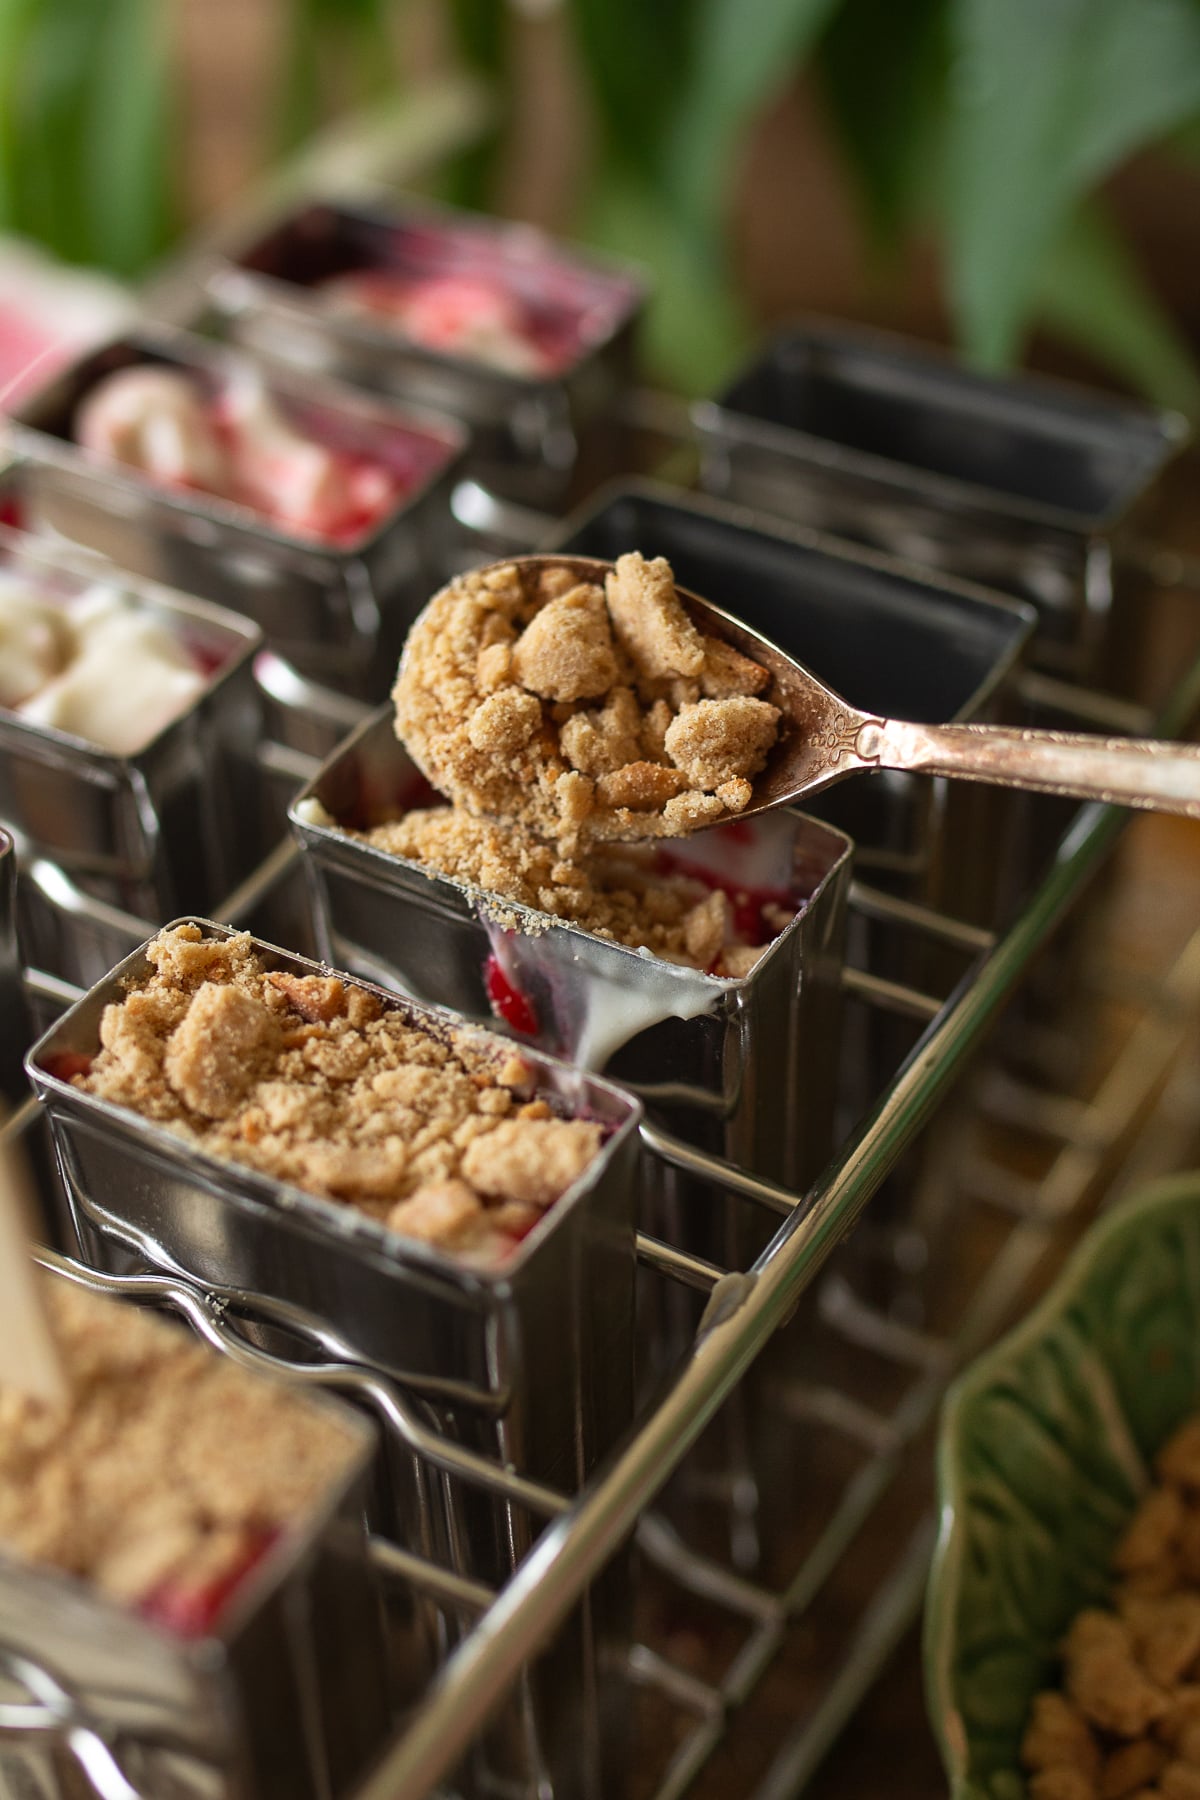
Step 5: Pack the Sourdough Graham Crust
Pack a generous spoonful of crumbs onto the top of each swirled mold, gently pressing down with the back of a small spoon so the crust bonds completely with the wet cream layer. Some will still fall out when you remove the popsicles from the molds, that's okay.
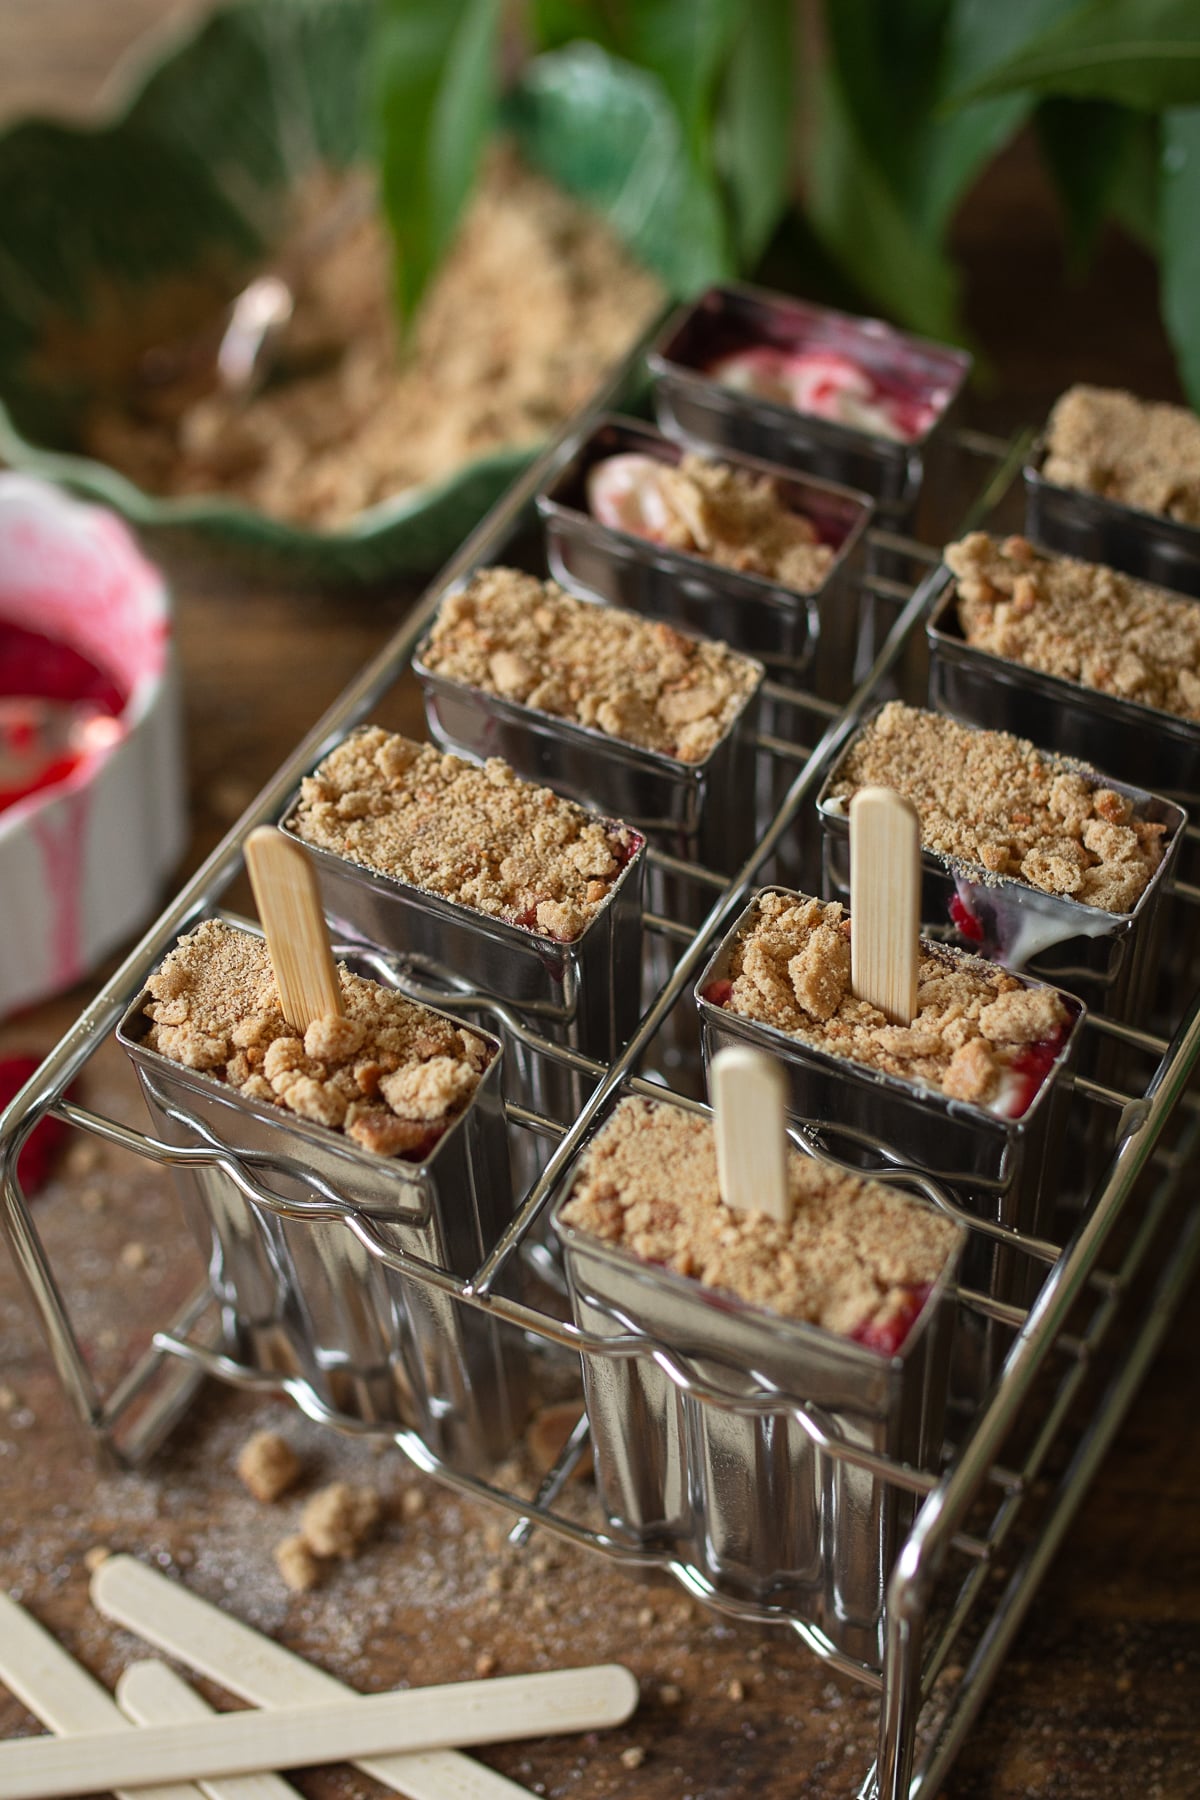
Step 6: Add Sticks and Freeze
Insert your wooden popsicle sticks firmly through the center of the crumb layer down into the cheesecake base. Place the molds entirely flat in your freezer for 6 to 12 hours, or until frozen completely solid. To unmold and serve, simply run the outside of the molds under warm water for 10 seconds and gently pull the sticks.
Gourmet Popsicle Variations
Streusel Topping: If you don't have a batch of sourdough graham crackers on hand, you can make a quick farmhouse crumb by simply mixing a small amount of flour, rolled oats, brown sugar, and melted butter together and then packing it onto the molds.
Roasted Blackberry & Lavender: Swap the raspberries for summer blackberries cooked down with a tiny pinch of culinary lavender buds for an incredibly sophisticated, floral flavor profile.
Lemon Cheesecake Swirl: Add a tablespoon of fresh lemon zest and a splash of fresh lemon juice directly into the cream cheese base to give the popsicles a bright, citrusy cheesecake punch.
Equipment
Small Saucepan: For breaking down the fresh raspberries into a rich, flavorful compote.
Popsicle Molds & Wooden Sticks: High-quality silicone or stainless steel molds make extraction incredibly easy without ruining the beautiful marbled swirl or the crumb layer. This is the stainless steel popsicle mold set I have.
Hand Mixer or Stand Mixer: Essential for beating the cream cheese completely smooth. Trying to whisk it by hand can leave small cream cheese pockets in your frozen bars.
How to Store Homemade Popsicles
Because these popsicles are made with whole ingredients and contain zero artificial gums, chemical stabilizers, or preservatives, proper storage is key to keeping them velvety smooth.
In the Molds: You can leave the popsicles right inside their molds in the freezer for up to 7 days. Any longer than that, and they can begin to pick up "freezer burn" flavors from the open air. If you need to store longer, layer in parchment paper in a ziplock freezer bag and keep frozen for up to 2 months.
FAQ
Yes, absolutely! If you don't have a standard mold on hand, you can use small 3-ounce paper cups (like Dixie cups) or even clean, small glass jars. Simply layer the ingredients into the cups exactly as described in the instructions, pack the sourdough crumb layer on top, and stretch a piece of aluminum foil over the top of the cups. Poke your wooden popsicle sticks right through the foil to keep them standing up straight while they freeze. Once solid, just snip the edge of the paper cup and peel it away!
If your popsicles have ice crystals, it usually comes down to one of two things: the fat content or the sugar. This recipe relies on the natural fats in full-fat cream cheese and Greek yogurt to create that signature velvet texture. Using "low-fat" or "light" dairy alternatives introduces too much water content, which turns into ice crystals when frozen. Additionally, make sure you don't skip the organic granulated sugar, sugar doesn't just add sweetness, it physically alters the freezing point of the liquid, keeping the popsicles smooth and scoopable rather than rock-hard.
Not at all, though they definitely add that special scratch-made farmhouse charm! If your sourdough starter isn't active or you don't have a batch of my Sourdough Discard Graham Crackers ready in the pantry, you can use high-quality, store-bought organic graham crackers. Just take a quick peek at the ingredient label to make sure they are made with real butter and real sugar, avoiding high-fructose corn syrup or hydrogenated oils to keep the recipe aligned with our whole-food philosophy
Looking for other recipes like this? Try these:


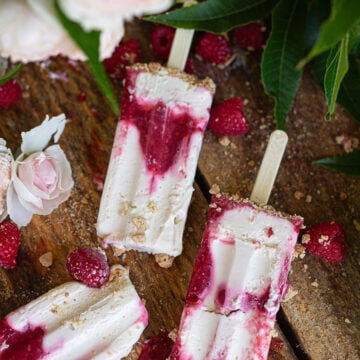
Gourmet Raspberry Cheesecake Popsicles
Equipment
Ingredients
For the Raspberry Swirl:
- ½ cup organic granulated cane sugar
- 2 cups fresh or frozen raspberries approx. 10 ounces
- 1 Tablespoon fresh lemon juice
For the Cheesecake Base:
- 12 ounces full-fat cream cheese completely softened to room temperature
- ¾ cup organic granulated cane sugar
- ¾ cup plain full-fat Greek yogurt or thick sour cream
- ½ cup whole milk
- 2 teaspoon pure vanilla extract or vanilla bean paste
For the Sourdough Graham Crust Layer:
- ¾ cup finely crushed Sourdough Discard Graham Cracker crumbs about 2-3 full sheets
Instructions
- Make the Raspberry Swirl: In a small saucepan over medium heat, combine the raspberries, ⅓ cup sugar, and lemon juice. Cook for 5-8 minutes, gently mashing the berries with a wooden spoon. Once the mixture bubbles and thickens into a glossy, jam-like consistency, remove it from the heat and let it cool completely.
- Whip the Cheesecake Base: In a large bowl (or stand mixer), beat the softened cream cheese and cup sugar until completely smooth and fluffy. Add the Greek yogurt, heavy cream (or milk), and vanilla extract. Mix on low speed until fully incorporated and pourable.
- Layer the Molds: Pour a small amount of the white cheesecake mixture into the bottom of each of your 10 mold cavities. Drop a generous spoonful of the cooled raspberry reduction directly on top. Repeat this alternating pattern until the molds are filled nearly to the top, leaving a ½-inch space at the rim.
- Swirl the Flavors: Use a wooden skewer, toothpick, or thin butter knife to gently drag through the layers in a light up-and-down motion to create a marbled look. Do not over-mix, or the distinct swirls will disappear!
- Pack the Crust: Crush or blend graham crackers until fine crumbs. Spoon into the remaining space of molds.
- Freeze: Insert your wooden popsicle sticks firmly through the center of the crumb layer into the cheesecake base. Freeze completely flat for 4 to 6 hours, or until frozen solid. To unmold, submerge the outside of the molds in warm water for 10 seconds and gently pull the sticks.
Video
Notes
- Dairy Matters: Always use full-fat cream cheese, yogurt, and milk for this recipe. Low-fat alternatives contain too much water, which will cause your gourmet popsicles to freeze with an icy, rock-hard texture instead of a velvety ice cream bar texture.
- Storage: Once frozen solid, unmold the popsicles, wrap them individually in plastic wrap or wax paper, and store them in an airtight freezer bag for up to 1 month.



Summer in our house means the freezer is always stocked with homemade treats, and these have quickly become our absolute favorite. My kids absolutely love devouring these after a hot afternoon playing outside, and I hope your family enjoys sharing them just as much as we do!