Perfect Every time Pie Crust Recipe | Traditional Favorite
When cool autumn air settles over our Tennessee farmstead, my kitchen instantly shifts into pie season. I get giddy for crimping crusts in my cozy kitchen. Making a chicken pot pie for dinner or baking a double-crust fruit pie using my Canned Apple Pie Filling for dessert. No matter if the pie is sweet or savory, this reliable, melt-in-your-mouth crust is the foundation for it all.
This traditional all-butter pie crust delivers on those flaky, tender layers without shortening or artificial additives. Passed down through generations of farmhouse bakers, this foolproof recipe relies on simple techniques and cold ingredients to guarantee success every single time. Not complicated in the least, it simply requires quality ingredients and a bit of time. And if you are a pie connoisseur, you are going to want to give my french silk pie recipe a try after mastering this crust.
Quick View
⏱️ Active Prep Time: 15 Minutes
❄️ Chill Time: 4 Hours (Minimum 1 hour)
🥧 Bake Time: 12 to 25 Minutes
🫙 Yield: 2 Standard 9-Inch Crusts (or 1 Double-Crust Pie)
✨ The Goal: Golden, buttery, shatteringly flaky perfection
🌾 The Promise: Traditional, scratch-made pastry without industrial seed oils
🧪 Key Equipment: Glass or ceramic pie plate, pastry blender, rolling pin, and a flour dusted counter.
📦 Storage: Freeze unbaked dough discs up to 3 months
SUMMARIZE & SAVE THIS CONTENT ON
Jump to:
- Quick View
- Why You'll Love This All-Butter, Century Old Crust
- The Baking Science: Why Butter Beats Shortening
- The Best Pie Crust Starts With Simple Ingredients
- Step-by-Step Instructions
- Pro Tips for Preventing a Soggy Bottoms
- Creative Ways to Use Pie Crust Scraps
- FAQ About Making Pie Crust
- Final Thoughts From The Homestead
- You Should Also Try:
- Traditional Flaky Pie Crust
Why You'll Love This All-Butter, Century Old Crust
- Pure Butter Flavor: Uses rich, natural butter instead of tasteless industrial shortenings or processed trans fats.
- Flaky Texture: Cold butter pockets expand into steam as it bakes, creating distinct, crispy pastry layers that hold heavy fillings.
- Versatile Base: Works equally well for sweet fruit pies, rich custards, or savory dinner pot pies.
- Make-Ahead Friendly: Dough discs refrigerate beautifully for four days or freeze for quick holiday prep.
The Baking Science: Why Butter Beats Shortening
For decades, commercial vegetable shortenings dominated pie baking due to long shelf stability. However, traditional butter remains the superior choice for health, performance, and taste!
1. The Best Flavor and Purest Ingredients
Vegetable shortenings undergo industrial processing, bleaching, and deodorizing, (ick) leaving behind neutral, flavorless oily fats. Cultured or sweet cream butter provides a rich, complex flavor profile. Quality butter, flour, and fruit trump overly processed additives any day of the week.
2. The Power of Water in Butter
Vegetable shortening is pure fat, but butter naturally contains about sixteen to eighteen percent water. As the pie bakes in a hot oven, the water trapped inside the butter pockets convert to steam. This rapid steam expansion lifts the flour layers apart, creating the signature flaky pockets. Shortening does a poor replication of that process.
The Best Pie Crust Starts With Simple Ingredients
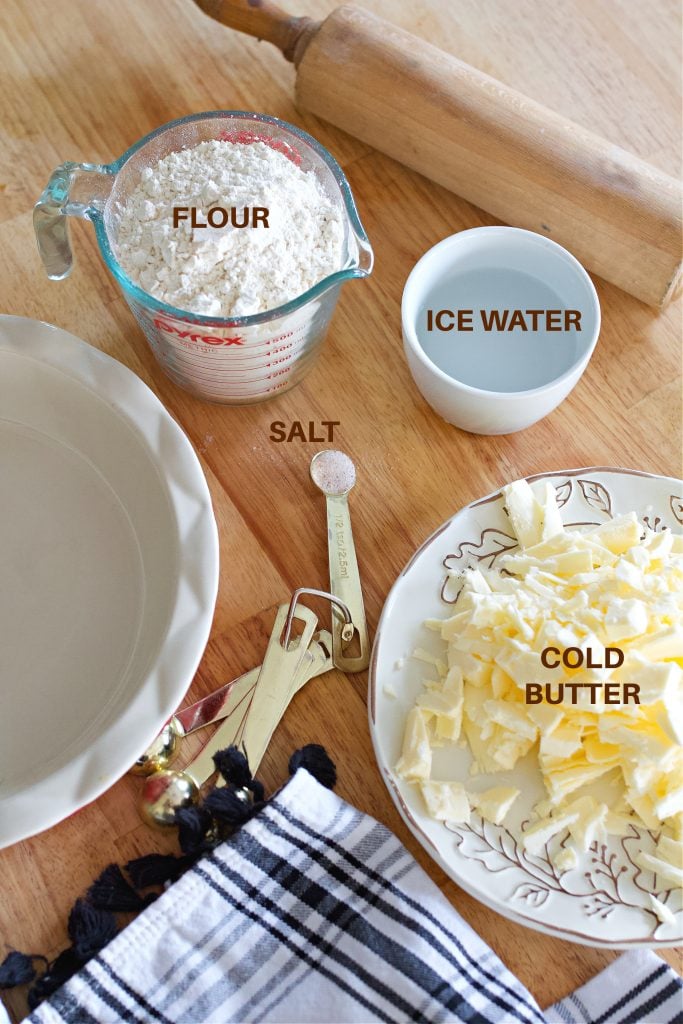
Making your own homemade pie crust is not intimidating. This easy pie crust recipe calls for just a few ingredients: flour, salt, cold butter, and ice-cold water. These four simple ingredients work together to create a perfectly flaky homemade pie crust every time.
The key to a good pie crust lies in keeping everything as cold as possible. The frozen butter needs to be grated directly from the freezer, before incorporating into the flour. And the ice water is essential to hold the crumbly dough together. This process is what creates the beautiful layers in the flaky pie crust that makes your homemade pies stand out. With a little water and careful handling, you'll have a great pie crust every time.
Key Ingredients & Why They Matter
- All-Purpose Flour: Standard unbleached all-purpose flour provides the perfect balance of structure and tenderness. Avoid high-protein bread flour, which creates tough, chewy pastry.
- Butter: High-fat European-style butter yields the flakiest layers. If you aren't using the butter right away after grating, place back in freezer until adding it to the flour mix.
- Fine Sea Salt: Enhances the natural sweetness of the butter and balances sweet pie fillings.
- Ice-Cold Water: Keeps the butter fat solid while binding the flour particles together.
Essential Equipment
- Pastry Blender: Cuts cold butter into uniform, pea-sized pieces without transferring hand heat to the dough.
- Pie Plate: Ceramic or Glass is best for even heat distribution and cooking. Metal works, but it tends to heat up faster, so cook times may need to be adjusted. Keep an eye out for an overcooked bottom if working with metal.
- Rolling Pin: A heavy wooden rolling pin ensures even dough thickness without overworking gluten.
- Pie Weights or Dried Beans: Essential for blind baking pre-baked crusts to prevent slumping and bubbling. These ceramic pie weights work great!
Step-by-Step Instructions
Step 1: Combine Dry Ingredients
In a large, chilled mixing bowl, whisk together the flour and fine sea salt until evenly distributed.
Step 2: Cut in the Frozen Butter
Add grated frozen butter to the flour. Use a pastry blender or two forks to cut the butter into the flour until the mixture resembles coarse meal with pea-sized butter pockets remaining.
Step 3: Hydrate the Dough Gently
Drizzle ice water over the flour mixture one tablespoon at a time. Toss gently with a fork after each addition. Stop adding water as soon as the dough holds together when squeezed. The dough should look slightly shaggy, not wet or sticky.
Step 4: Divide and Chill
Divide the dough into two equal portions. Shape each portion into a smooth, flat disc. Wrap tightly in plastic wrap and refrigerate for at least four, but four is optimal, to relax the gluten and fully chill the butter.
Step 5: Roll and Shape
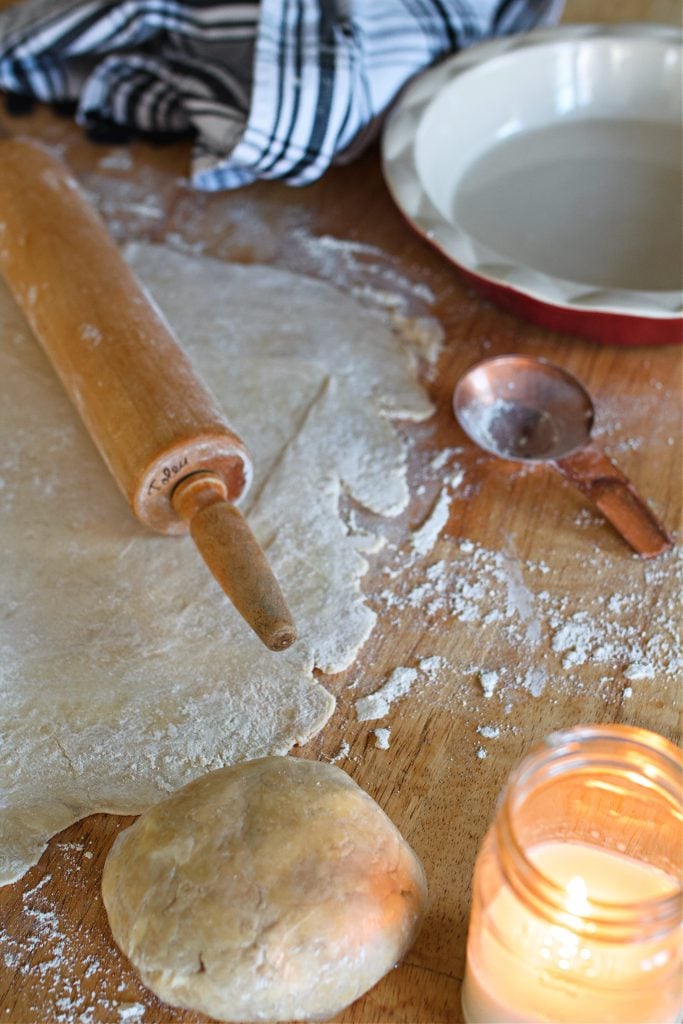
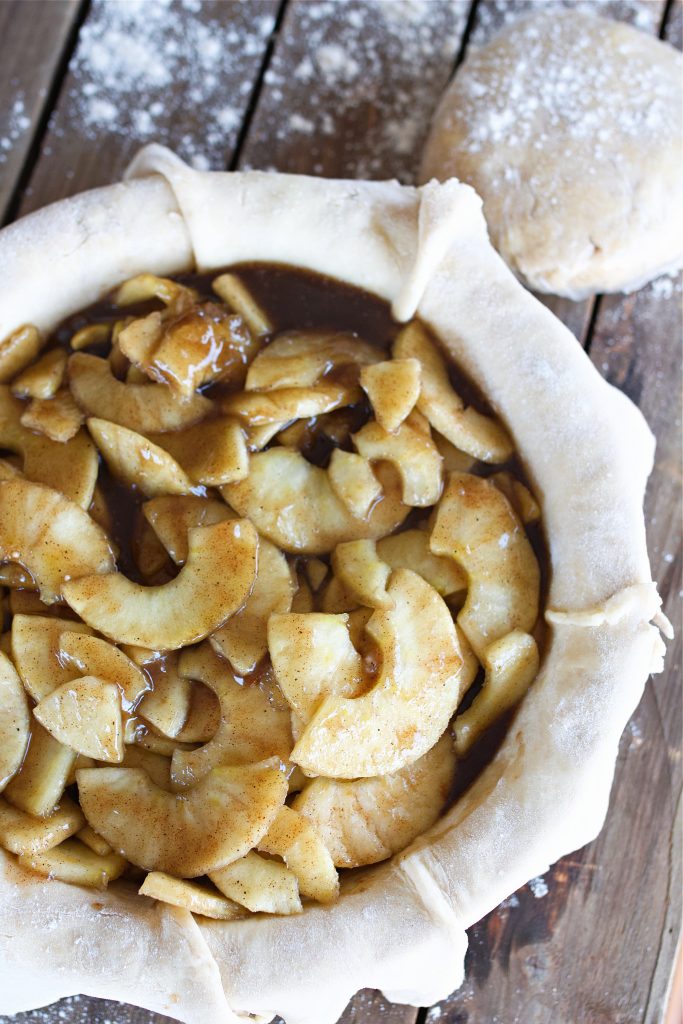
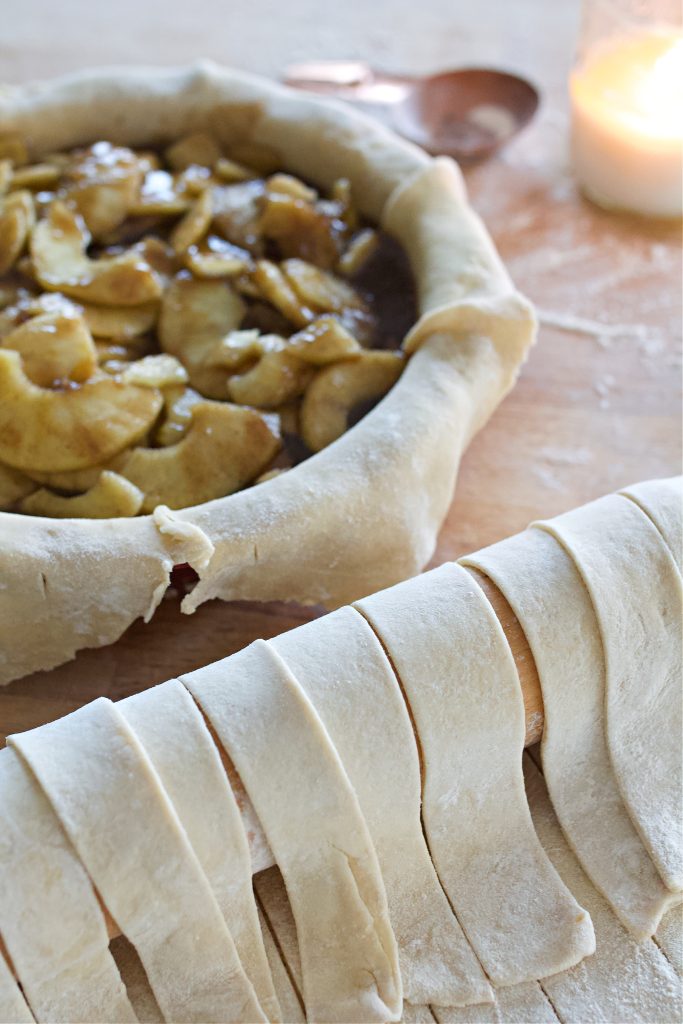
On a lightly floured work surface, roll chilled dough from the center outward, rotating frequently to prevent sticking. Transfer dough gently to a pie plate. Trim excess overhang, fold edges under, and crimp decorative borders.
Step 6: Blind Bake (If Required)
For custard or single-crust pies, line the unbaked crust with parchment paper and fill with pie weights or dried beans. Bake in a preheated oven until edges set, remove weights, and finish baking until golden.
Pro Tips for Preventing a Soggy Bottoms
- Preheat a Baking Sheet: Place your pie plate directly onto a hot baking sheet on the lowest oven rack. Direct heat crisps the bottom crust immediately.
- Use an Egg Wash Barrier: For unbaked fruit pies, brush the inside bottom crust with a thin layer of beaten egg white before adding juicy fruit fillings.
- Cool Fillings Completely: This is something that often gets overlooked. Never pour warm fruit filling or hot pot pie filling into cold pie dough. The butter fat will melt instantly and the dough will not cook correctly.
Are these optional? Sure. But if you want a pie crust worthy of a county fair blue ribbon or your Great Aunt Agnes's approval, then they are the little things to keep in mind that make a huge difference overall.
Creative Ways to Use Pie Crust Scraps
Don't waste a single piece of leftover pastry dough! Gather your dough trimmings and try these quick farmstead treats that I vividly remember my grandmother, and mother making:
- Cinnamon Sugar Crisps: Roll scraps thin, brush with melted butter, sprinkle with cinnamon sugar, and bake until crisp and golden. (These were our go-to after baking treats!)
- Savory Cheese Crackers: Sprinkle dough scraps with grated cheddar cheese, cracked black pepper, and sea salt before baking. (Soup for dinner? These pair perfectly with it!)
- Mini Fruit Tarts: Cut dough into small rounds, press into a mini muffin tin, fill with Canned Cherry Pie Filling, and bake. (Simple, but a huge wow and win for family and guests!)
FAQ About Making Pie Crust
Tough crusts happen when gluten is overdeveloped. This is caused by adding too much water, over-mixing the dough, or warm butter melting into the flour during rolling.
Yes! Pulse the flour, salt, and cold butter until pea-sized clumps form. Add ice water and pulse just until dough begins to clump together. The pour out onto counter and finish with your hands. This avoids over-processing.
Wrapped dough discs keep fresh in the refrigerator for up to four days. You can also freeze double-wrapped dough discs for up to three months. They turn a bit of a grey color which is not super appetizing, so I try to keep them in the fridge less than two days if possible. If freezing, thaw overnight in the fridge before rolling.

Final Thoughts From The Homestead
Baking a pie from scratch is something that everyone should know how to do. It's a kitchen right of passage. And, one of the most rewarding traditions in homestead cooking. Once you master the simple rhythm of keeping your ingredients cold and handling the dough gently, you will never need to buy a store-bought crust again. Pull out your rolling pin, stock your pantry with homegrown fruit fillings, and enjoy the delicious fruits of your labor! (Literally)

You Should Also Try:
Traditional Flaky Pie Crust
Ingredients
- 2 ½ cups all-purpose flour - 312 g
- ½ teaspoon salt - 3 g
- 1 cup cold unsalted butter - 227 g diced and chilled
- ½ cup ice-cold water - 120 g or as needed
Instructions
- Mix dry ingredients: In a large mixing bowl, whisk together the flour and salt.
- Cut in the butter: Add the chilled butter to the flour mixture. Using a pastry blender or two forks, cut the butter into the flour until you have pea-sized pieces.
- Add water: Slowly add the ice-cold water, 1 tablespoon at a time, mixing with a fork until the dough begins to come together. Be careful not to add too much water; the dough should be slightly crumbly but hold together when pressed.
- Chill the dough: Form the dough into a disk, wrap it in plastic wrap, and refrigerate for at least 1 hour.
- Roll out the dough: On a lightly floured surface, roll out the dough to about ⅛ inch thick. Use a rolling pin to help transfer the dough to your pie pan.
- Blind bake (if needed): For pies like pecan pie or custard pies, blind bake the bottom crust by placing parchment paper over the dough, filling it with dried beans, and baking at 375°F (190°C) for 12 minutes. Remove the weights and parchment, and bake for another 5 minutes until the crust is golden




This is my forever pie crust recipe, it’s never let me down! It bakes up perfectly flaky every time, whether I’m making a sweet pie or a savory pot pie. I love how simple it is, using just real butter, flour, and water. Nothing fancy, just pure homemade goodness. There’s something so comforting about the smell of buttery pie crust baking on a cool fall day.