Easy Stovetop Elderberry Syrup Recipe | From Scratch
Elderberry syrup has been a staple in our house since my kids were little. Even now, as they're getting older, it's still something I'll pull out in the fall and winter for us to enjoy. I used to simply purchase the bottled version-this Black Elderberry syrup, because of the simple ingredients, but as the cost kept rising, I decided it was time to make it myself. Quickly, I realized how simple making this elderberry syrup recipe truly is, and I've never looked back.
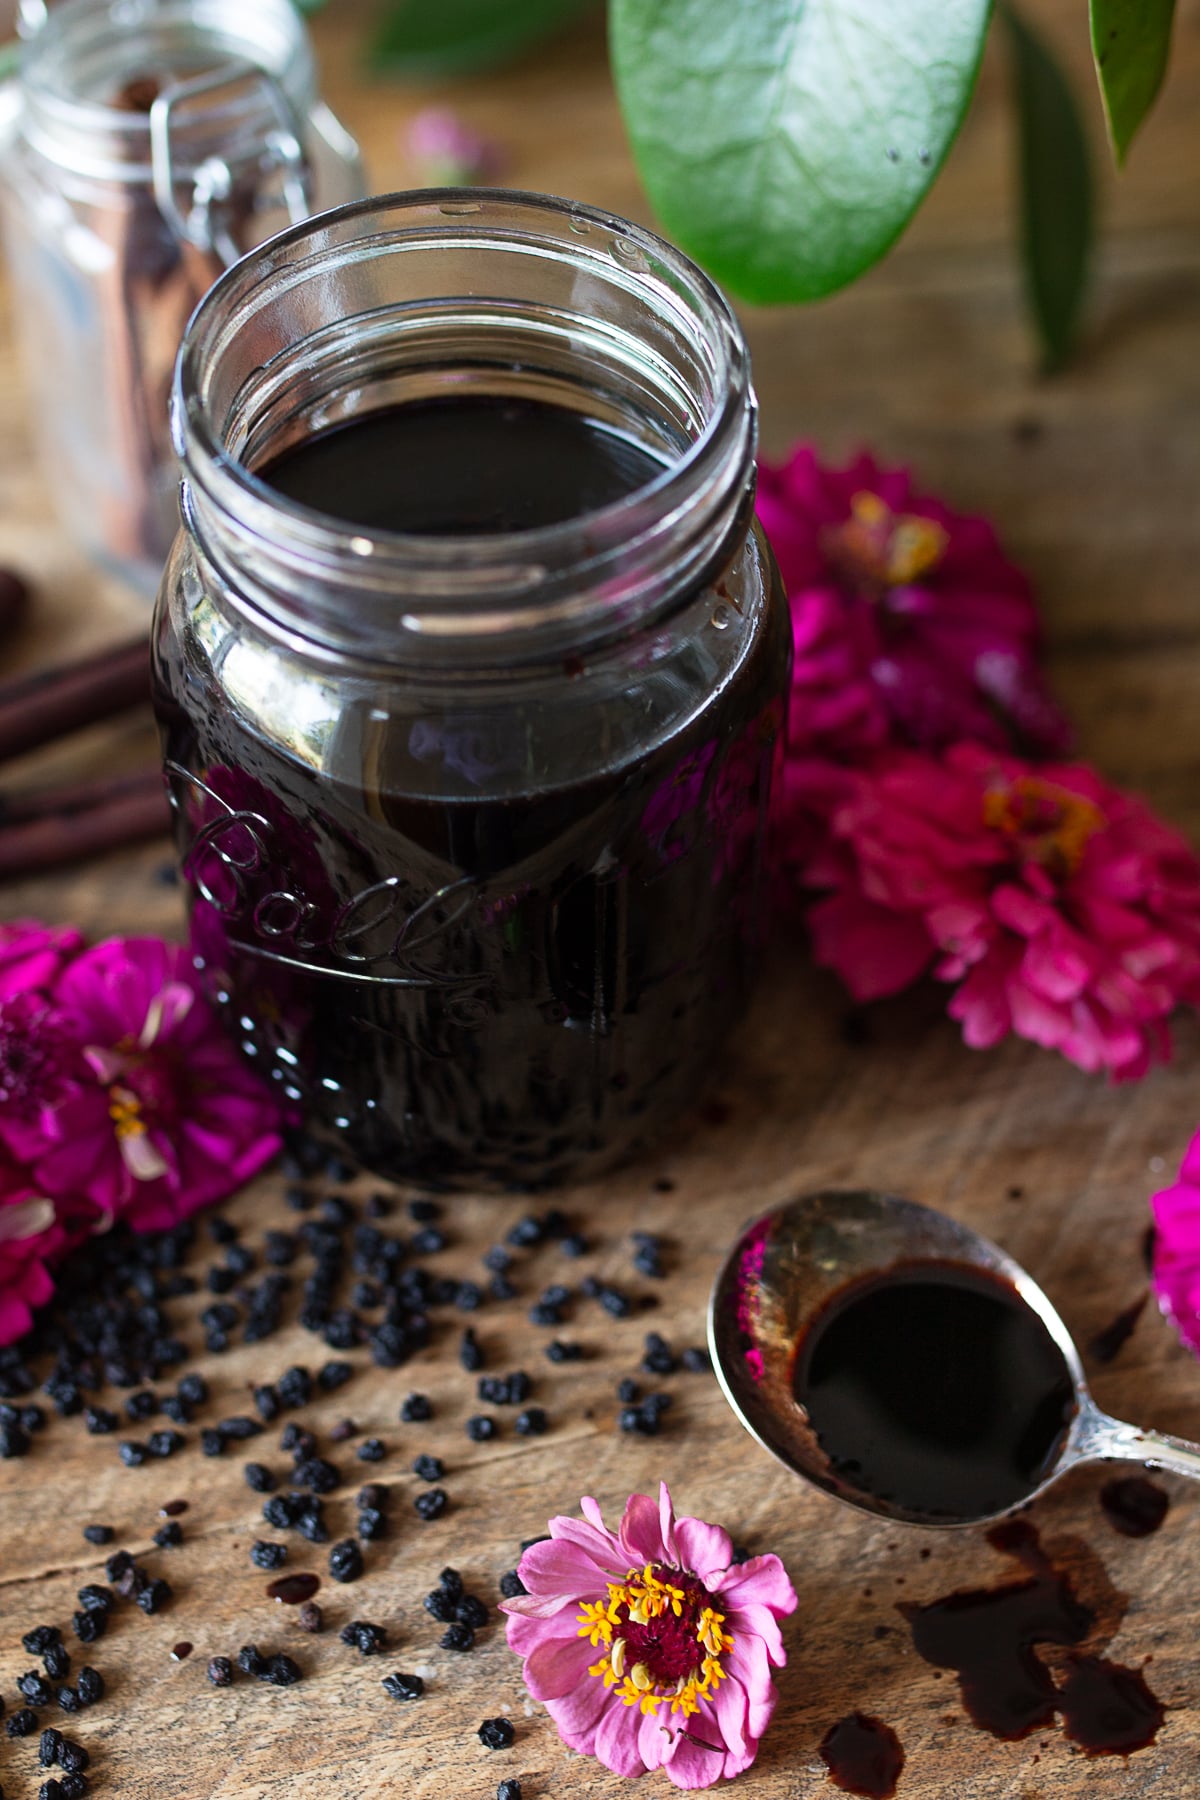
I keep dried elderberries on hand, so whenever I need to whip up a batch, I can do it quickly. If you want other information on supplements and wellness routines I love, I shared about them in this Daily Routine post, and this Back To School post.
Quick View
⏱️ Active Prep Time: 10 Minutes
🔥 Simmer Time: 45 Minutes
🧊 Cooling & Straining Time: 20 Minutes
🫙 Yield: 1 Pint (16 Ounces)
✨ The Goal: Dark, rich, warm-spiced syrup sweetened with raw local honey
🌾 Easy: Simple stovetop homestead staple made with dried berries
🧪 Key Equipment: Heavy-bottomed pot, fine-mesh strainer or cheesecloth, mason jar
📦 Storage: Store in an airtight glass jar in the fridge for up to 2 months
SUMMARIZE & SAVE THIS CONTENT ON
Why You'll Love Homemade Elderberry Syrup
- Budget-Friendly Pantry Staple: Making your own syrup at home costs a fraction of the price of small store-bought bottles.
- Simple Stovetop Prep: Simmers on the stovetop in one pot with basic pantry spices and minimal hands-on effort.
- Warm Kitchen Aromas: Fills your home with cozy autumn scents of cinnamon, clove, allspice, and ginger as it reduces.
- Pure Scratch Ingredients: Made with whole dried elderberries and raw honey without artificial preservatives or refined sugars.
The Homestead Science: Gentle Simmering & Raw Honey Making elderberry syrup from scratch relies on two simple traditional kitchen techniques to get the flavor, texture, and natural goodness just right.
- Slow Reduction Concentrates Flavor Raw elderberries contain a high amount of liquid that needs to be gently cooked down. Simmering the berries uncovered with whole spices allows the water to evaporate, reducing the liquid by half. This step creates a deeply concentrated, dark syrup base that readily absorbs the natural sweetness of honey.
- Timing the Honey Preserves Natural Goodness Raw honey contains natural enzymes and delicate floral notes that break down when exposed to high heat. Waiting to whisk in the raw honey until the strained liquid cools down to warm (under 110°F) keeps the honey smooth, silky, and raw while perfectly sweetening the batch.
Ingredients & Equipment
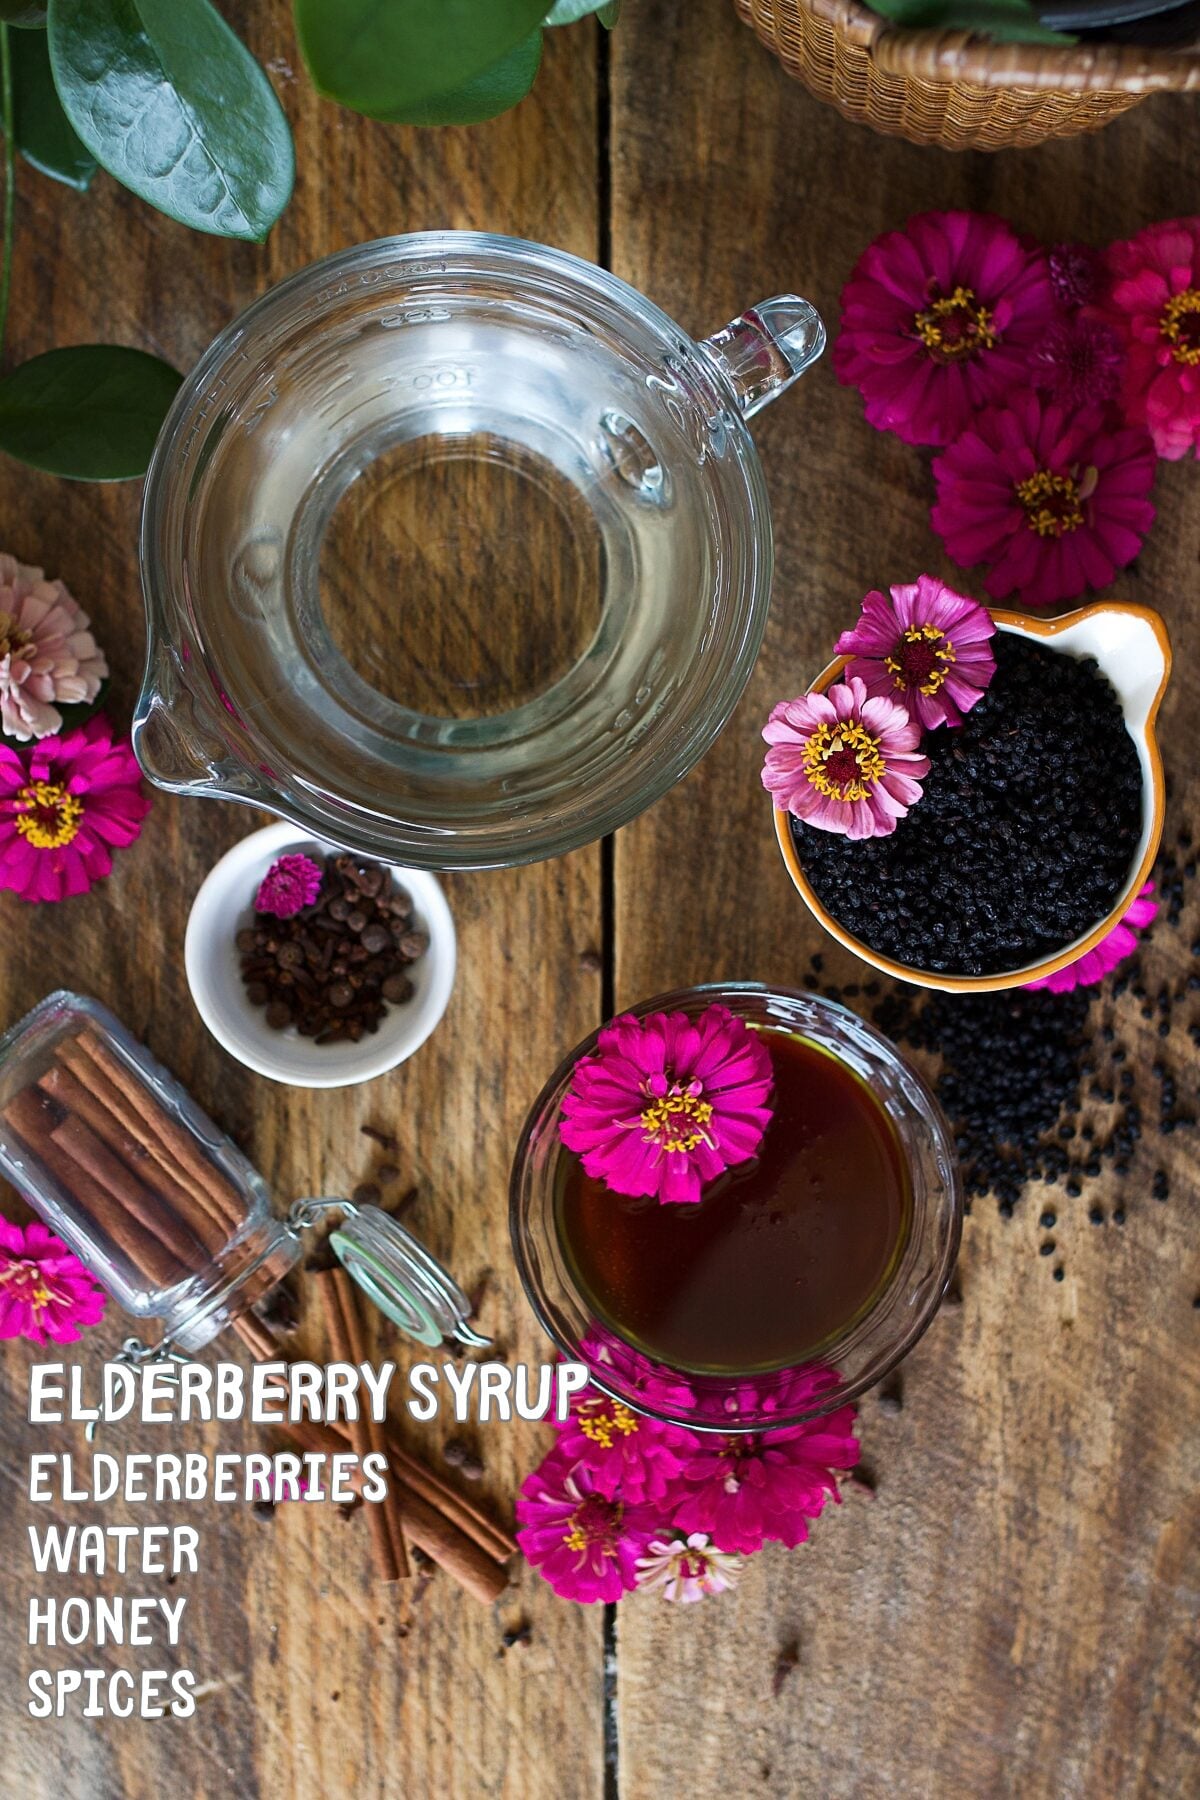
- Dried Elderberries: The rich, dark base of the syrup. Organic dried berries are easy to keep stocked in the pantry year-round.
- Whole Spices (Cinnamon, Cloves, Allspice): Infuse the syrup with warm, cozy autumn flavor and balance the natural tartness of the berries.
- Fresh or Dried Ginger: Adds a bright, subtle spicy kick that cuts through the rich sweetness.
- Raw Local Honey: Sweetens the dark, concentrated juice into a glossy syrup while adding smooth texture.
Essential Equipment
- Heavy-Bottomed Pot or Dutch Oven: Prevents hot spots and ensures an even, gentle simmer during the long reduction.
- Fine-Mesh Strainer or Cheesecloth: Catches all the small seeds, spent berries, and whole spices so your finished syrup is completely smooth.
- Wooden Spoon: Ideal for pressing every last drop of rich juice out of the cooked berries against the strainer.
- Glass Mason Jar: Glass keeps the syrup tasting fresh in the refrigerator without absorbing odors.
Step-by-Step Instructions
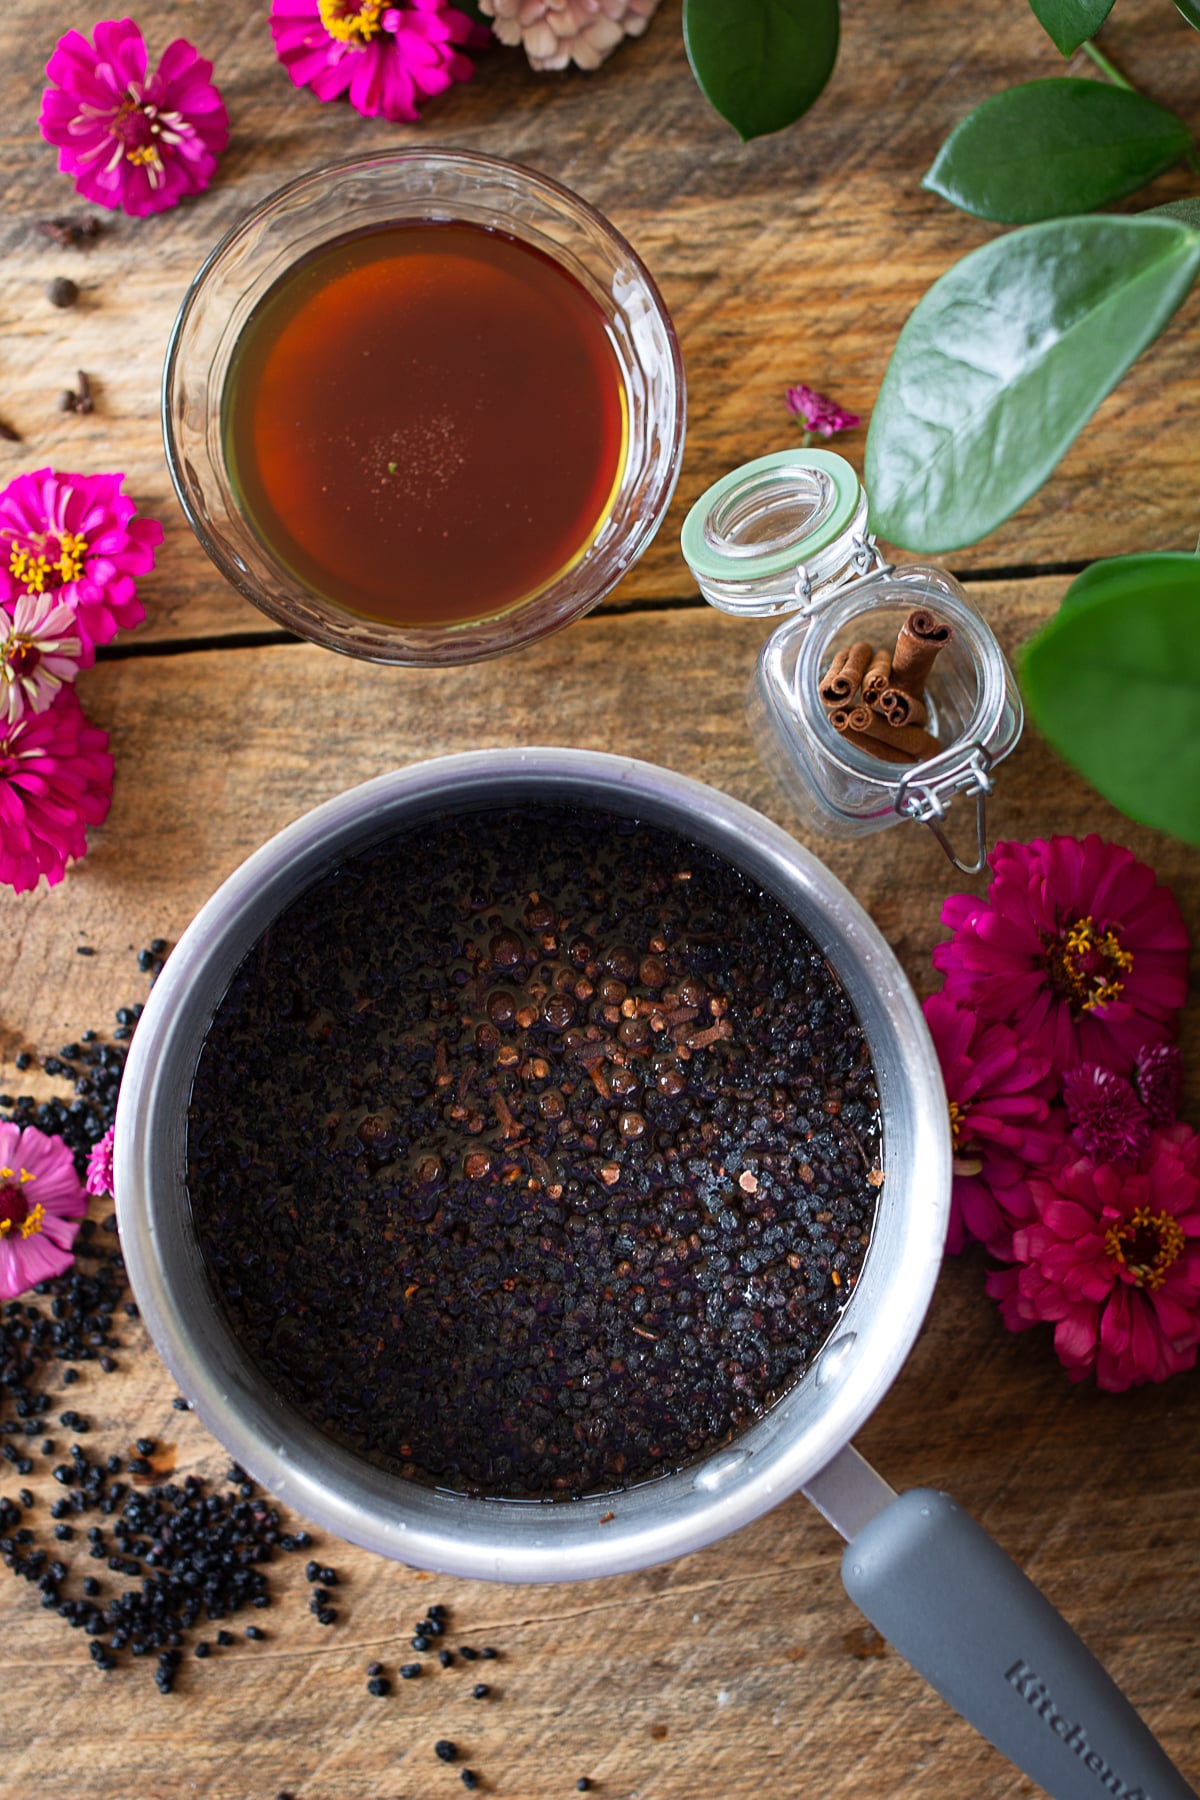
Step 1: Combine & Bring to a Boil
In a large, heavy-bottomed pot or Dutch oven, combine the dried elderberries, cold water, cinnamon stick, whole cloves, allspice, and ginger. Bring the mixture to a rolling boil over medium-high heat until big bubbles cover the surface and warm spices fill your kitchen.
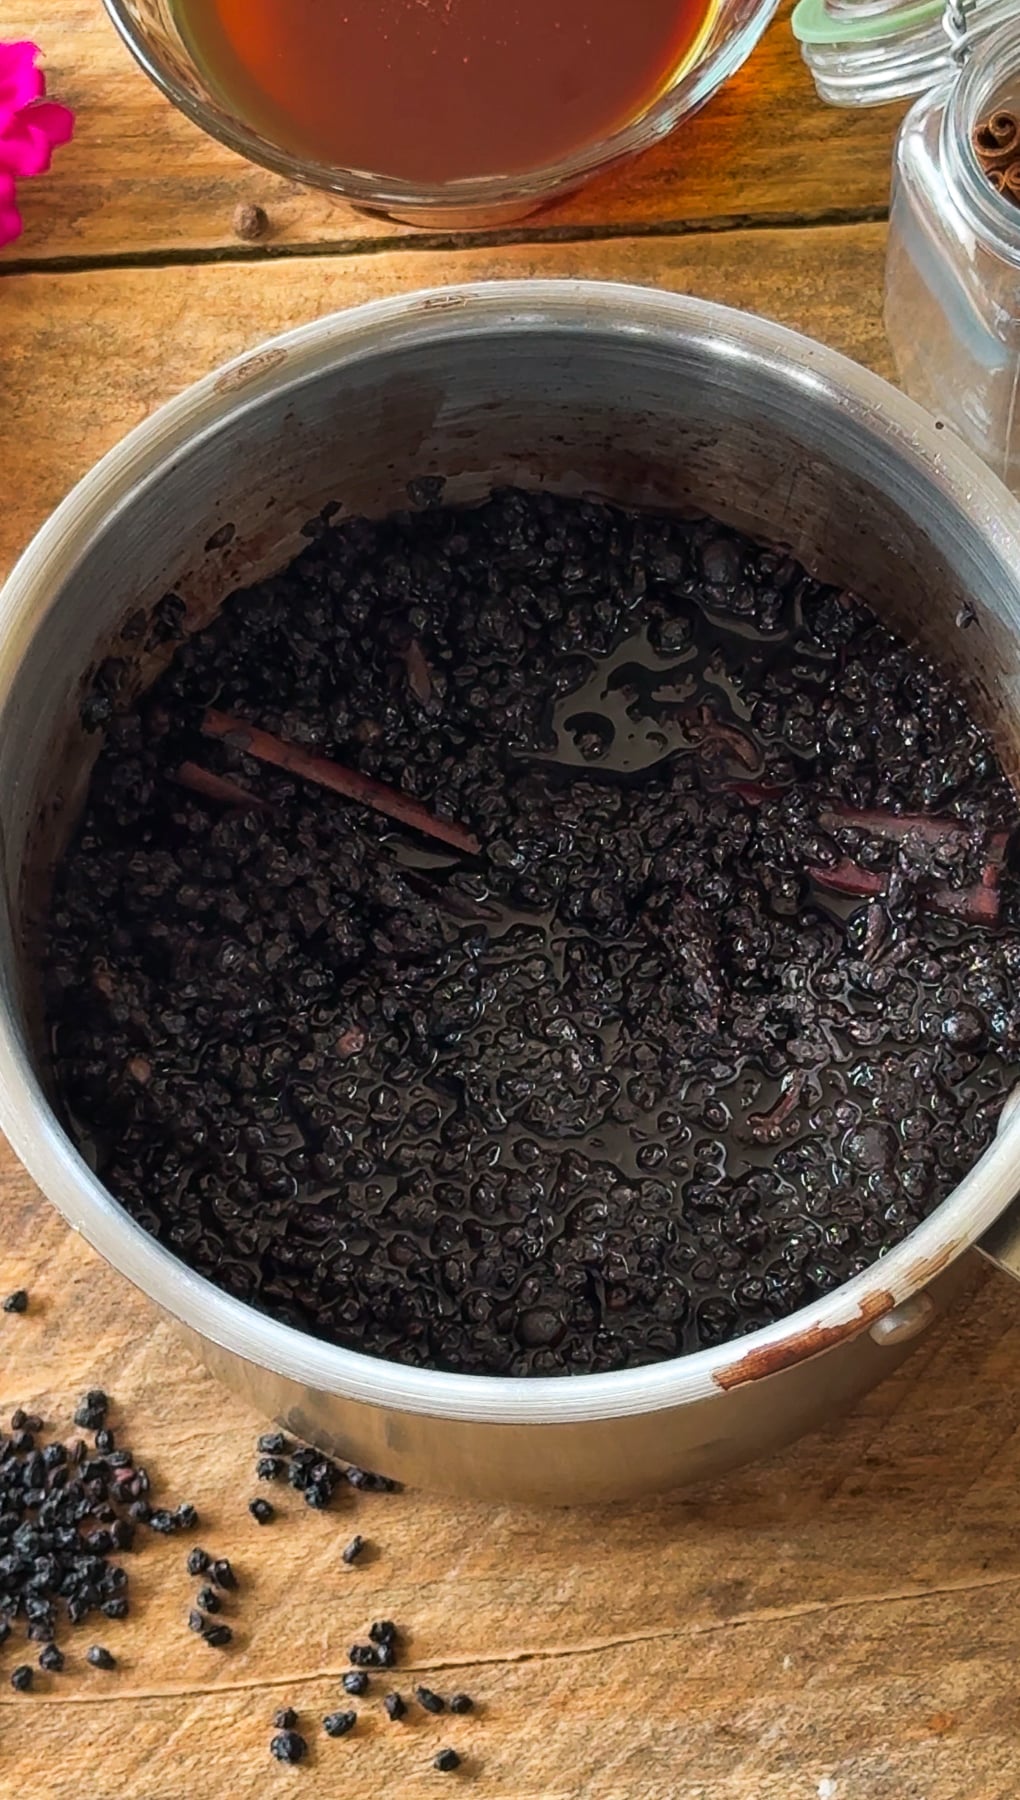
Step 2: Simmer & Reduce (40-45 Minutes)
Turn the heat down to low and cover the pot with a lid. Let it gently simmer for 40 to 45 minutes. You'll know it's ready when the liquid reduces by half, turning dark, rich, and fragrant.
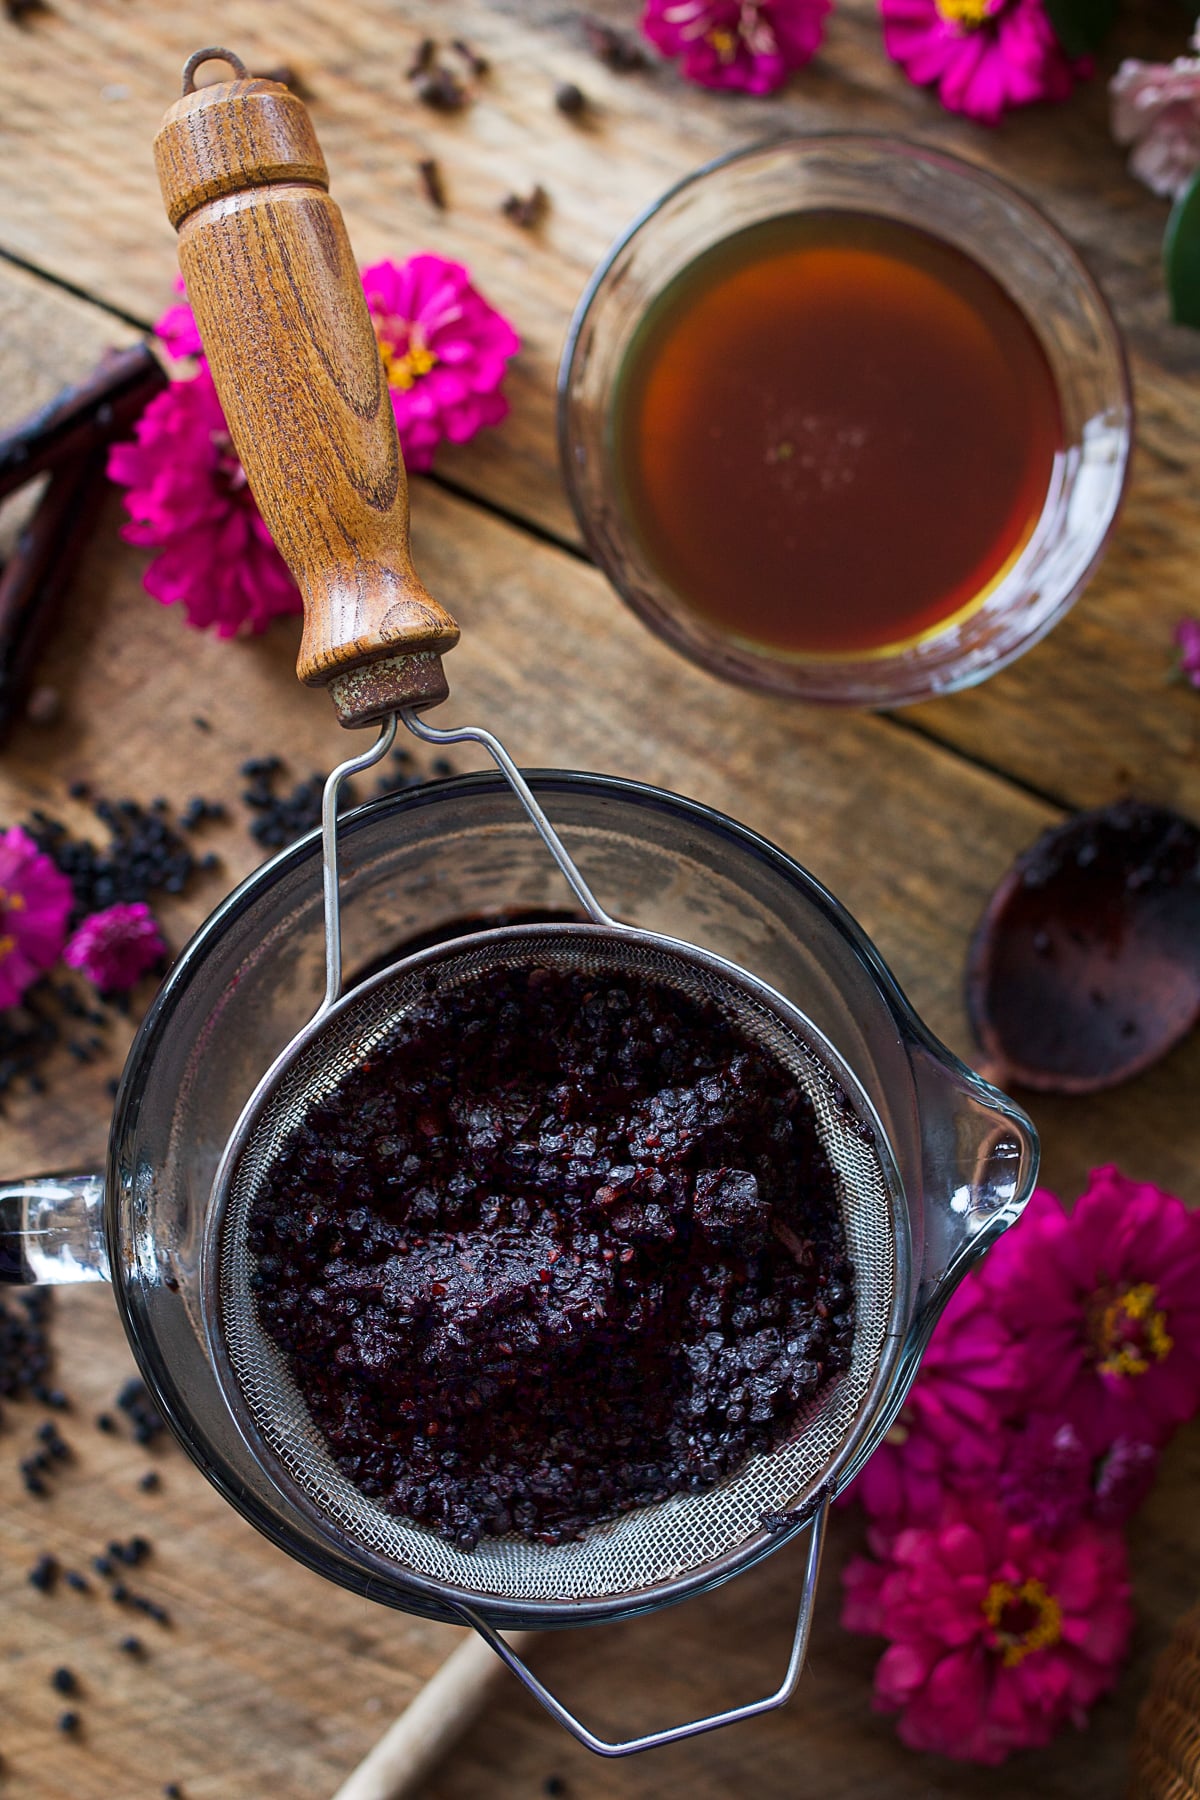
Step 3: Cool, Strain & Whisk in Honey
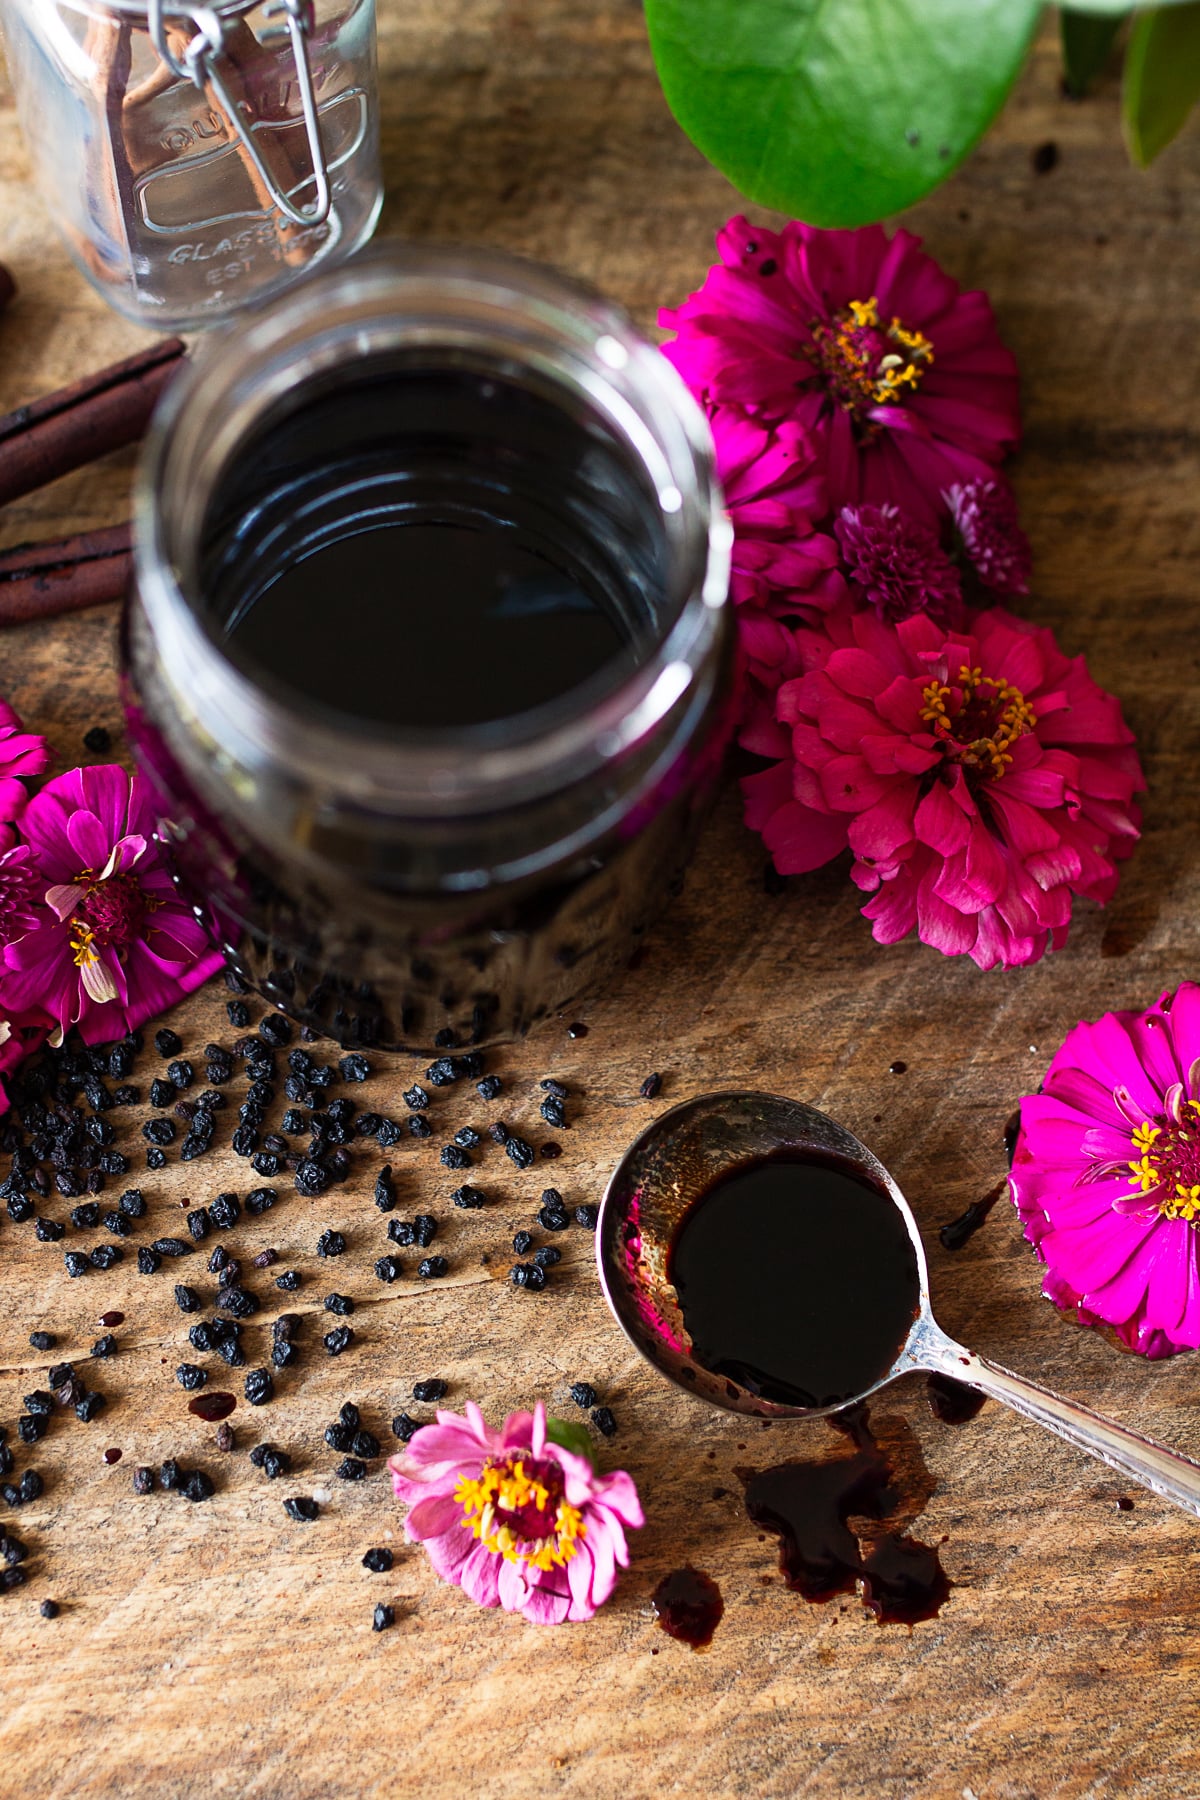
Remove the pot from the heat and let it cool until warm to the touch (under 110°F). Strain the liquid through a fine-mesh strainer or cheesecloth into a glass bowl, using the back of a wooden spoon to press out every last drop of juice. Whisk in the raw honey until completely dissolved into a smooth, glossy syrup.
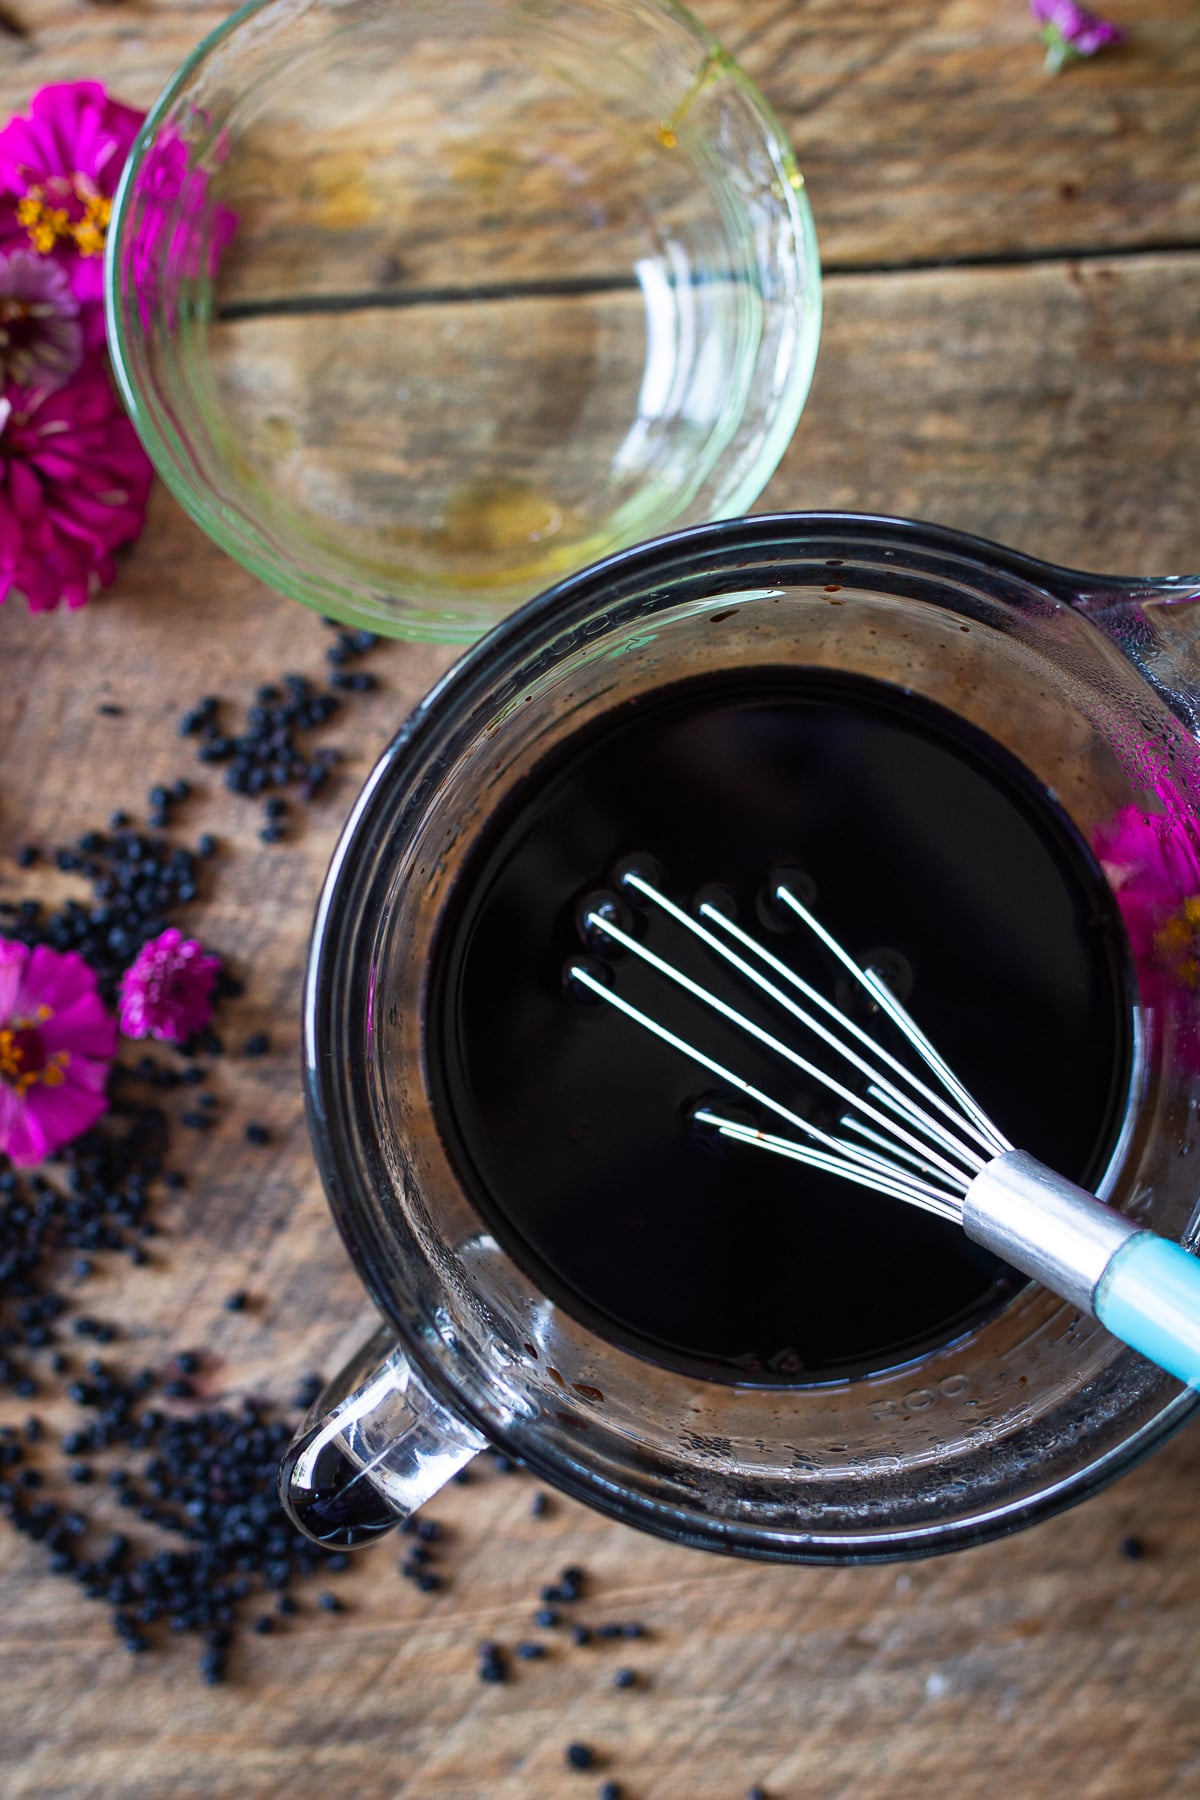
Step 4: Pour & Store
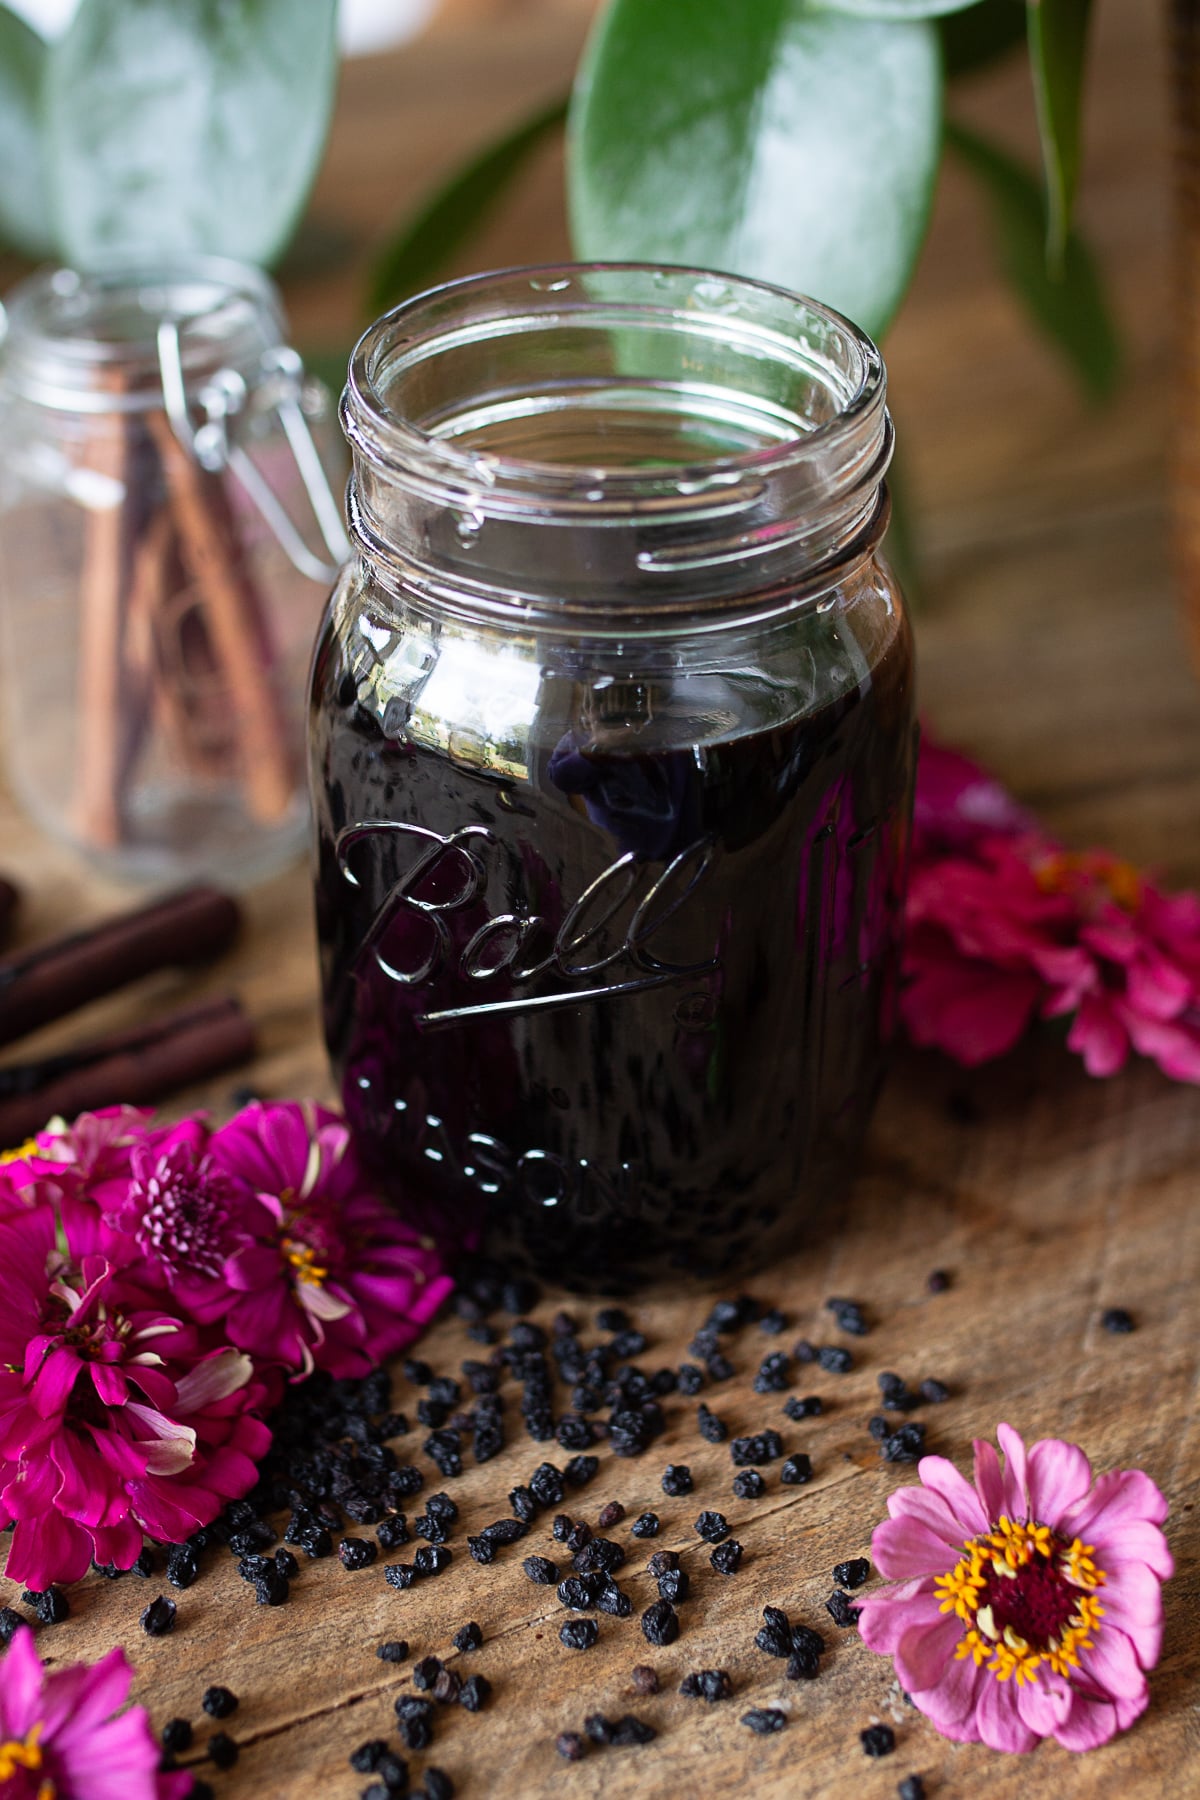
Pour your fresh elderberry syrup into a clean pint mason jar or glass bottle. Seal tightly and store in the refrigerator for up to 2 months. Give the jar a gentle shake before each use!
Pro Tips for the Best Stovetop Syrup
- Never Add Honey to Boiling Liquid: Always let the strained liquid cool down until warm to the touch before stirring in raw honey so you don't overheat it.
- Press the Berries Firmly: Don't rush the straining step! Use the back of a sturdy wooden spoon or ladle to press hard against the pulp-that is where all the concentrated flavor sits.
- Adjust Sweetness to Taste: You can adjust the honey slightly based on preference. Start with ¾ cup if you prefer a tart flavor, or use 1 full cup for a sweeter, thicker syrup.
Quick Ways to Enjoy It Every Day
- Warm Homestead Tea: Stir a spoonful into a hot mug of warm water or chamomile tea with a slice of fresh lemon.
- Pancake & Waffle Drizzle: Drizzle over a warm stack of sourdough pancakes, French toast, or freshly baked biscuits.
- Yogurt & Oatmeal Topper: Swirl a tablespoon into a bowl of plain Greek yogurt, homemade granola, or warm morning oatmeal.
- Sparkling Farmhouse Drink: Mix 1-2 tablespoons into sparkling water or club soda with ice for a refreshing herbal spritzer.
FAQ
Homemade elderberry syrup uses natural honey instead of corn syrup or gelatin, so it has a thin, pourable consistency rather than a thick jelly texture. It will thicken slightly once fully chilled in the refrigerator.
Yes! If using fresh, ripe elderberries, double the amount to 2 cups of fresh berries since they contain more natural water weight than dried berries.
Stored in a clean, airtight glass jar in the refrigerator, raw honey-sweetened elderberry syrup stays fresh for up to 2 months.
Final Thoughts From The Homestead
Having a jar of scratch-made elderberry syrup in the fridge is one of those simple pleasures that makes our autumn kitchen routine feel complete. It takes less than an hour from start to finish, uses basic pantry staples, and gives you a delicious, versatile syrup to enjoy all season long. Grab your heavy pot, measure out your berries, and enjoy the cozy spice aromas filling your home today!
Other Homestead Pantry Recipes:



Elderberry Syrup
Equipment
- 1 Pack Organic Elderberries
Ingredients
- 3 cups water
- 1 cup dried elderberries
- 1 stick cinnamon or ½ teaspoon cinnamon
- 3 whole cloves
- 3 whole allspice
- 1 teaspoon minced fresh ginger root or ½ teaspoon dried
- 1 cup honey raw and local if possible
Instructions
- Combine & Bring to a Boil: In a large, heavy-bottomed pot or Dutch oven, combine the dried elderberries, cold water, cinnamon sticks, whole cloves, and sliced ginger. Bring the mixture to a rolling boil over medium-high heat until big bubbles cover the surface and warm spices fill your kitchen.
- Simmer & Reduce (40-45 Minutes): Turn the heat down to low and cover the pot with a lid. Let it gently simmer for 40 to 45 minutes. You'll know it's ready when the liquid reduces by half, turning dark, rich, and fragrant.
- Visual Cue: Liquid drops down by half and thickens slightly
- Cool & Strain: Remove the pot from the heat and let it rest until warm to the touch. Place a fine-mesh strainer or cheesecloth over a large glass bowl and pour the syrup through. Use the back of a wooden spoon to firmly press the elderberries against the mesh, squeezing out every last drop of rich juice before discarding the spent berries and spices.
- Whisk in the Raw Honey: Once the strained liquid has cooled down to warm (not hot!), pour in the raw honey. Whisk thoroughly until the honey completely dissolves into a smooth, glossy syrup.
- Important: Never add raw honey to boiling liquid or it destroys the natural goodness
- Pour & Store: Pour your fresh elderberry syrup into a clean pint mason jar or airtight glass bottle. Seal tightly and store in the refrigerator for up to 2 months. Give the jar a gentle shake before each use!
- Ages 4+: 1 teaspoon daily
- Adults (ages 12+): take 1 teaspoon, up to 2 times daily