DIY Flower Crown
I had to have a flower crown for our Christmas photos. And not just one, but two, for my daughter and I.
Honestly I didn't even think of purchasing them already made, I wanted to be in charge of the colors and placement of the flowers on the crowns. The entire process was very easy with the right supplies. It took just over an hour one evening and I had two beautiful crowns for our pictures the next morning.

Flower Crown DIY

What you'll need:
- Paper wrapped stem wire (I used brown)
- Floral Tape
- Glue Gun
- Glue Sticks
- Wire cutters
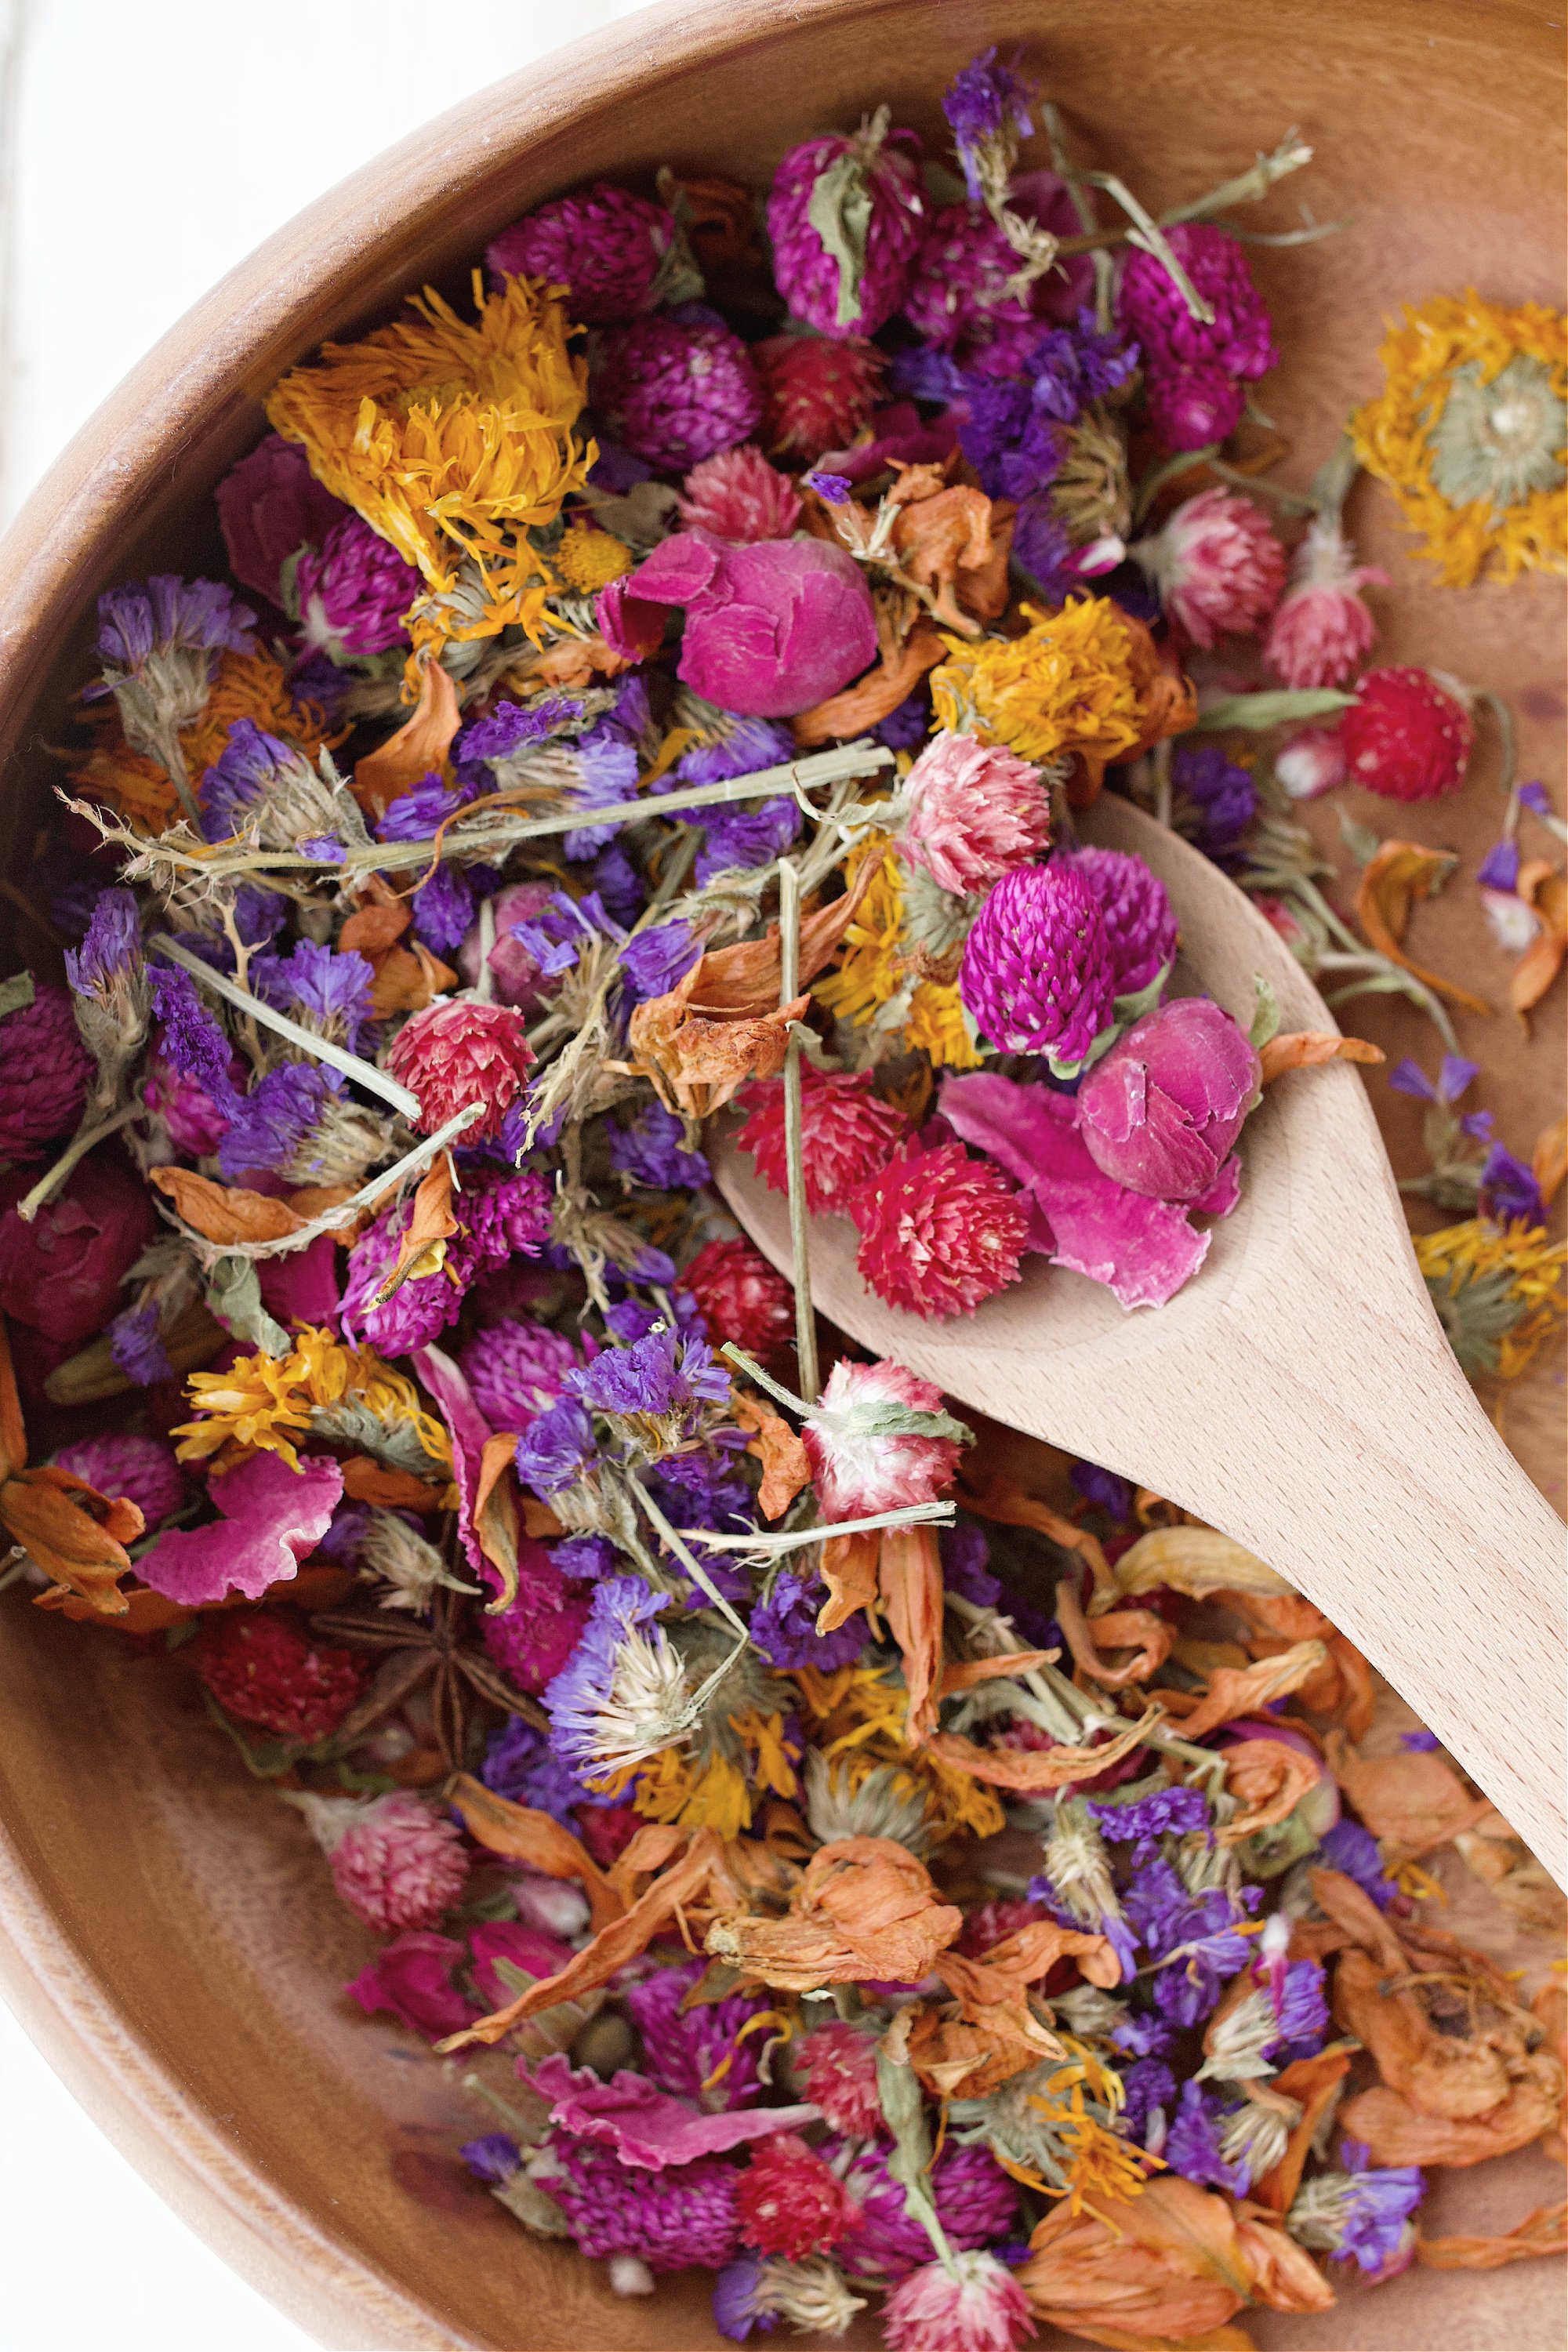
- A variety of flowers in different textures and sizes
Don't be afraid to go BIG on your flowers! I wanted something bold, so I started with a huge burgandy peonies, and then placed the second largest flower beside it, a gold rose, and then filled in the sides with smaller white roses and greenery.
Flower Crown Steps

Step 1. Shape the paper wrapped stem to your head. I twisted several stems together to give it more of a stick look. It took three to do my crown and also three for my daughter's, though there was excess on hers I trimmed off. Make sure you leave the crown a little on the lose side as the flowers will make it tighter. I found that an oval shape held to our heads better, as the crowns are a little top heavy.
(I attempted to use the floral wire but found it wasn't really necessary, I ended up using the glue gun instead.)

Step 2. Take your floral and snip them into smaller sections. All you need are small stems to help connect the flowers to the crown. You also don't want huge bunches of flowers (unless that's what you're going for) so separate flowers into smaller sections.

Step 3. Attach your flowers to the crown using floral tape. Start with your biggest flower and work out from there. Although the floral tape does stick to itself when stretched I had a hard time getting the ends to stick so I secured each one with a dap of glue from the hot glue gun. Use the glue gun with caution as it is HOT. I also went through with the glue gun at the very end and added it to several spots to give it extra strength and to make sure the flowers didn't move.

Step 4. Use your imagination! I quickly learned there's no wrong or right way to make a crown. Greenery is the key to cover and fill in any gaps. Use different textures and play to the season you're making your crown in. We took photos at a Christmas tree farm so I wanted some tree like pieces in our crowns.

Rock that flower crown
Own that crown and rock it for whatever event or photoshoot you made it for!

Reasons to wear a flower crown
I told everyone that asked, and even those that didn't, that I'm officially addicted to flower crowns and need to find more excuses to wear them. So, here is a list of times it's totally acceptable to wear flowers on your head.
- Thanksgiving and Christmas. Seriously, what a perfect time to be festive and wear a fun flower crown. Probably keep it on the smaller side as you'll be bumping into people and be around family all day and you don't want your crown to be easily dislodged.
- Birthday parties. This is a fun one. Make one for each of your guests and take a big group photo! Another option would be to have a DIY floral crown table set up and let guests make their own!
- Events. Going to an event? Any excuse to dress up also means you have an excuse to wear a crown.
- Host a crown making party. Make and wear them just because it brings you joy! You don't need a reason to get your flower power on, all you need is a little confidence!
There you go! An easy and oh so fun way to take any outfit, photoshoot, event, you get the idea, to the next level!

You may also like:
Hosting Friendsgiving + banner tutorial and FREE party planner printables
A two-tti fruity birthday party


OMG I love this flower crown. I have been seeing them a lot lately and wondered how to make one. Thank you so much for this step by step details! I have to give this a try.
XOXO
Elizabeth Keene
http://www.akeenesenseofstyle.com
Yeah! Glad it helped! So easy to do, good luck girl!
Wow this is very very pretty ! Your photos came out gorgeous too 🙂
Kasey Ma
thestylewright.com
These are adorable! And so simple. I’m definitely going to have a crown party
I want to throw one too! It would be so fun!
Oh wow! The finished photo looks amazing! Great prop or piece for this season!
Thank you! It is perfect for the season!
So cute! That is a fantastic crown, so much better to make your own. Thanks for sharing such easy step by step instructions.
I agree! Making your own makes it so much more special and perfect!
That is so beautiful. It would be perfect for the holidays.
Exactly my thoughts!
What an awesome DIY. Going to try my hands at making one too now! <3
This is so cute! I love the big red flowers you used. I will have to make one for my birthday 🙂 (also, that photo of you is SO cute!!)
Thanks girl! Go big or go home right? 😉