Strawberry Jam: Easy water bath canning tutorial
Strawberry season is one of the first real signs that summer has arrived on our farm. When berries are heavy on the counter and staining my fingers red, I know it's time to pull out the water bath canner and start preserving.
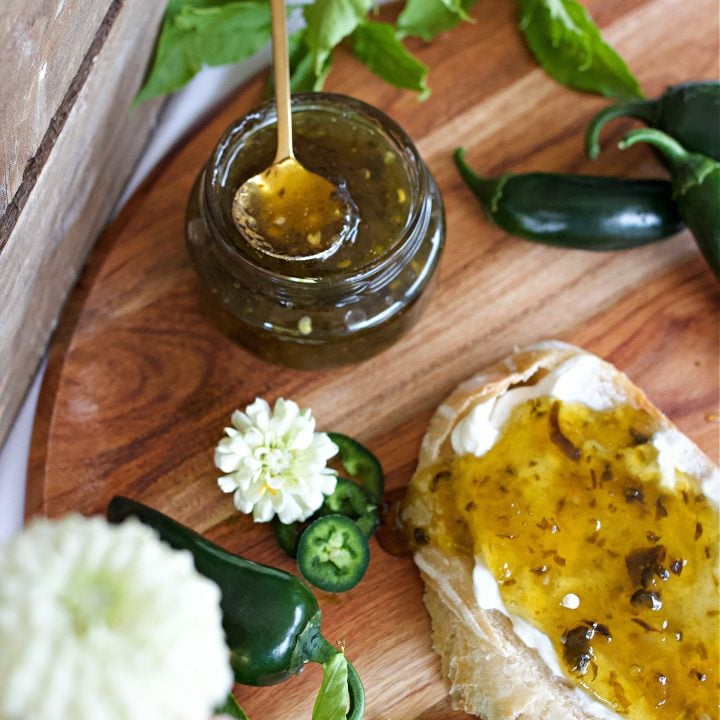
This strawberry jam water bath canning recipe is the same one I've used for years: bright, sweet, and set just right, with pantry storage that lets us enjoy it long after the berries are gone. After you make it, you may also love my Hot Pepper Jelly and Homemade Salsa for Canning, both are perfect for building a beautiful pantry.

Quick Look: Strawberry Jam Water Bath Canning Recipe
- ⏱️ Total Time: About 1 hour + 12-24 hour rest
- Yield: 4 pint jars or 8 half-pints
- Canning Method: Water bath canning
- Processing Time: 10 minutes (adjust for altitude)
- Texture: Smooth or slightly chunky - your choice
- Skill Level: Beginner-friendly
- Best For: Toast, biscuits, ice cream, gifting
- Pro Tip: Keep jars hot before filling to prevent breakage
SUMMARIZE & SAVE THIS CONTENT ON
Jump to:
- Quick Look: Strawberry Jam Water Bath Canning Recipe
- Why You'll Love This Strawberry Jam Recipe for Canning
- Key Ingredients
- Substitutions and Variations
- Expert Tips for Water Bath Strawberry Jam
- How To Make This Small Batch Strawberry Jam (Step-by-Step)
- How Long to Water Bath Jam?
- Strawberry Jam FAQ
- Storage
- Other Canning & Recipes To Try:
- Strawberry Jam Waterbath Canned

Equipment You'll Need:
You don't need a complicated setup to start water bath canning strawberry jam, but a few proper tools make it smooth and safe.
Why You'll Love This Strawberry Jam Recipe for Canning
- A true beginner water bath canning recipe
- Uses classic pectin for reliable set
- Bright, fresh strawberry flavor
- Shelf-stable for up to a year
- Makes beautiful gift jars
- Flexible texture - chunky or smooth
This is one of those foundational recipes every home canner should know.

What Makes This Recipe Special?
This is a tested water bath canning strawberry jam recipe built for safe preservation.
A few key things matter here:
- Proper lemon juice for acidity
- Correct headspace (¼ inch)
- Full rolling boil before timing
- Proper processing time
- Hot jars + hot jam + hot water
This isn't freezer jam. This is a true strawberry jam recipe for canning that's designed for shelf storage.
And once you understand the rhythm of it, it becomes second nature.

Key Ingredients
(Do not skip lemon juice. Do not reduce sugar unless using low-sugar pectin.)
Strawberries - Use fully ripe berries. Under-ripe berries won't give good flavor or natural pectin.
Lemon Juice - Required for safe acidity in water bath canning strawberry jam. Use bottled lemon juice for consistent acidity.
Classic Pectin - Ensures a reliable set. Strawberry jam without pectin can work, but it requires longer cooking and different ratios.
Granulated Sugar - Necessary for proper gel formation and preservation.
Butter (optional) - Reduces foam while boiling.

Substitutions and Variations
- Use low-sugar pectin if reducing sugar.
- Blend fully for smooth jam.
- Leave slightly chunky for rustic texture.
- Add a small amount of vanilla for depth.
But do not alter lemon juice ratios.

Expert Tips for Water Bath Strawberry Jam
- Always start timing once water returns to a full rolling boil.
- Keep at least 1 inch of water over jar tops when processing.
- Adjust processing time for altitude (see FAQ below).
- Remove air bubbles before sealing.
- Wipe rims thoroughly before adding lids.
- Remove bands after jars seal to prevent rust and false seals 12 hours after processing.
- Never reuse canning lids.
And most important: never rush the boil stage. A full rolling boil is what activates the pectin.

How To Make This Small Batch Strawberry Jam (Step-by-Step)
Step 1: Prepare the Water Bath Canner
Fill canner with enough water to cover jars by 1 inch. Begin heating. Place clean jars in the hot water to keep them warm.
Step 2: Prepare the Strawberries
Wash, hull, and crush berries to measure 5 cups crushed strawberries. I like to use an immersion blender or potato masher to get the consistency I want.
Step 3: Cook the Jam
In a heavy-bottomed saucepan:
- Add strawberries, lemon juice, and butter.
- Gradually stir in pectin.
- Bring to a full rolling boil over medium-high heat.
- Add sugar all at once.
- Return to a hard rolling boil and boil for 1-2 minutes, stirring constantly.
Remove from heat and skim foam if needed.
Step 4: Fill Jars
- Ladle hot jam into hot jars.
- Leave ¼ inch headspace in the sterilized jar.
- Remove air bubbles.
- Wipe rims clean.
- Apply lids and bands fingertip tight.
Step 5: Process in Water Bath
- Place jars in canner.
- Ensure water covers jars by at least 1 inch.
- Once boiling resumes, process for 10 minutes.
- Adjust for altitude if needed.
Turn off heat and let jars sit 5 minutes before removing.
Cool undisturbed for 12-24 hours.
Check seals. If A jar does not seal, place in fridge and use within a month.
How Long to Water Bath Jam?
For most elevations under 1,000 feet:
10 minutes for half-pints or pints.
Altitude adjustments:
1,000-3,000 ft: 15 minutes
3,001-6,000 ft: 20 minutes
6,001-8,000 ft: 25 minutes
8,001-10,000 ft: 30 minutes
Always check your local extension office if unsure.
Strawberry Jam FAQ
Yes, but it requires longer boiling and higher sugar concentration. This recipe uses classic pectin for reliable results.
Strawberries are low-acid. Lemon juice ensures safe acidity levels for water bath canning strawberry jam.
It will thicken as it cools. For testing, use the cold plate method: place a small spoonful on a cold plate. If it wrinkles when pushed, it's ready.
No. Lids are single-use for safety.
Up to 12 months stored in a cool, dark pantry.
Storage
- Store sealed jars without bands.
- Keep in a cool, dark cupboard.
- Refrigerate after opening.
- If a jar does not seal, refrigerate and use within 2 weeks.

Strawberry Jam Waterbath Canned
Ingredients
- 5 cups crushed strawberries
- ¼ cup lemon juice
- 6 tablespoon classic pectin
- 4 cups granulated sugar
- 1 tablespoon butter
Instructions
- Fill your water bath canner with enough water to cover the jars by at least one inch and begin heating it over medium-high heat. Place clean jars in the simmering water to keep them hot until ready to fill.
- Clean and slice all strawberries, then place them in a large, heavy-bottomed saucepan or pot. Add lemon juice and butter to reduce foaming, then gradually stir in the fruit pectin. Bring the mixture to a boil over medium-high heat, stirring frequently and mashing the strawberries to your desired consistency.
- Once boiling, add the sugar all at once and stir until completely dissolved. Return the mixture to a hard, rolling boil and cook for 1 to 2 minutes, stirring constantly to prevent sticking. Remove from heat and skim off any foam if necessary.
- Ladle or spoon the hot jam into hot sterile jars, leaving ¼ inch headspace at the top. Wipe the rims clean with a damp cloth to ensure a good seal. Center the lids on the jars and screw on the bands until fingertip-tight.
- Carefully place the filled jars into the boiling water canner. Ensure the water covers the jars by at least one inch. Once the water returns to a full boil, start your processing time, process for 10 minutes (adjusting for altitude if needed).
- When finished, turn off the heat and let the jars rest in the canner for 5 minutes before removing. Place the jars on a towel-lined counter and come to room temperature. Let them cool undisturbed for 12 to 24 hours. Check the seals once cool-the center of each lid should be concave and not flex when pressed. Label, date, and store your jam in a cool, dark place.
- This recipe yields about 4 pint jars or 8 half-pint jars of delicious homemade strawberry jam.


This strawberry jam turned out absolutely perfect! The flavor is bright and fresh, and the texture set beautifully. I love how simple the process is once you get the hang of it, it’s truly one of the best beginner canning projects. The jam is delicious spread over toast, drizzled on ice cream, or swirled into yogurt. Evelyn says it tastes just like summer in a jar, and I have to agree.
In the very last of your instructions you say to "Remove bands at this point so they don’t rust into place or give the false impression of a seal" can you explain what this step means? I am trying to can for the first time in years without my Mom by my side and I am lost. Thank you for sharing!
The bands are what you twist in place to hold the lids on the jar. Once the waterbath is complete and you let the cans cool and the lids "pop" or seal, you can then remove the bands holding them into place. 🙂