Easy Homemade Christmas Dried Orange Garland Tutorial
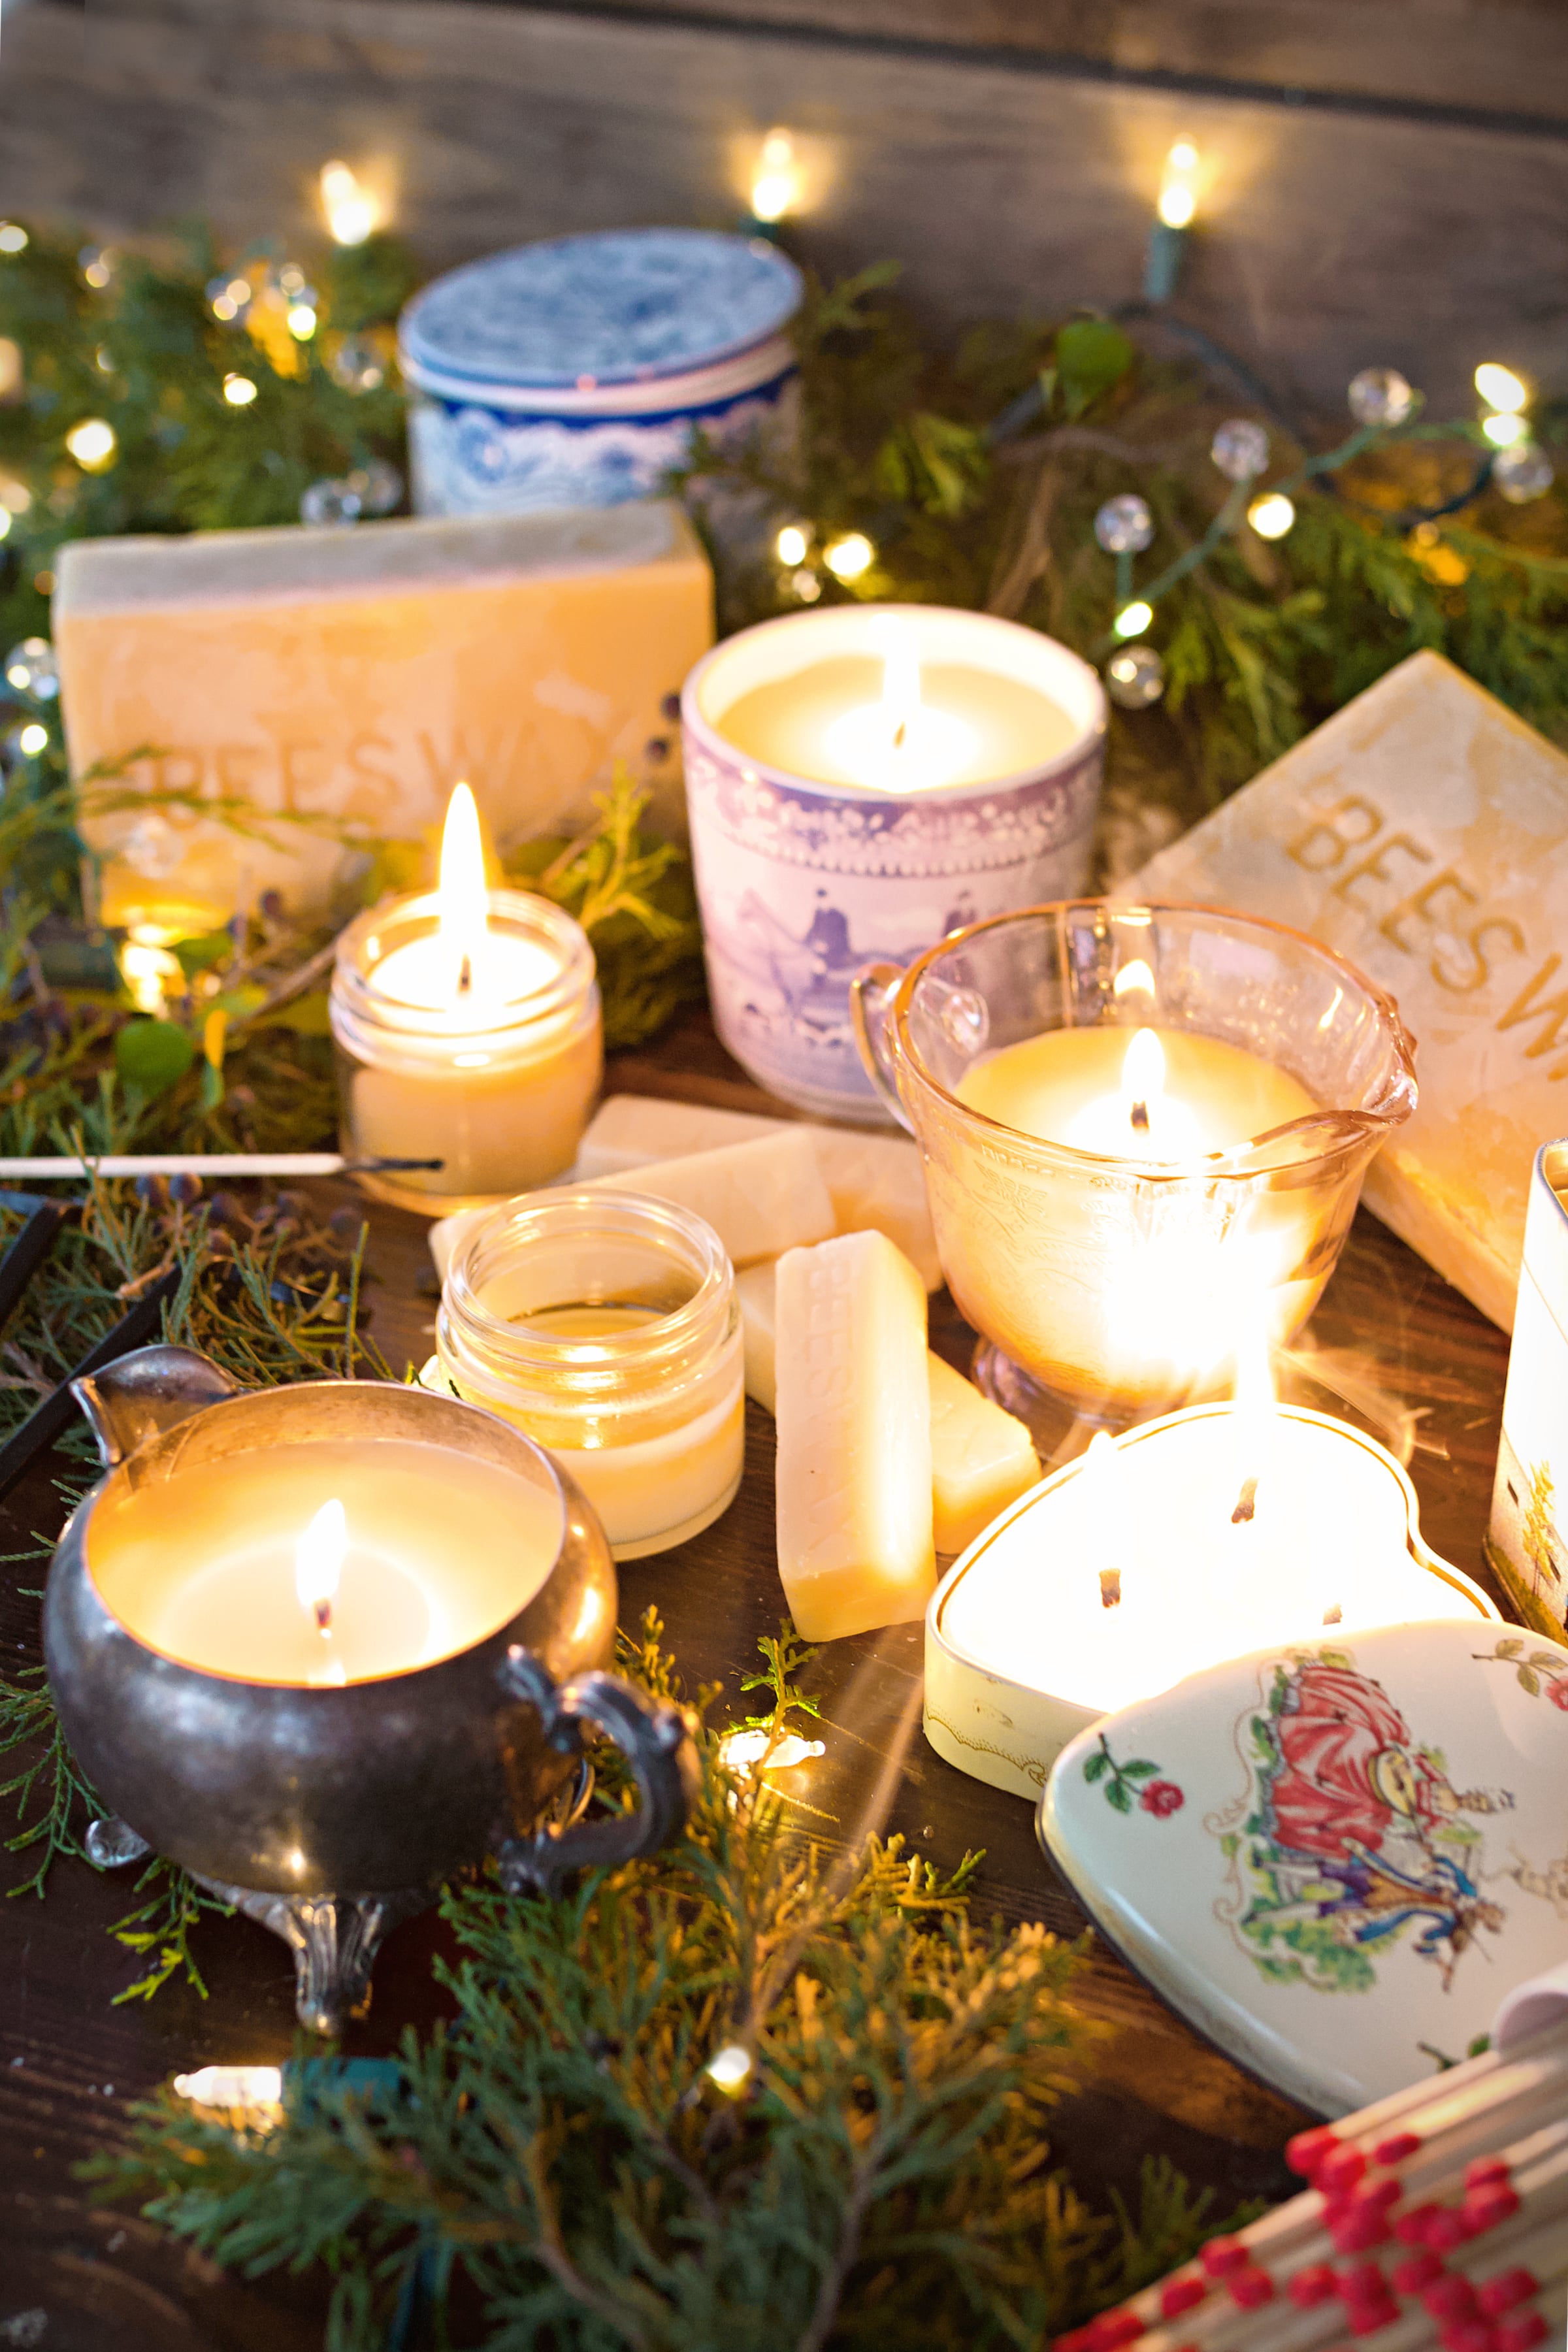
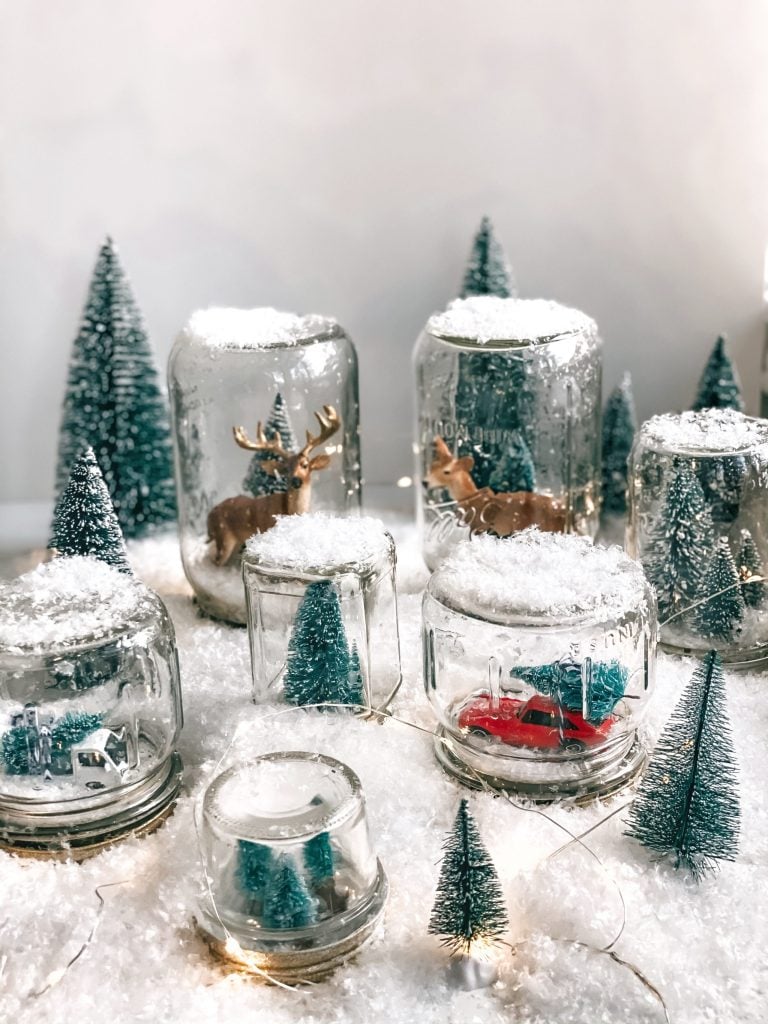
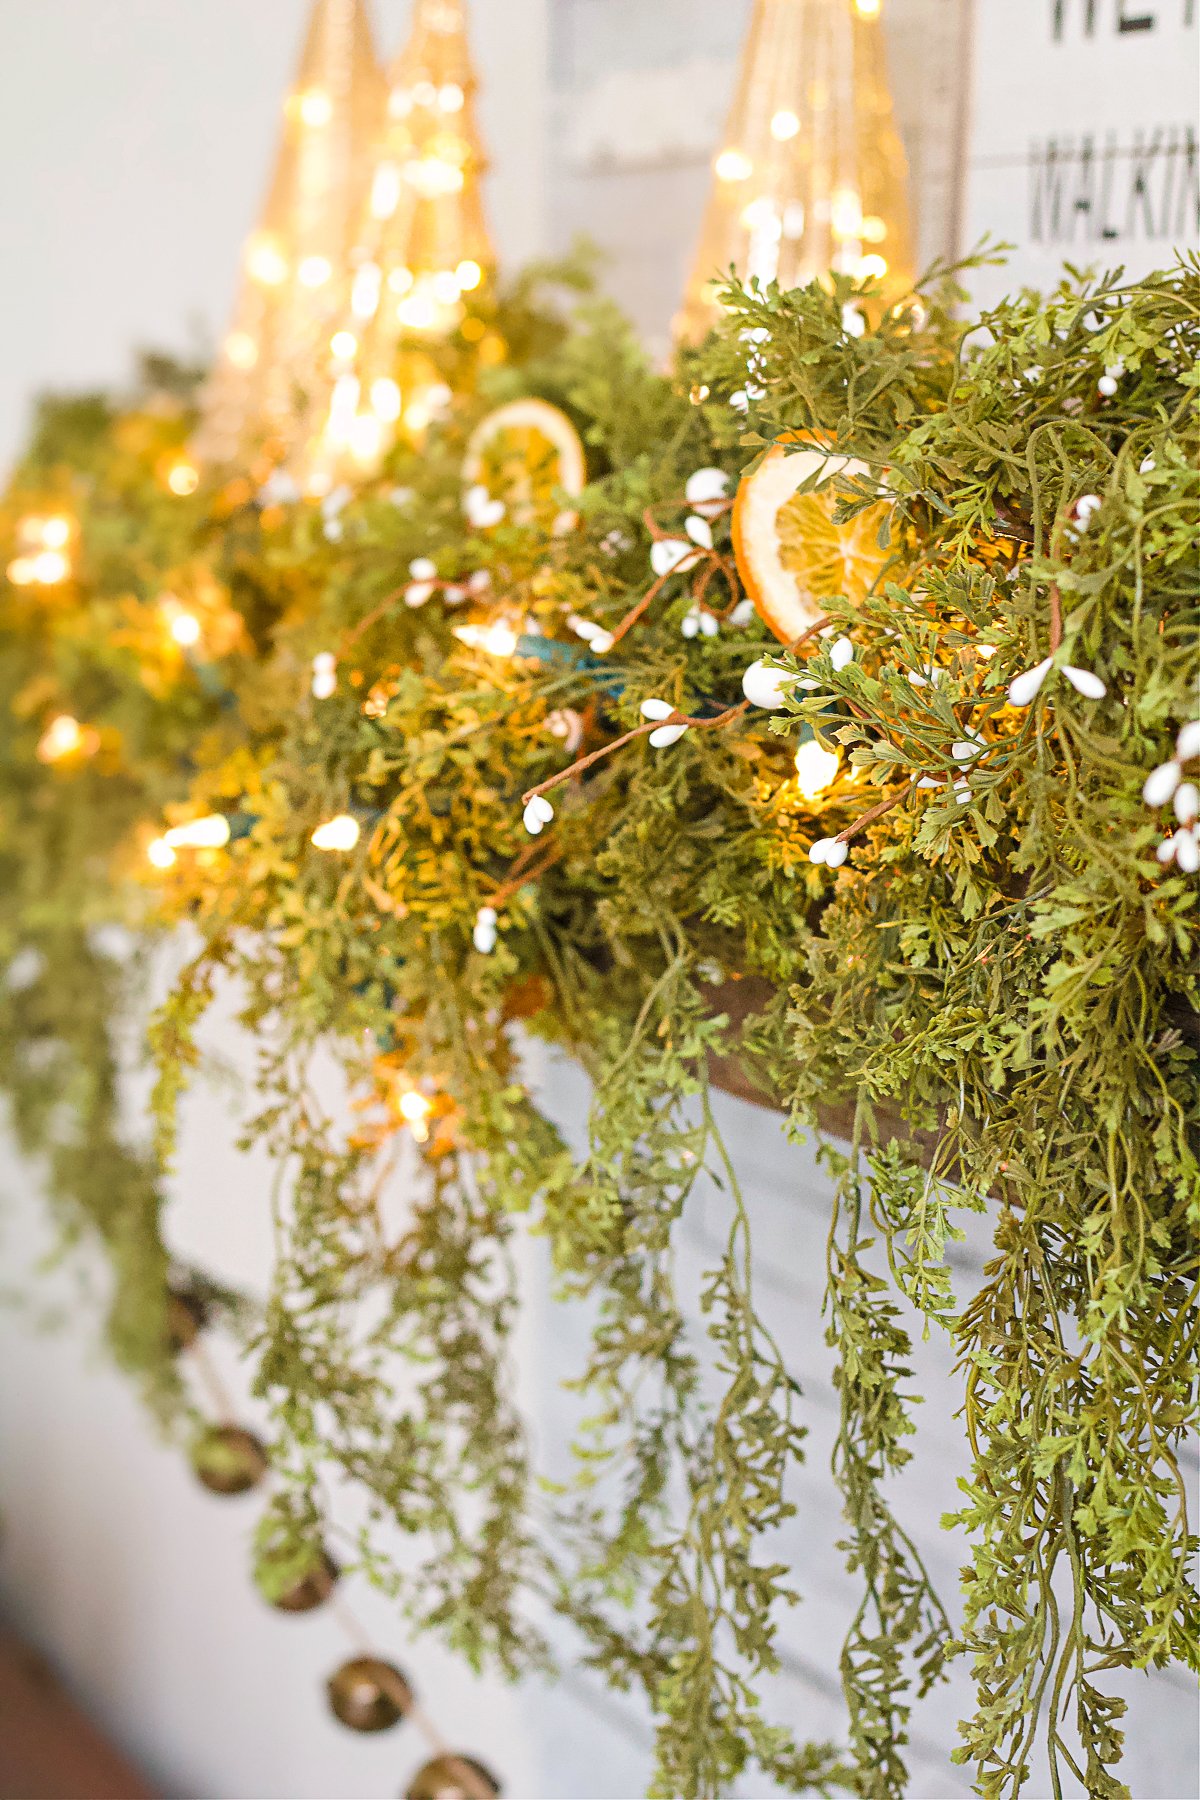
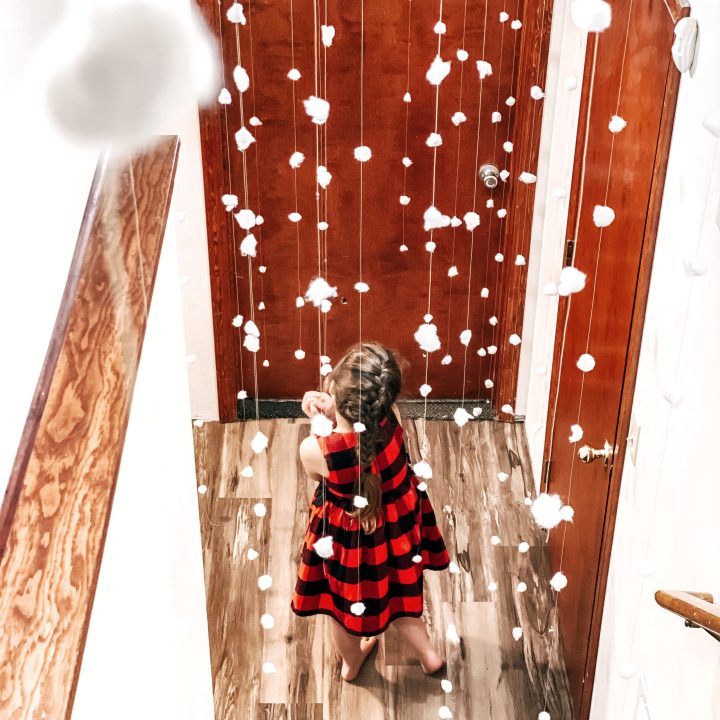
The soft glow of Christmas lights paired with the rustic charm of dried oranges has a way of pulling you right into the heart of the season. I remember the first time I saw a dried orange garland, it was instant love. It felt like the perfect blend of handmade and meaningful, reminding me of the little details that make this season feel special. Similar to the hand-dipped beeswax candles we make or the homemade snow garland we drape across the house.
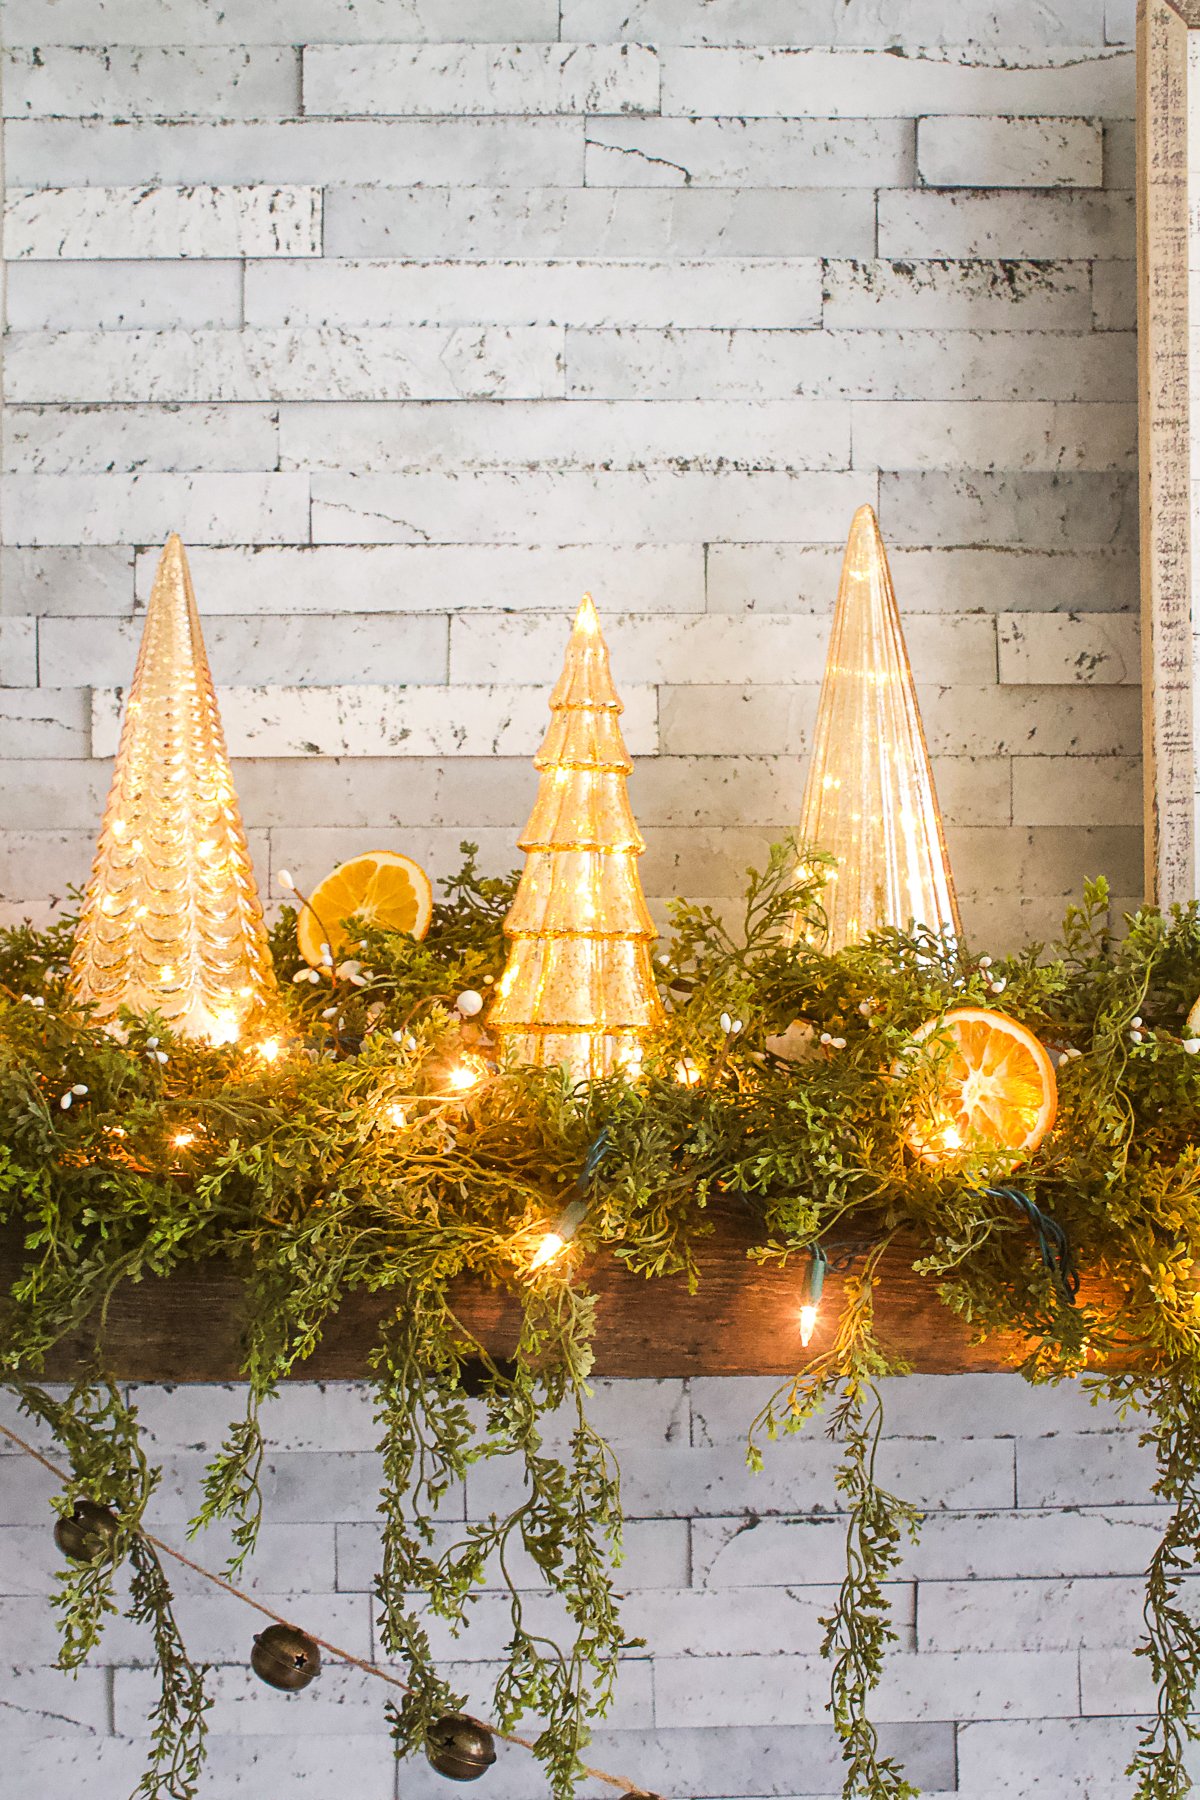
Turns out, I was a bit late to the party. These citrus garlands have been used since the Middle Ages and are still one of the most beautiful (and budget-friendly) ways to bring nature indoors. Their cheerful color and simplicity make them right at home alongside this gingerbread house tablescape or a cedar laden mantle set for a cozy holiday gathering.

Quick Look: Dried Orange Garland
? Time: 15 minutes hands-on + 2-3 hours dry time (or 9+ hours in dehydrator)
? Cost: $5-10 depending on how many you make
?️ Dry Temp: 200°F in oven or 135°F in dehydrator
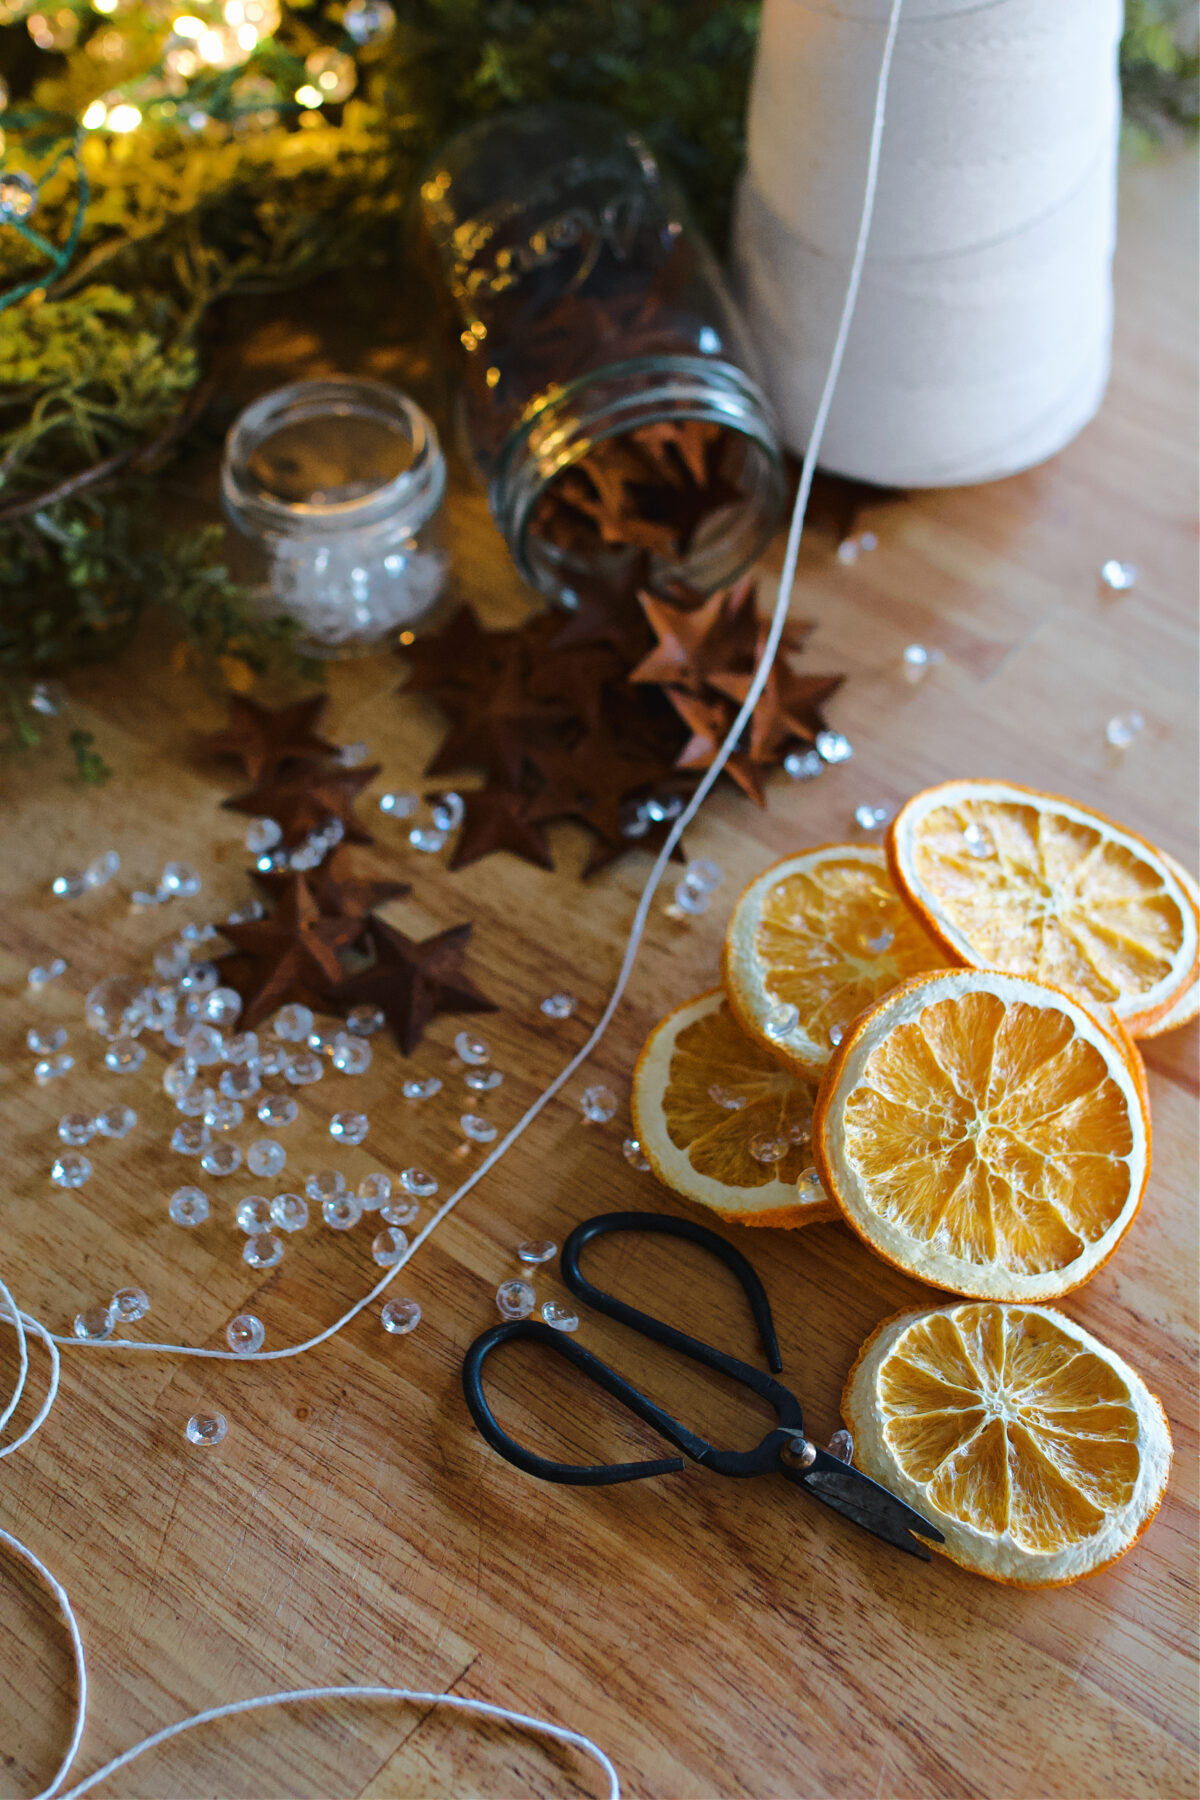
? Supplies: Oranges, serrated knife, parchment, string, large needle
✨ Style: Natural, cozy, and timeless
?? Skill Level: Easy-even with little ones helping
? Best For: Christmas trees, mantels, windows, or holiday gifting
?️ Pro Tip: Make two small holes near the top rind, not the center, to keep slices from flipping on the string.
SUMMARIZE & SAVE THIS CONTENT ON
Jump to:
- Quick Look: Dried Orange Garland
- The Meaning Behind a Dried Orange Garland
- Ingredient Notes + Supplies
- Step-by-Step: How to Make It
- Tips for Stringing the Perfect Garland
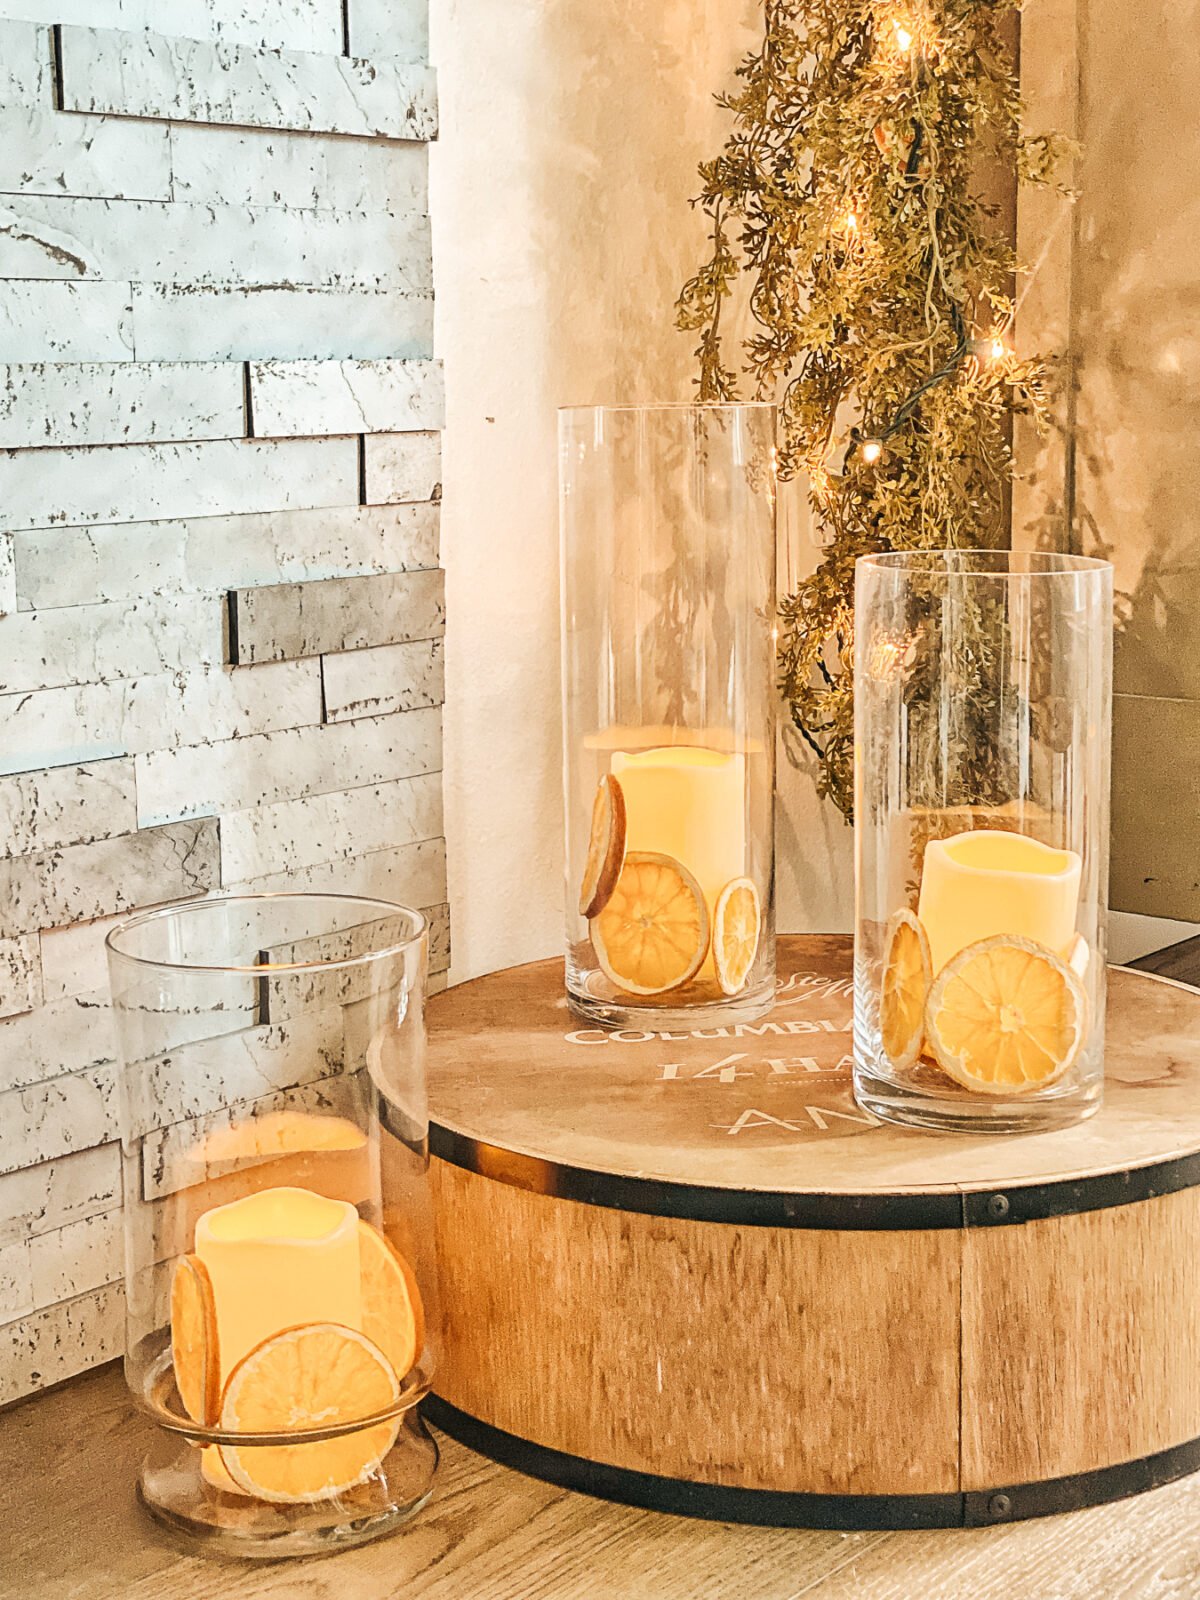
- Orange Slice Ornaments
- More Creative Ways to Use Dried Oranges
- A Few Extra Tips
- FAQ About Garland
- Storage + Reuse Tips
- You May Also Enjoy:
- How to Make a Dried Orange Garland
The Meaning Behind a Dried Orange Garland
Dried oranges aren't just charming, they carry centuries of symbolism. Traditionally, orange slices represent the sun and are often displayed around the winter solstice as a quiet celebration of the light slowly returning after the darkest days of the year.
They're also thought to symbolize love, abundance, and joy, fitting sentiments for the season. When paired with cinnamon sticks, pine cones, or other natural elements, the garland becomes more than decor. It's a handmade nod to warmth, intention, and the slow magic of winter.
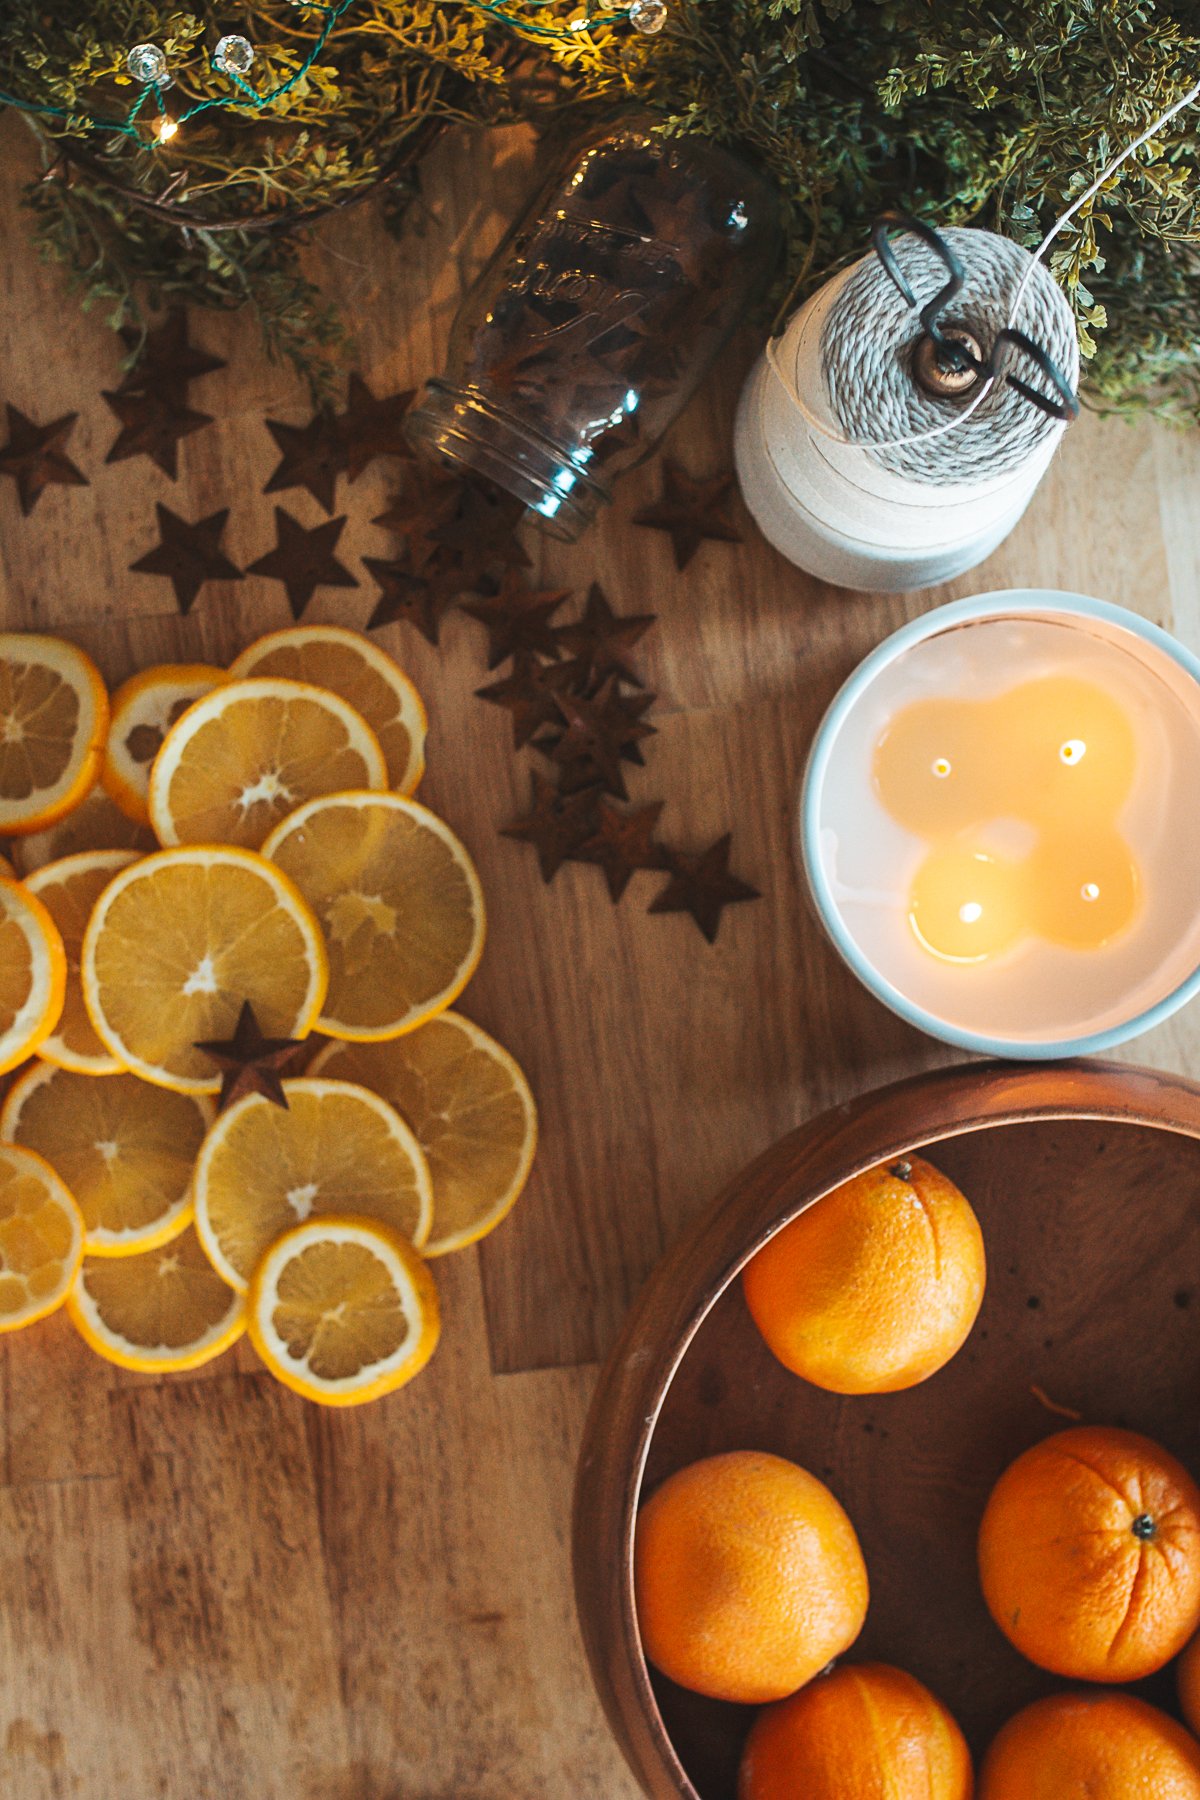
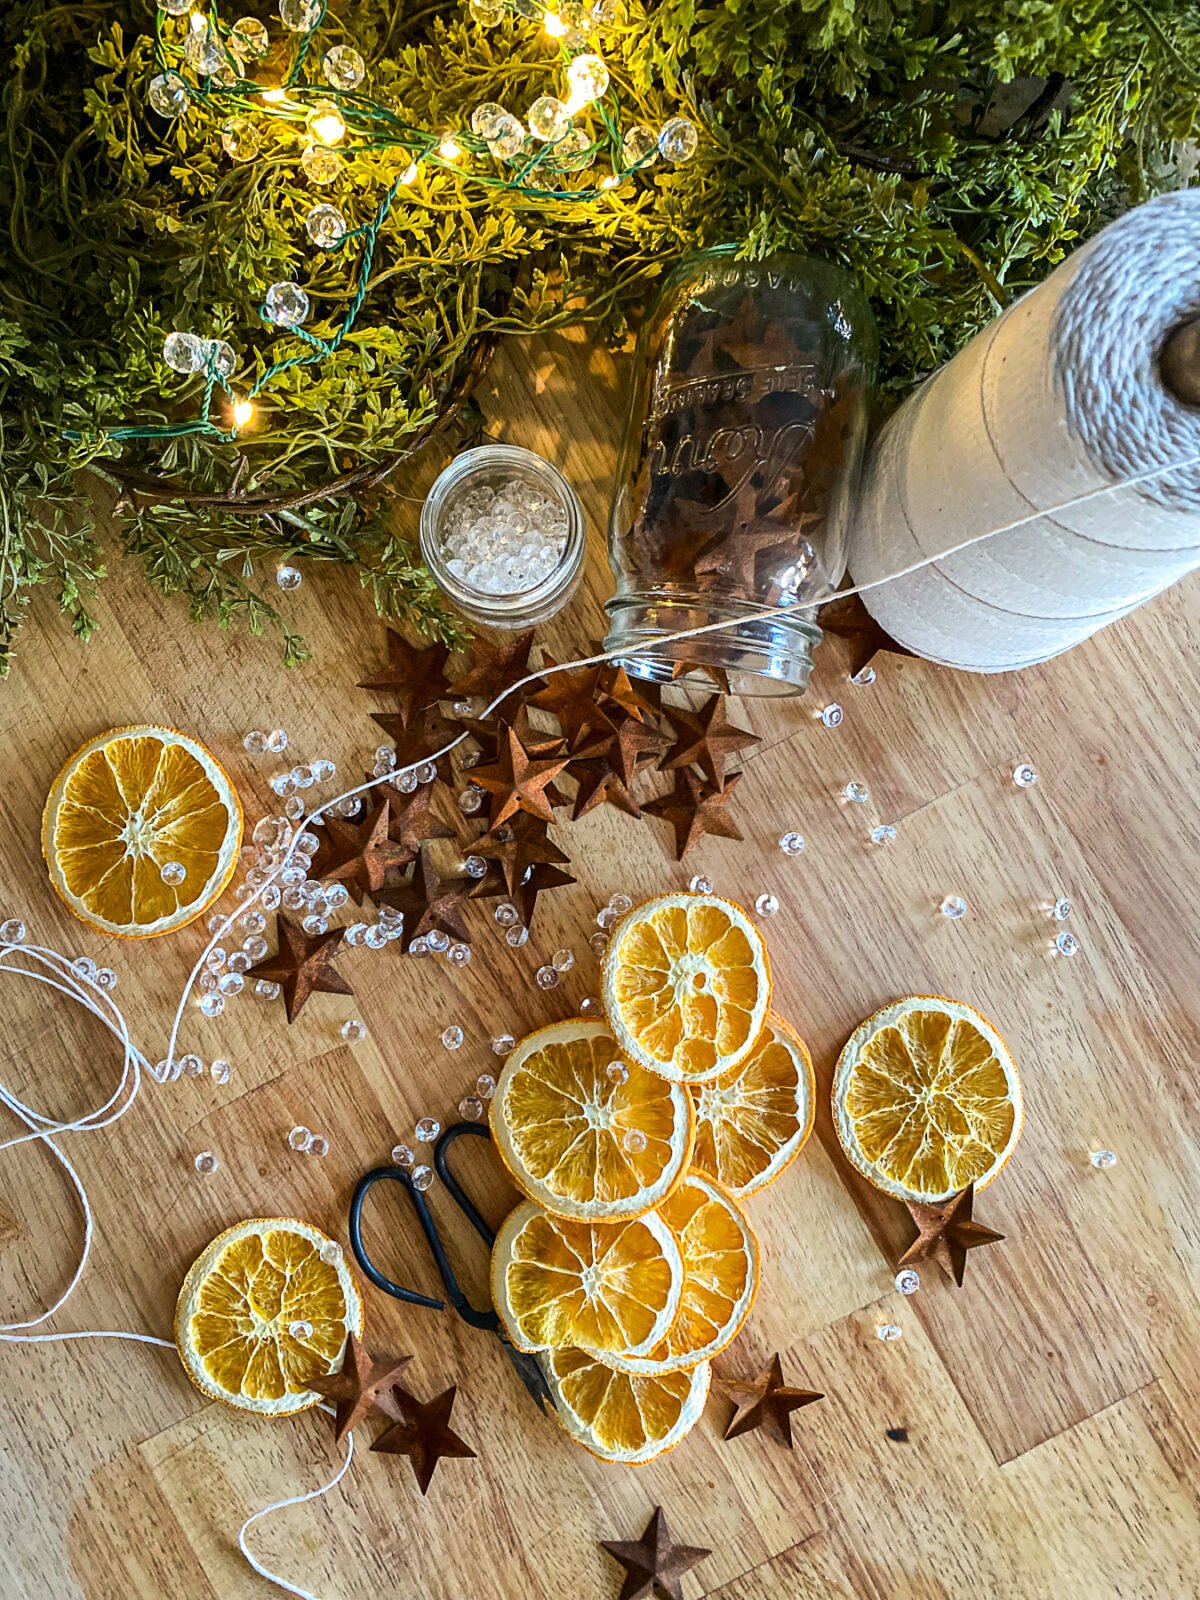
Ingredient Notes + Supplies
To make a dried orange garland, here's what you'll need:
- Fresh oranges (navel, Cara Cara, or blood oranges all work)
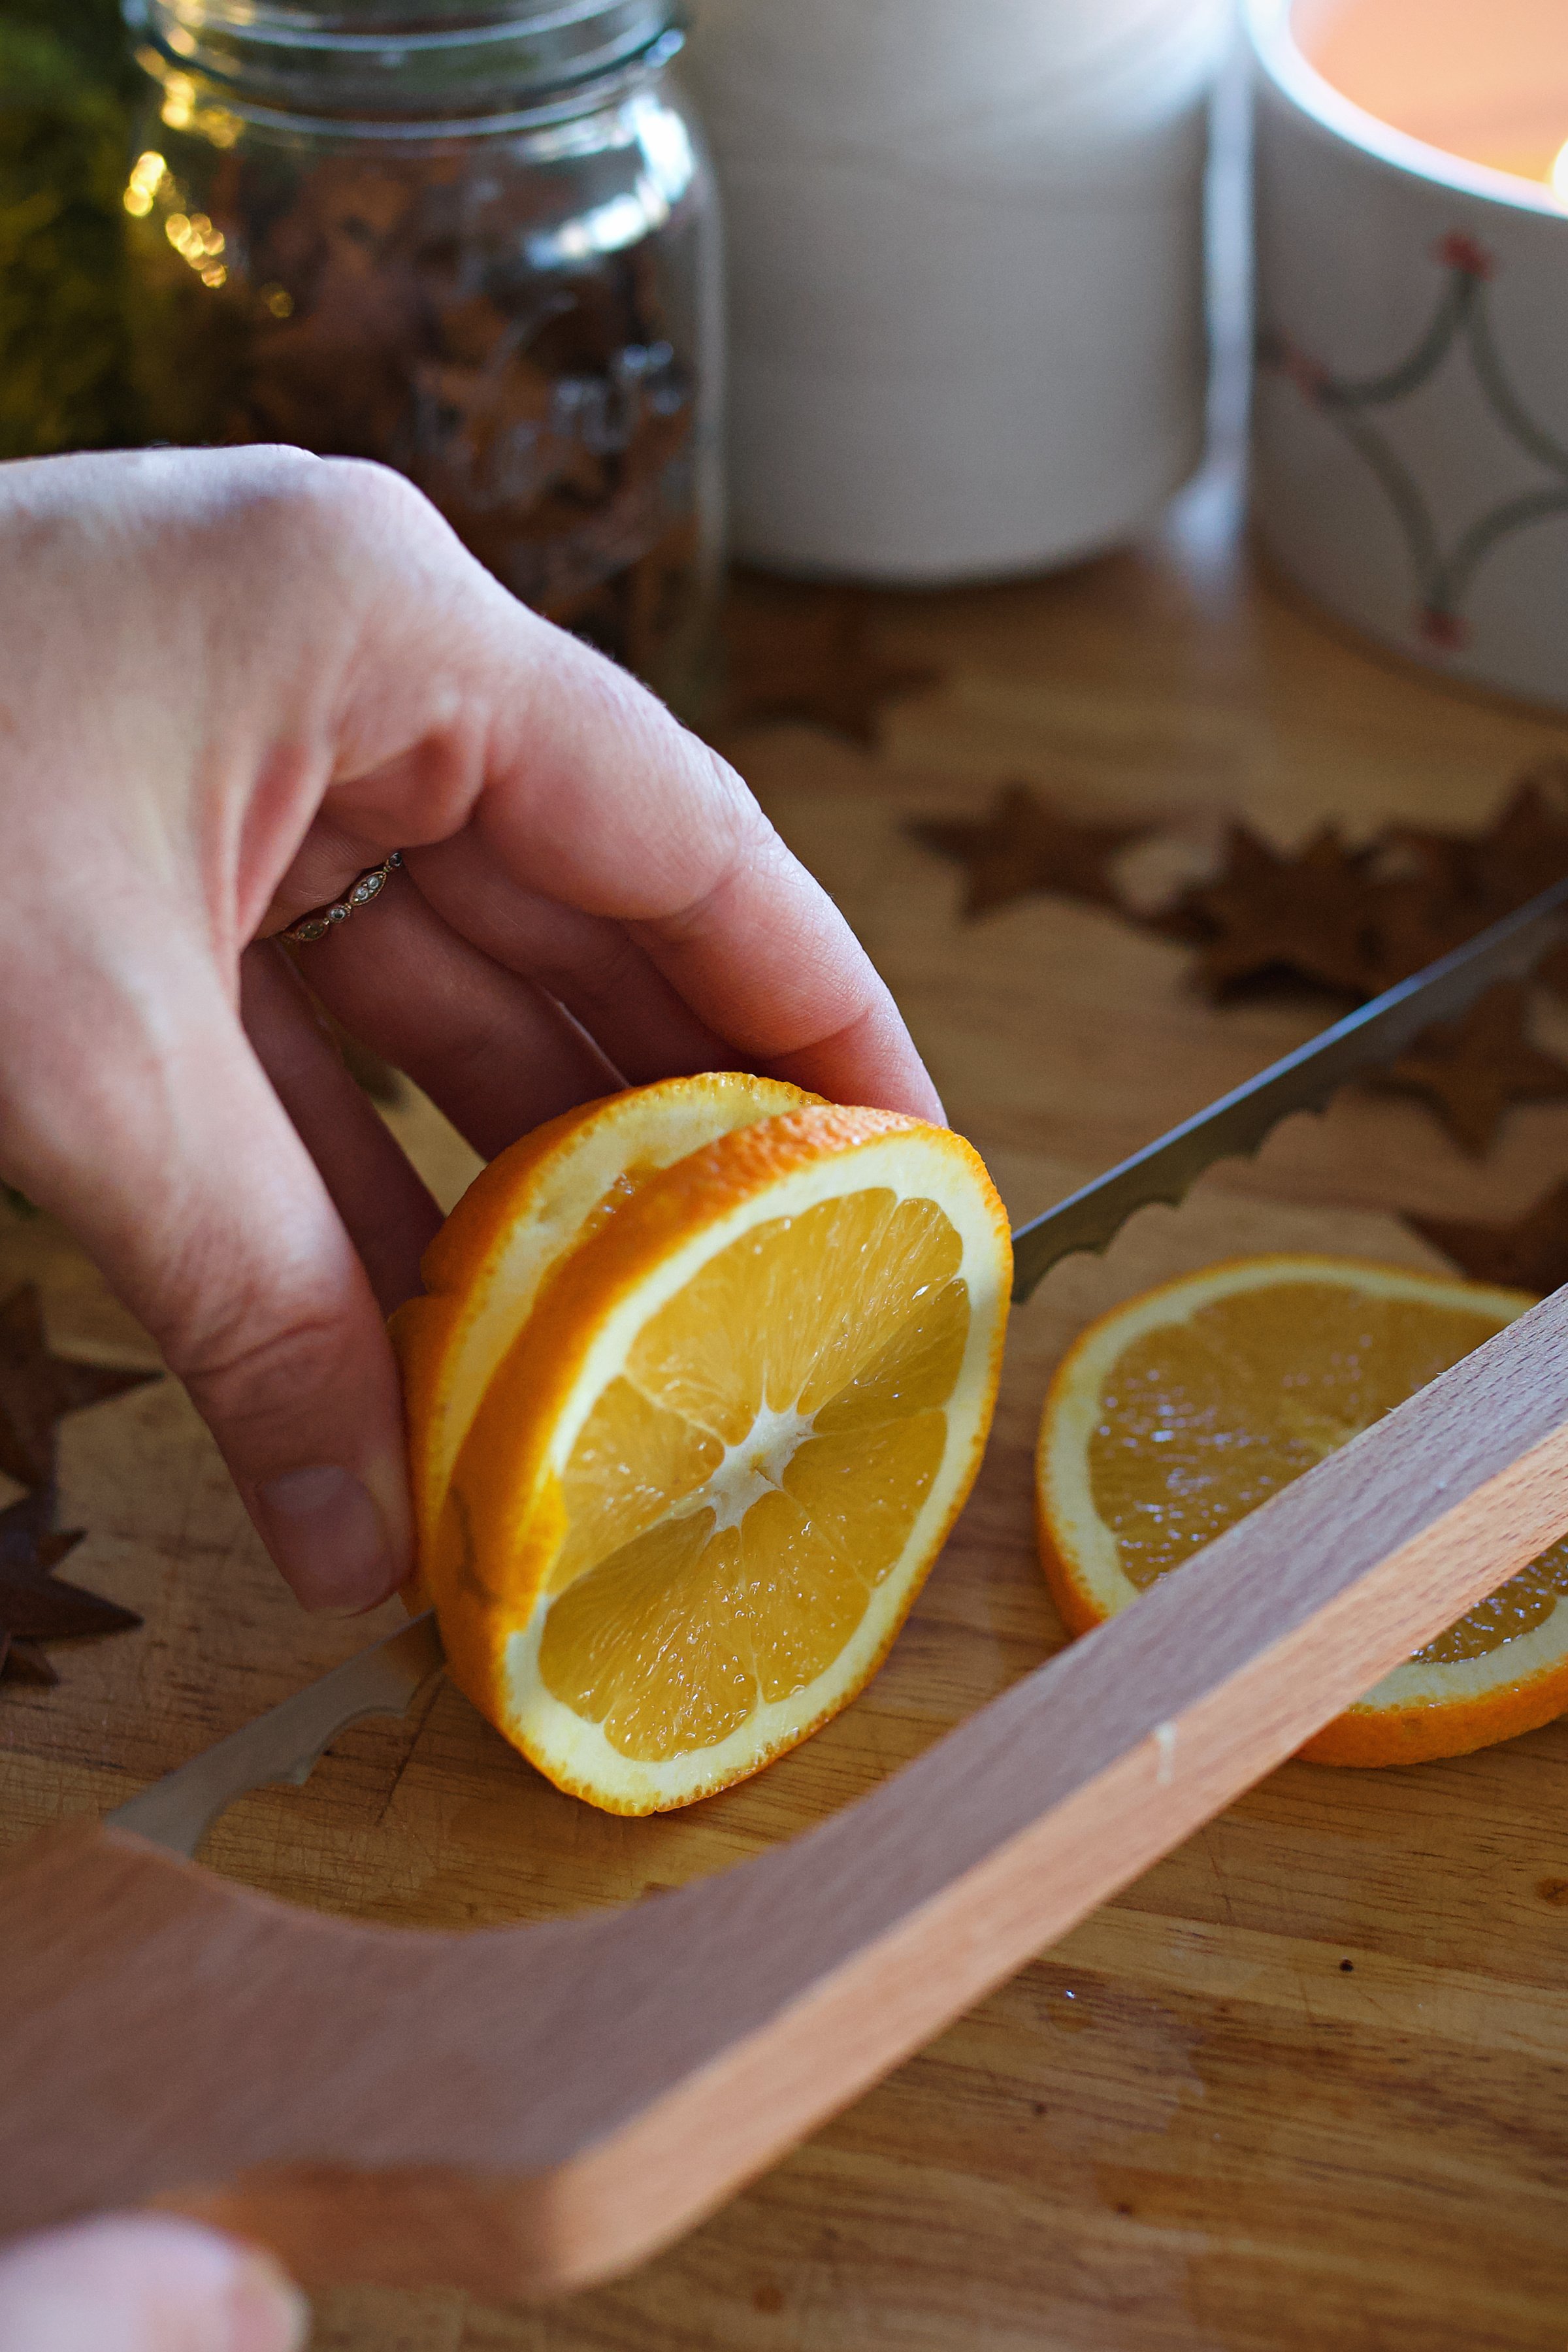
- Serrated knife or mandoline slicer for even slices
- Parchment paper and baking sheets
- Paper towels for blotting moisture
- Wire cooling rack (optional, helps with airflow)
- Fishing line, twine, or string
- Yarn needle or skewer for poking holes
- Optional decorative add-ins: cinnamon sticks, pine cones, wooden beads, star anise
? Tip: Thinner slices dry faster but are more delicate. Thicker ones take longer but give that bold, rustic look.
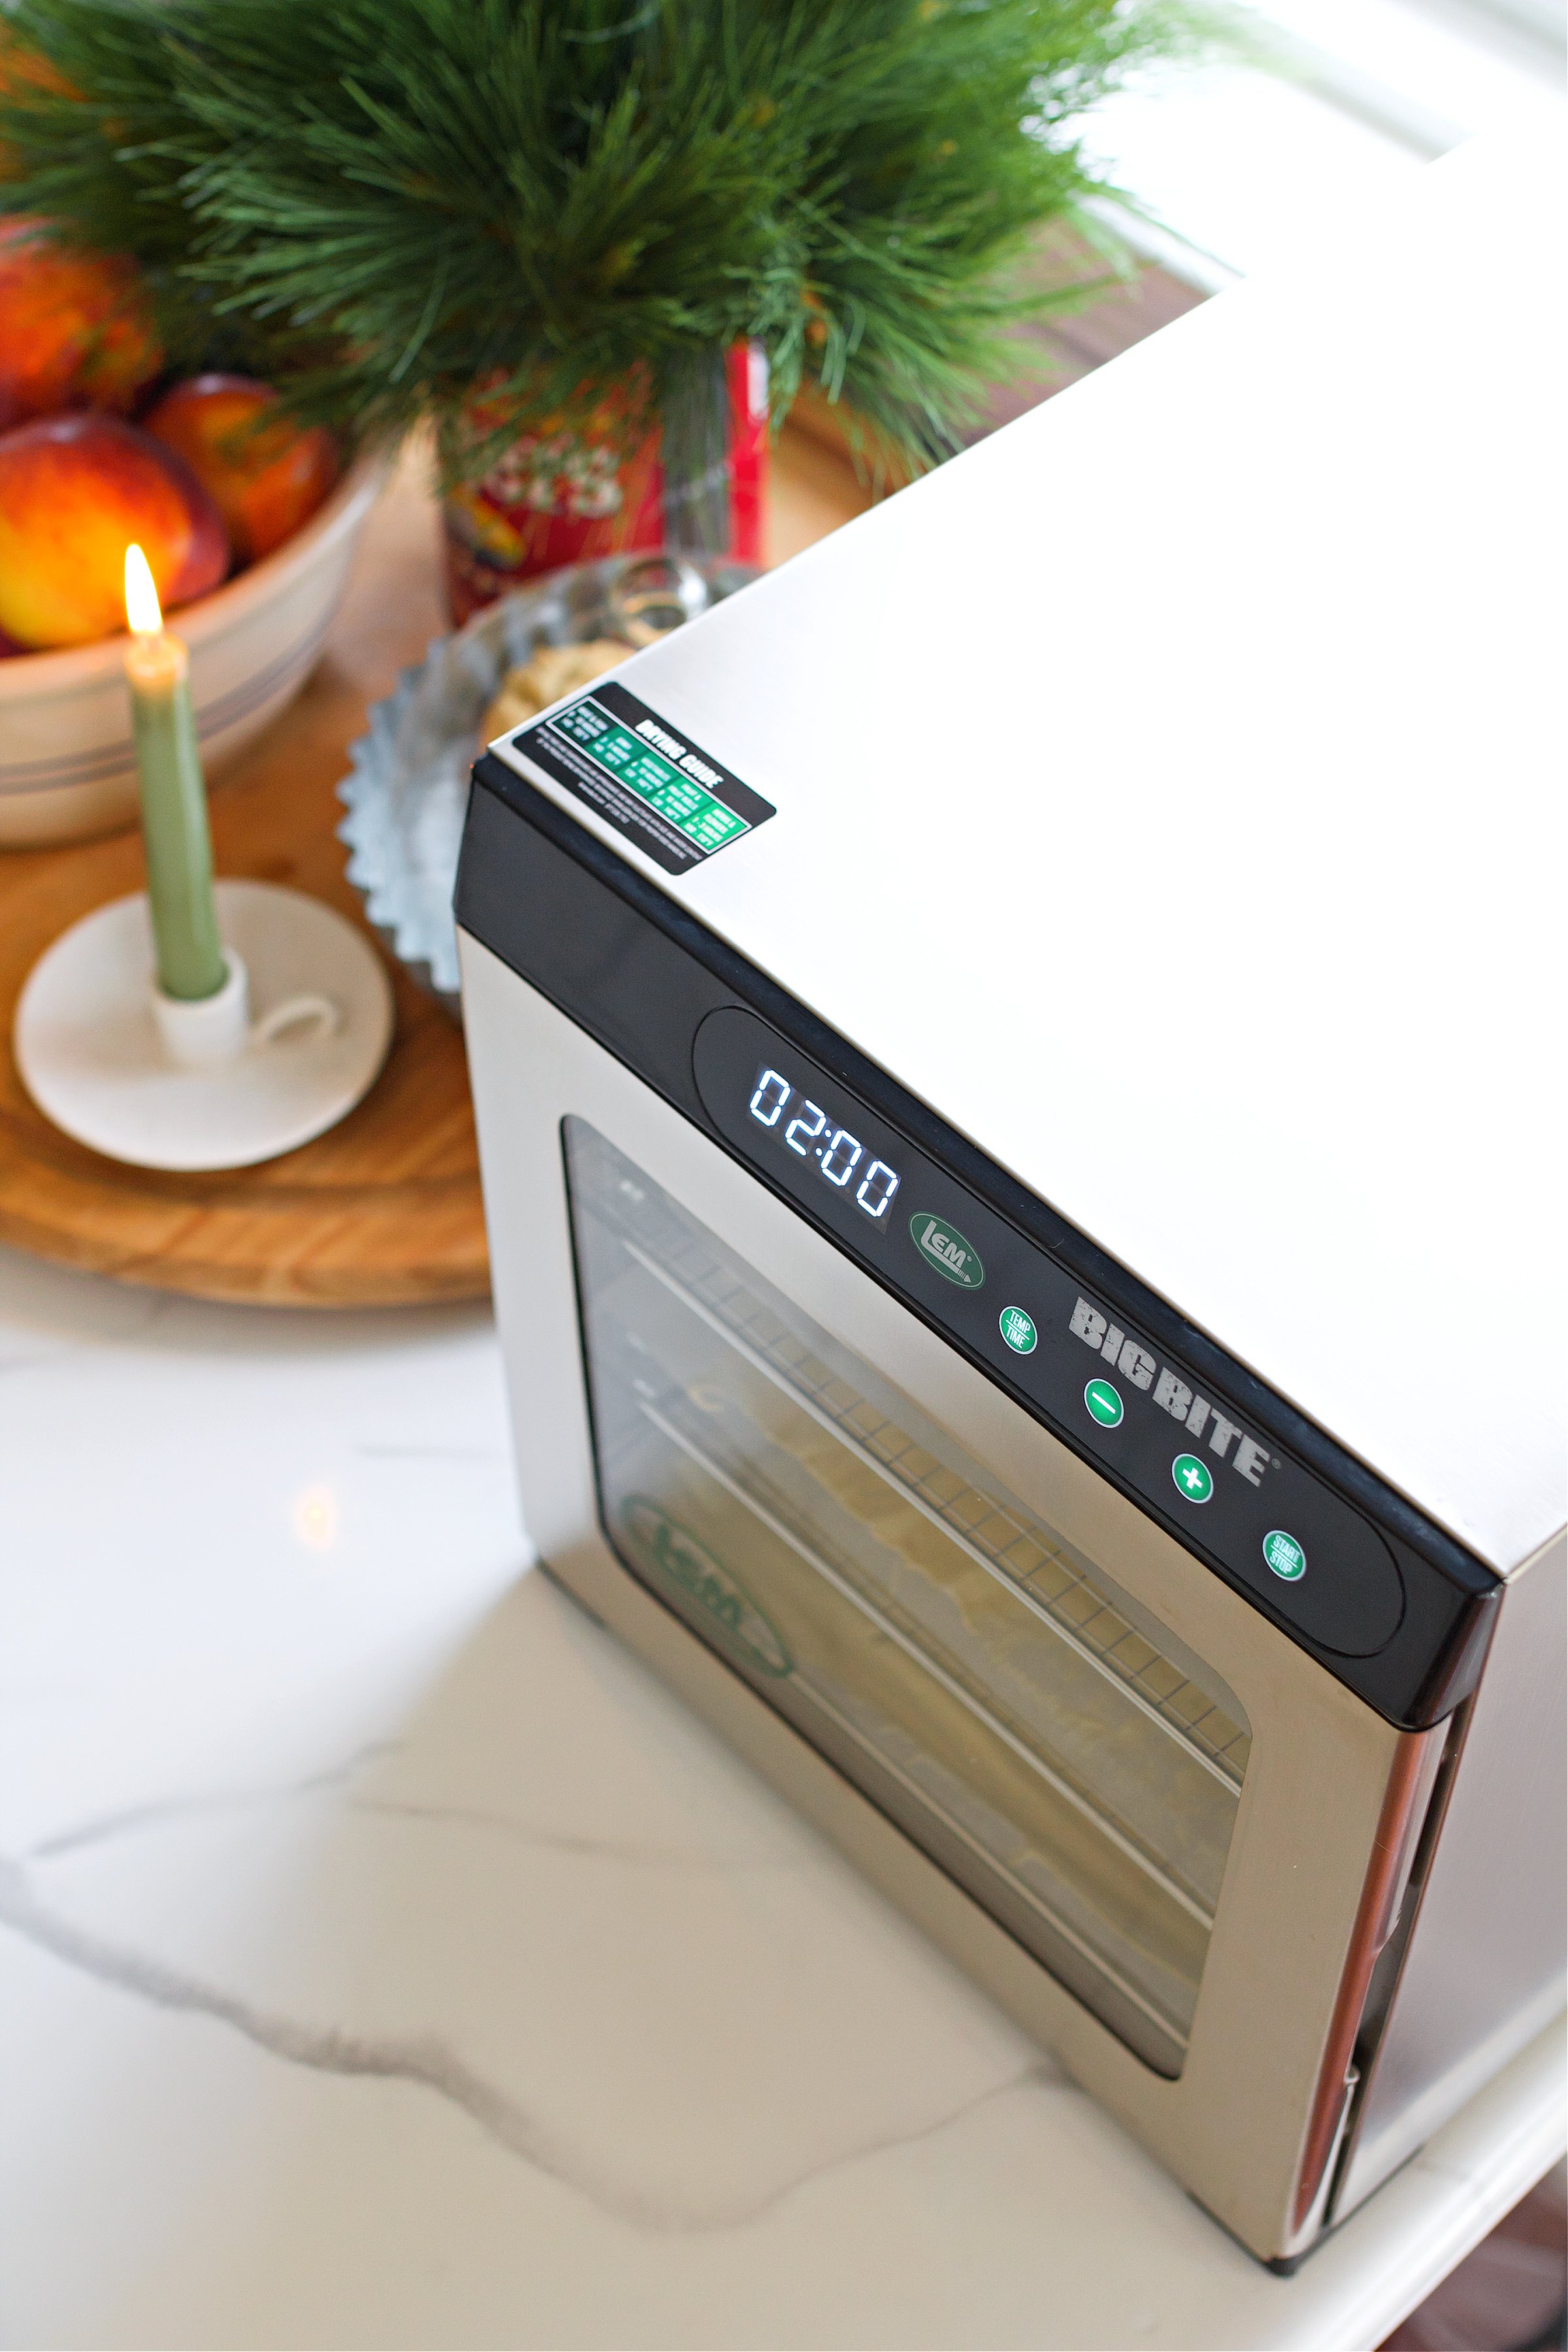
Homesteader Scoop: If you plan on making a large batch, consider investing in a dehydrator. It's not only hands-off but also helps keep your orange slices a vibrant golden hue. This is my favorite dehydrator.
Step-by-Step: How to Make It
I won't walk through every line of the recipe here (you'll find that in the recipe card below), but here are a few personal notes to help your garland turn out just right:
- Low and slow is best. If using an oven, set it to the lowest temp possible-usually 200°F-and flip the slices every 30-45 minutes.
- Dehydrator preferred. I now use one at 135°F and let them go overnight. It's so hands-off and results in brighter, more even coloring.
- Blot well. Removing excess juice with paper towels speeds up drying and reduces browning.
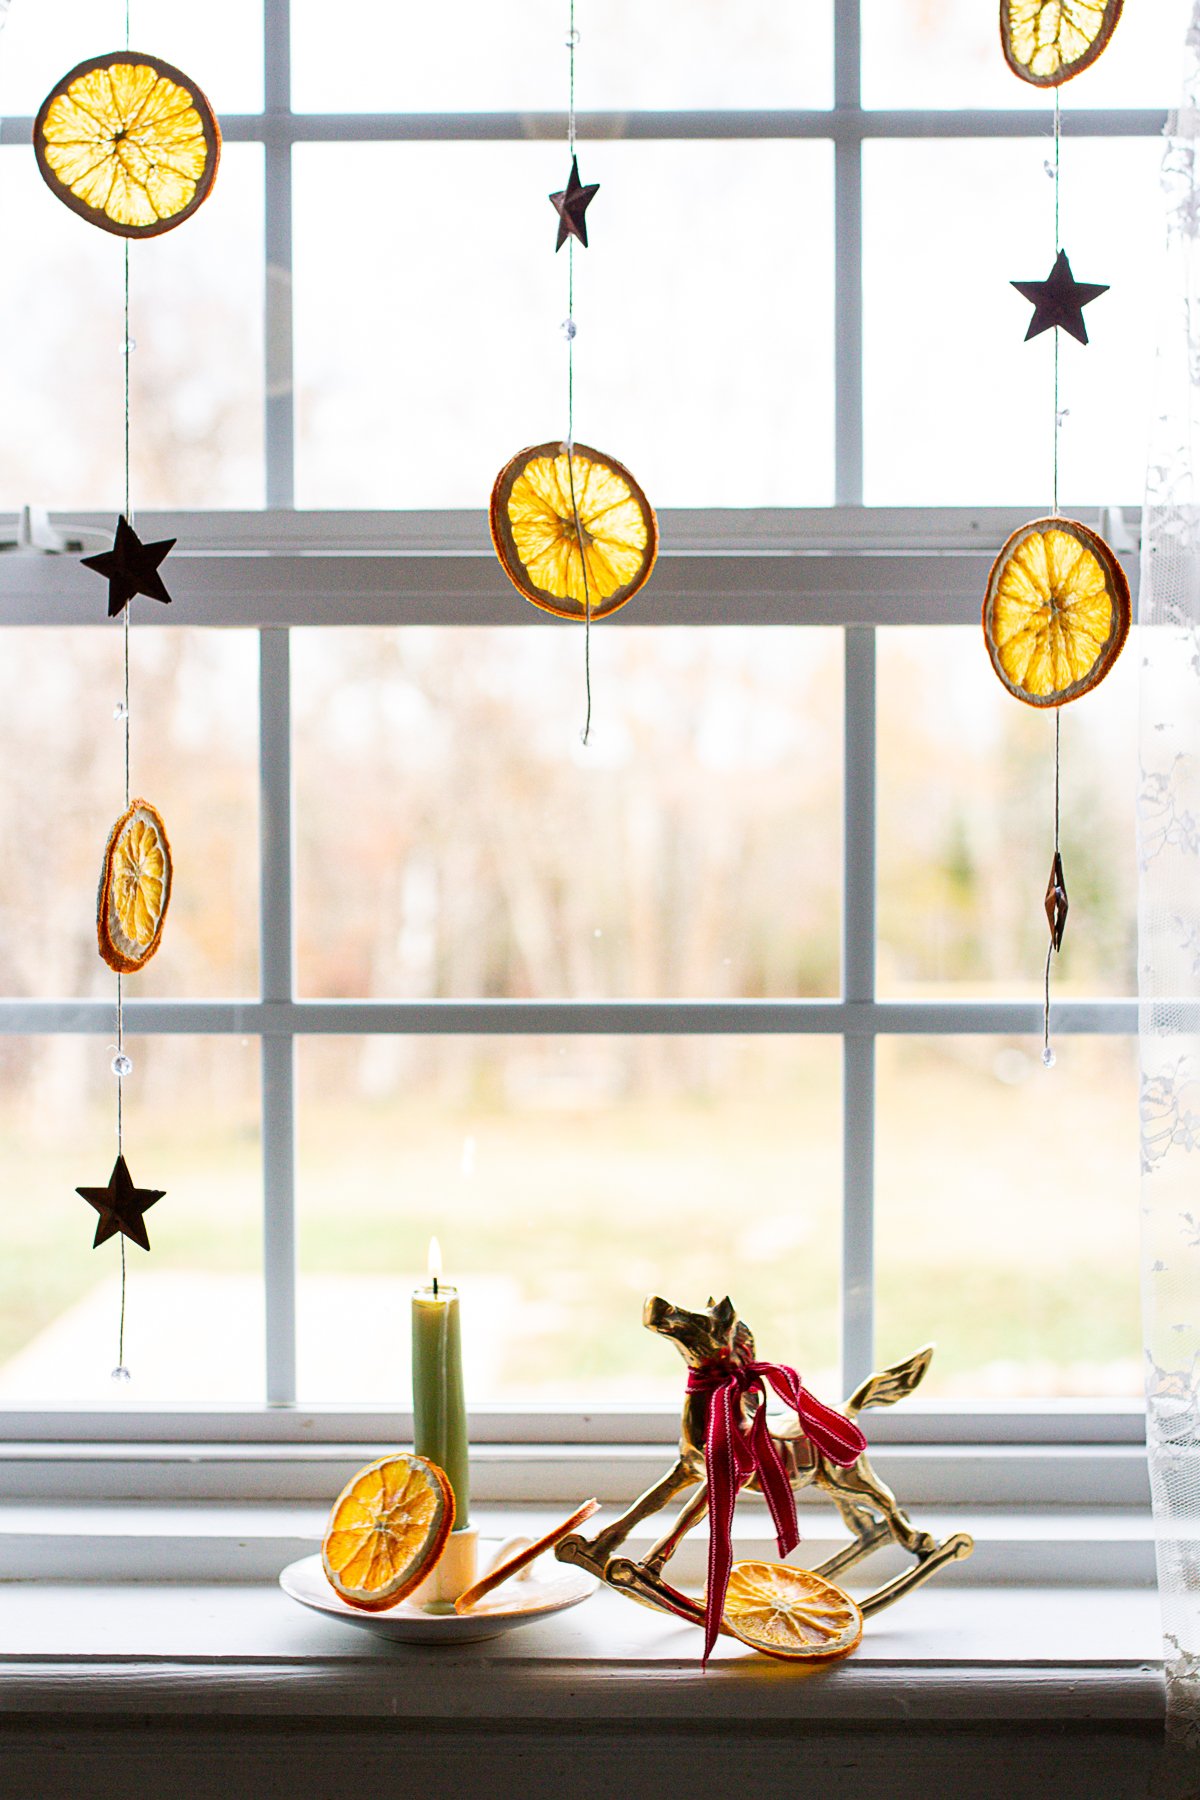
Tips for Stringing the Perfect Garland
- Use a yarn needle or skewer to poke two small holes near the top edge of each slice. Just below the rind. This helps them hang flat.
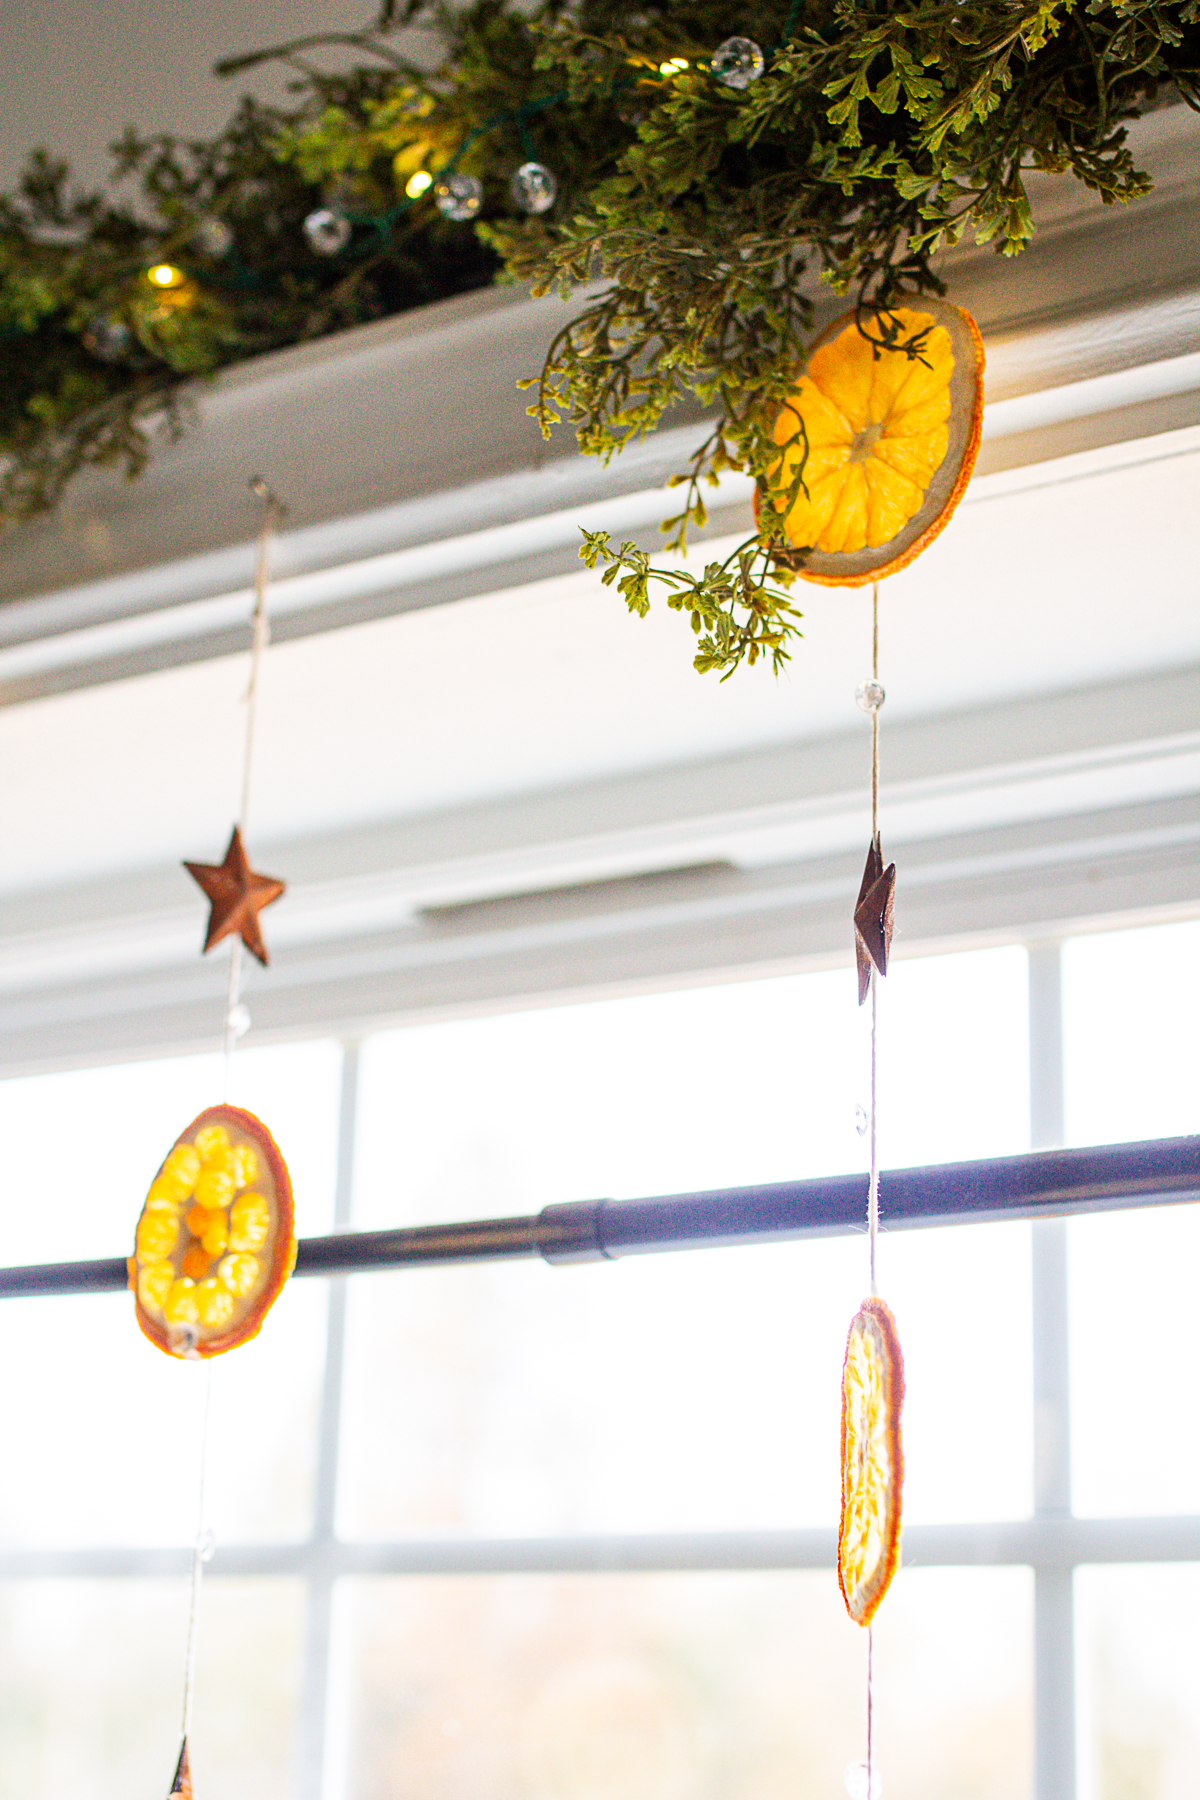
- Space your slices evenly on clear fishing line, cotton twine, or even jute for a rustic look.
- Get creative with accents: cinnamon sticks, cloves, wooden beads, or snips of greenery tucked between slices add a festive touch.
? If your garland feels too floppy, double up your thread or use a stiffer twine for support.
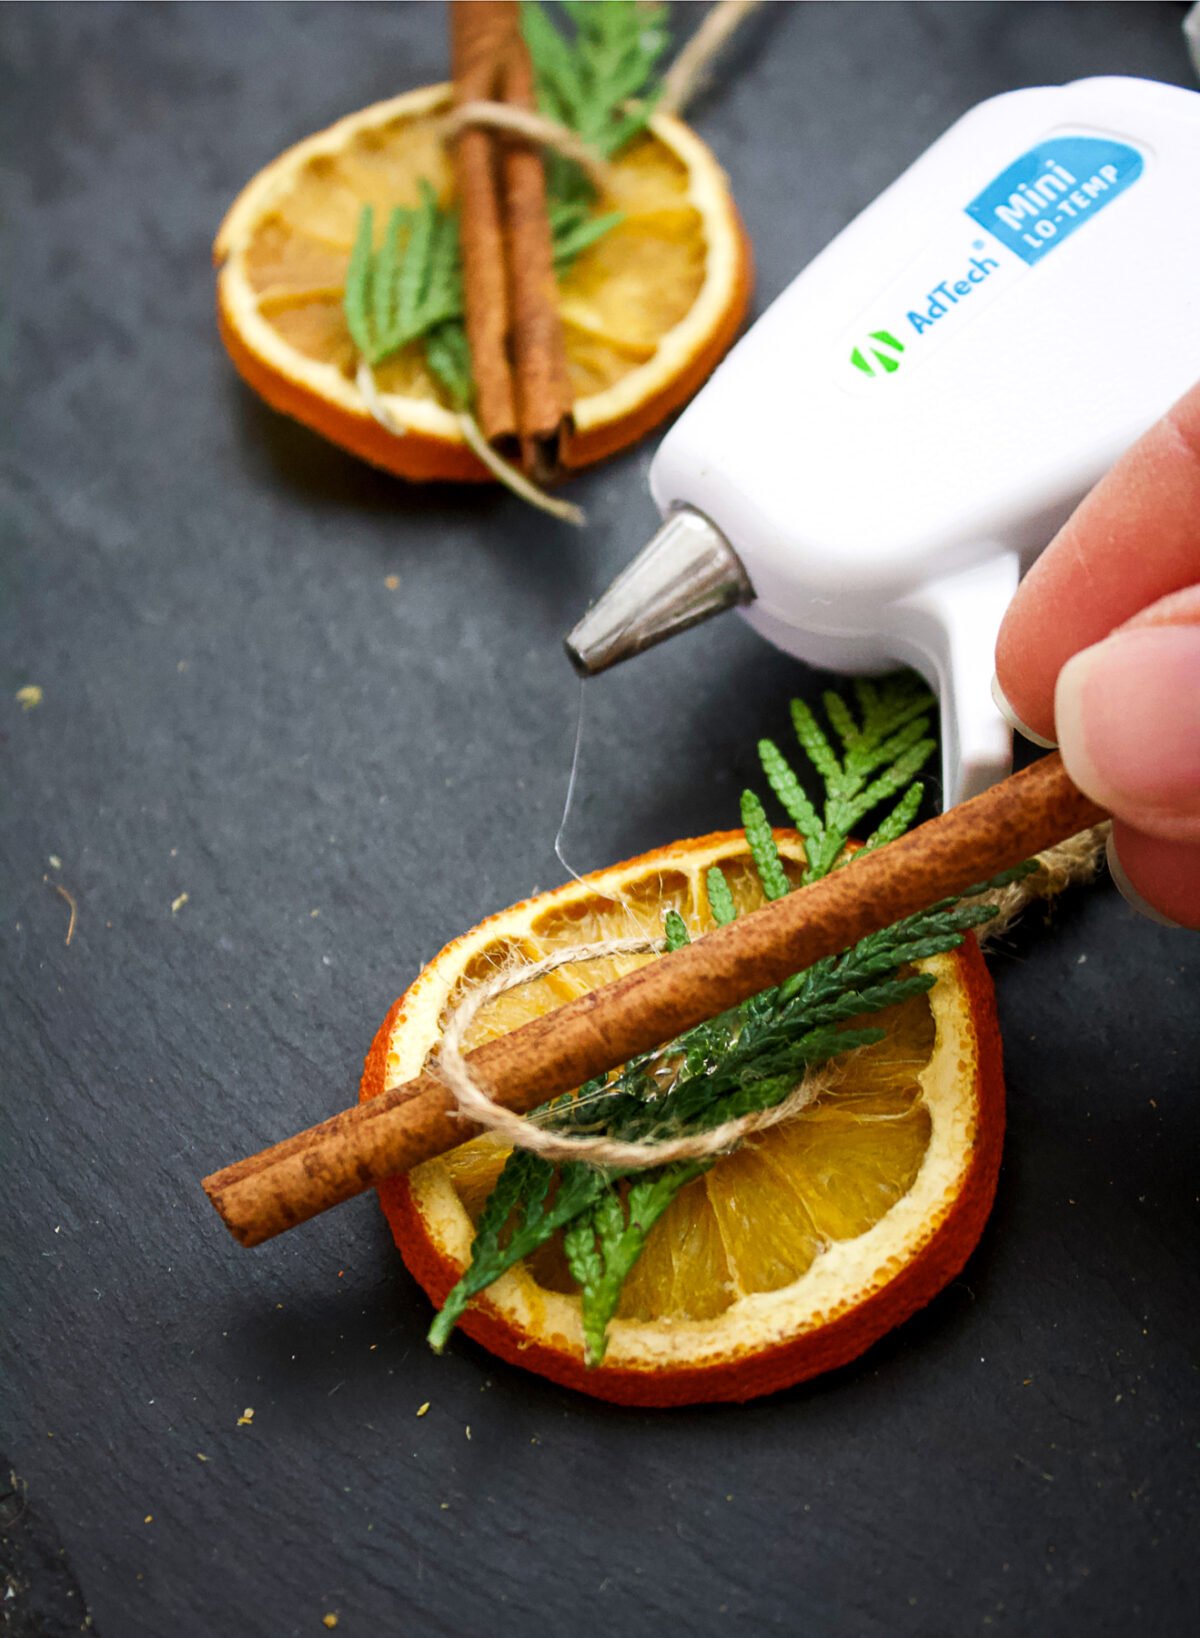
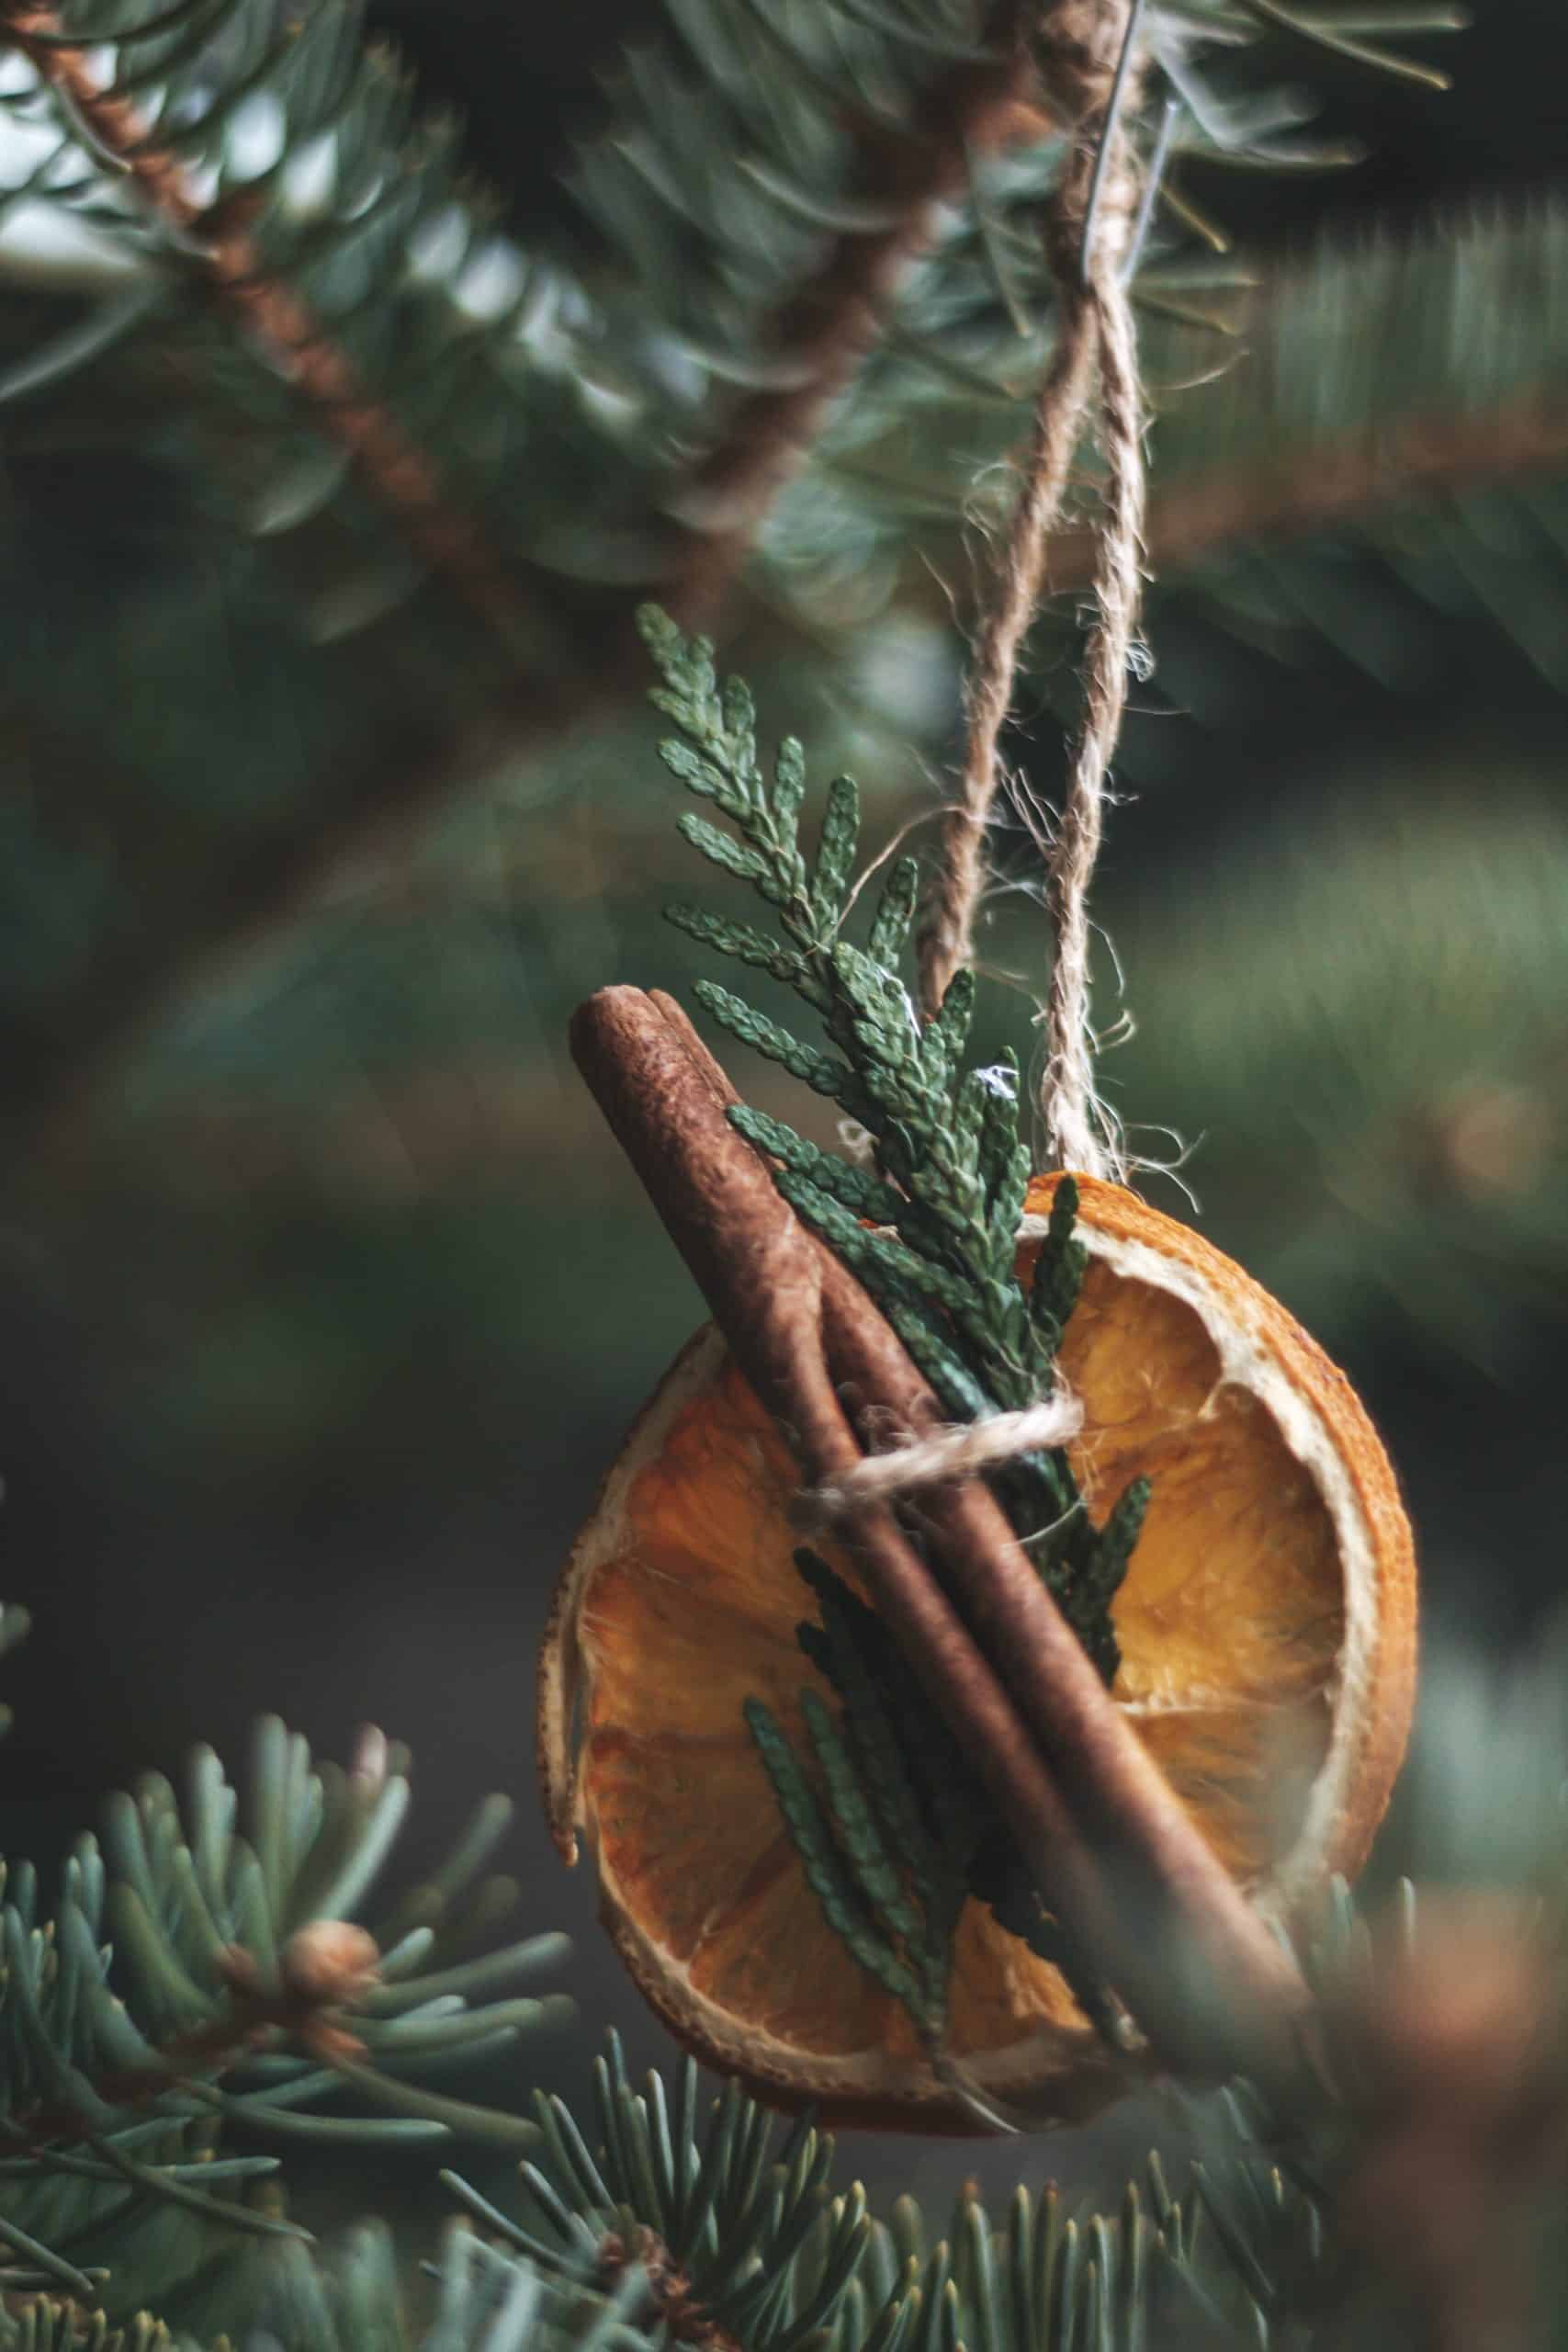
Orange Slice Ornaments
If you'd rather not string a full garland, you can turn dried orange slices into simple tree ornaments. Just poke a single hole near the top, thread ribbon or twine through, and hang. Add a dab of hot glue to attach a cinnamon stick or sprig of evergreen if you'd like.
More Creative Ways to Use Dried Oranges
These little slices can go far beyond garlands. Try them in:
- Gift toppers: Tie one onto wrapped packages with twine.
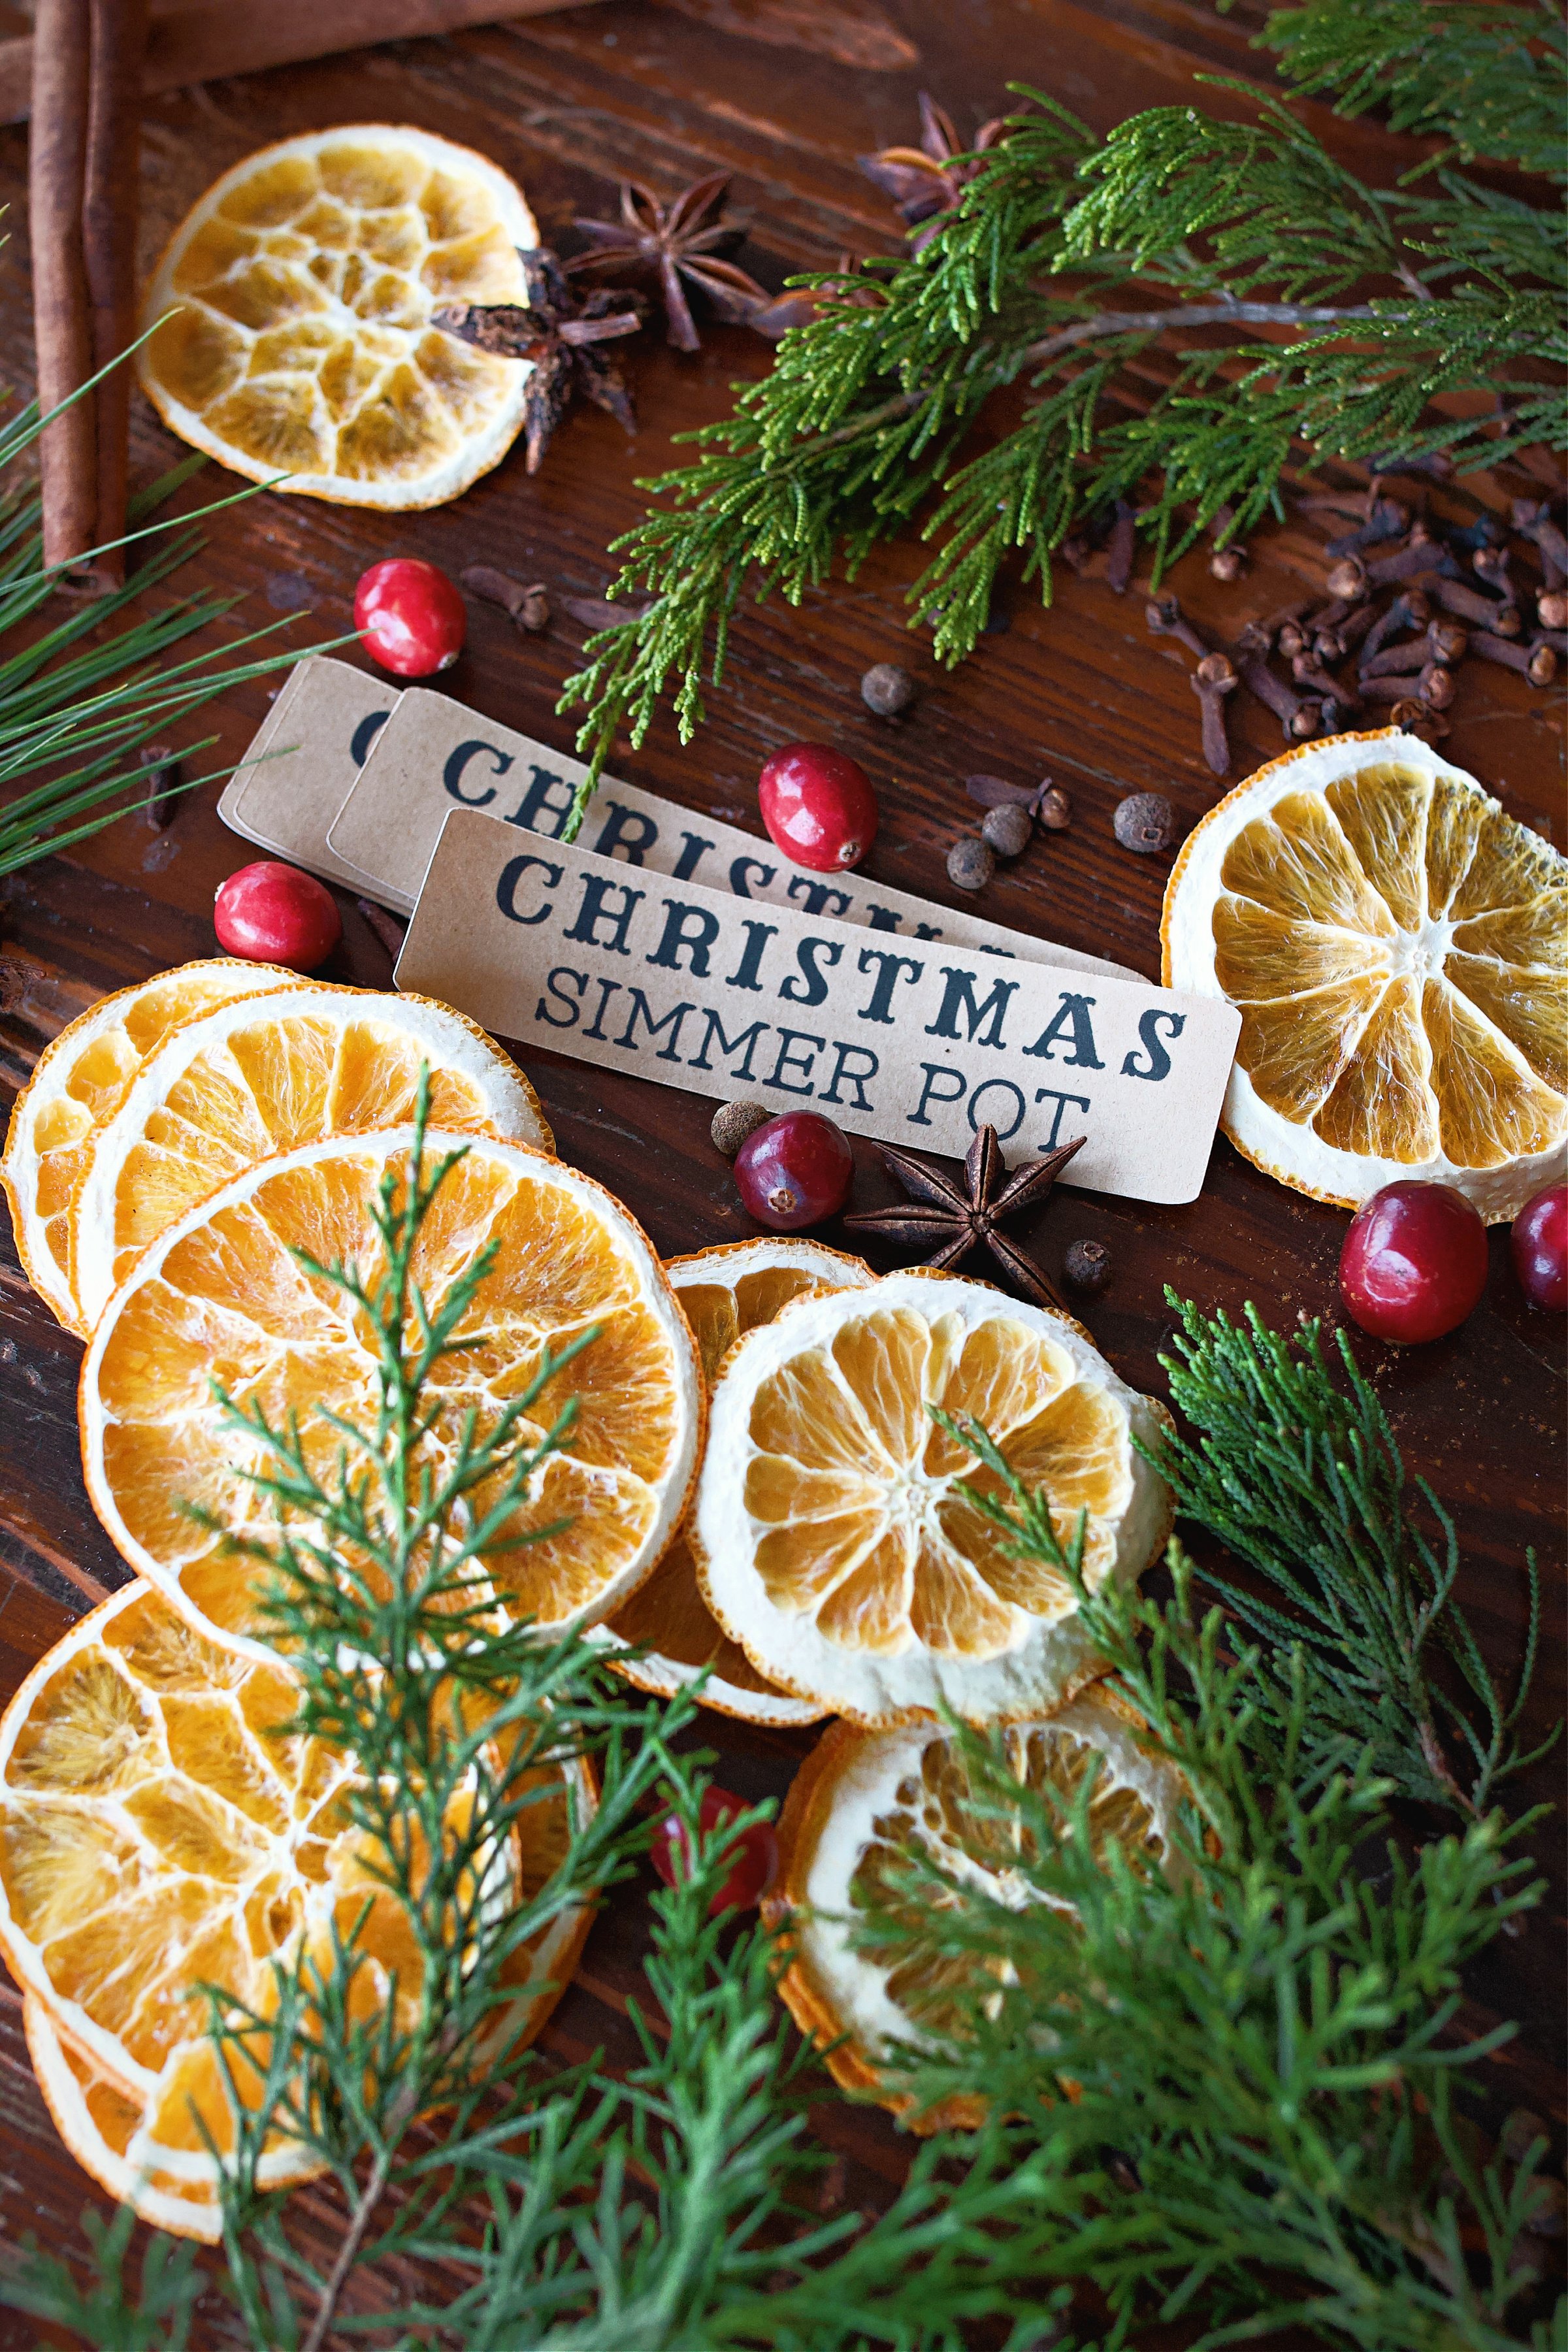
- Simmer pots: Use extras to make your whole house smell like Christmas.
- Place settings: Add to holiday table decor with a name tag attached.
- Mini wreaths: Hot glue a few slices into a circle on a grapevine base.
A Few Extra Tips
- Store dried slices in an airtight container for next year's decor or simmer pot blends.
- No dehydrator? Flip often and rotate trays in the oven to prevent browning.
- Want less mess? Lay down parchment or a cooling rack to keep slices from sticking.
- Watch for doneness. The flesh should be translucent and the rind firm, not soft.
FAQ About Garland
When stored properly in a cool, dry place, your dried orange garland can last for several years. Just keep it in an airtight container or wrapped in tissue paper inside a sealed bag to prevent moisture and mold.
Absolutely! Lemons, limes, and blood oranges all dry beautifully and create stunning color variation. You can even mix them for a more vibrant, layered garland.
Browning happens when the temperature is too high or the slices are left in the oven too long. Keep your oven at 200°F or lower, or use a dehydrator at 135°F for the brightest color. Patting slices dry before baking also helps prevent browning.
Make sure your slices are completely dry before stringing them. If there's any moisture left, they can mold over time. Once dry, let them cool fully before storing or hanging.
Storage + Reuse Tips
Once dried and cooled, orange slices will keep well for seasons to come, no fridge or freezer needed.
Avoid moisture: If your winters run damp, toss in a little cloth bag of rice or a food-safe desiccant to help absorb extra moisture.
Store in a lidded jar or tin: I like using wide-mouth mason jars, old cookie tins, or a simple paper bag tucked in a cool, dry cabinet. Keep them away from humidity and they'll stay beautiful for over a year.
You May Also Enjoy:


How to Make a Dried Orange Garland
Equipment
- 1 Sharp serrated knife or mandoline slicer
- 1 Large baking sheet lined with parchment paper
- 1 Cooling rack (optional)
- 10 Paper towels
- 1 Clear fishing line or yarn needle
Ingredients
- 4-6 pieces fresh oranges blood oranges or regular
- 10 pieces Cinnamon sticks pine cones, or wooden beads (optional for decor)
Instructions
- Preheat Oven: Set your oven to 200°F (93°C). Or turn on your dehydrator to 170F
- Slice Oranges: Cut oranges into thin, even slices using a sharp serrated knife or mandolin slicer. Thinner slices will dry faster, while thicker slices create a bold, rustic look.
- Blot Excess Moisture: Pat both sides of the sliced oranges with paper towels to remove extra moisture, which will speed up the drying process.
- Arrange on Baking Sheet: Lay the slices in a single layer on a parchment-lined baking sheet. If you want to speed up the drying process, place a cooling rack on top of the parchment paper, then place the orange slices on the cooling rack.
- Bake and Flip: Place the baking sheet in the oven for 2-3 hours. Flip the orange slices every 30 to 45 minutes to ensure even drying. If you're drying two sheets at a time, rotate the pans for uniform heat distribution.
- Check for Doneness: The oranges are ready when the flesh of the orange is translucent, and the rinds are dry and shiny. If they still feel soft, continue drying in 15-minute increments.
- Cool and Store: Let the slices cool completely on a wire rack. You can store them in an airtight container if you're not assembling the garland right away.
- Thread the Garland: Use a yarn needle to poke two small holes near the top of each dried orange slice. Thread clear fishing line, string, or yarn through the holes, and space the slices evenly.
- Decorate: Optionally, thread in cinnamon sticks, pine cones, or wooden beads for extra holiday charm.