How To Make A Garden Plan that's both Functional and Beautiful
My garden plan:
Remember the field in Pride and Prejudice, at the very end of the movie, the one Elizabeth walks through in the early morning when she simply can't sleep another minute? There's the morning mist, the birds tweeting in the background, the flowers and plants growing beneath her feet. Then the beautiful piano ballad that was playing in the background intensifies and you spy Mr Darcy! Oh my! That's how I want my garden to "feel". Like an English field. Sadly without Mr. Darcy or the piano ballad, but I'll take the birds tweeting and the occasional morning mist. My garden plan must include the ambience, the atmosphere, the mood I'm trying to create. It's not just about what I want it to produce. Gardening is art, as well as my family's food source.

Not what you thought you'd get from a garden plan post hu?
We will get to a few nuts and bolts as well, but I don't think in black and white, I think in color, in movement, and I want my garden to bewitch me, body and soul. (Want me to keep up with the P&P references? Done!)
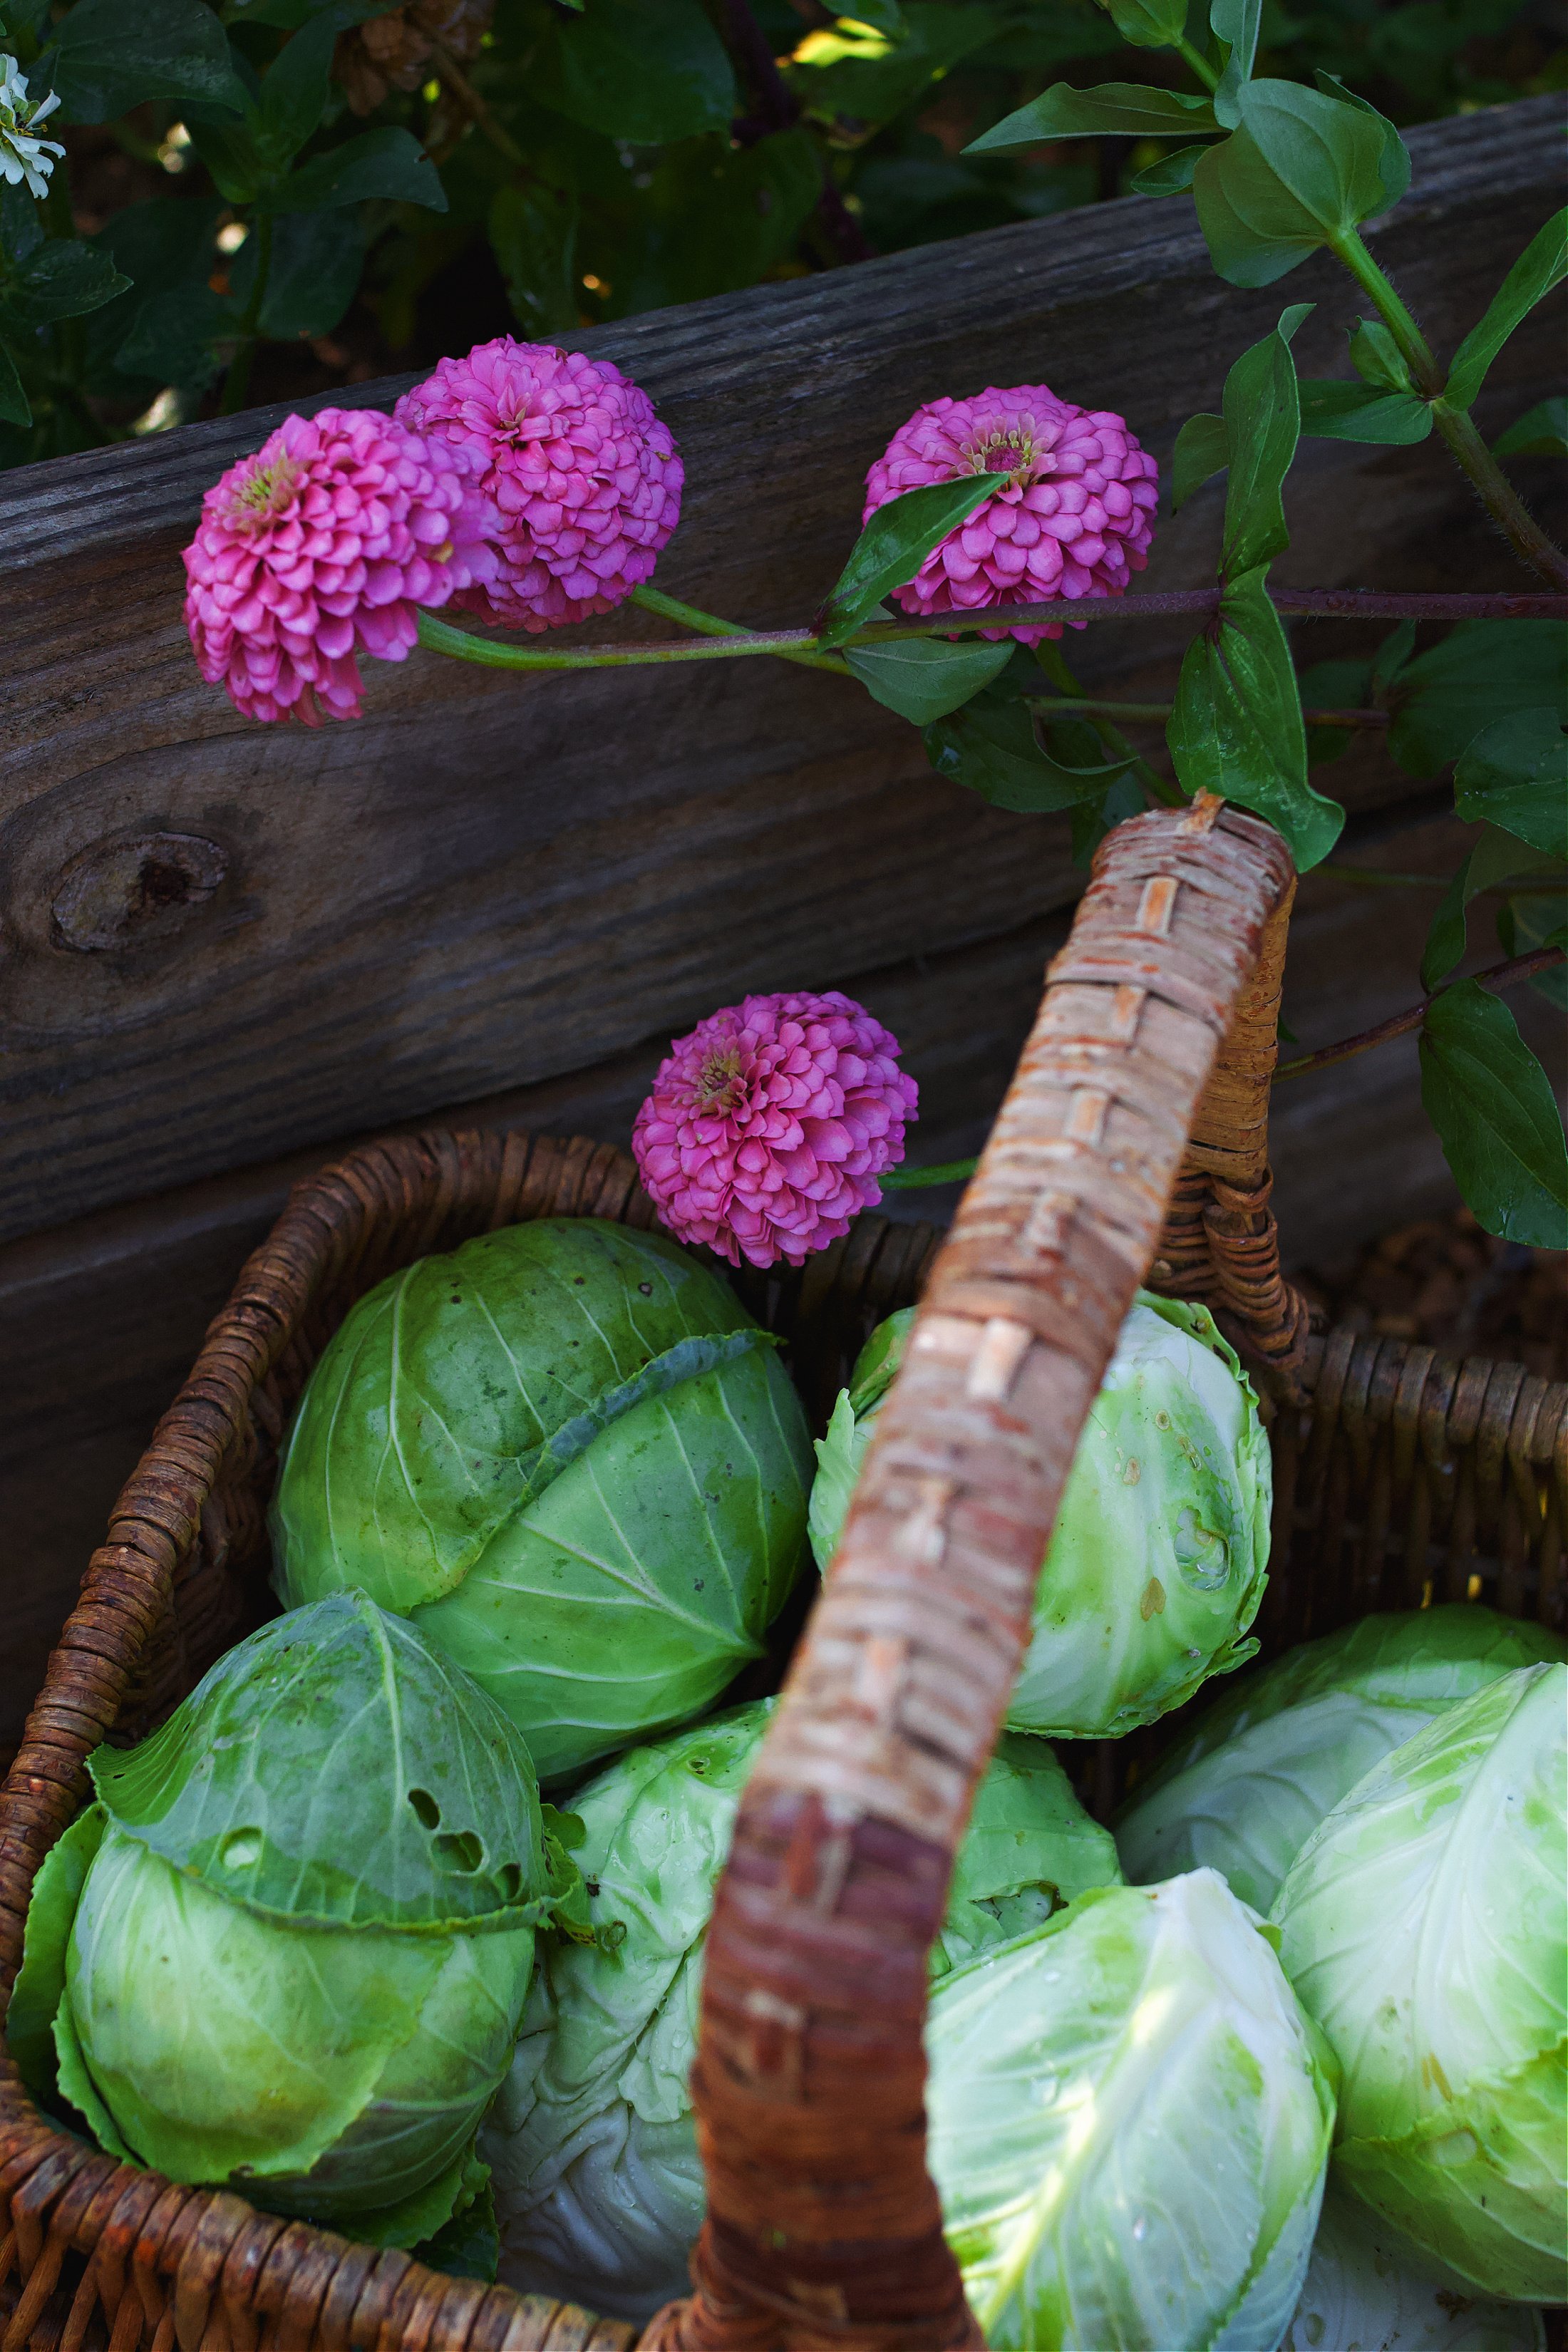
Truly, your garden should be a reflection of you! Even though you'll keep a few key garden plan musts in mind when creating the layout, you should also consider this: you'll be spending many hours tending your harvest, so you might as well enjoy the time by surrounding yourself in flowers, plants, and decor you love!
Follow the sun: Where to put your garden plan into action
Most vegetables, especially plants like tomatoes and peppers, need about 6 - 8 hours of direct sunlight. Watch where the sun hits your yard throughout the day before picking a garden spot. Morning sun is essential, mid day sun is also a must, and evening sun is a bonus. Watch a full day from sun up to sun down before choosing a spot. You don't want all your work and effort to be thwarted by a problem that could have easily been dealt with if you had taken a day to observe.
shade in the garden? Okay for some plants.
Root veggies like carrots, radishes, and beets will usually be fine if they get at least four hours of direct sunlight a day. Lettuce is also good with some shade, especially if it comes in the form of an escape from the mid day heat.
Our chosen garden spot before:

And after:

Don't let the less lush, early spring after picture fool you. This garden will be busting with green soon!
We ended up removing the old apple tree in the very back corner of our yard, and replacing it with a raised bed. Yes, it's hard to remove old trees and plants, you become attached to them. But, you planteth, and you taketh away sometimes. Such is the gardeners life. The tree wasn't producing much, and it gave off too much shade to be allowed to stay.
You can also see we worked with the spot we had. It was on a slight hill, and instead of letting that deter us, we worked with the area. Simply "cutting" the beds into the ground, keeping the raised bed itself level while leaving the ground around it normal worked perfectly. It also kept with my countryside theme. Working with the rolling hills and what was given to us, instead of bulldozing it flat. But hey, if flat floats your boat then do it! This is your garden after all.
Reasons we turned this spot into the gardening area.
- Close to the chicken coop. (All my chores in one area.)
- Received the most sunlight each day. (Besides some evening shade) without being in the exact center of my yard. (That does't tend to work with kids and animals.)
- Was easily able to be fenced off. (Again, making sure kids and animals don't get in unless invited.)
- Close to gardening shed where all my tools are at the ready.
- Easy access to water. (Truthfully, mine isn't close to our water source. It couldn't be helped in our situation. Pulling hoses until we can dig under the sprinkler system to install a water pipe.)
Garden Layout with Raised Beds
Growing vegetables in raised beds is just plain easier. Easier to weed, water, and maintain. They also help prevent soil compaction, provide good drainage, and serve as a great barrier for pests like slugs and snails.
While there are many kits you can purchase for raised beds, the quality is lacking and most will begin breaking down after just a few years. I asked Travis to make me beds that would last until the end of time, and he delivered! I share the full how-to tutorial to make our raised beds here, and why they're better than the kits.


Garden Layout for Family of Four
We are a two adult, two kid family, and you family size is something to keep in mind when deciding on how big your garden will be. Will you be planting for a fall harvest? Canning and preserving for the winter months? Or, is it maybe a fun way to lower your blood pressure and relax by playing in the dirt in the summer, and simply production a few staples to enjoy fresh is good enough for you?
You get to choose! Knowing I'm canning tomatoes for marinara sauce, salsa, and diced tomatoes means I'm using a lot of space for tomatoes, and planned my garden size accordingly. Always error on the larger size. Usually after the first few years you change things around a bit, become more efficient, and add on more items to grow.
Enclosing your garden
In keeping with the English country theme, I wanted a picket fence that I hope soon to be covered in wild roses and wisteria. The fence isn't just for pretty though, as I shared above. It's a way to keep our dirt loving dog out of my crop. If he sees dirt he can't help himself, and plunges right in to "weed" until he hits the center of the earth.
Don't let the noble look fool you, he's no Mr. Darcy.

Maybe you have deer to contend with, or maybe you need no fence at all! Put on your thinking cap and work through all the animals that might try to take your garden and make it their own, and plan accordingly.
Shop My fencing:

Why the dirt you use matters. How to pick good soil.
This is something I learned the hard way. In my old garden, after we put the fencing in and spent some money making the garden perfect, I got stingy on the soil. Paying money for dirt just didn't seem right. Not realizing how much dirt mattered meant for the first few years our crops didn't product as well. We had problems keeping them watered enough, the water just ran straight through the soil, the nutrients were lacking, and towards the end of summer my plants would stall out. It simply wasn't good friends.
After years of dealing with the bad soil, we brought it dirt and man, what a difference it made! This time we knew better and put in quality soil first thing! Our four, 12'x3.5' beds took about 2 tons of soil! Seven yards to be exact. (You purchase soil by the yard from your local bark and landscaping company.) It was $35 per yard and worth every penny! We went with a premium there way mix of equal parts black dirt, compost, and sandy loam. We also had enough left over to fill up all our outdoor pots!

Before placing soil into the raised beds, we put down a layer of straw. This helps to hold in moisture. It also helps control weeds from coming up through the bottom, and as it composts, nutrients are released into the soil.

Personalize your garden
Once the bones of your garden are in, (the beds and boxes) it's time to personalize your space! Add pots in and around you beds, find wire or metal decor to add some personality.

I made some wood burned plant markers to help identify all my plants and love how they flow with my theme. You can check out that DIY tutorial here. It's also fun to visit flea markets and second hand stores and see what non traditional items you can find to add to your garden space.
They sky is truly the limit friends! I keep the Longbourn House in mind when creating my garden oasis. You pick a theme and go with it! Can't wait to see what you create!
Need more Garden plan help and ideas?
I love the books below for canning, garden planning, and problem solving:


Couple of suggestions, depending on availability. When our landscape/design company built beds they were generally for older folks so we did make them 24-36 deep depending on clients. In the bottom we put thick plain cardboard and 1/2” hardware cloth if the budget allowed. (hardware cloth helps control snakes and burrowing mammals)
Secondly I kept a supply of rubber roofing remnants of line the interior sides, loose fall on bottom so as not to hinder drainage. Helps protect whichever wood you decide to use. We were able to use hemlock most of the time.
Then, to fill we used horse manure from a local farm up about 12”, covered with cardboard than added the good mixed dirt. Effect: worms work hard under that cardboard and in a year or two it can be mixed in to renew the topsoil.
Those are great tips, Thank you!