Here's How To Start Seeds Indoors Like A Pro Gardener
Need a hand with kicking off your indoor seed starting journey? Feeling a bit lost when planting those seeds in the soil and curious which plants benefit from starting indoors versus straight into the garden? Let's chat about some tips and advice to get your seeds thriving.

If you're new to the gardening game there can be a lot of questions when you first start out. Let's answer a few of them here! How to start seeds indoors is one of the most commonly asked.
This post is in partnership with Washington Grown TV. That's right, I'm on the big screen! In season 10, we cover local to the PNW farms, recipes, farming in general, and even the restaurant industry. Its expertly put together and very fun to watch. You'll learn something from each episode. Binge watch them now on their YouTube channel!
Starting seeds indoors for beginners
What seeds to start indoors depending on zone?
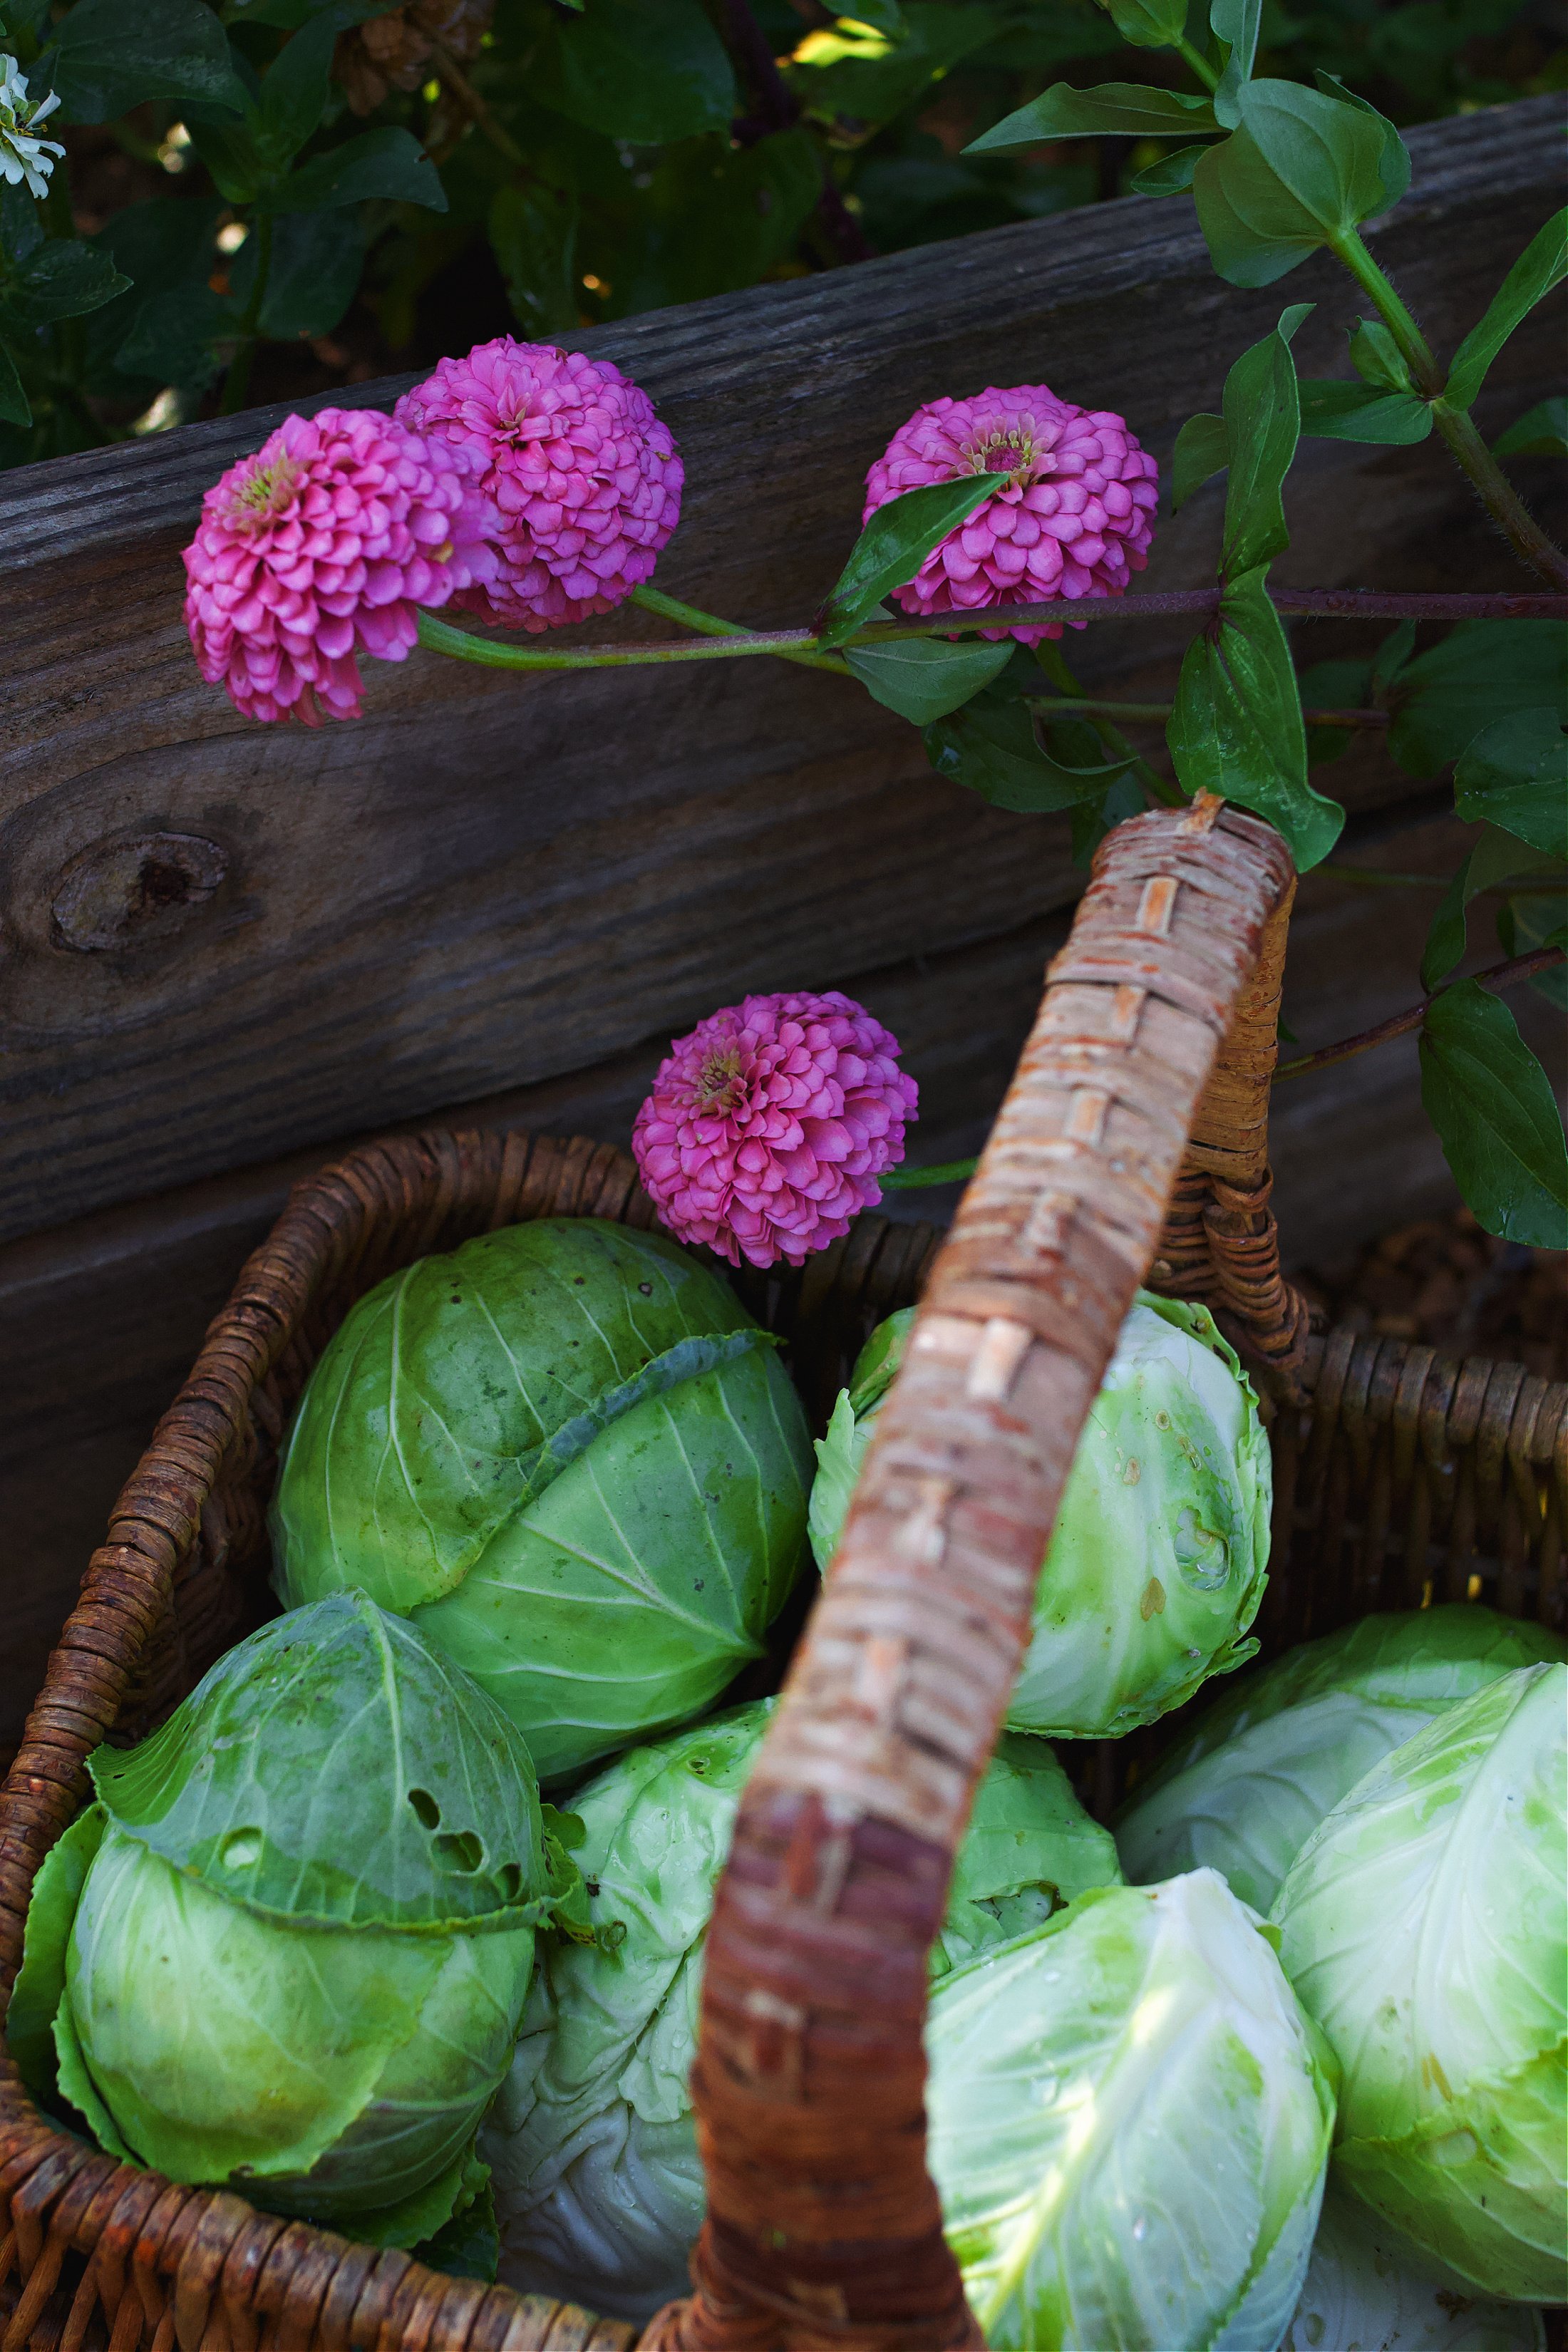
Understanding your plant hardiness zone is key, especially in colder regions, where starting seeds indoors becomes a strategic move given the shorter growing season. During my time in Spokane, Washington (a solid zone 6 - you can identify yours on this useful map), the optimal window for indoor seed starting was mid to late February. This timing allowed for a seamless transition to outdoor planting around early May. Now, living in Tennessee, the game plan shifts even earlier due to an earlier last frost date and extended summers. As a result, I'm kicking off cold-weather crops like broccoli, cabbage, and carrots ahead of time to ensure a robust harvest before the summer garden takes precedence.
Can you start seeds indoors without a grow light?
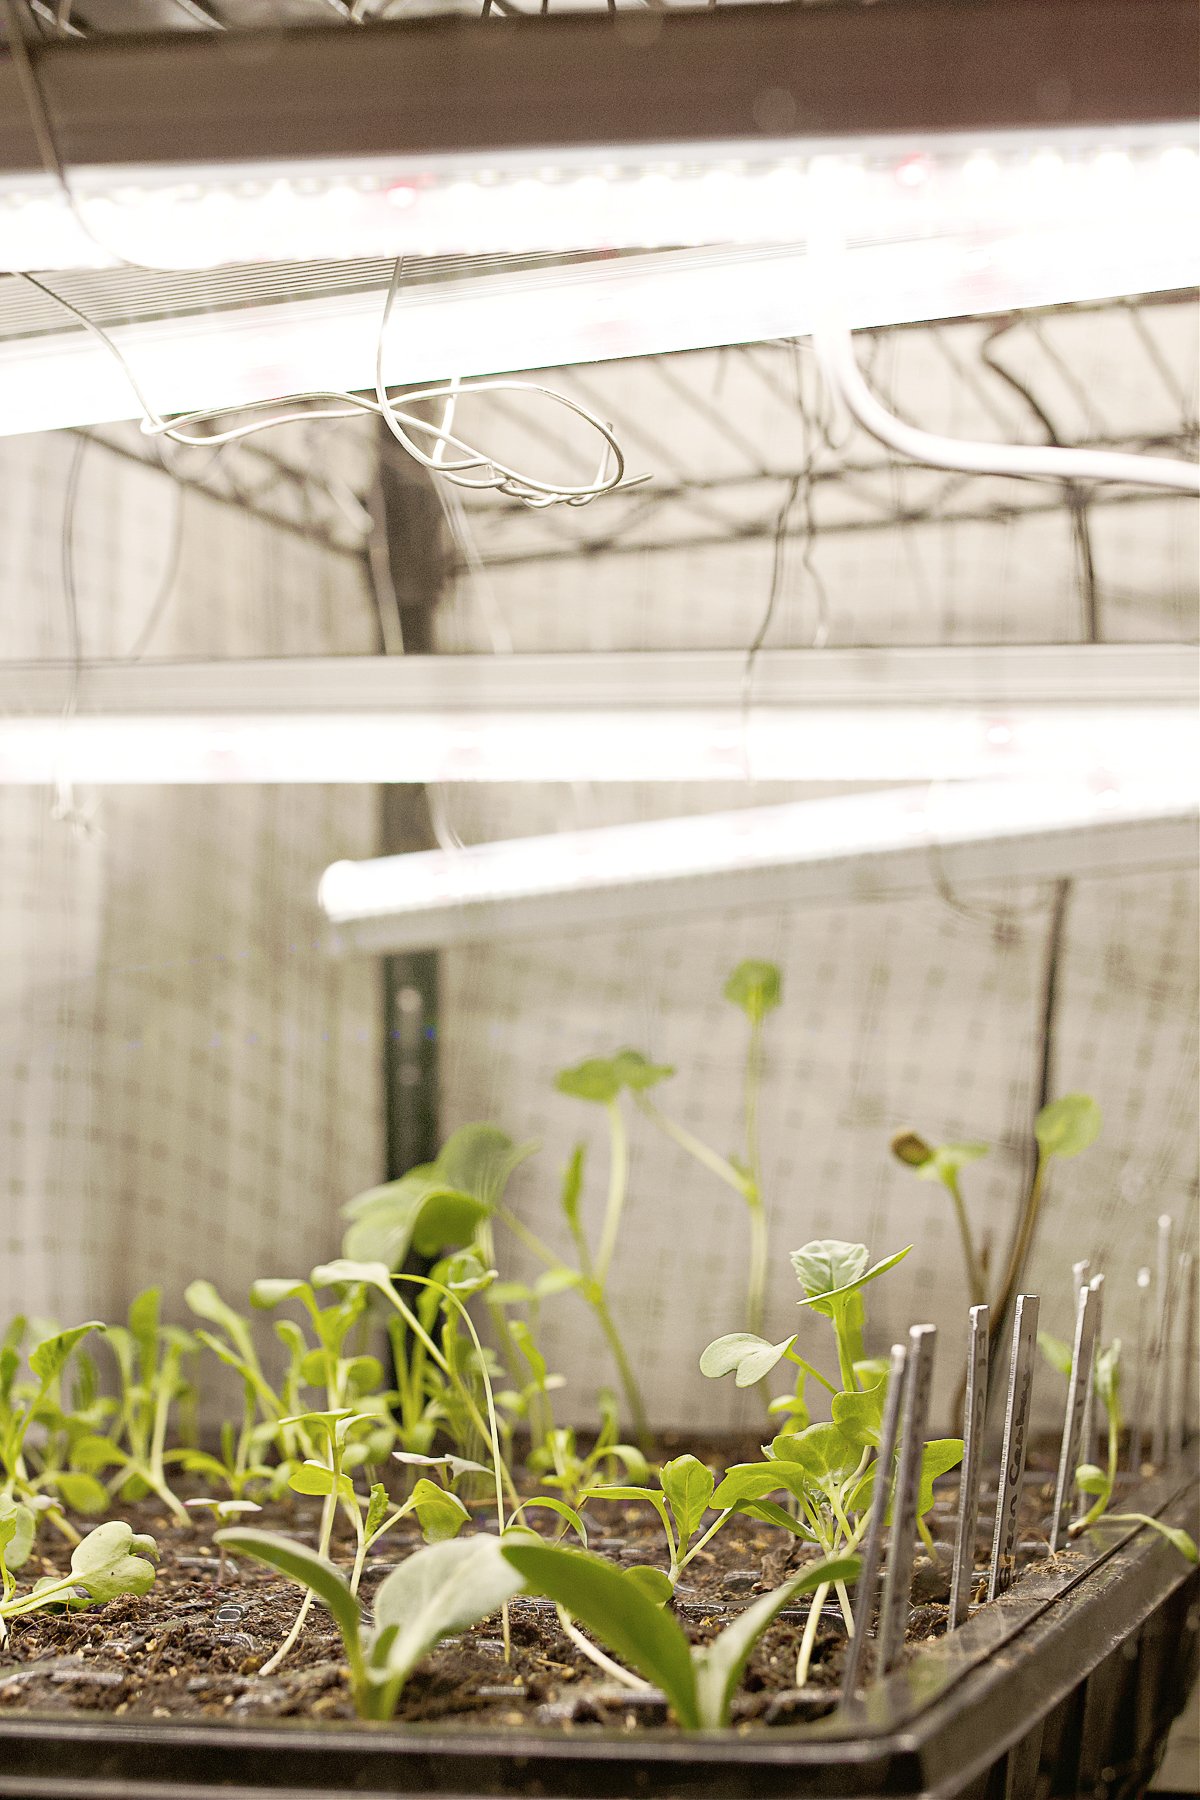
Starting seeds indoors is a great budget friendly option. When it comes to my opinion on grow lights versus not, I've tried both methods. The outcomes? Plants nurtured under grow lights have shown significantly greater success when it comes to transplanting. Without the direct light from above, plants quickly became leggy. Relying solely on window light causes them to stretch sideways, making them not as resilient and they didn't transplant as well.
Heat mat advantageous for seed germination:
- Faster Germination: Heat mats provide a warm and consistent environment for seeds, accelerating the germination process. This is particularly helpful for crops that require higher soil temperatures to sprout.
- Improved Germination Rates: Seeds germinate more reliably when exposed to optimal temperatures. A heat mat ensures that the soil stays within the ideal temperature range, leading to higher germination rates.
- Season Extension: In regions with cooler climates, a heat mat allows you to start your seeds indoors earlier in the season. This extends the growing season and provides a head start for plants that may need more time to mature.
- Uniform Temperature: Heat mats help maintain a consistent temperature across the germination tray or seedling flats. This uniformity is crucial for ensuring that all seeds receive the warmth they need for successful germination.
- Prevention of Damping Off: Damping off, a fungal disease that affects young seedlings, is less likely to occur in a warm and dry environment. A heat mat helps create conditions that discourage the development of damping-off pathogens.
- Cost-Effective: Using a heat mat is a cost-effective way to provide warmth to your seeds compared to other heating methods. It consumes less energy and is easy to set up.
In the end, a heat mat is a valuable tool for optimizing the germination process, improving seedling health, and extending the growing season, making it a practical choice for homesteaders and gardeners like yourself.

This post contains affiliate links. For more information, see my disclosures here.
benefits of planting seeds versus purchasing starts
Depending on your gardening budget, you could use starts instead of seeds. Starts are plants that are a few months old and have been hardened off and acclimated to the outdoors. If you purchase them from a local nursery (which I recommend) they are already grown specifically for your area and will transition easily into your garden bed.
If you're gardening more for fun, or just getting a few plants to enjoy the produce over the summer, starts may be the way to go. However, starts are significantly more expensive than a pack of seeds. One start can range from $2-$6, (unless you can get a deal on a pony-pack which is a smaller set of 6 starts) where a whole pack of seeds is usually around $3-$5. Just a few things to think about when planning your garden.
If you're planning on using starts, also be aware that the variety and choices for produce and flowers will be limited to what you nursery decides to carry.

When to plant directly into a garden bed
Some vegetables don't work well being transplanted. It's best to plant these directly into the ground when all chances of frost are past. Some of these are:
- Radishes
- Turnips
- Carrots
- Spinach
- Beets
- Lettuce
- Bean
- Corn
- Squash
- Gords
This is also true with some kinds of flowers. Poppies and more delicate floral needs to be planted in one spot and stay there.
What you need to plant seeds indoors
You want to purchase a basic seed starter set that includes:
- Seed cell inserts
- Seed trays to place your cells into and water from below
- Humidity dome
- Fertilizer
- Heat Mats
- Grow Lights
I've got all my favorites saved to my Amazon store.
Most gardening stores will carry these packs, and you can also grab this one at a great price off Amazon.
Seed tray packs:

Besides the seeds, that's about all you'll need to start growing healthy plants indoors! For the most stunning flowering plants, make sure to check out Floret Flowers. Her prices are good and her variety is amazing.

Planting Instructions:
Fill planting cells with a quality seed starting mix
Don't skimp on this step. Dirt from outside won't provide the baby plant with as much of the needed nutrients to thrive in its first few weeks of life and could stunt the growth. This could result in a plant that doesn't yield or bloom as much as it could have. This is a great option for soil.
Water before adding seeds
Make sure to throughly wet the soil before planting seeds. Once seeds are planted, you'll water from below, filling the tray under the cells ¼" to ½" deep with water until you see the dirt turn to a dark brown. Once it begins to lighten you'll know it's time to water again.

Constant water under the cells could product root rot, so make sure that the bottom tray is dry about 15 minutes after watering cells. If not, dump remaining water out.
Plant seeds according to packet instructions
A common mistake is to plant the seeds too deep. I use the end of a pen to push down the soil and place the seeds into each spot. Seed depth rule of thumb is to plant each seeds down two time the length of the seed itself.
Cover dome and place in a warm location by a window with indirect sunlight
When seeds begin to sprout, prop dome open. This prevent the dirt from molding.
When to thin
In each cell I plant at least two seeds. After first true leaves appear (Not the initial baby leaves, but the first leaves that appear after those), pull up all except the strongest seedlings in each plant cell (this is the hardest part for me!!!)
To begin hardening plants to the outdoors, once they are a few weeks old and have true leaves, place outside in shade for several days. Bringing them back in at night. Gradually expose to full sunlight.
When to fertilize
After the first set of true leaves appear, and after you have thinned the cells, mix fertilizer (I used this last year with great results) at 50% strength into the water and water plants from below like normal.
When to transplant seedlings
Another rule of thumb is once the plants have at least two to three sets of leaves, they can be transplanted to larger pots or directly to your garden bed. You should have been hardening off your seedlings for over a week at this point, and all chance of frost are gone. Gently pop plants out of individual cells, placing them in a prepared garden bed after risk of frost is gone. Make sure the base of the plant is completely covered by garden soil. Water thoroughly.

Another trick is to transplant the seedlings to the garden on a cloudy day. This avoids shock.
Need more gardening tips and help?
Need more help with gardening? Grab your free garden planning printable here and map out your garden goals today!
Considering adding chickens to your garden area? This is a common addition to a healthy and productive garden! Check out this article here for help and resources!