Harvesting & Drying Herbs | Everything You Need To Know
It's hard to control my excitement when someone asks me a question about drying herbs. I could talk for hours about these powerhouse plants. God's gift to mankind, they're good for everything from flavoring dishes, to tinctures, to teas. The medicinal properties of herbs are something to be marveled at. The fact that we've lost touch with and stopped using them in our daily lives is something that should sadden us all. But, there is hope! We can start incorporating these beautiful and versatile plants into our lives whenever we're ready. And the first step to doing that is making sure we're growing, drying, and preserving our own. Because a fresh herb is a better herb. And thankfully, it's so easy to do!

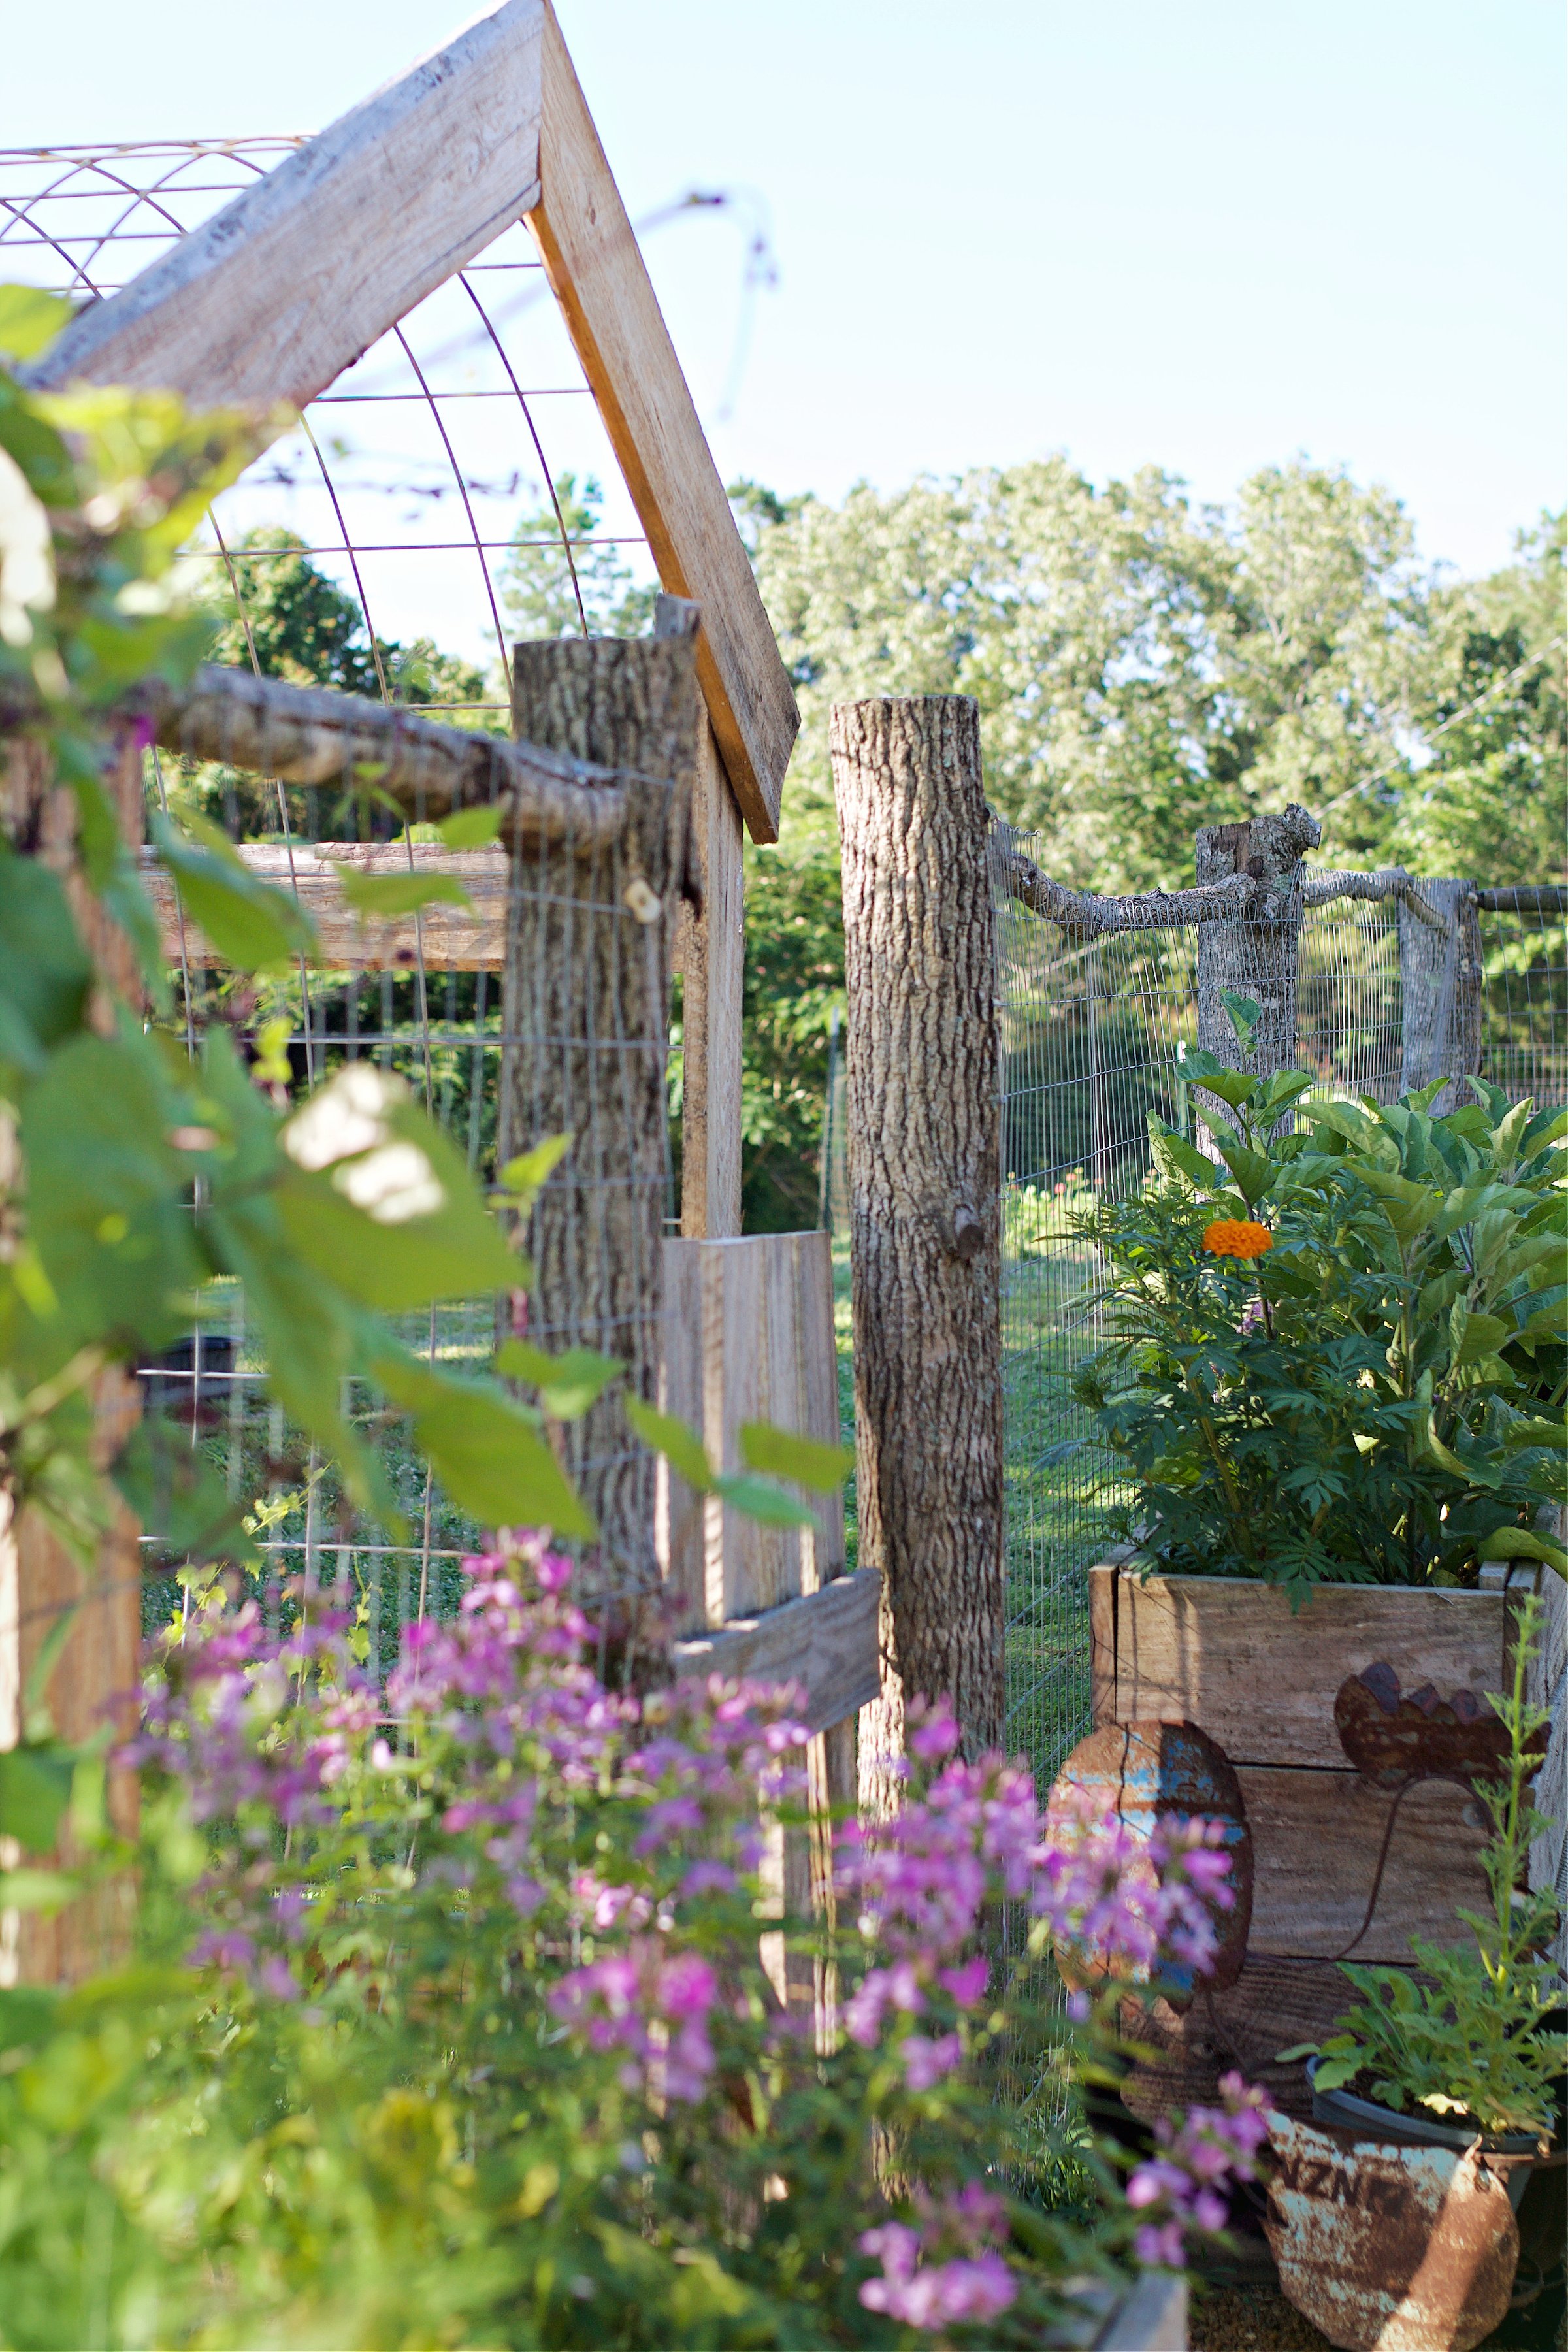
Growing, harvesting and drying your own herbs
I'm going to be a snob here, and share that I'm picky with a capital P when it comes to what herbs are allowed in my house. Why? Because quality matters in a huge way with herbs! If not harvested, dried, and stored right, it's basically like sprinkling little pieces of cardboard onto your food. No flavor or benefits whatsoever. When I see a Good Value container of herbs in anyones home, I want to take my arm in a big sweeping motion, and swipe them all into the trash. You're doing yourself a disservice not using quality herbs. One, because flavor, and two, you aren't getting the health benefits that are available to you when you use low quality herbs. Drying herbs guarantees you the best quality!
Where to purchase herbs if you can't grow them
Last year on one of my favorite podcasts, they mentioned how amazing the quality of Mountain Rose Herbs was. Sick of spending tons of money on organic herbs from the store, where I wasn't 100% sure of the quality, I checked out the site and sat back in awe. They have basically every herb, mushroom, and mix you could fathom. And the prices are amazing! From bulk to the regular glass containers, they have lots of choices. And the quality. Swoon. I was sold and have since, over the past year, been replacing all the herbs I'm not growing or saving myself with those from Mountain Rose.

Growing
Growing you own herbs is a cost effective way to make sure you have lots of good quality herbs that will last a full year, for only a few dollars! One of my favorite places to purchase seeds is Baker Creek. They have great quality and selection, and its always free shipping! Go to your spice cabinet and take note of what you use most, then make an order. As long as you can grow it in your zone, order it!

Tips for a great harvest
When growing herbs, make sure to keep the soil weeded and fertilize every few weeks. I love to use liquid fish emulsion. Warning: it stinks for the 24 hours after applying, but your plants will love it! (Roses go bonkers for it too!)
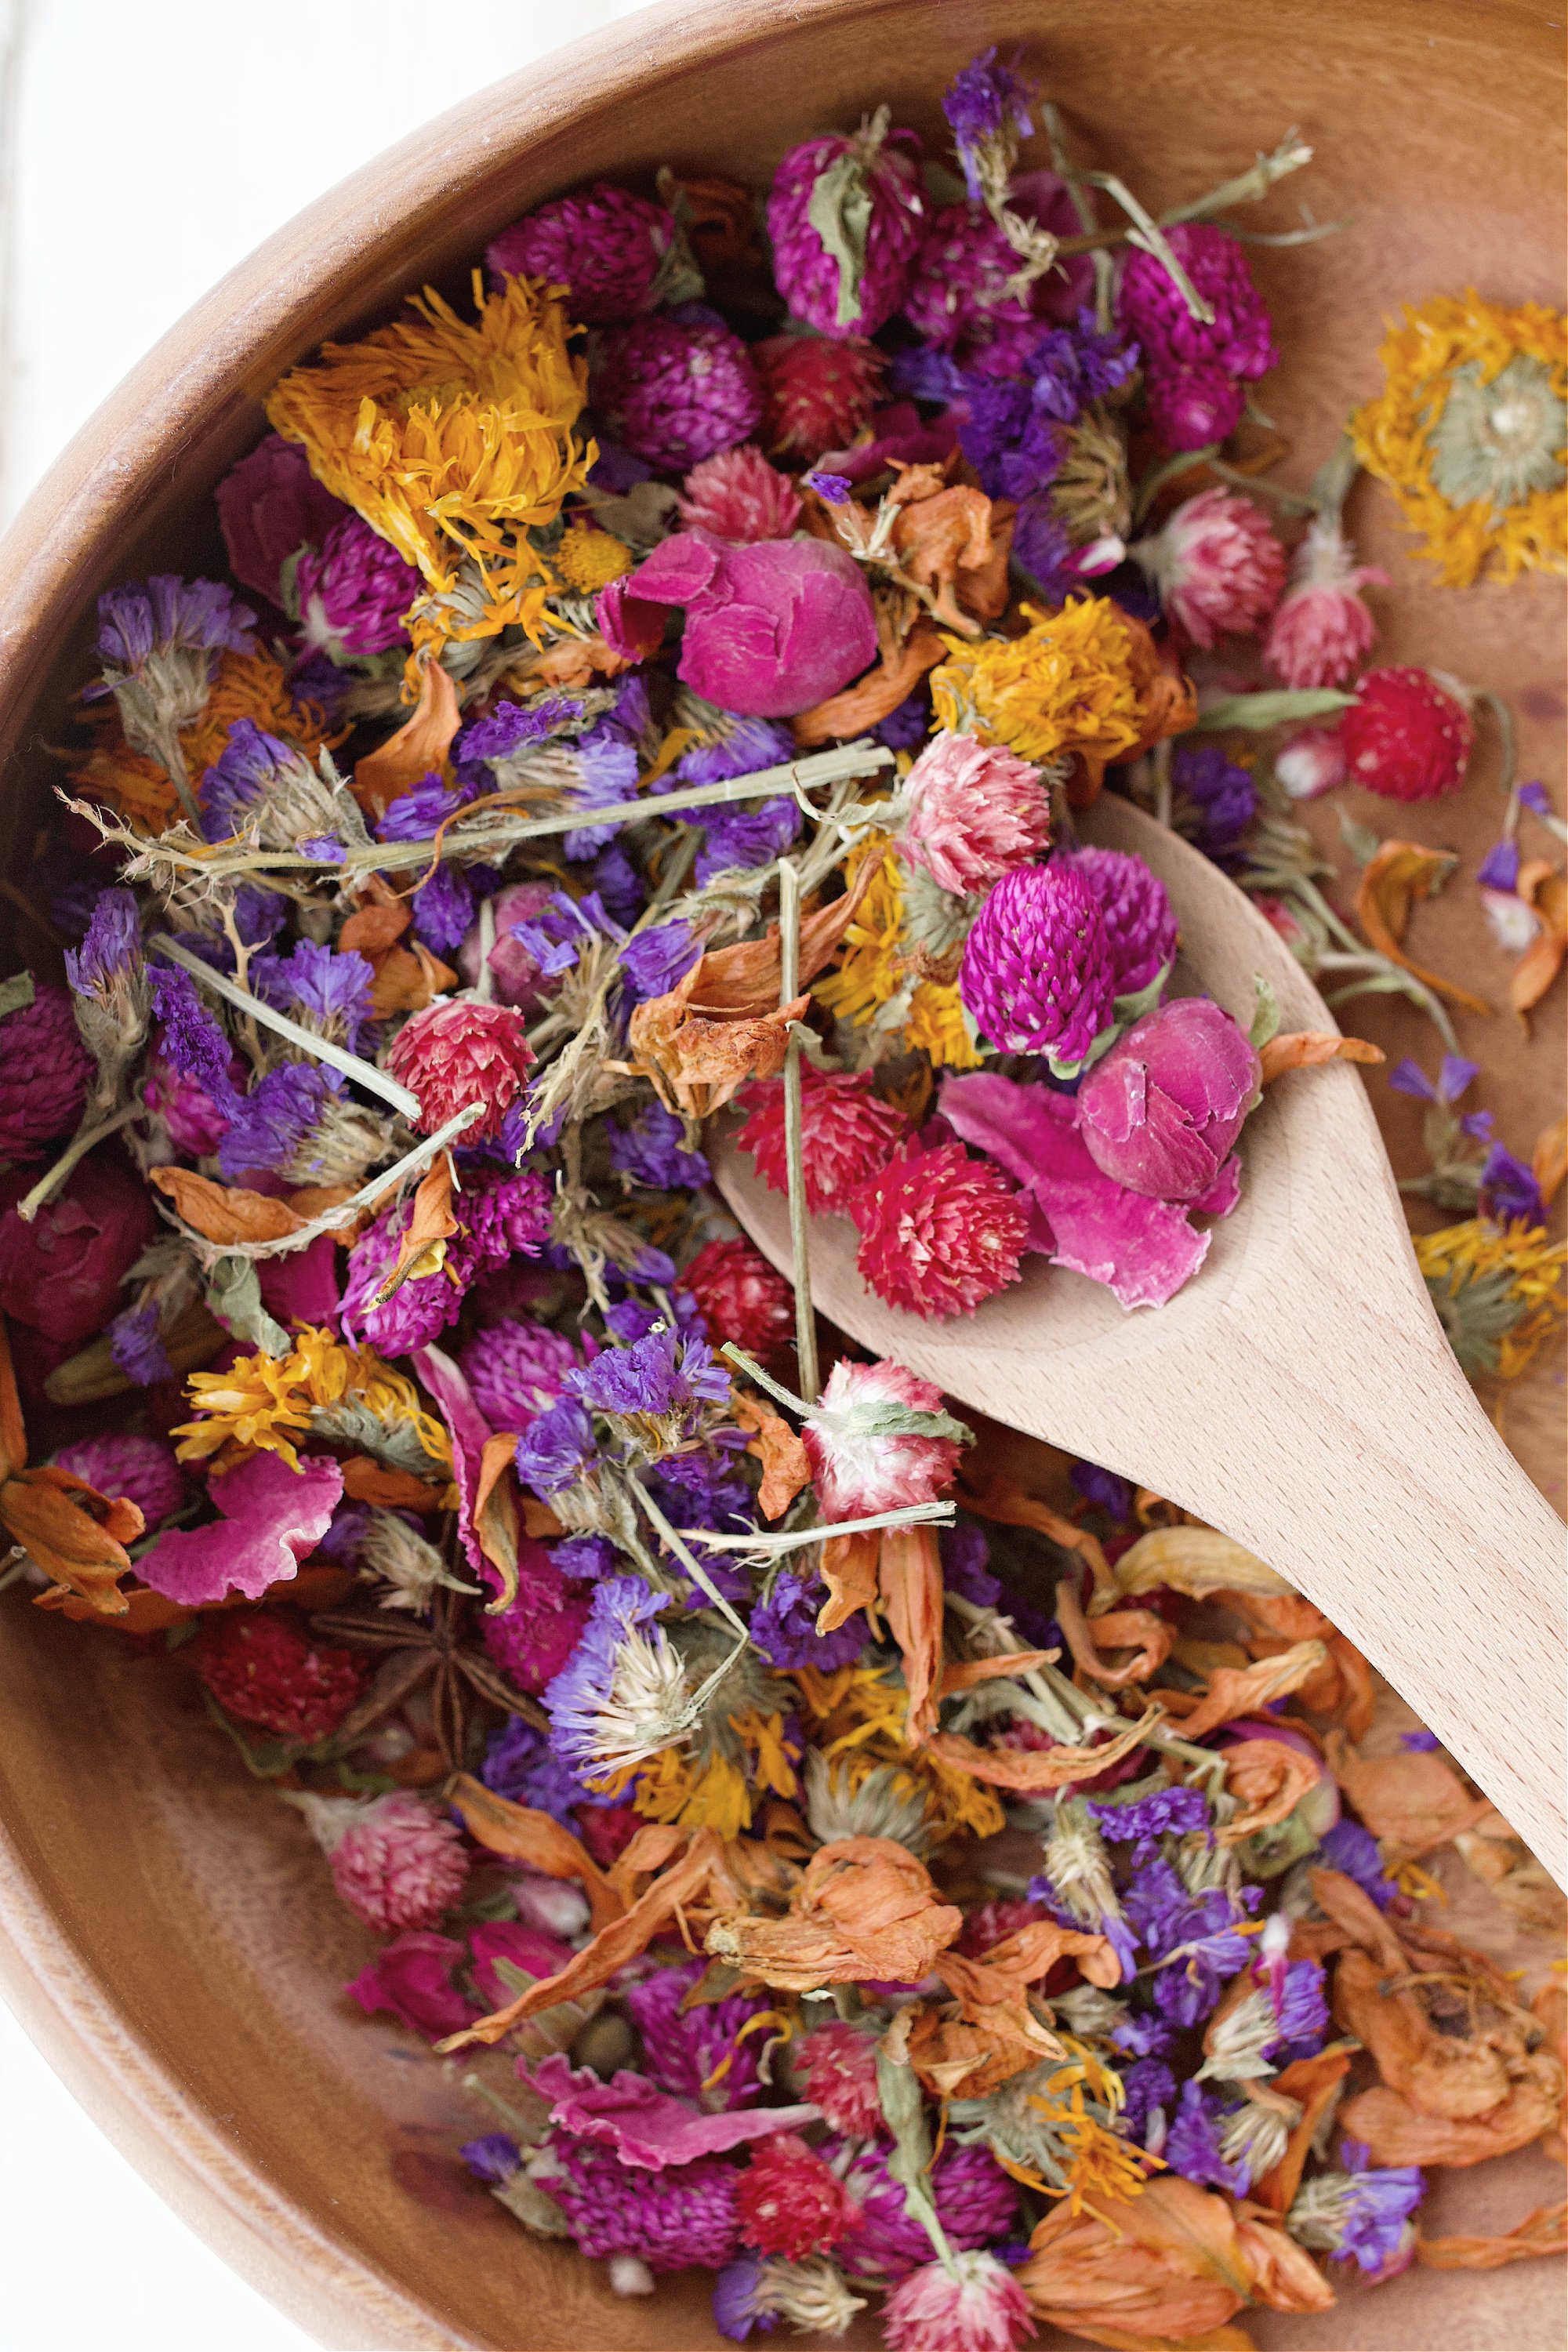
Also make sure to not allow your herbs to bloom. (Unless you're harvesting blooms!) For most herbs, such as basil or parsley, you'll want to remove flowers to allow for the plant to put all it's energy towards the leaves. Once these plants develop flowers the leaves loose some of their flavor and become more bland.
The best time to harvest is in the morning when the leaves are hydrated and filled with all their life giving essential oils. We want to incapsulate all the goodness of the herb in the leaves. Try not to touch or rub the leaves, as that releases the oils and flavors. Trim them long with a good stem so you'll have a place to knot the twine to dry them.

Drying herbs
Once inside, place your herbs into a sink of cold water and gently swish to clean. Remove any leaves that have imperfections on them. You only want the best of the best for drying.

Once clean, take two to three stems together and gently tie into a small bundle with butchers twine. Do this to all your stems, gathering them in bunches.

Take each bunch and tie upside down. I love to do mine on this drying rack. I use it in winter to dry our towels by the fire, and in the summer and early fall to dry my herbs. It's multipurpose! Make sure they're not in direct sun. You don't want to cook the herbs because cooking or drying at any temperature higher than 90 releases the oils and flavors. You're not trying to bake them dry, only air dry. This is one of the reasons I don't recommend a dehydrator or an oven, even though you will see some people say that works. It does dry them, it does not save all the goodness inside them for your foods and teas.

Make sure there's enough air flow in the place you hang them to help with the drying process. Keeping them in a dark or stale room will cause the herbs to take too long to dry, which will lead to moulding. Also bunching too many stems together will not allow air flow, and molding will be a problem in that situation as well.
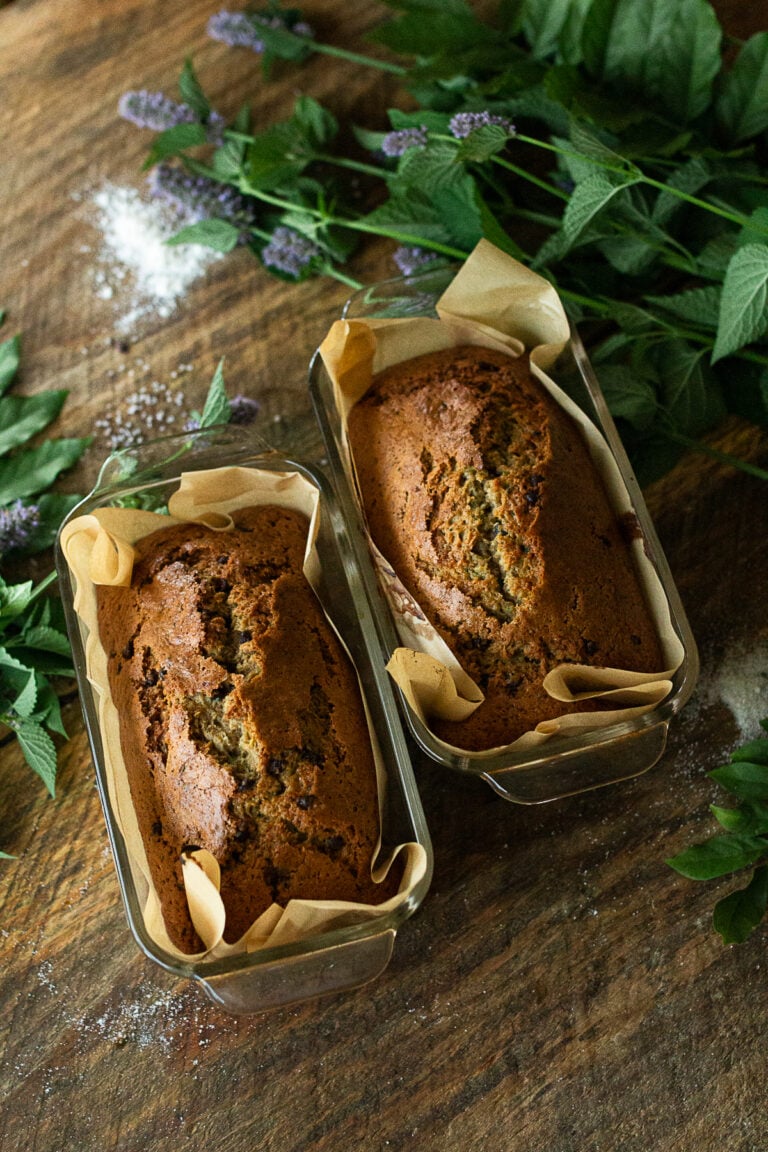
Simply make the bundles small, and keep in a bright area with good air flow and within a few weeks you'll have beautiful, nutritional, and flavorful herbs to add to all your amazing winter dishes.
How to tell if they're dried completely
Do the crunch test. Take a leaf between two fingers and gently press the leaf. Is it crisp and crunchy, or wilty? A herb ready to store will have no water left in the leaf, and easily break apart when pressure is applied.

How to store dried herbs
We don't typically what to crush our herbs and store them as they do in the small store bought containers. Again, crushing and touching releases the potency of the herb. We want to remove each whole leaf from the dried stem and place them in a mason jar. Store in a cool dry place for up to a year. When ready to use, crush with a mortar and pestle. I purchases this one off amazon and use it daily! It's a great addition to any kitchen.
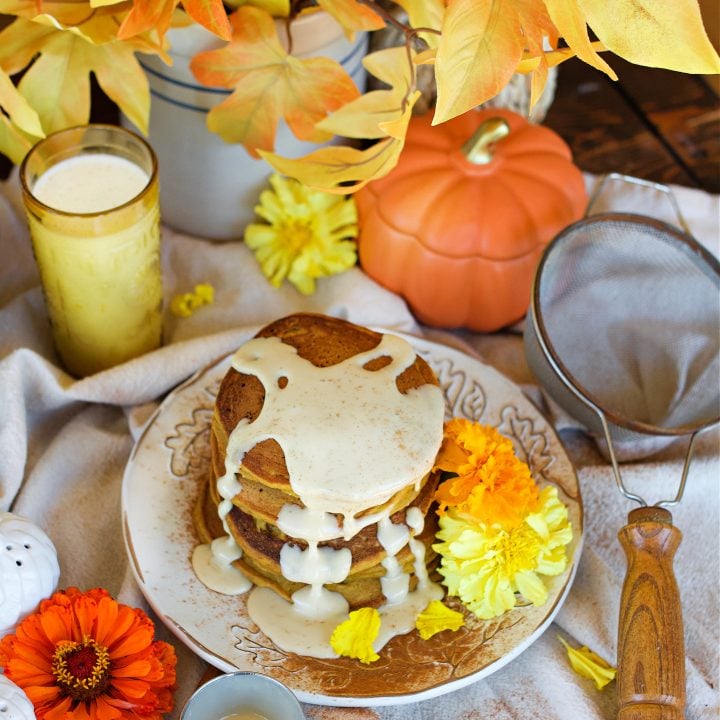
I hope this encourages you to dry some herbs this harvest season. It's truly such an easy way to have the best, most tasty herbs at your fingertips all year long!
To follow along in real time to all my gardening, and homestead happenings, make sure we're friends on instagram! And for some of my most favorite kitchen products, check out this post.