Foolproof Lemon Curd Recipe: Easy, Homemade, Perfectly Tart
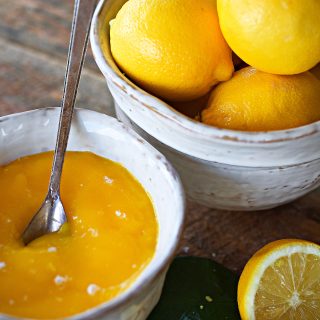
There's something about stirring lemon curd on the stove that feels like a simple kind of luxury. This isn't store-bought lemon curd. It's the real thing: this lemon curd recipe is silky, tangy, and bursting with vibrant lemon flavor, made from scratch in your own kitchen.

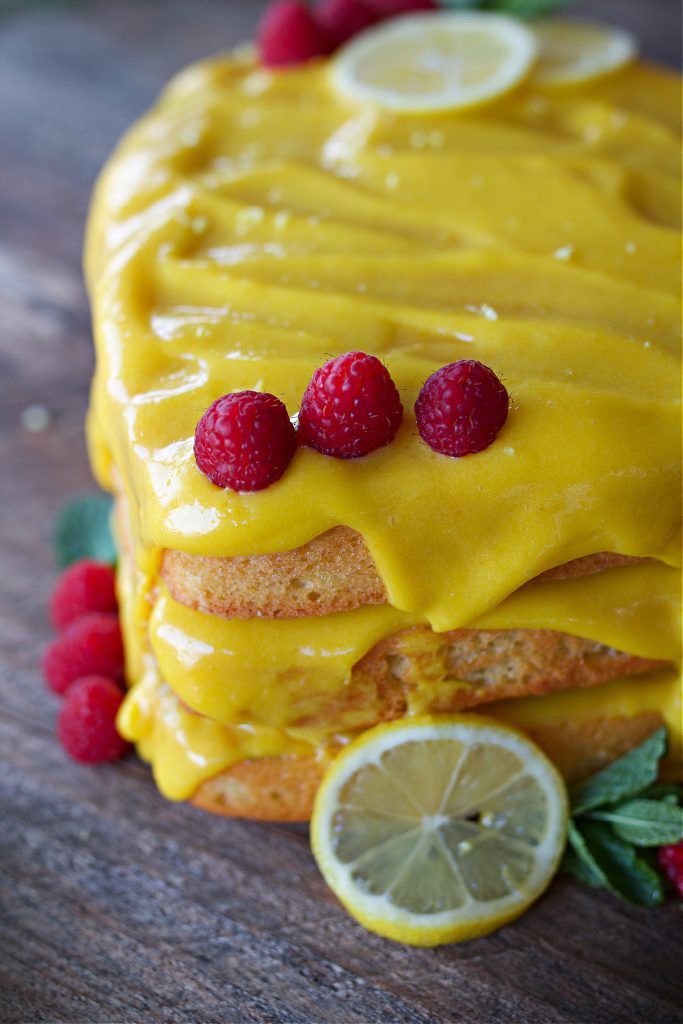
One of my personal favorites is using this curd as a filling for a poppyseed lemon cake or a classic vanilla layer cake. It adds that perfect tart lemon flavor with a silky smooth texture of this curd. You can also make good use of it by spreading it on warm scones or using it in a decadent lemon tart. No matter how you enjoy it, this is the best way to capture the essence of fresh lemons.
Let's dive into how you can make your own traditional lemon curd from scratch, using simple ingredients and foolproof techniques.
Why You'll Love This Lemon Curd
- Vibrant lemon flavor: Thanks to lemon zest, fresh lemon juice, and just enough sugar to balance the tartness.
- Silky, creamy texture: The combination of whole eggs, cold butter, and constant whisking creates a smooth and spreadable result.
- Wholesome ingredients: No need for store-bought versions when you can make it yourself with natural ingredients like room temperature eggs, cup sugar, and sliced butter.
- Versatile: Use it in desserts like a lemon tart, spoon it over vanilla ice cream, or even enjoy it straight from the jar.
This recipe is part of my Citrus Series, where I'm embracing everything bright and tangy in partnership with my friends at Roots & Harvest.
Together, we're highlighting the beauty of seasonal, homemade staples that bring fresh flavors into your kitchen. Whether it's this rich, buttery lemon curd or another citrus creation, my goal is to show you how simple it is to turn fresh produce into something magical.
Be sure to check out the other recipes in the series. There's plenty of citrus goodness to explore!
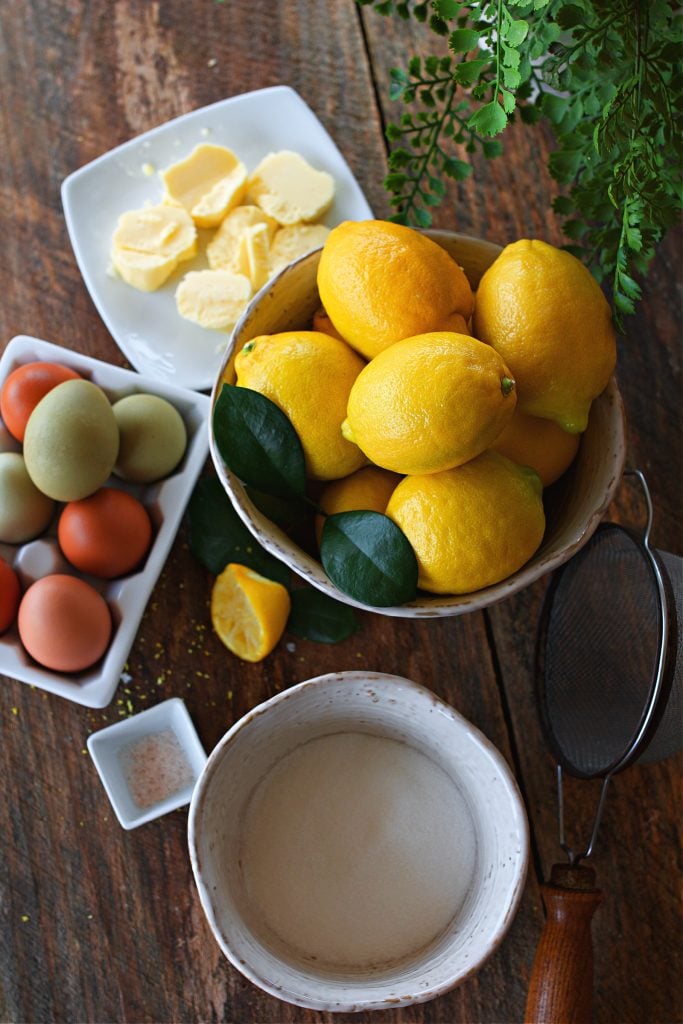
Ingredients You'll Need
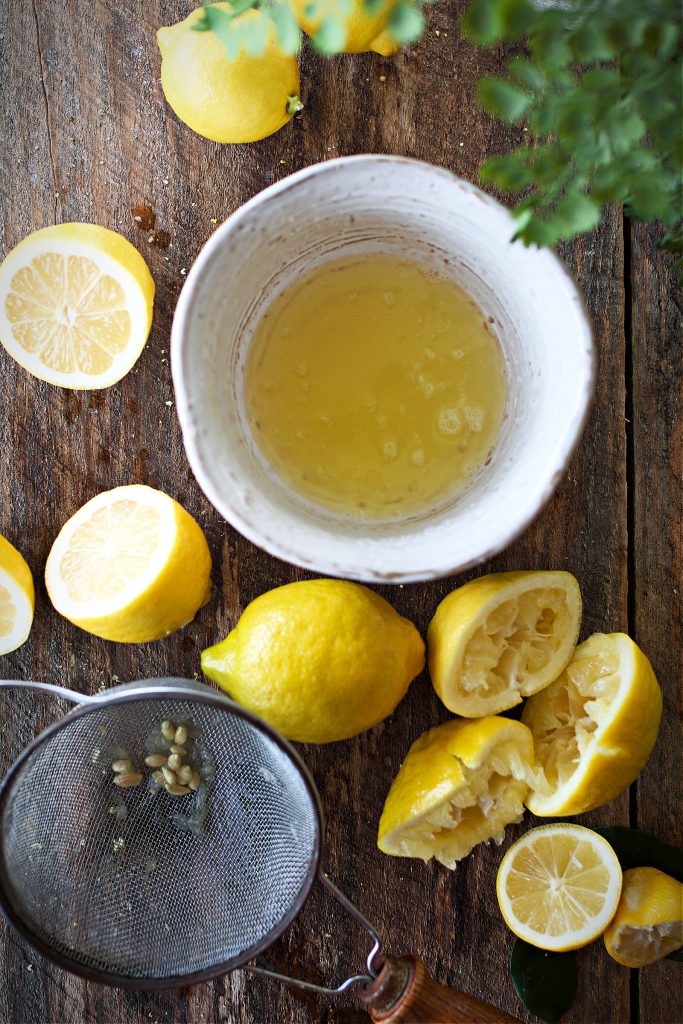
- Lemon zest: Provides flavorful oils and that intense, fresh lemon taste.
- Fresh lemon juice: For the brightest, most zingy flavor-avoid bottled juice for best flavor.
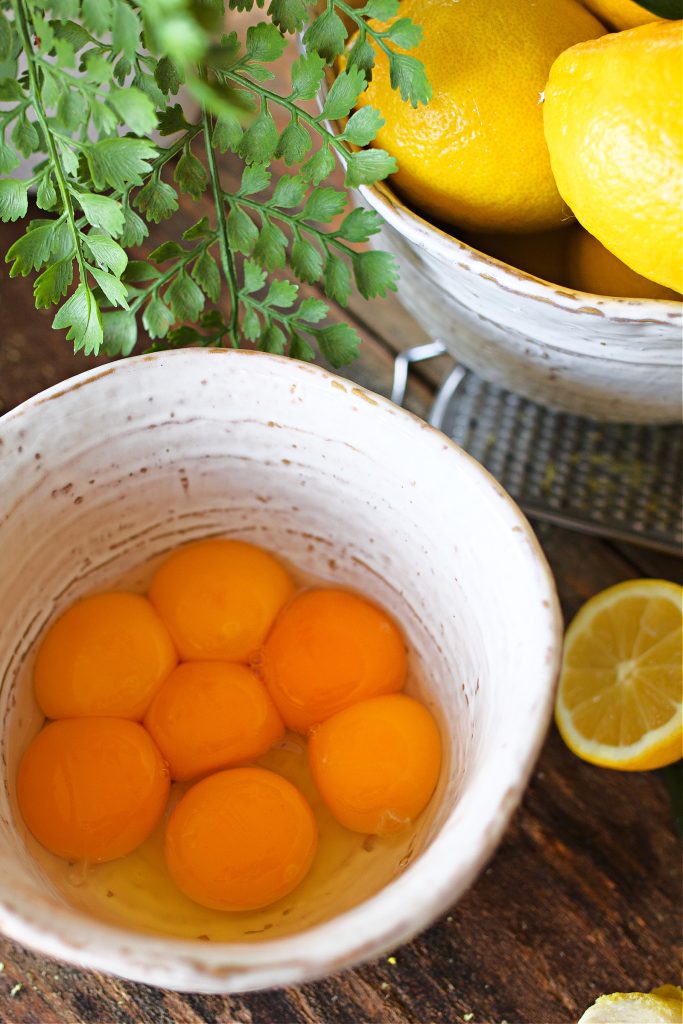
- Combination of whole eggs: The mix of egg yolks and egg whites gives it that custard-like texture.
- Cup of sugar: Adds sweetness to balance the tang of the lemons.
- Butter: For a creamy texture and rich flavor. (I usually go with salted, but you can use unsalted butter if that's your preference.)
- Pinch of salt: To enhance all the flavors.
Storage & Uses:
- Keeps up to 2 weeks in the fridge in an airtight container.
- Freezes well for up to 3 months (thaw in the fridge before using).
- Use for tarts, cakes, toast, yogurt, pancakes, or as a filling for pastries.
Ways to Use Lemon Curd
- Lemon pie filling: Spoon it into a tart shell or pie crust for a quick and easy lemon tart.
- Angel food cake topping: Drizzle it over slices of airy cake for a delicious pairing.
- Filling for cakes: It's perfect in a layered lemon meringue pie or classic vanilla cake.
- Spread on breakfast: Enjoy it with warm biscuits, toast, or scones for breakfast.
- Straight from the jar: No judgment here! A spoonful of this creamy spread is always a treat.
Pro Tips for the Silkiest, Most Flavorful Lemon Curd
- Low and Slow is Key - Cooking over medium-low heat prevents the eggs from scrambling and gives your curd that perfect silky smooth texture. High heat will ruin all your hard work!
- Whisk Constantly - This isn't a step to rush. Constant whisking keeps the curd velvety and prevents lumps. A silicone whisk works best for this.
- Strain for Perfection - Even if you whisk like a pro, tiny bits of egg can cook too fast. Pour the curd through a fine-mesh sieve or fine mesh strainer to remove any small pieces for the smoothest result.
- Use Cold Butter for a Lush Finish - Adding cold butter at the end helps emulsify the curd, giving it that irresistible creamy texture.
- Cover it Right - Once it's done, press a piece of plastic wrap directly onto top of the curd while it cools. This prevents a skin from forming and keeps it glossy.
- Want a Slightly Thicker Curd? - If you prefer a firmer consistency (for filling a tart shell or using as lemon pie filling), stir in a teaspoon of cornstarch with the sugar before cooking.
- Try Meyer Lemons for a Twist - If you have access to Meyer lemon trees, their sweeter, floral flavor makes for an incredible variation.
- Test for Doneness - The curd is ready when it coats the back of the spoon, but if you want to be precise, use an instant-read thermometer and cook to 170°F.
Lemon Curd
Ingredients
- 6 egg yolks - large
- 1 egg whole large
- ¾ cup granulated sugar
- ½ cup fresh lemon juice about 3-4 lemons
- 2 tablespoon finely grated lemon zest zest from 2 lemons
- ¼ teaspoon salt
- 6 tablespoon butter cut into cubes and softened
Instructions
- Blend Sugar & Zest: In a food processor, pulse the sugar and lemon zest together for 20-30 seconds until the zest is finely incorporated. This releases natural oils for a more intense lemon flavor.
- Add Eggs & Lemon Juice: Add the egg yolks, whole egg, lemon juice, and salt to the food processor. Blend until smooth.
- Cook the Curd: Pour the mixture into a medium saucepan over low to medium heat.Stir continuously with a heatproof spatula or whisk for 8-10 minutes, until the curd thickens and coats the back of a spoon (170-175°F).
- Incorporate Butter: Remove from heat and stir in the softened butter, one piece at a time, until fully melted and incorporated.
- Strain (Optional, for Extra Smoothness): If desired, strain the curd through a fine-mesh sieve to remove any small bits of zest or cooked egg.
- Cool & Store: Transfer to a clean jar or container and press plastic wrap directly onto the surface to prevent a skin from forming.Let cool, then refrigerate for at least 2 hours before using.
Notes
Nutrition
FAQ: Common Questions About Lemon Curd
Q: Can I use cornstarch to thicken lemon curd?
Yes, a teaspoon of cornstarch can help if you want a slightly thicker curd, but with proper cooking, it's typically not needed.
Q: Why did my lemon curd turn out lumpy?
This usually happens if you used high heat or didn't whisk constantly. Straining through a fine mesh strainer should fix small lumps.
Final Thoughts
This easy lemon curd recipe is a game-changer for lemon lovers. Its vibrant lemon flavor and silky smooth texture of this curd make it the perfect addition to your favorite lemon recipes. Whether you're making a lemon pie filling, a lemon tart, or simply spreading it on toast, this homemade treat is guaranteed to impress.
Be sure to save the recipe card for next time-I have a feeling you'll be making this often! Let me know how you used it by tagging me on Instagram. I can't wait to see your delicious creations!


I could eat this lemon curd by the spoonful, it’s that good. The texture is silky smooth, the flavor perfectly tart, and it tastes like sunshine in a jar. I used it between layers of a vanilla cake, and it took it to the next level. I’ll never go back to store-bought again!