How To Make Kombucha For Beginners | Full Starter Kit
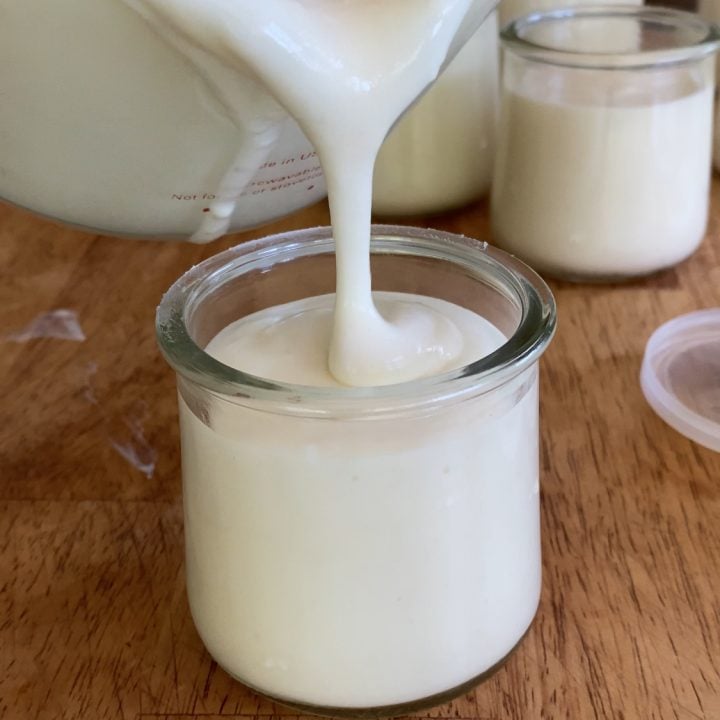
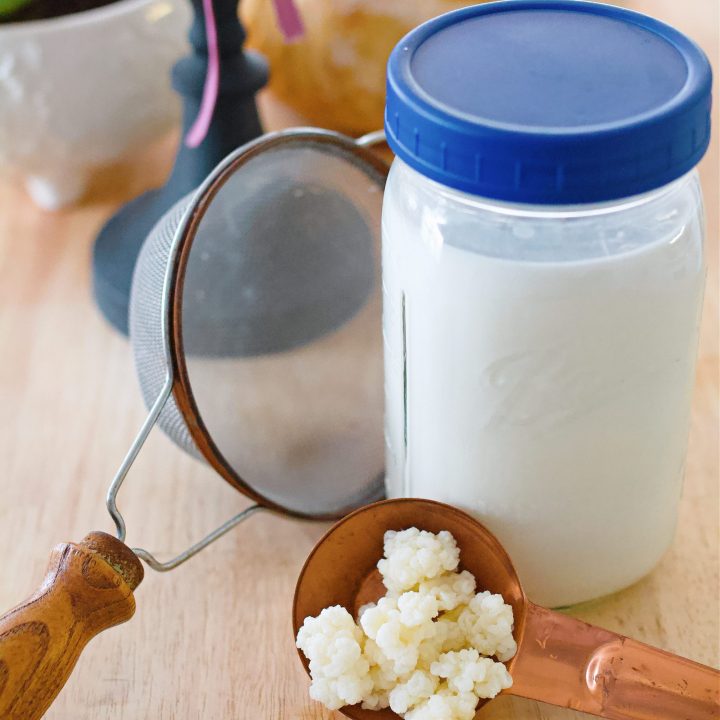
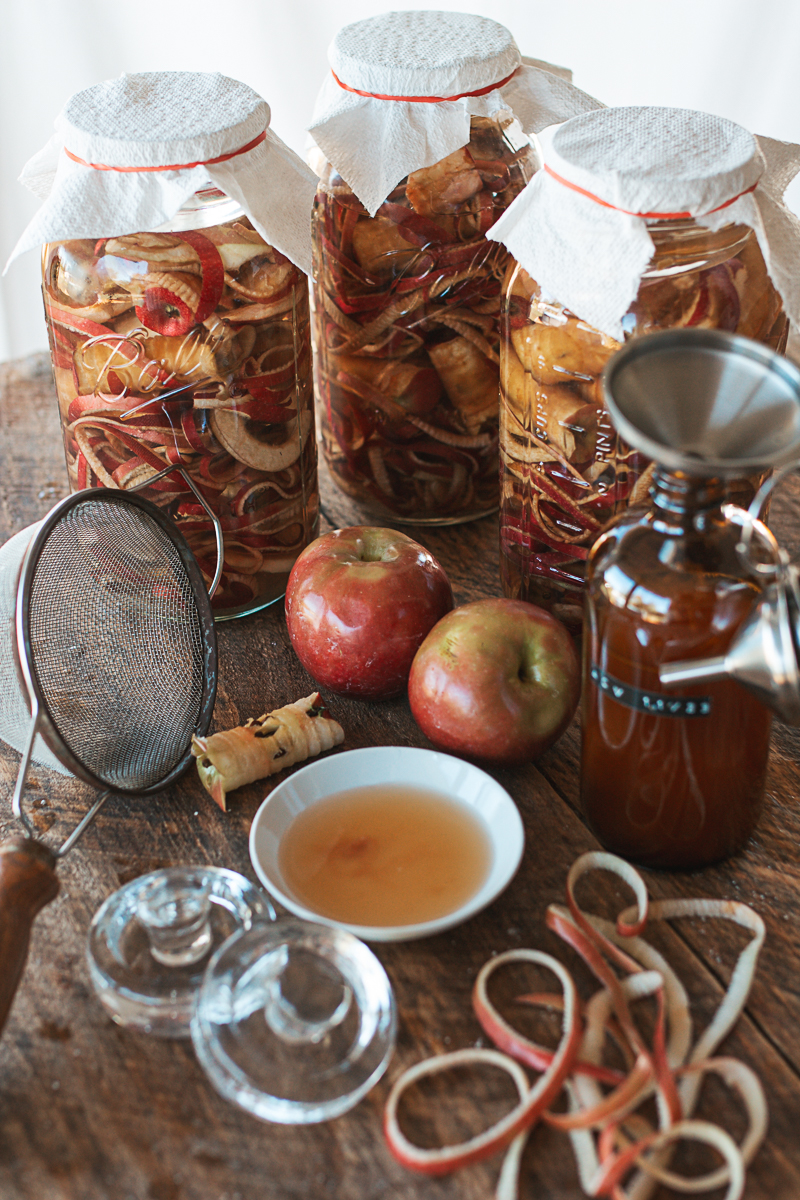
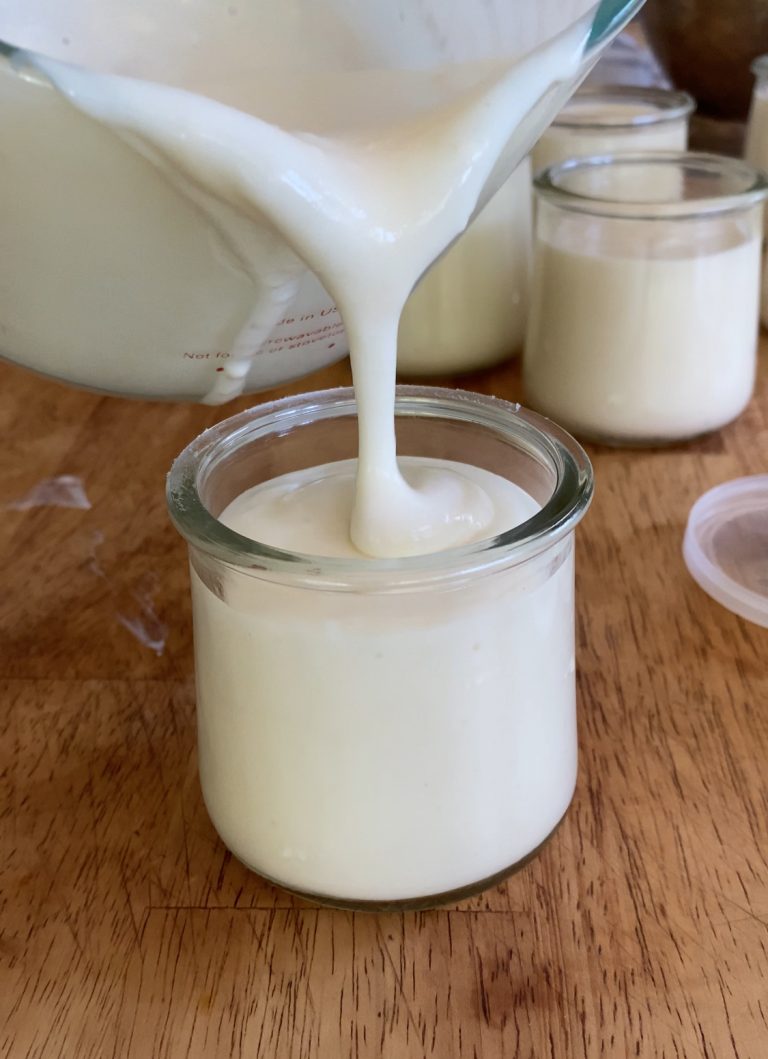
Fermenting has become one of my favorite kitchen activities. From tangy yogurt and creamy milk kefir to sourdough bread and zesty sauerkraut, I've been on a journey to embrace the beauty of fermenting homemade foods.

Adding homemade kombucha to my fermenting list seemed like the next natural step! Recently, I had the chance to try out "The Complete Kombucha Brewing Starter Kit" from Roots and Harvest, and it made the whole process easier than I ever expected.
In this post, I'll walk you through unboxing the kit and share my experience making my first batch of kombucha in just 20 minutes. Plus, I'll dive into some fun facts about kombucha, its history, the benefits of drinking it, and why making it at home is more cost-effective than buying bottles from the grocery store.
This post is made in partnership with Roots and Harvest. As always, all opinions expressed are my own.
What is Kombucha?
Kombucha is a fermented tea that has been enjoyed for centuries, known for its tangy flavor and natural fizz. The process begins by combining sweetened tea with a SCOBY, which stands for Symbiotic Culture of Bacteria and Yeast. This unique ingredient transforms sweet tea into a slightly effervescent, probiotic-rich drink. The SCOBY, sometimes called a Symbiotic Colony of Bacteria, is the "mother culture" that ferments the sugar in the tea. Originating in China over 2,000 years ago, kombucha quickly spread across the globe and has become a favorite for those seeking a gut-friendly drink loaded with probiotics, antioxidants, and vitamins.
Why Make Kombucha at Home?
Making kombucha at home isn't just easy-it's also a fraction of the cost compared to store-bought kombucha. A single bottle of kombucha from the grocery store can run anywhere from $3 to $5. When you brew it yourself, you can create a whole gallon of kombucha for less than that, customize the flavors to your taste, and know exactly what's going into your brew. Plus, brewing at home is a rewarding experience, and the "Complete Kombucha Brewing Starter Kit" from Roots and Harvest makes it simple, even for beginners.

Unboxing "The Complete Kombucha Brewing Starter Kit"
When my kit from Roots and Harvest arrived, I was thrilled to unbox it. Inside, I found everything I needed to start my first batch of kombucha:
- Original SCOBY: This essential ingredient is the magic behind fermenting the sweetened tea into kombucha.
- Organic Sugar and Tea: High-quality ingredients, including organic tea, to kickstart the fermentation process.
- Glass Gallon Jar: The perfect vessel for brewing your kombucha.
- Cloth Jar Cover, Tea Towel, and Rubber Band: Keeps out dust and fruit flies while allowing the tea to breathe.
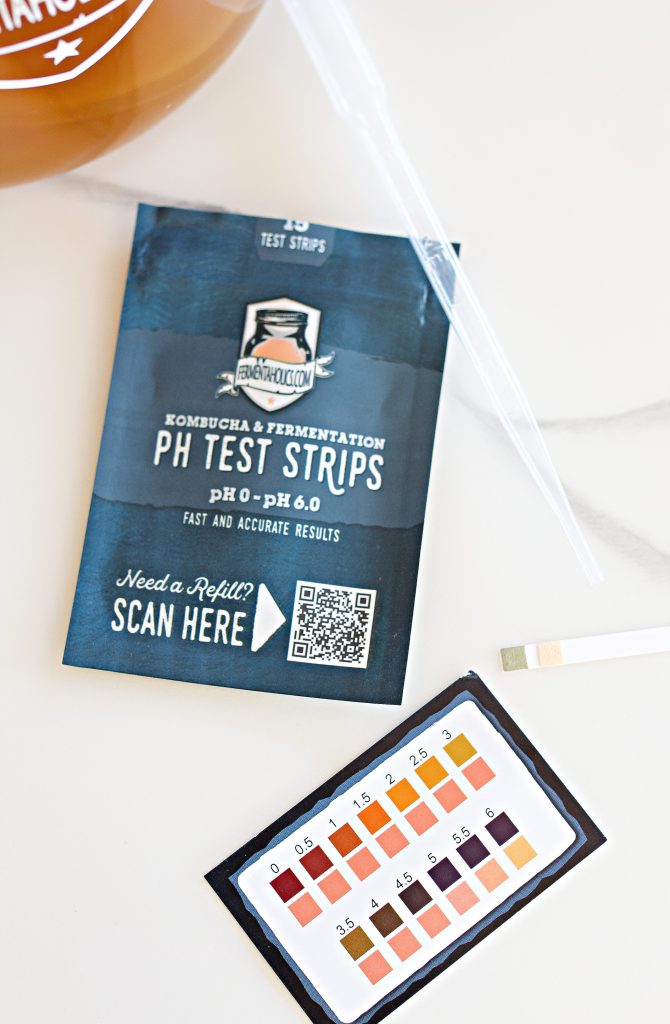
- PH Test Strips: To ensure the acidity is just right for a healthy brew.
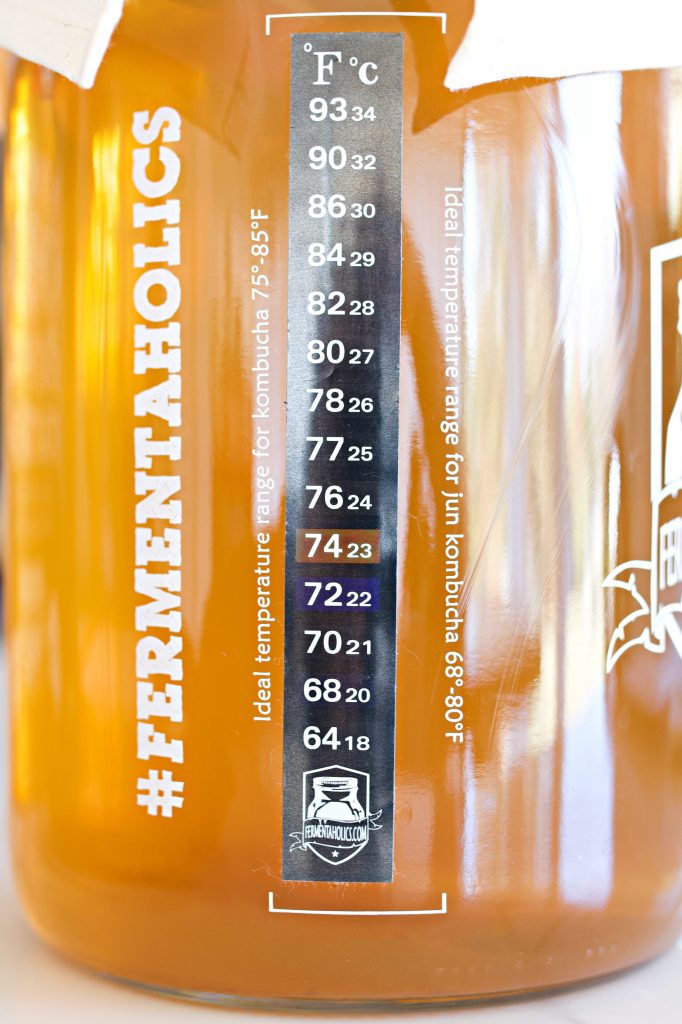
- Adhesive Thermometer: Handy for keeping an eye on the brewing temperature.
- Detailed Instructions: Step-by-step guidance that made the whole process easy.
Brewing My First Batch
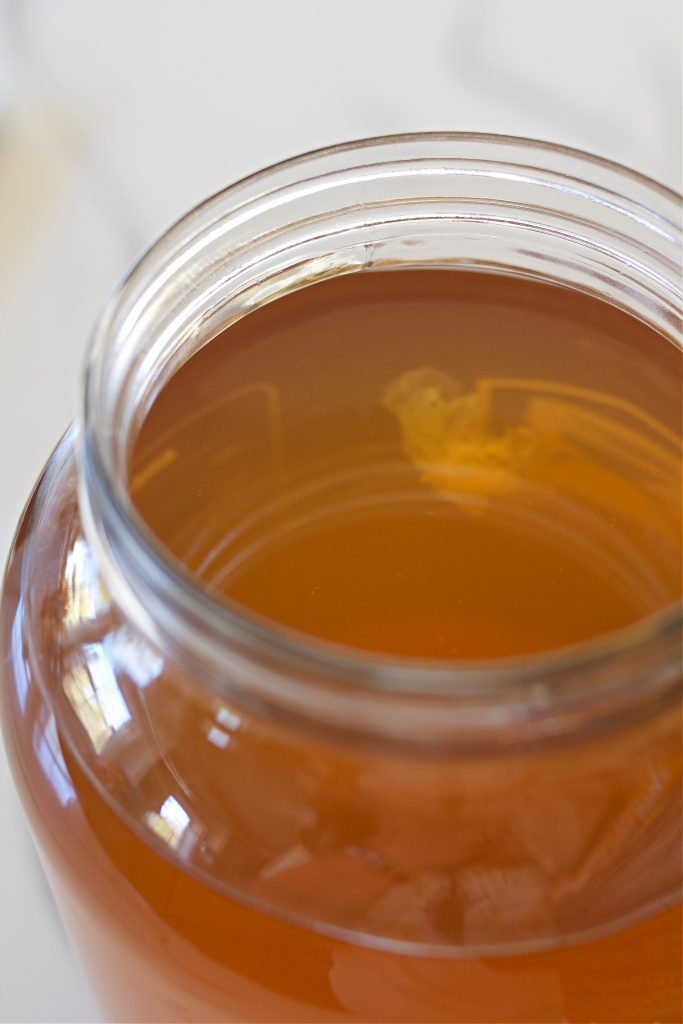
I began by brewing the tea bag provided in the kit with hot water. Once it was fully steeped, I stirred in the organic sugar-just enough to fuel the fermentation process. The kit includes the perfect amount of sugar, and the instructions explain how to measure it for future batches. After the sugar dissolved, I poured the sweetened tea into the gallon jar, filling it to about 3 inches from the top with filtered water. Once the temperature cooled to between 75-85°F, I added the SCOBY.
The instructions guided me to keep the jar in a warm, dark area, covered with the cloth jar cover secured by a rubber band, to protect it from dust and fruit flies. I was careful to handle the SCOBY with clean hands to avoid any contamination. In less than 20 minutes, my first batch was set up and ready to ferment!
The Brewing Process and First Fermentation
The brewing process for kombucha is simple but requires attention to detail. The first fermentation lasts about 7-14 days, depending on your room's temperature range. During this time, the SCOBY converts the sugars in the tea into beneficial acids, creating the tangy kombucha flavor. You'll notice bubbles forming as the carbon dioxide is released-this is a sign that your kombucha is actively fermenting. I checked the pH with the test strips to ensure my kombucha was progressing well.
After the first fermentation, I tasted a small sample from the top of the liquid to check if the flavor was to my liking. It's important to use a straw or spoon to avoid disturbing the SCOBY too much.
Second Fermentation for Extra Fizz
Once the first fermentation was complete, I moved on to the second fermentation. This step is optional but adds natural carbonation, creating a fizz similar to a soft drink. For this step, I transferred the kombucha to glass bottles with flip-top lids, added a bit of fruit juice for flavor, and sealed the bottles tightly to trap the carbon dioxide. The bottles sat in a warm spot for another 2-3 days to develop bubbles. Be careful not to add too much fruit juice, as it can increase pressure and cause the bottles to explode.
Why I Trust Roots and Harvest for All My Fermenting Needs
I've been using Roots and Harvest products for months now, and they never fail to impress. Their commitment to quality and focus on making traditional skills accessible to everyone is something I deeply appreciate. As a homesteader, I rely on their tools to make my daily tasks easier, whether I'm fermenting yogurt, crafting sourdough, or experimenting with new foods like kombucha.
If you're a homesteader, homemaker, or just someone who wants to bake from scratch and live a cleaner, more self-sufficient lifestyle, Roots and Harvest has you covered. From canning and fermenting supplies to baking essentials and tools for the garden, they offer a wide range of products designed to support the DIY lifestyle.
And here's a little bonus: You can save on your order with my code Eryn15. It gets you 15% off your purchase plus free shipping, making it even easier to get started with your homesteading and fermenting projects!
Tips for a Successful Kombucha Brew
- Use a mix of green tea and black tea for a balanced flavor profile. You can also try oolong tea or white tea for a different taste.
- Keep your brewing vessel out of direct sunlight to avoid damaging the SCOBY.
- Make sure your hands are clean when handling the SCOBY to prevent introducing unwanted bacteria.
- Use a tea towel or cloth to cover your jar and prevent fruit flies.
- A good idea is to keep your SCOBYs in a scoby hotel-a large jar where you store extra SCOBYs for future brews.
- If you want to make a flavored kombucha, try adding fruit purees during the second fermentation for a unique twist.
Benefits of Drinking Kombucha
Kombucha is more than just a tasty beverage-it's also packed with health benefits:
- Probiotics: Supports gut health and digestion by introducing beneficial bacteria to your system.
- Antioxidants: Helps combat free radicals, reducing oxidative stress.
- Vitamins & Enzymes: Contains B vitamins, including B12, which are often hard to find in plant-based diets.
- Boosts Energy: Kombucha's natural acids and B vitamins can give you a gentle energy boost without the caffeine crash.
- Cost-Effective: Brewing at home is not only budget-friendly but also allows you to create large batches for a fraction of the price of store-bought kombucha.
The Cost-Effectiveness of Brewing at Home
As someone who enjoys sipping kombucha regularly, I've noticed how quickly the costs can add up when buying from the store. Brewing at home allows you to make large batches for a fraction of the price. With the Roots and Harvest kit, you're set up to keep the kombucha brewing cycle going, making it even more cost-efficient over time. All you need to do is brew new tea, reuse the same SCOBY, and start your next batch.
A Little Kombucha History
Did you know kombucha has a fascinating history? The origins of kombucha are often traced back to ancient China, around 220 B.C., where it was known as the "Tea of Immortality." From China, kombucha spread to Russia and Eastern Europe, gaining popularity for its supposed health benefits. By the early 20th century, it was enjoyed throughout Europe and became a staple for those seeking a natural way to support their health.
If you're like me and love to ferment, adding kombucha to your repertoire is a no-brainer.
Thanks to the Roots and Harvest "Complete Kombucha Brewing Starter Kit," the process is approachable, even for beginners. In less than 20 minutes, I had my first batch ready to ferment, and within a week, I was enjoying my homemade, fizzy, gut-friendly drink.
Brewing kombucha is not only cost-effective but also a fun way to experiment with flavors and craft a drink that's uniquely yours. Plus, you'll have the satisfaction of knowing you made it from scratch-just another step in embracing a homemade lifestyle.
So, if you've ever wanted to try making kombucha, this kit makes it a breeze. Give it a go, and let me know how your first batch turns out!
Ready to Get Brewing?
If you're interested in diving into the world of fermentation, check out the Roots and Harvest "Complete Kombucha Brewing Starter Kit" here. Use my code Eryn15 for 15% off and free shipping-let's brew some bubbly goodness together!