Decorating a Chandelier with Greenery for Christmas
The Christmas spirit has officially taken over our farmhouse. Each day, I pick a new corner to cozy up for the season. Like the hallway snow garland or our six-foot-tall Paint-By-Number Santa that's held strong for five years now. Today, my attention's on the dining room. The Mariah Carey station is playing, the coffee's hot from our refreshed coffee bar, and I'm ready to bring a little farmhouse magic to our chandelier.
There's something about greenery draped from a chandelier that feels nostalgic and warm. As if it belongs in an old Christmas postcard. The twinkle lights, the touch of pine, that soft glow above the table. It all adds up to simple, cozy beauty. While we do our dreamy cozy mantle in faux greenery, I love using fresh garland here for that unmistakable pine scent. But truly, either one works beautifully. This easy DIY brings timeless charm to your holiday home and fills the room with that inviting, old-fashioned Christmas feel.

? Quick Look: Decorating a Chandelier with Greenery for Christmas
⏱️ Time: About 1 hour total
? Cost: Around $20 (even less if using greenery you already have)
? Main Supplies: Fresh or faux garland, floral wire, scissors, nippers, twinkle lights, optional decor picks (like holly or pinecones)
?? Skill Level: Easy - simple layering and wire work
✨ Style: Cozy farmhouse Christmas with timeless greenery and warm light
? Best For: Dining rooms, kitchen tables, or entryway chandeliers
?️ Pro Tip: Keep branches clear of bulbs and layer your greenery loosely - the natural, imperfect look feels the most inviting and authentic.
SUMMARIZE & SAVE THIS CONTENT ON
Jump to:
- ? Quick Look: Decorating a Chandelier with Greenery for Christmas
- SUMMARIZE & SAVE THIS CONTENT ON
- Why You'll Love Decorating a Chandelier with Greenery for Christmas
- Items You'll Need for a Fresh or Faux Garland Chandelier
- Easy Substitutions and Variations for Christmas Chandelier Greenery
- How to Decorate a Chandelier with Greenery for Christmas
- Expert Tips for Hanging Greenery on a Chandelier
- Frequently Asked Questions About Decorating with Garland
- Troubleshooting Guide for Christmas Greenery Decor
- Storage Tips for Faux Christmas Greenery
- Shop Chandeliers:
- MORE CHRISTMAS CRAFTS AND DECOR
- Decorating a Chandelier with Greenery
- The holidays are such a magical time, and I love finding ways to bring that joy into our home through simple, creative projects.
Why You'll Love Decorating a Chandelier with Greenery for Christmas
Simple but stunning: A handful of supplies turns your chandelier into a festive showpiece.
Classic farmhouse style: Adds that cozy, old-world charm every Christmas home needs.
Customizable: Works beautifully with either fresh pine or faux garland.
Budget-friendly: A small investment with a big, cozy impact.
Items You'll Need for a Fresh or Faux Garland Chandelier
- Garland of your choice (fresh pine or faux greenery)
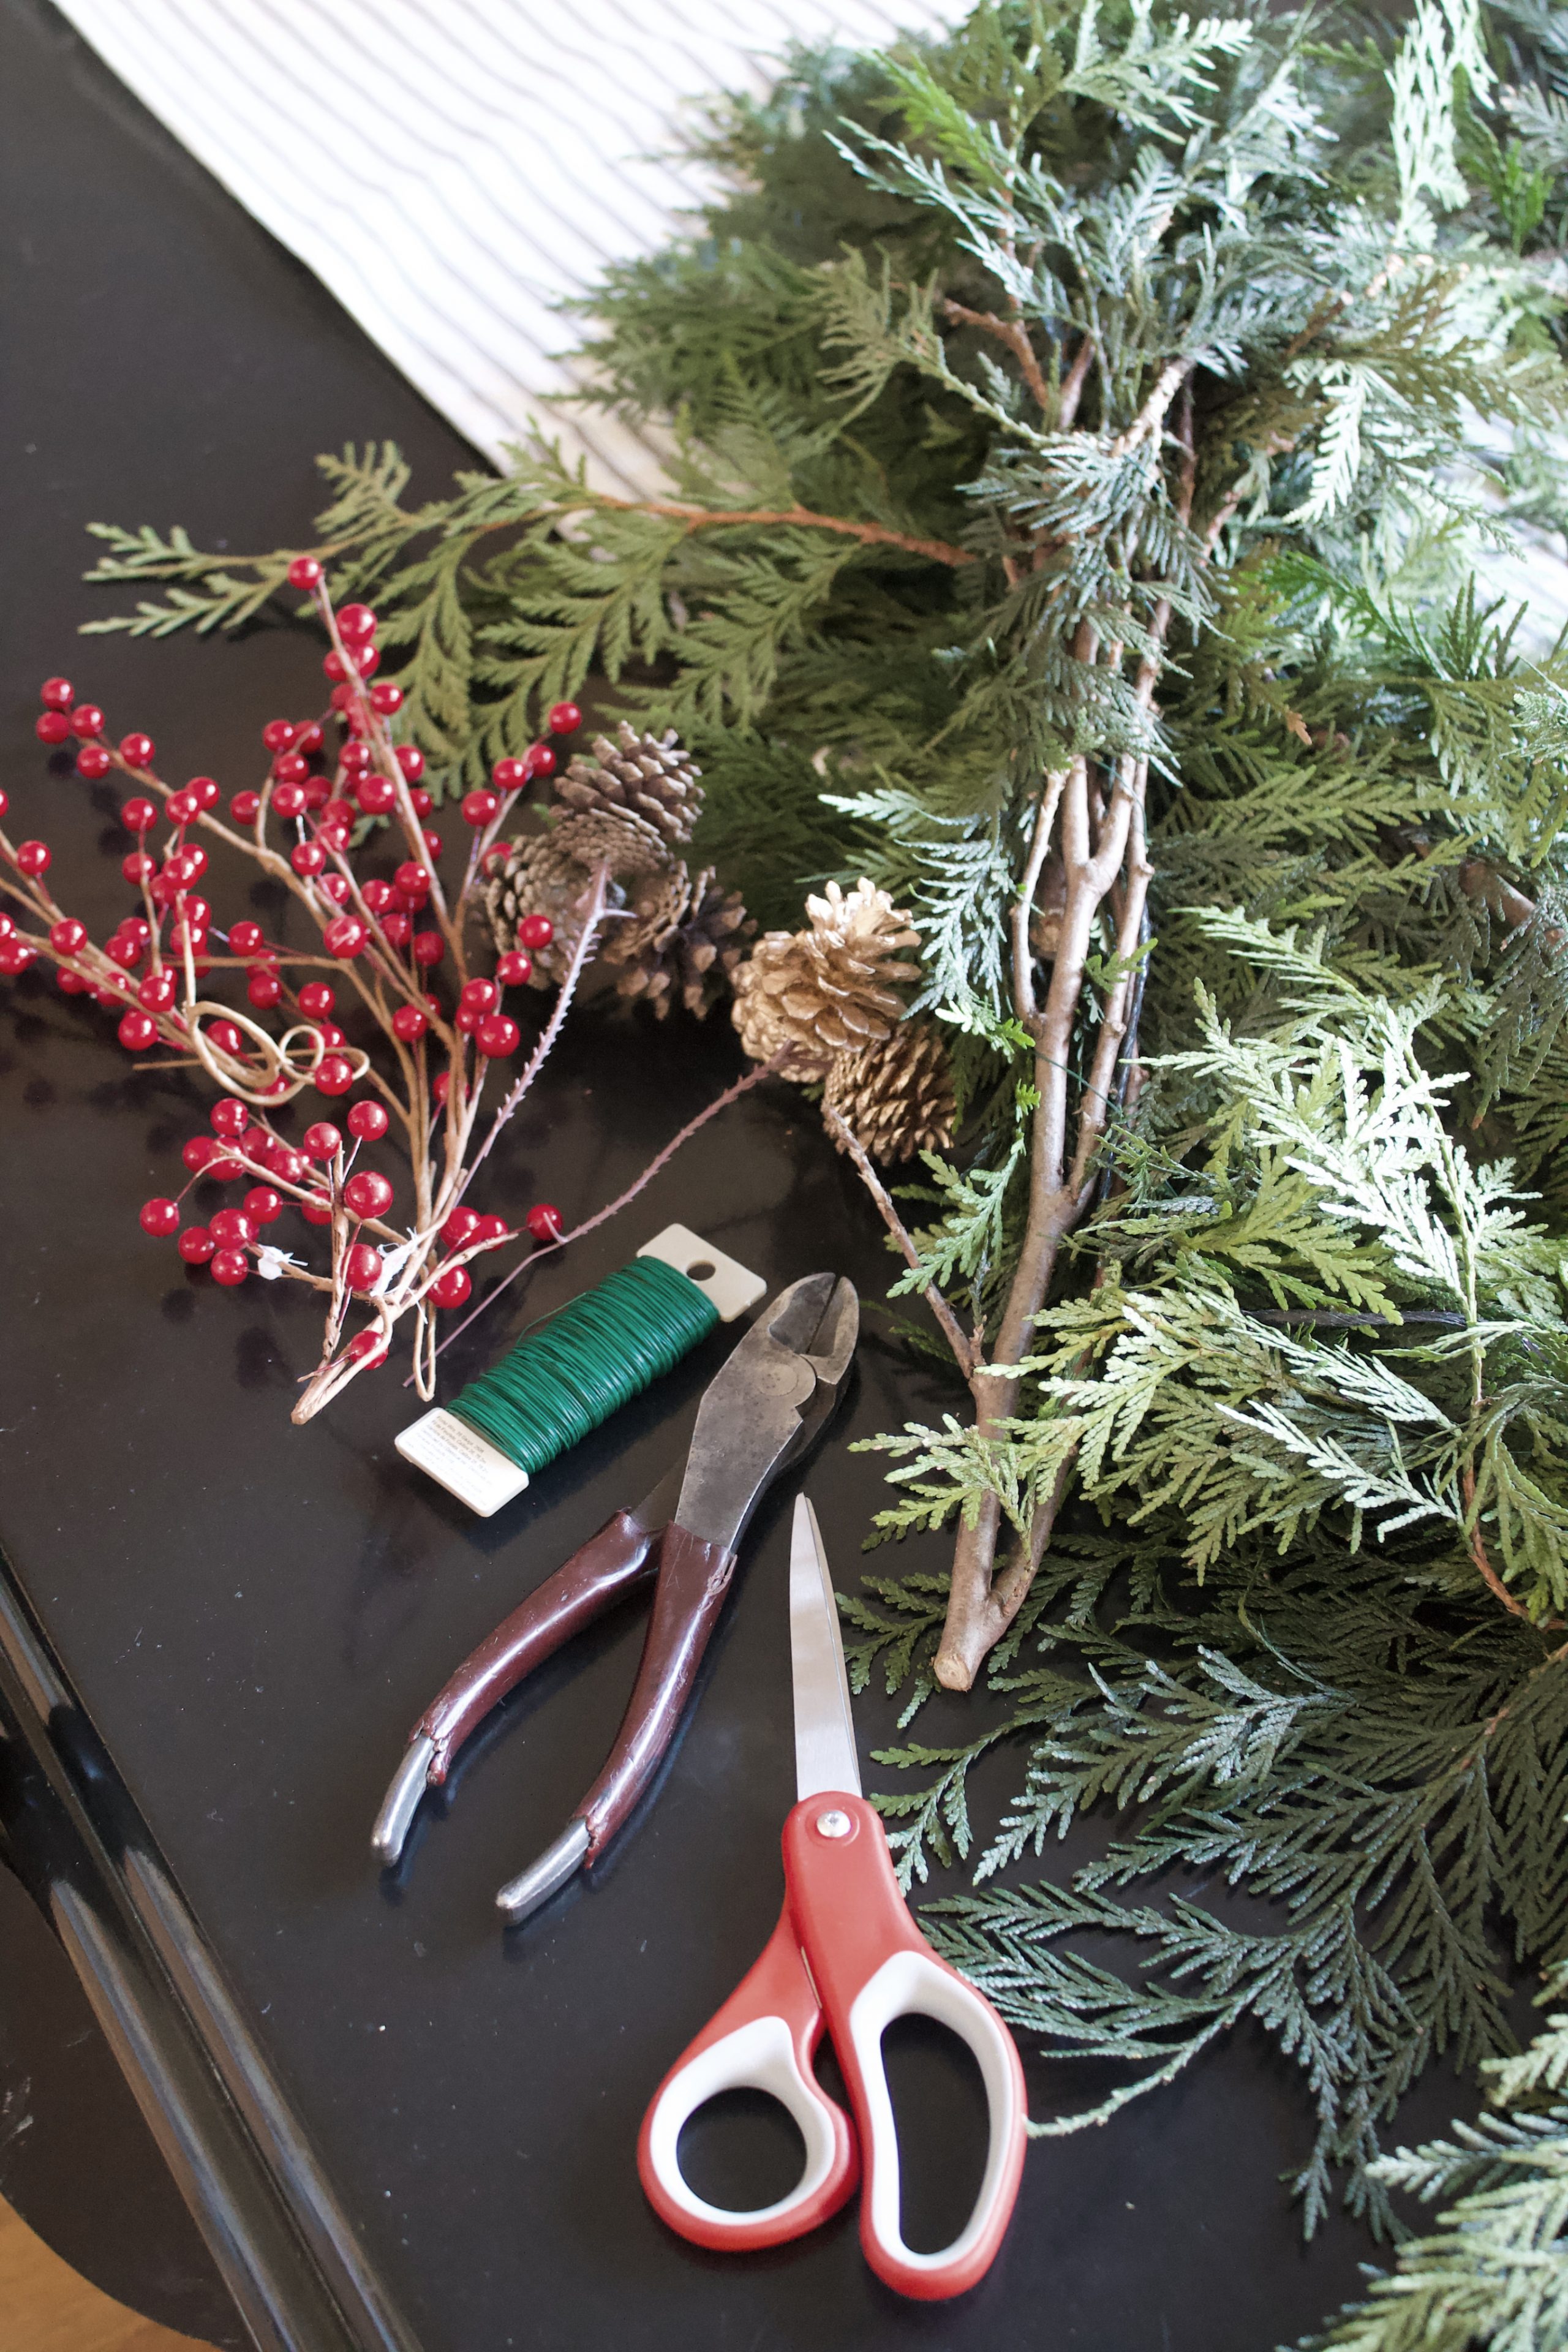
- Plant nippers and wire cutters
- Floral wire
- Scissors
- Extra decor pics like holly, pine cones, or items of your choice
- Twinkle lights (these remote operated twinkle lights are a great price!)
Easy Substitutions and Variations for Christmas Chandelier Greenery
- No floral wire? Use twine or clear fishing line.
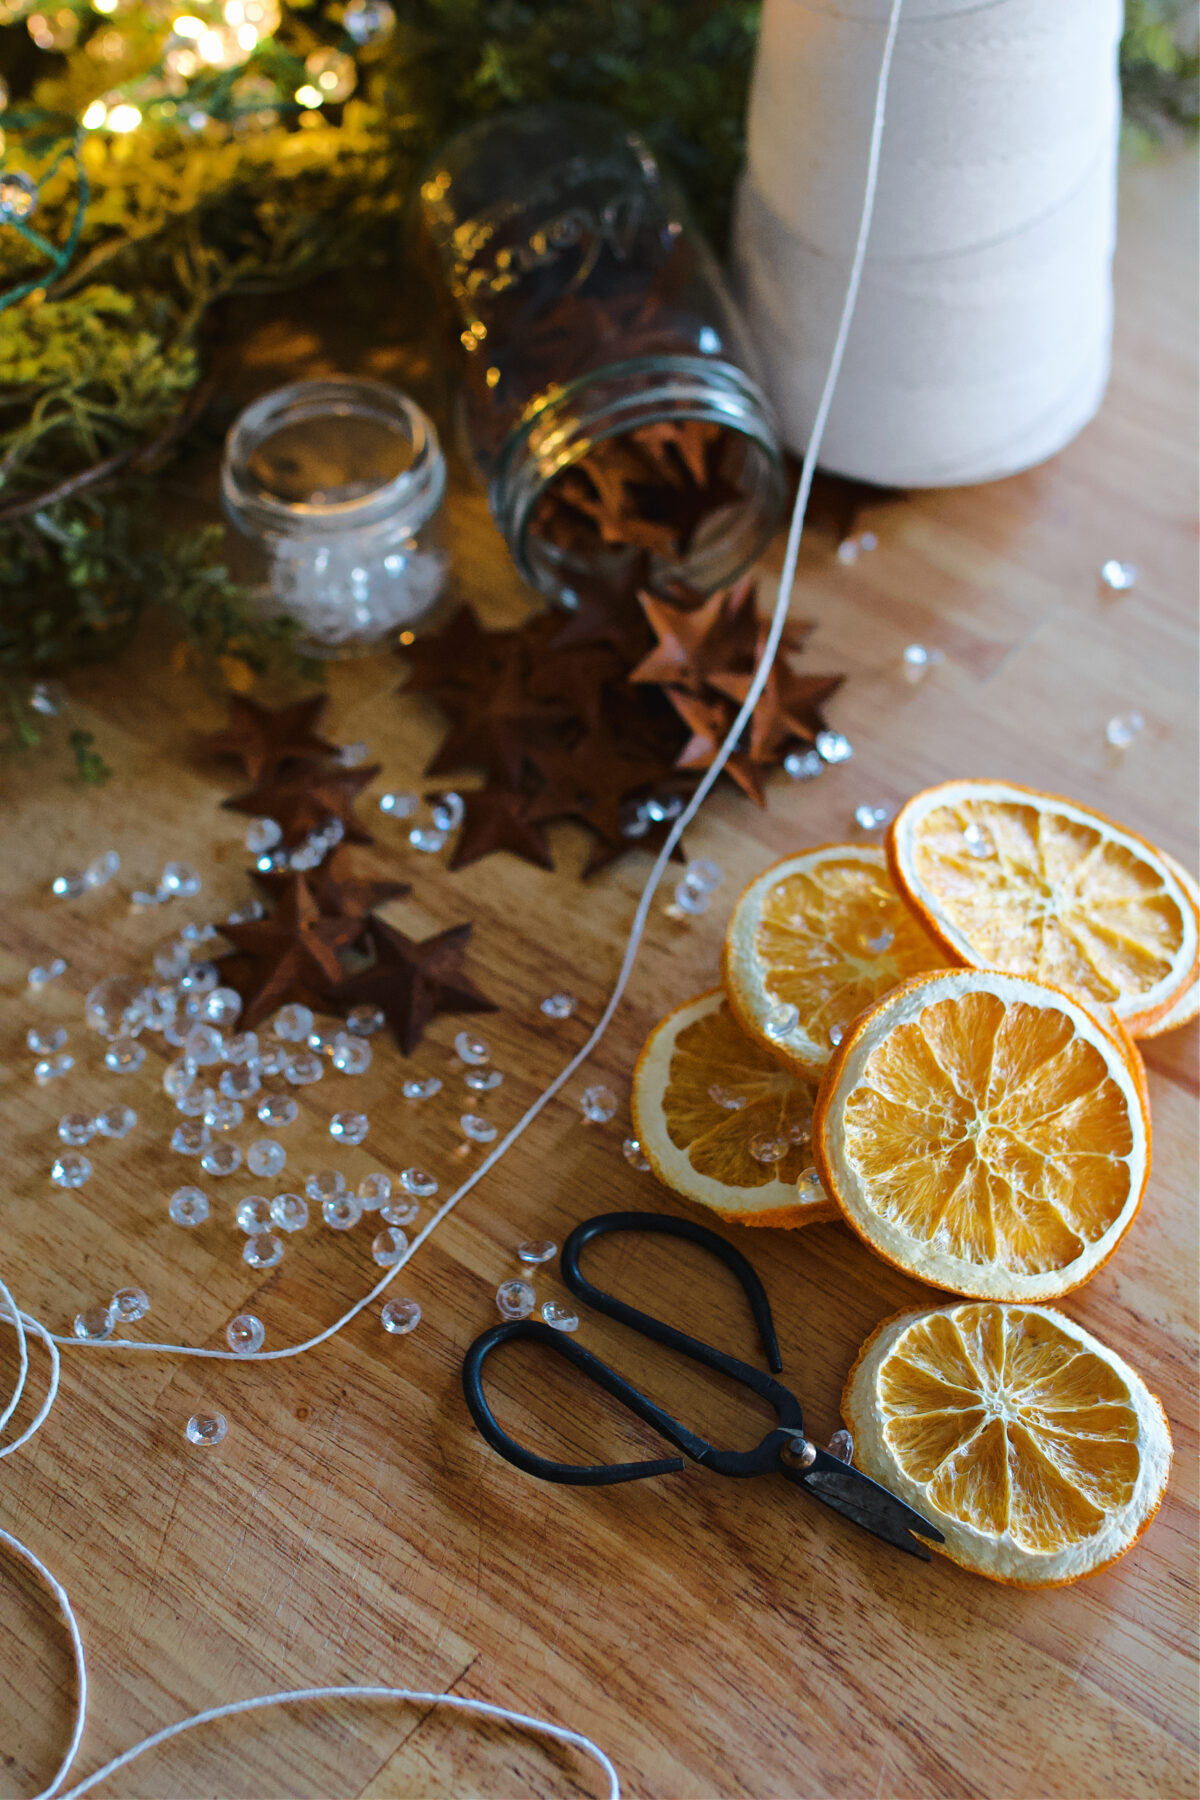
- Prefer faux greenery? Layer in dried oranges or ribbon for added depth.
- Rustic farmhouse look: Add cedar, juniper, or foraged pinecones.
- More sparkle: Tuck in battery fairy lights for a soft glow above the table.
How to Decorate a Chandelier with Greenery for Christmas
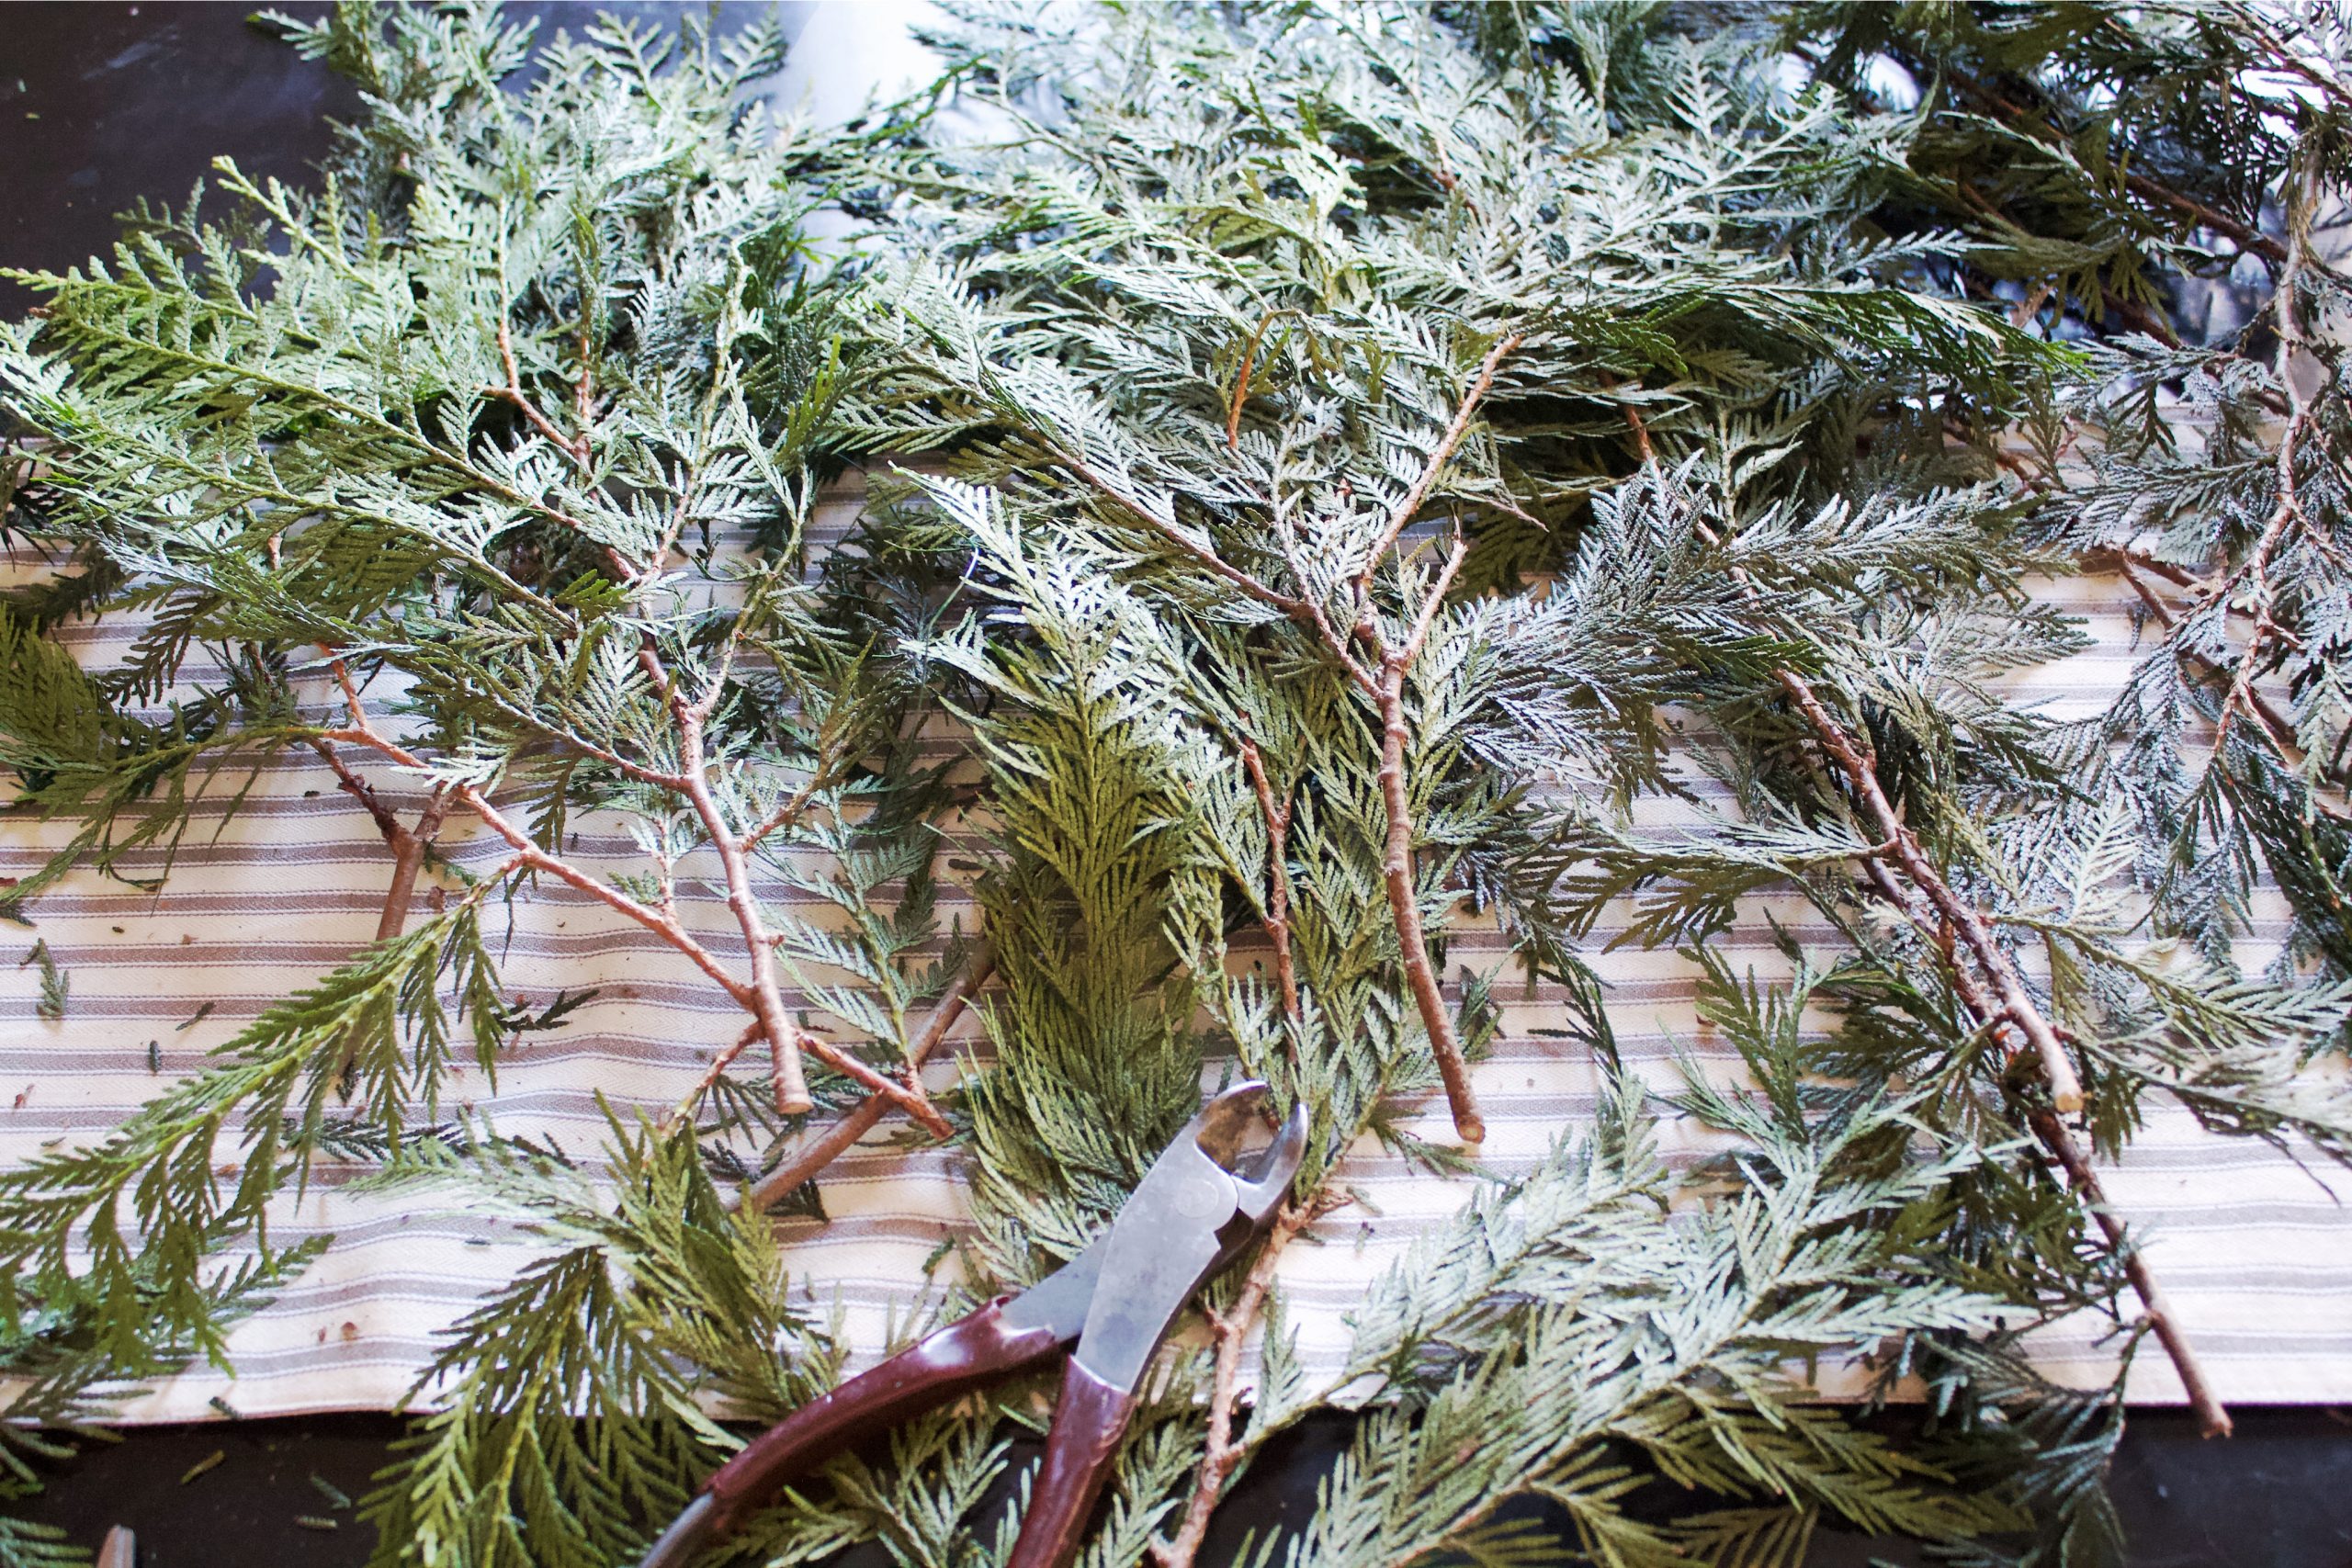
- Prepare Your Garland: If using fresh garland, separate stems with nippers for easy weaving. Costco and Home Depot both sell rolls around $12 for 24 feet.

- Wire the Chandelier for Greenery: Create a base by looping floral wire loosely around the chandelier. Don't pull tight-you'll need room to tuck in stems later.

- Add Greenery to the Chandelier: Start with the longest stems, weaving them through the wire base. Let them drape naturally. Don't stress about perfection-slightly uneven layers look authentic and cozy.
- Fill in with Smaller Stems: Layer smaller pieces to cover sparse spots. Step back every so often to check for balance and fullness.

- Add Decor Picks and Christmas Lights: Tuck in holly, berries, or pinecones. Wrap twinkle lights gently through branches for that Christmas-evening glow.
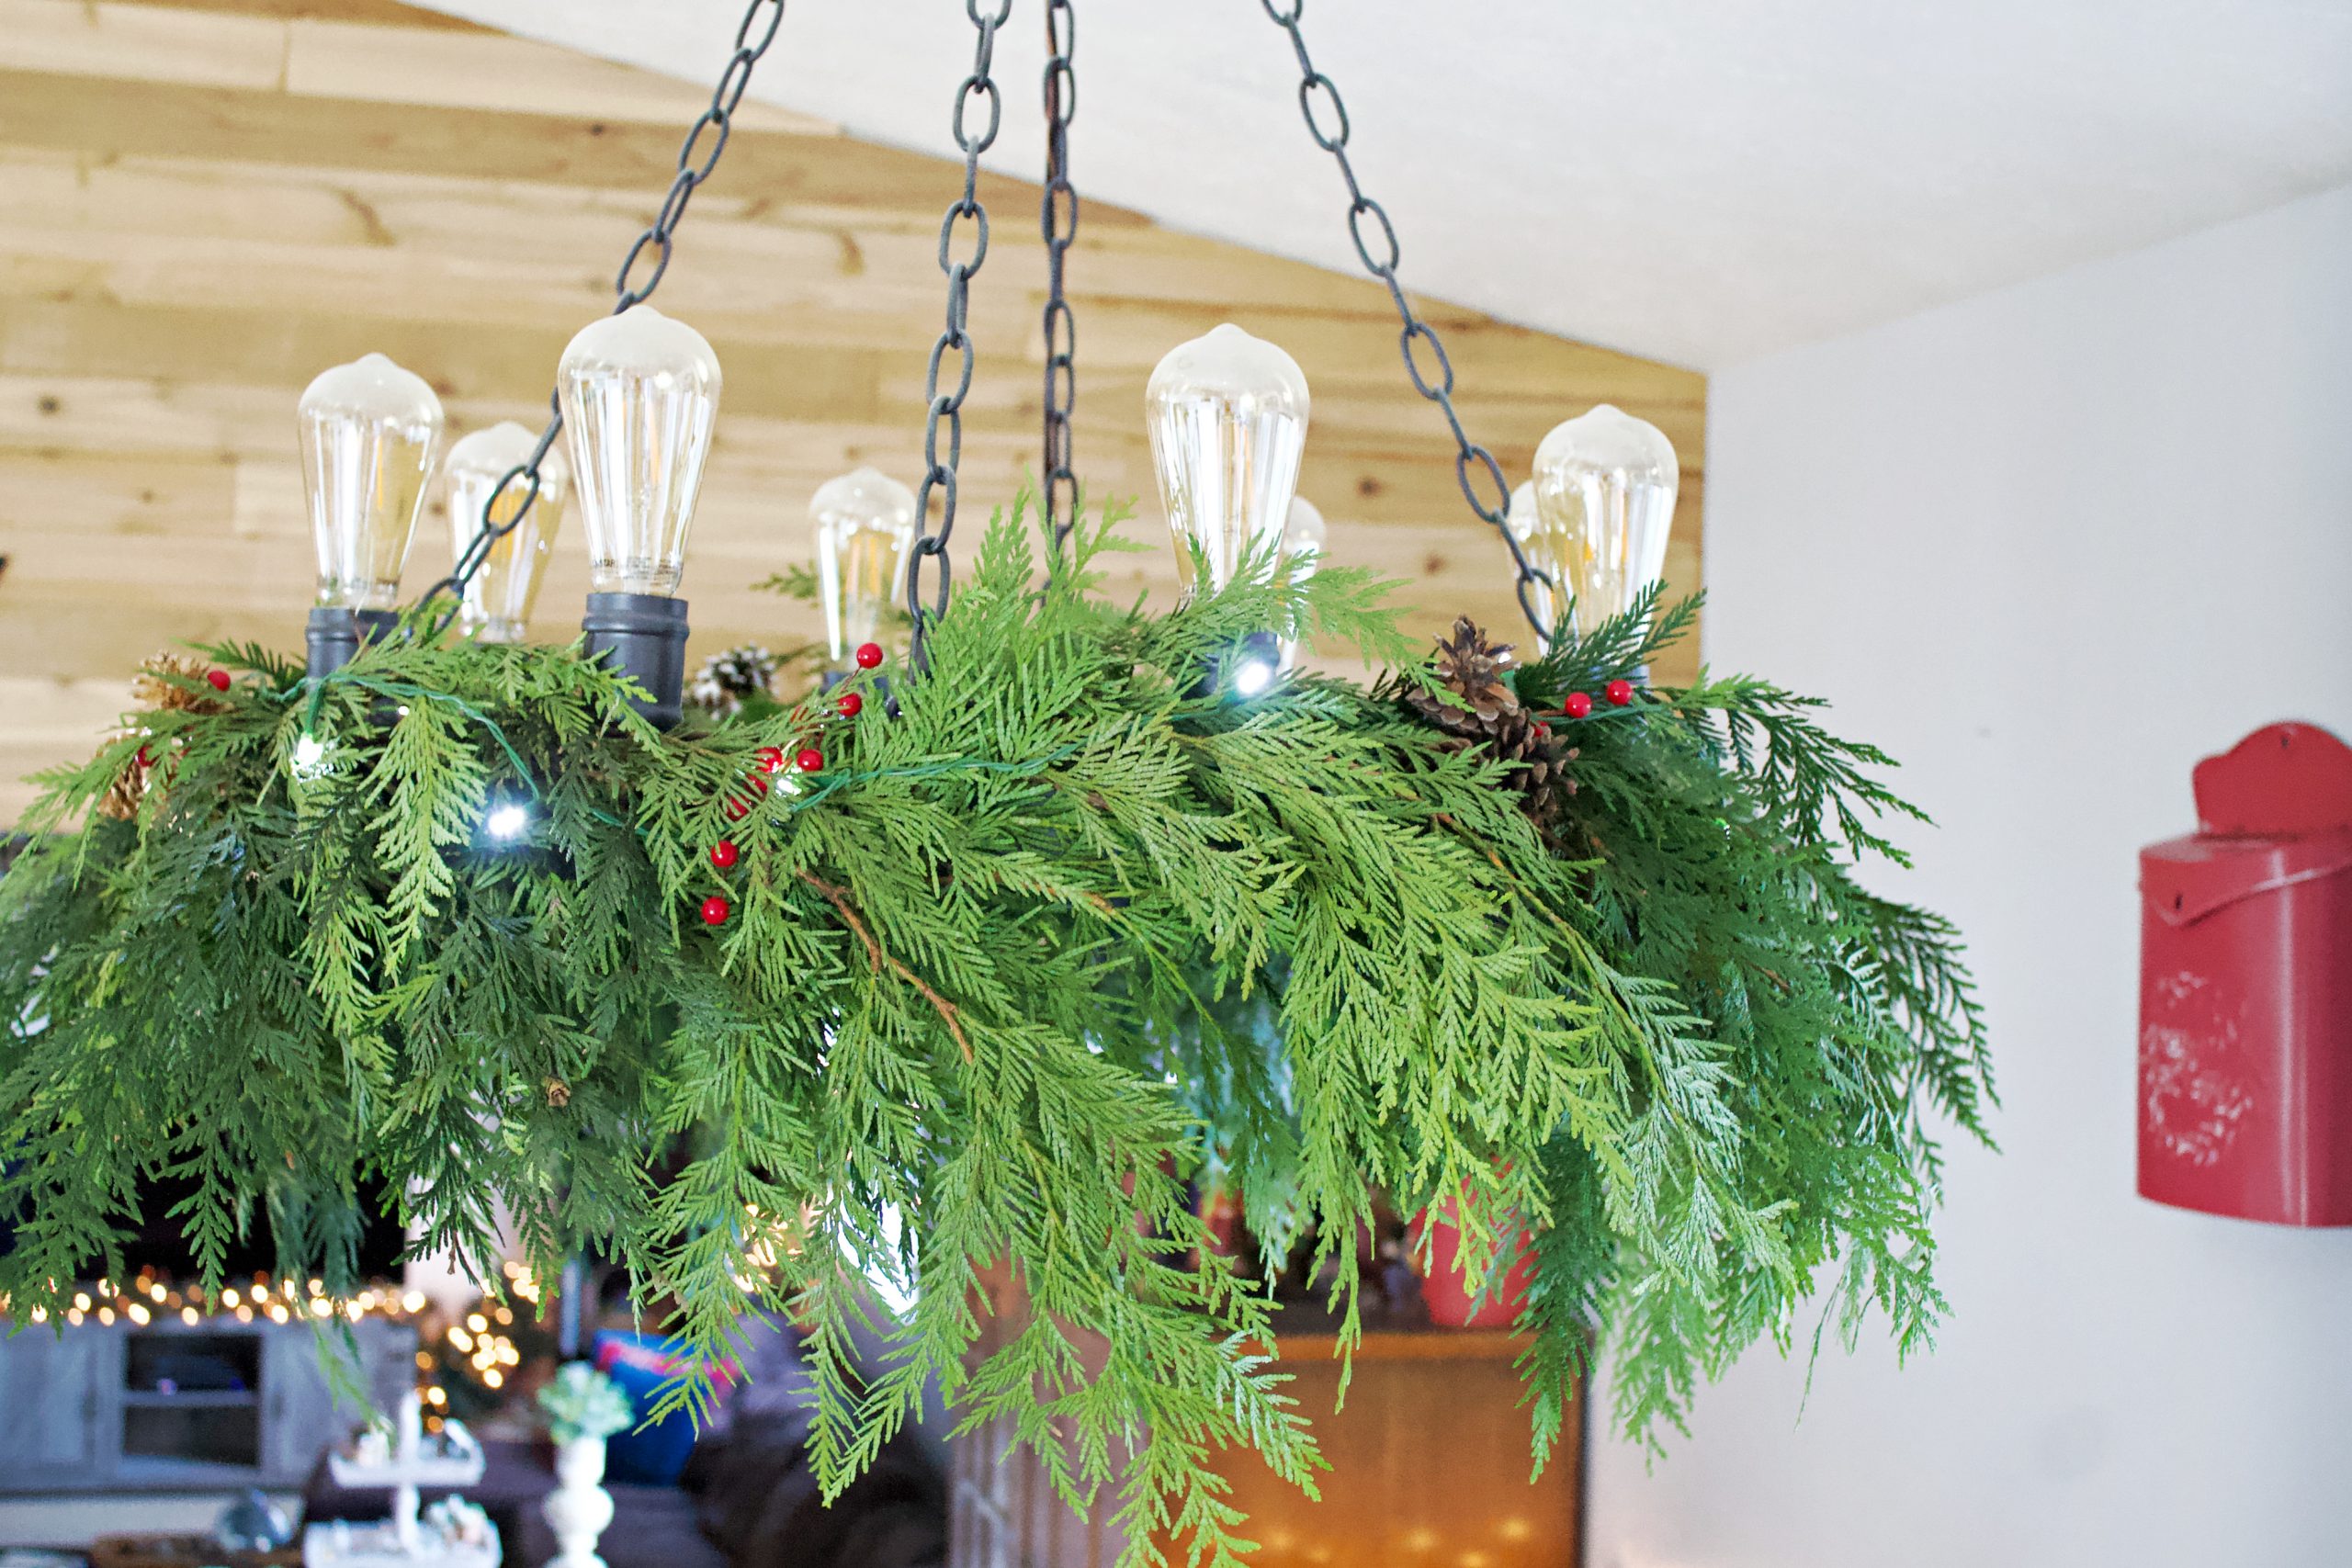
- Final Touches: Make sure no branches touch light bulbs and that the wire is hidden when viewed from below.
This post contains affiliate links, see my disclosure statement here.
Expert Tips for Hanging Greenery on a Chandelier
- Use fresh garland if decorating close to Christmas; faux if decorating early.
- A natural, slightly wild look feels more authentic than a perfectly trimmed one.
- Secure heavier stems with extra wire or zip ties for large chandeliers.
- Mist fresh garland lightly with water to help it last through the season.
Frequently Asked Questions About Decorating with Garland
Usually 3-4 weeks if kept cool and occasionally misted.
Yes! Mixing greenery types adds texture and variation in color.
Keep it away from heat vents and direct sunlight, and avoid overhandling once hung.
Troubleshooting Guide for Christmas Greenery Decor
- Garland looks uneven: Step back and adjust layers or tuck smaller sprigs where needed.
- Wire showing: Add shorter greenery pieces to conceal.
- Lights too harsh: Swap to warm white or battery fairy lights for a softer glow.
Storage Tips for Faux Christmas Greenery
If using faux garland, store it loosely coiled in a box with tissue paper between layers to prevent crushing. Remove decor picks and lights before packing away.
Shop Chandeliers:

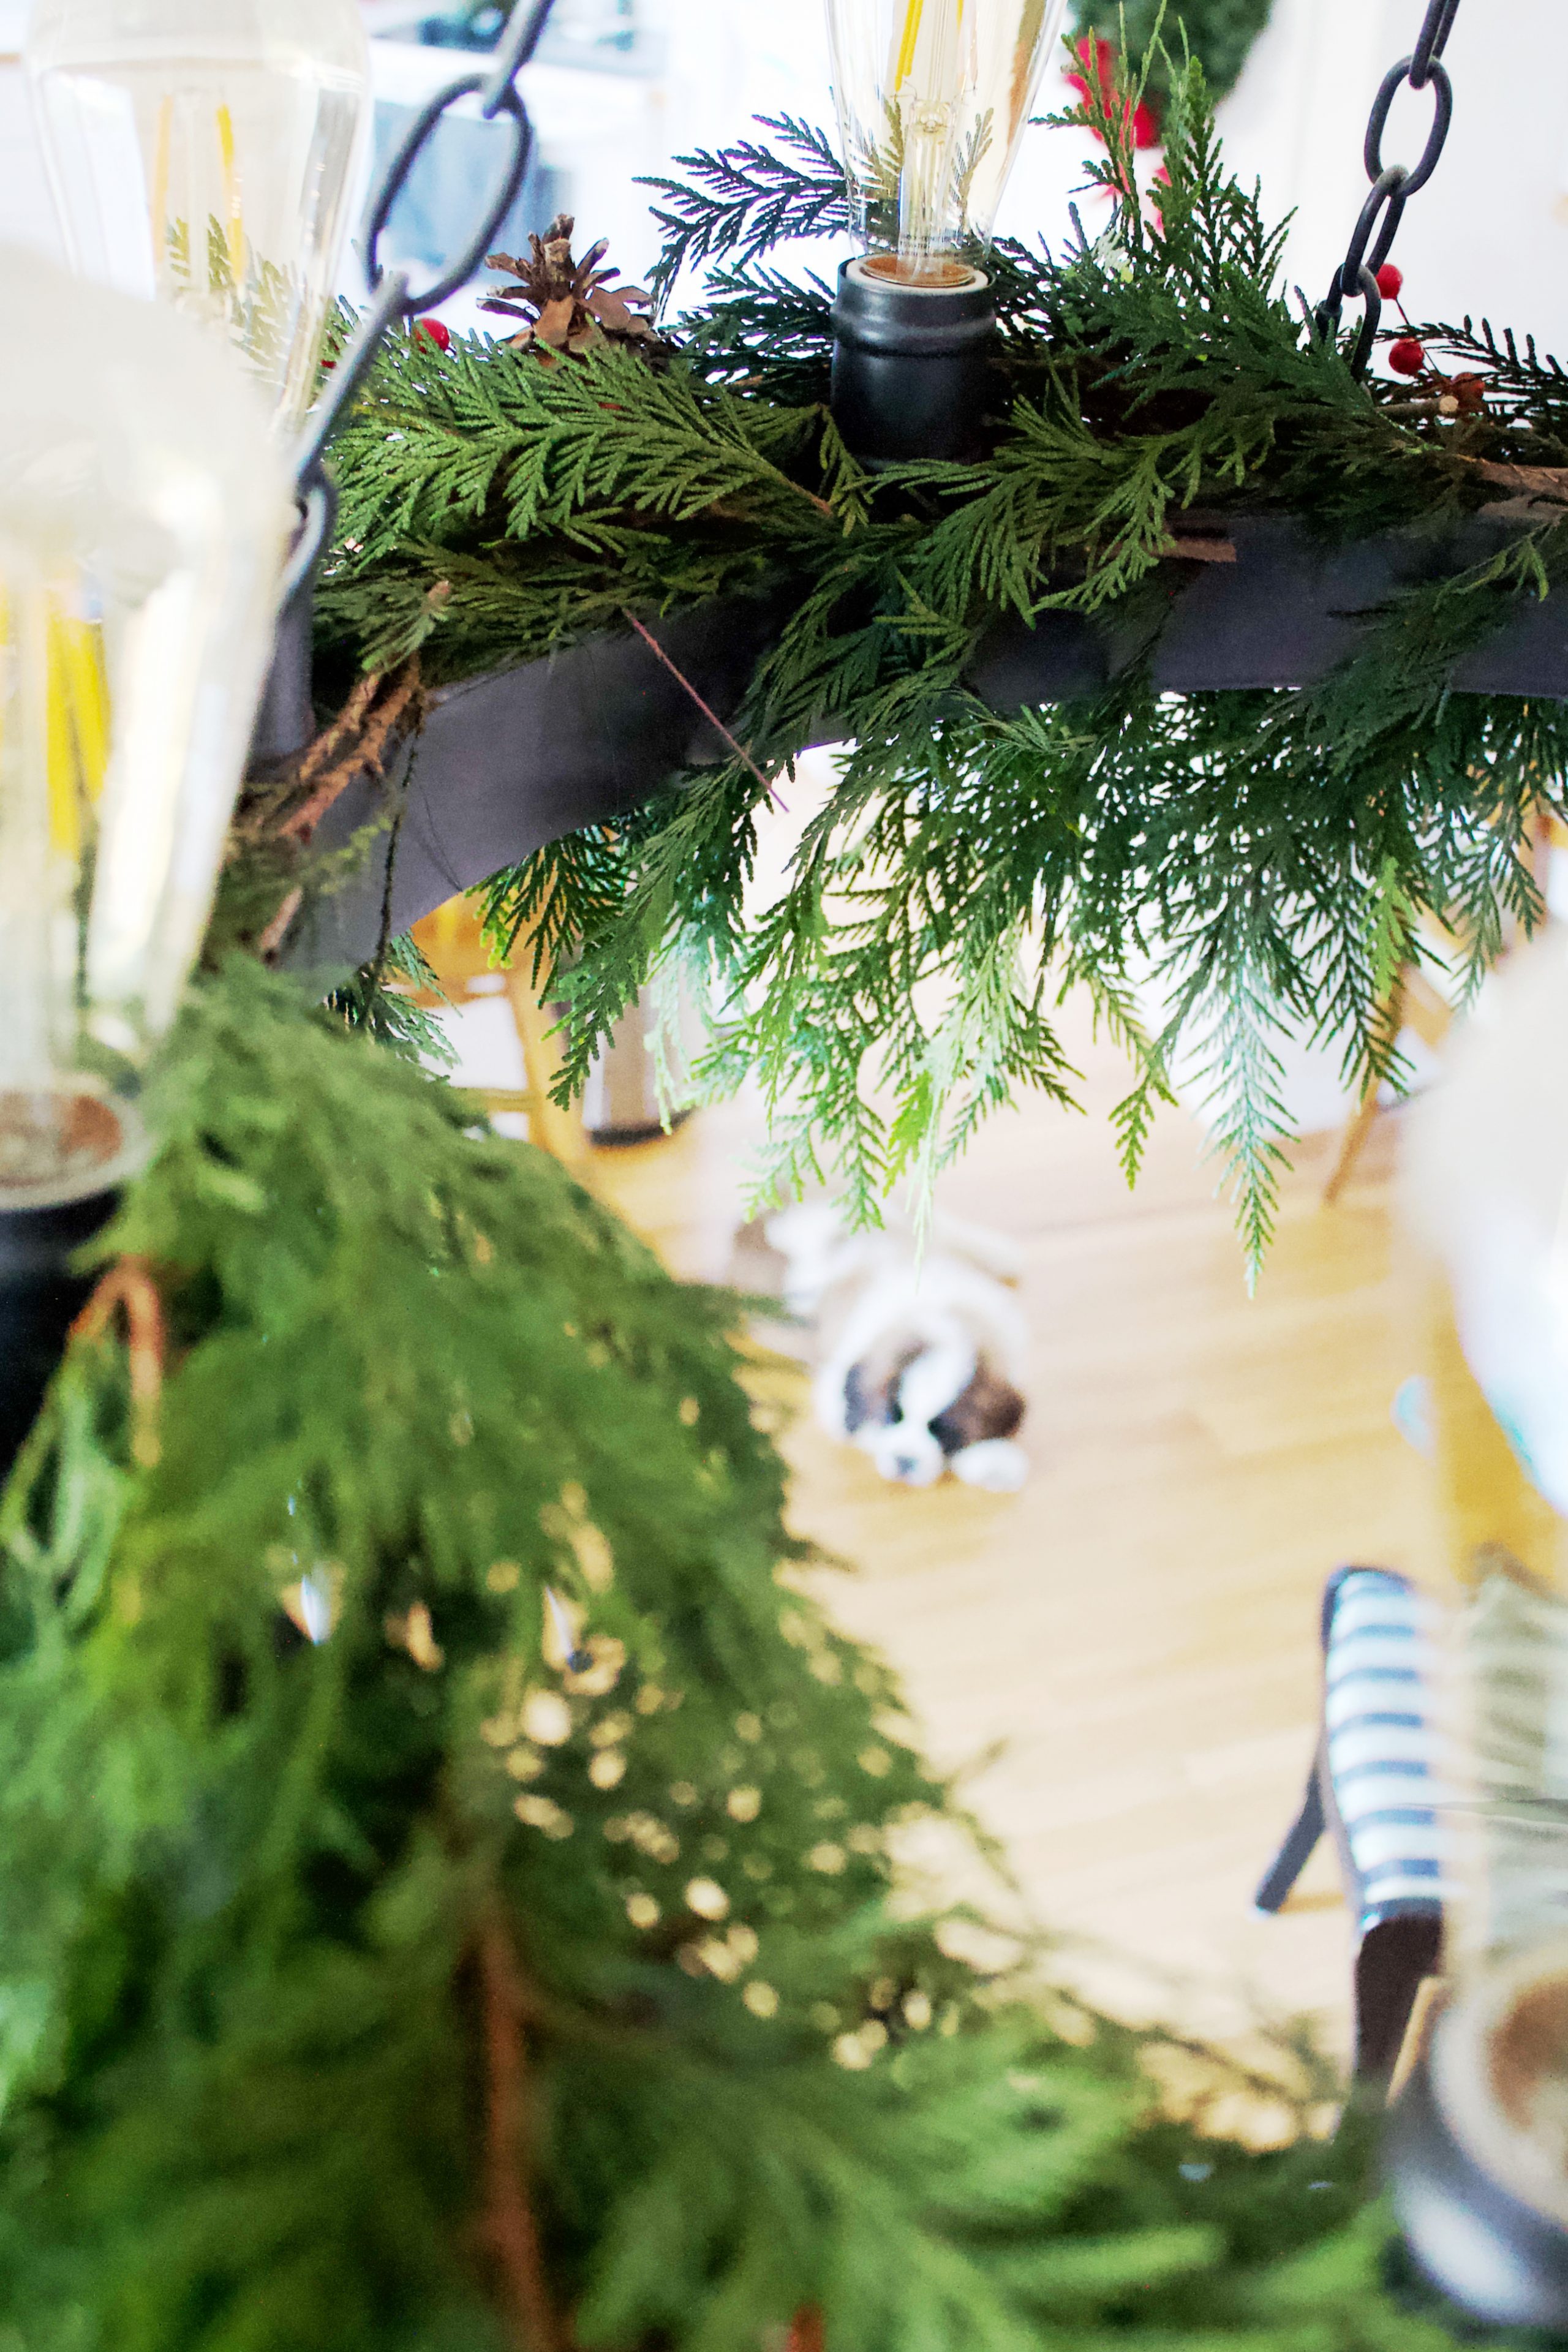
This part is always my favorite: coffee steaming beside me, a little music in the background, and usually an animal curled up nearby. After doing this for several years, I've learned the greenery holds up beautifully through Christmas. Just keep the branches clear of the bulbs so the soft light shines safely all season long.


Decorating a Chandelier with Greenery
Equipment
- Plant nippers & wire cutters
- Floral wire
- Scissors
Ingredients
- Garland of your choice fresh or faux
- Twinkle lights
- Extra decor like holly and pine cones
Instructions
- Prepare Your Garland: If using fresh, unclasp and separate the stems. Faux garland works great too!
- Attach Wire to Chandelier: Create a base by looping floral wire around the chandelier in large swoops. Don't make it too tight-you'll want room to tuck in the greenery.
- Thread in Greenery: Start with the longest stems, threading them through the wire at the bottom of the chandelier. Layer smaller stems afterward to fill in gaps.
- Add Extra Decor: Once greenery is in place, attach decor picks and twinkle lights for a magical touch.
- Final Touches: Stand back, adjust for fullness, and ensure the wire is hidden from below. Be cautious of light bulbs, making sure branches don't touch them.
Notes
Now I'm off to make a few waterless snow globes for some friends, and also bake some Starbucks copycat cranberry bliss bars. This is truly one of the best times of the year.
To follow along with all my crafting and decor in real time, make sure you're friends with me on Instagram. Stories are where I love to share daily!
The holidays are such a magical time, and I love finding ways to bring that joy into our home through simple, creative projects.
It's all about creating warmth, coziness, and a festive spirit that fills the room. If you've enjoyed this post and want to know more about the heart behind these ideas, I'd love for you to visit my about me page. There, I share more about my journey as a homesteader, decorator, and lover of all things cozy. It's the perfect way to connect and learn more about the inspiration behind the crafts, recipes, and traditions I share here.


I’ve decorated my chandelier this way for several Christmas seasons now, and it never fails to transform the entire dining room. It’s such an easy, affordable project that instantly makes the space feel cozy and festive. The mix of fresh greenery, twinkle lights, and a few natural decor picks like pinecones or berries brings so much warmth and charm. Every year, this simple DIY becomes one of my favorite parts of holiday decorating.
Great tutorial! where did you get the chandelier from? I've been looking for one thick enough to decorate for fall and winter but cant find one.
We got it at Costco a few years ago for $100! And sadly I haven't seen another one like it since.