Custom DIY $30 Stone Path In Under 2 Hours
Life is expensive lately! Compared to this time last year, we're definitely spending more on common goods in our home. And yet, we're still newly moved into an old house, that needs work and has many projects. We can't simply "stop spending," so we've got to get creative. And we did just that with our stone path.
I always take projects on as a challenge. Maybe we don't have to do the normal thing and spend $80 on each rock for the stone path we need to the garden. Maybe, just maybe, there's another way.
ingenuity for the win
And then I remembered back to our first house, when we were newly married and broke as a joke. We had done a few projects that required bags of concrete, and I realized how inexpensive they were. Back then it was $2.50 for a bag. Now they're $5. But still, relatively inexpensive. I wanted a custom path to the garden and thought, why can't I dig out my own molds and pour my own stones? So I did!
And last week, we did the same thing again. I couldn't love them more.
How to make concrete stepping stones
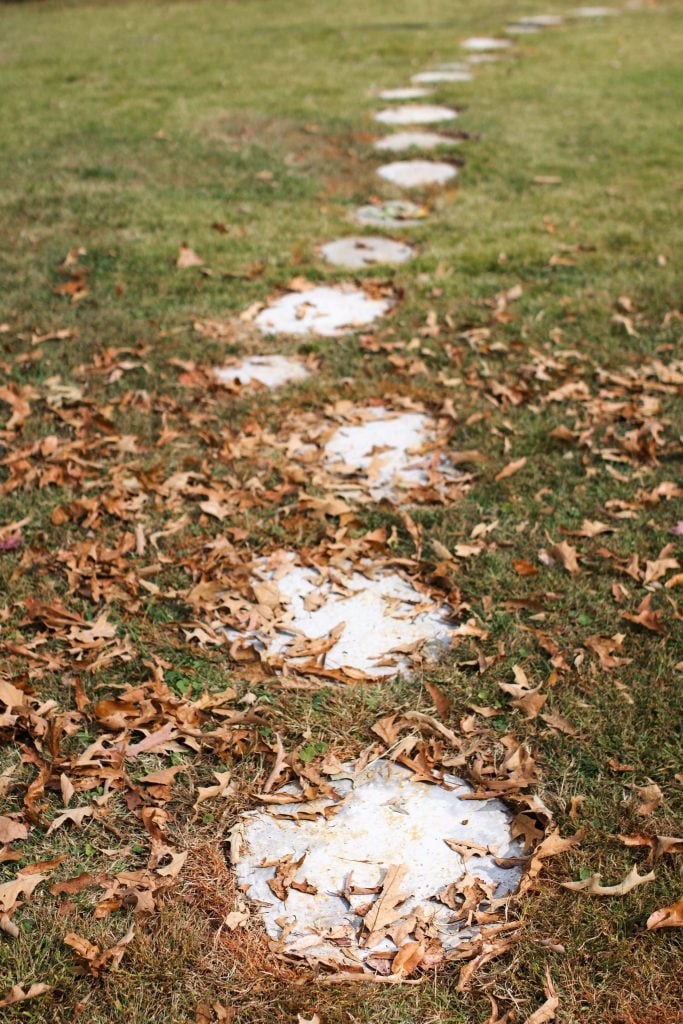
First, figure out the area you want to have a stone path, and draw out the stones with inverted marking paint, meaning it can spray upside down. I like to keep things very natural and not overthink it. I started by making my first stone, about 12x14 inches. From there I walked, seeing where my foot would naturally fall next, and made a stone there, and kept going until I reached the garden entrance.
For the stone shapes, I'd make some round, some kidney shaped, and others pear. I'd rotate through those shaped to give the stones a very natural and organic look. I also rotated between sizes, making some smaller than others. Again, don't overthink it. I drew out 20 stones in about 2 minutes.
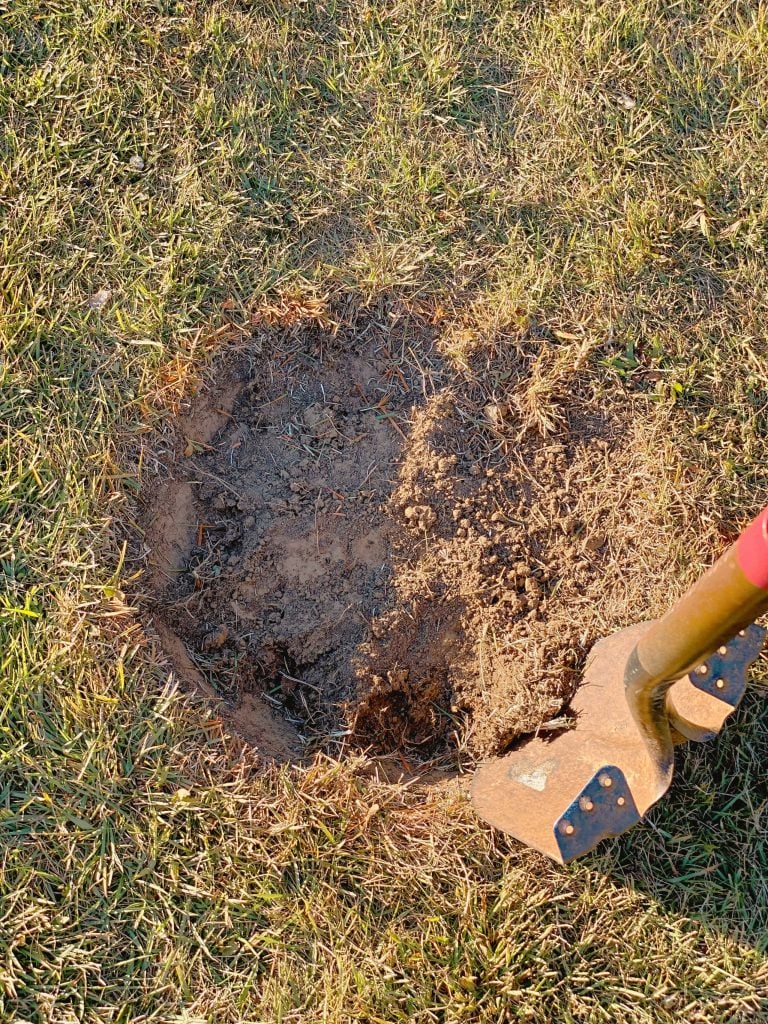
Once they were marked, I went in with a shovel, cut the edges, and then dug out the middle, essentially creating a mold. You want to make sure you cut the sides well, making them sharp and crisp, and at least 3" deep. 4" is even better. If you taper the sides so they're not as deep, they'll end up cracking and breaking away from the center of the stone.
Once all the molds were cut into the ground, we started mixing the cement. We used good old normal concrete you can purchase at any hardware store. We mixed a bag at a time in a wheelbarrow. Taking a half-gallon plastic bowl as a scoop, I scooped a bit at a time, pouring it into the center of the mold and patting it down to fill out the sides. Again, my goal was to make them an average of 3 to 4 inches deep. Any shallower and you risk cracking with the shift in the soil around the concrete and the weight of walking on top of them.

At our first house, I made them on a slight incline and they were much bigger. I think they were all around three feet in width. I only made about four of them, and used over a bag of concrete in each. This time around, a bag did about two and a half stones on average, depending on the sizes.
You can take a small piece of wood to gently run across the surface to "finish off" the stones and smooth the surface. I used my hands. Do as I say, and not as I do.

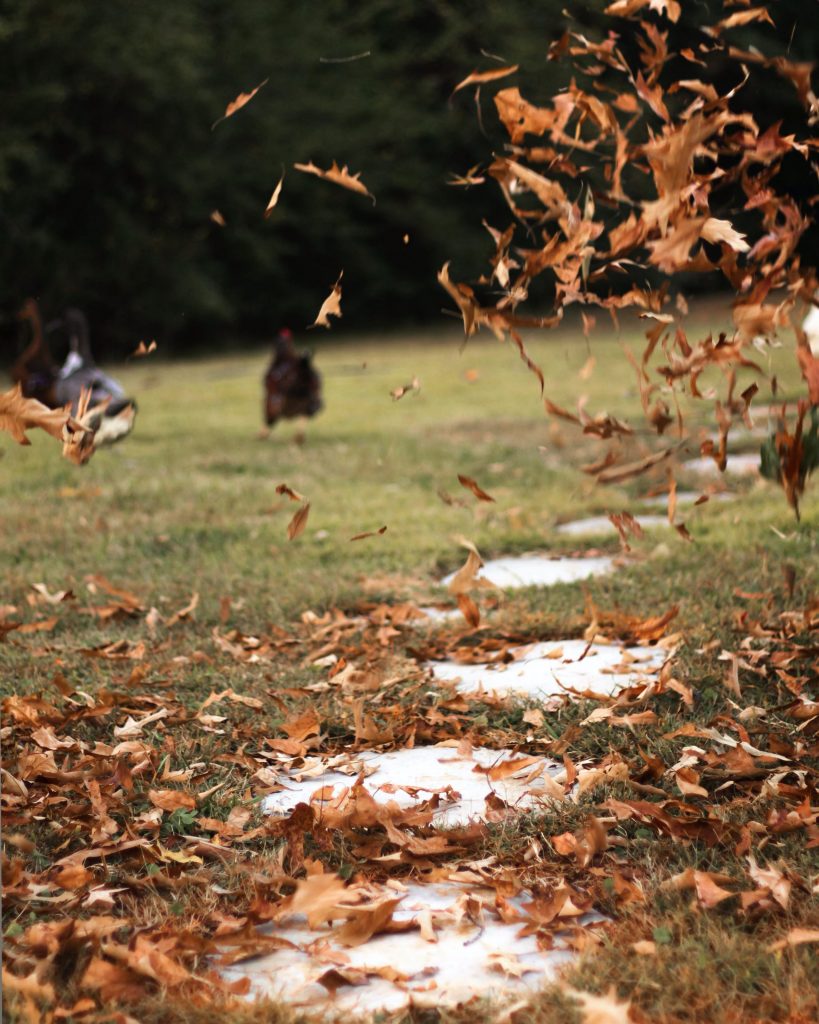
Once the stones are done, let them cure for about three days. You don't want to compromise the stones by using too soon. And if you do crack one, simply remove the concrete from the mold and remake it! My son ran over the edge of one with his dirt bike before it cured, and it crumbled a bit. However, we're just calling it character and leaving it be. One of the chickens also stepped in a mold the morning after pouring them and left what looks like a mini raptor print. Good thing I think its adorable.

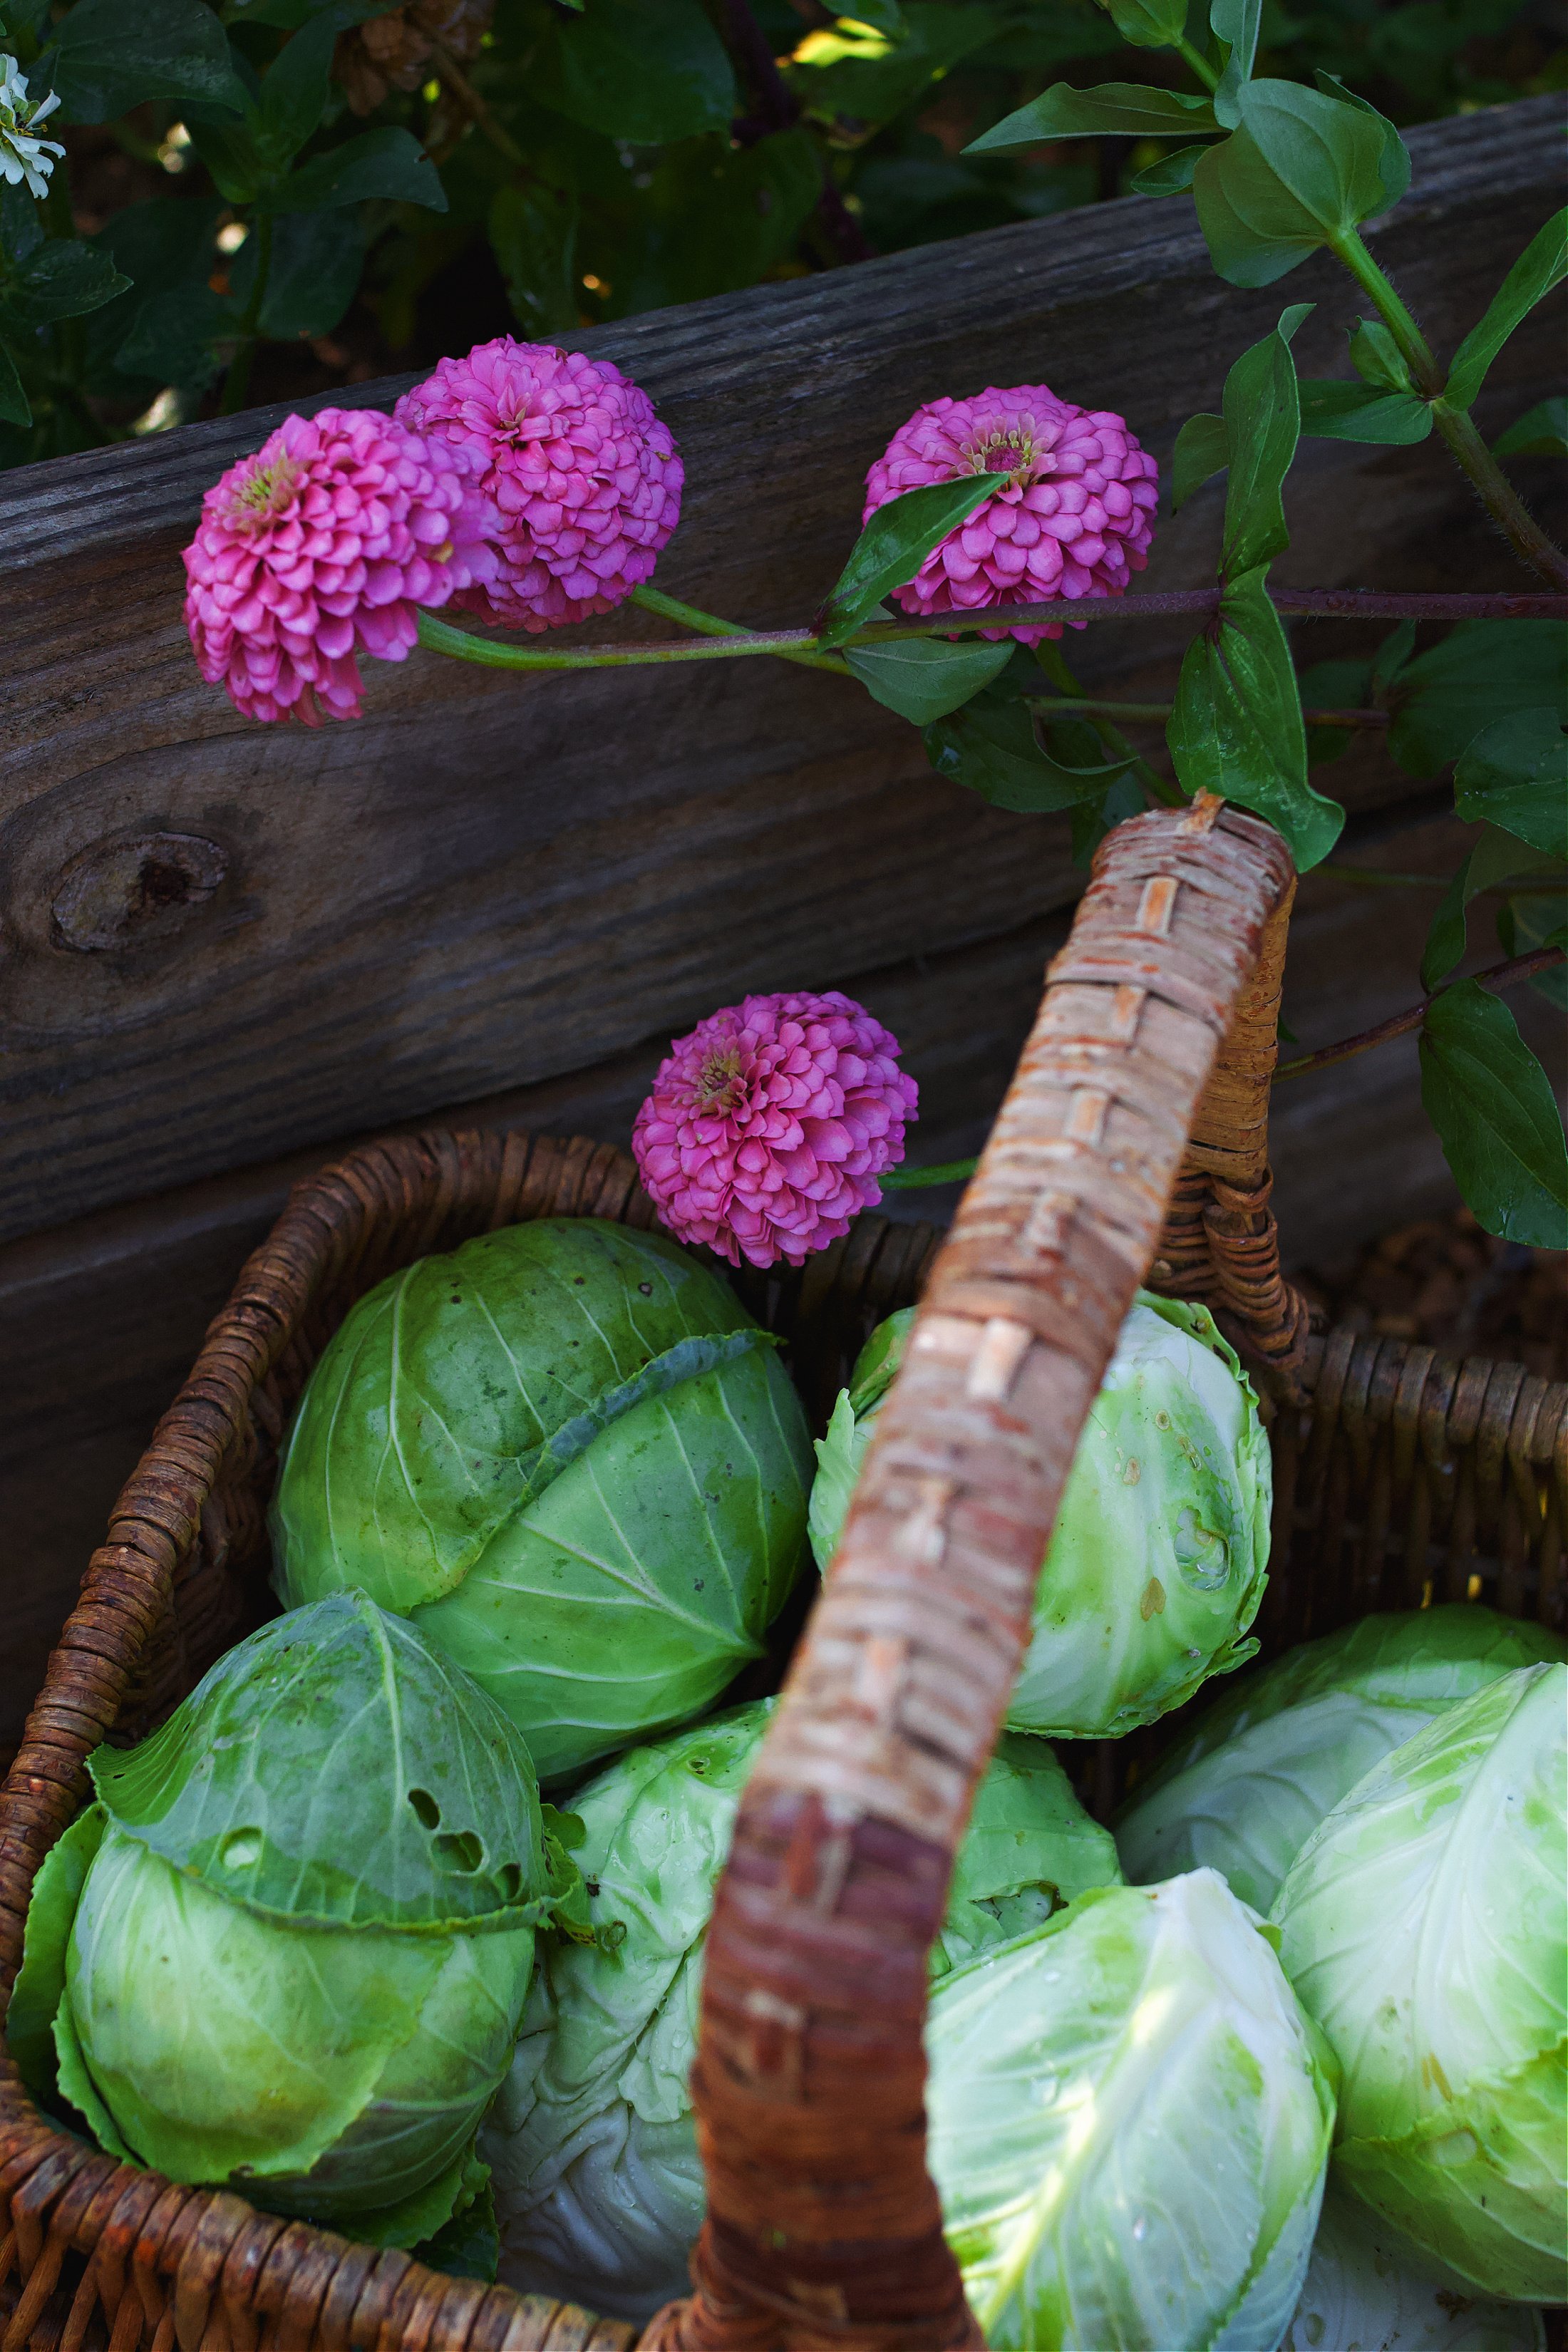
That's it! This project took about two hours, and most of that was digging out the molds. We are all enjoying using them to walk to the garden and chicken coop to gather eggs. It lends to the cottage feel we're going for on the farm, and utilitarian-wise, it's perfect for keeping dirt and mud off soles of shoes and little bare feet.
If you whip up a stone path, make sure to tag me on Instagram and I'll reshare your creation! And if you're looking to add more character and beauty to your outdoor space, this dreamy white clothesline will do just that!