Favorite Soft Homemade Sandwich Bread Recipe
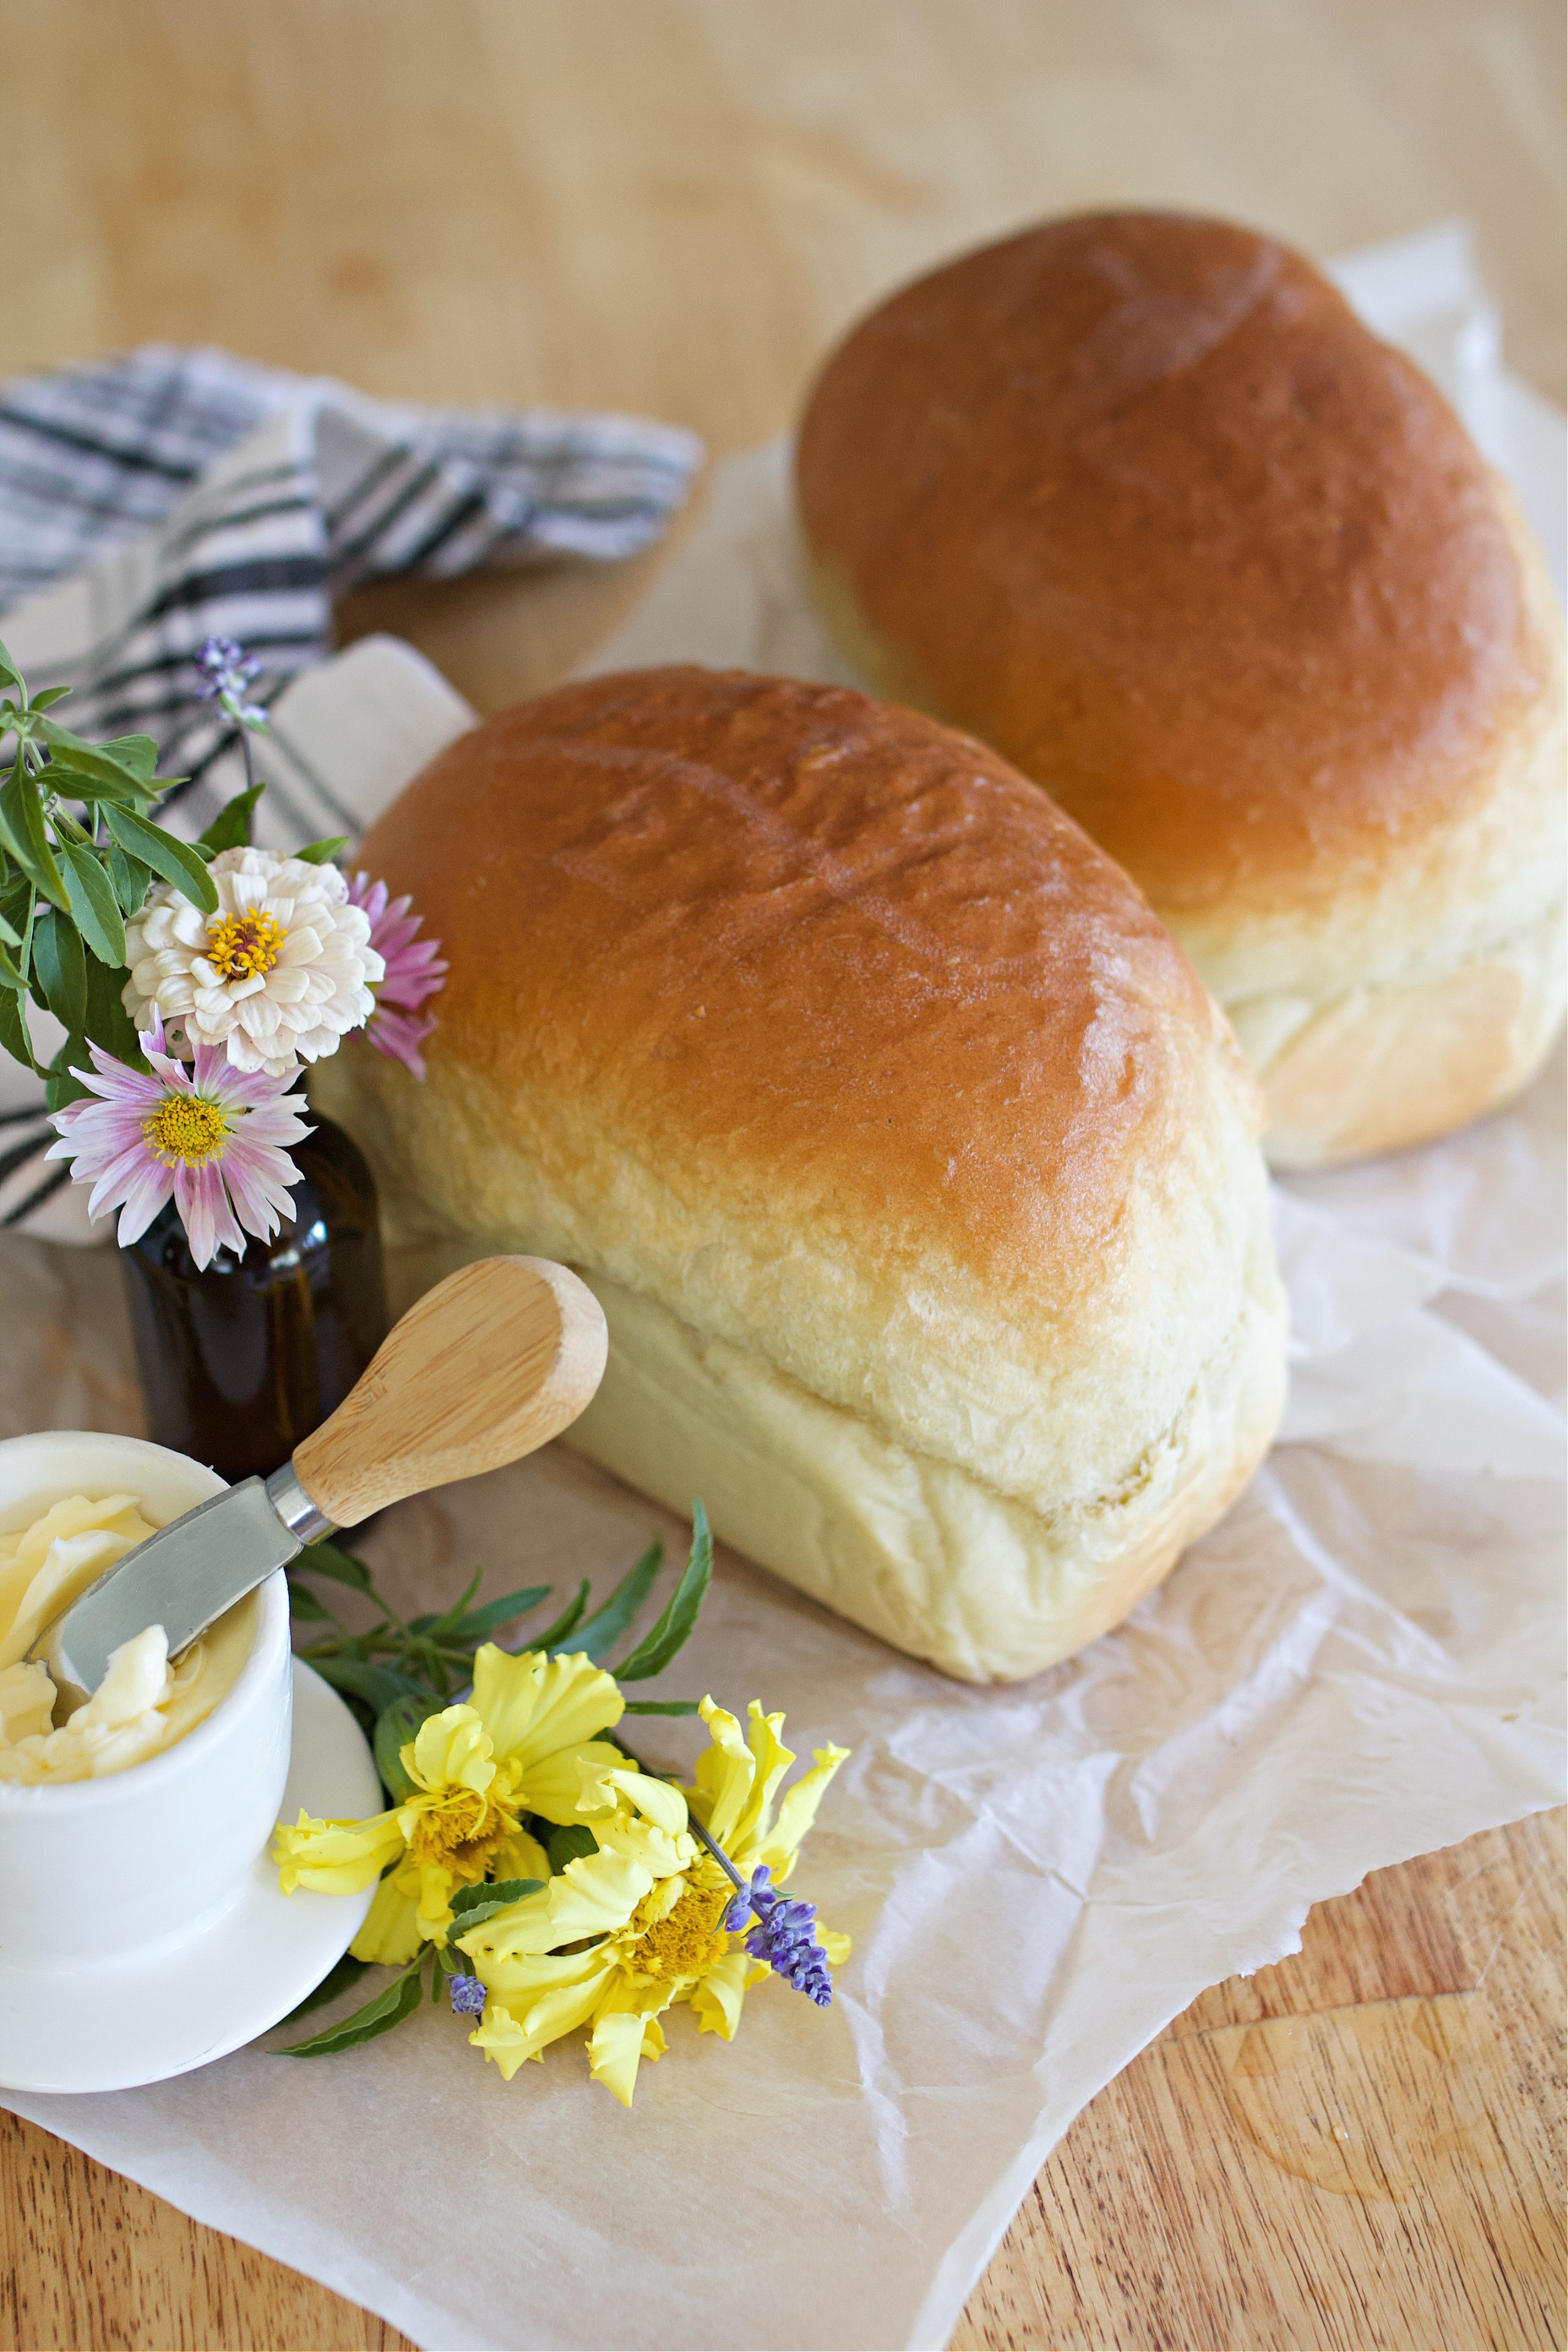
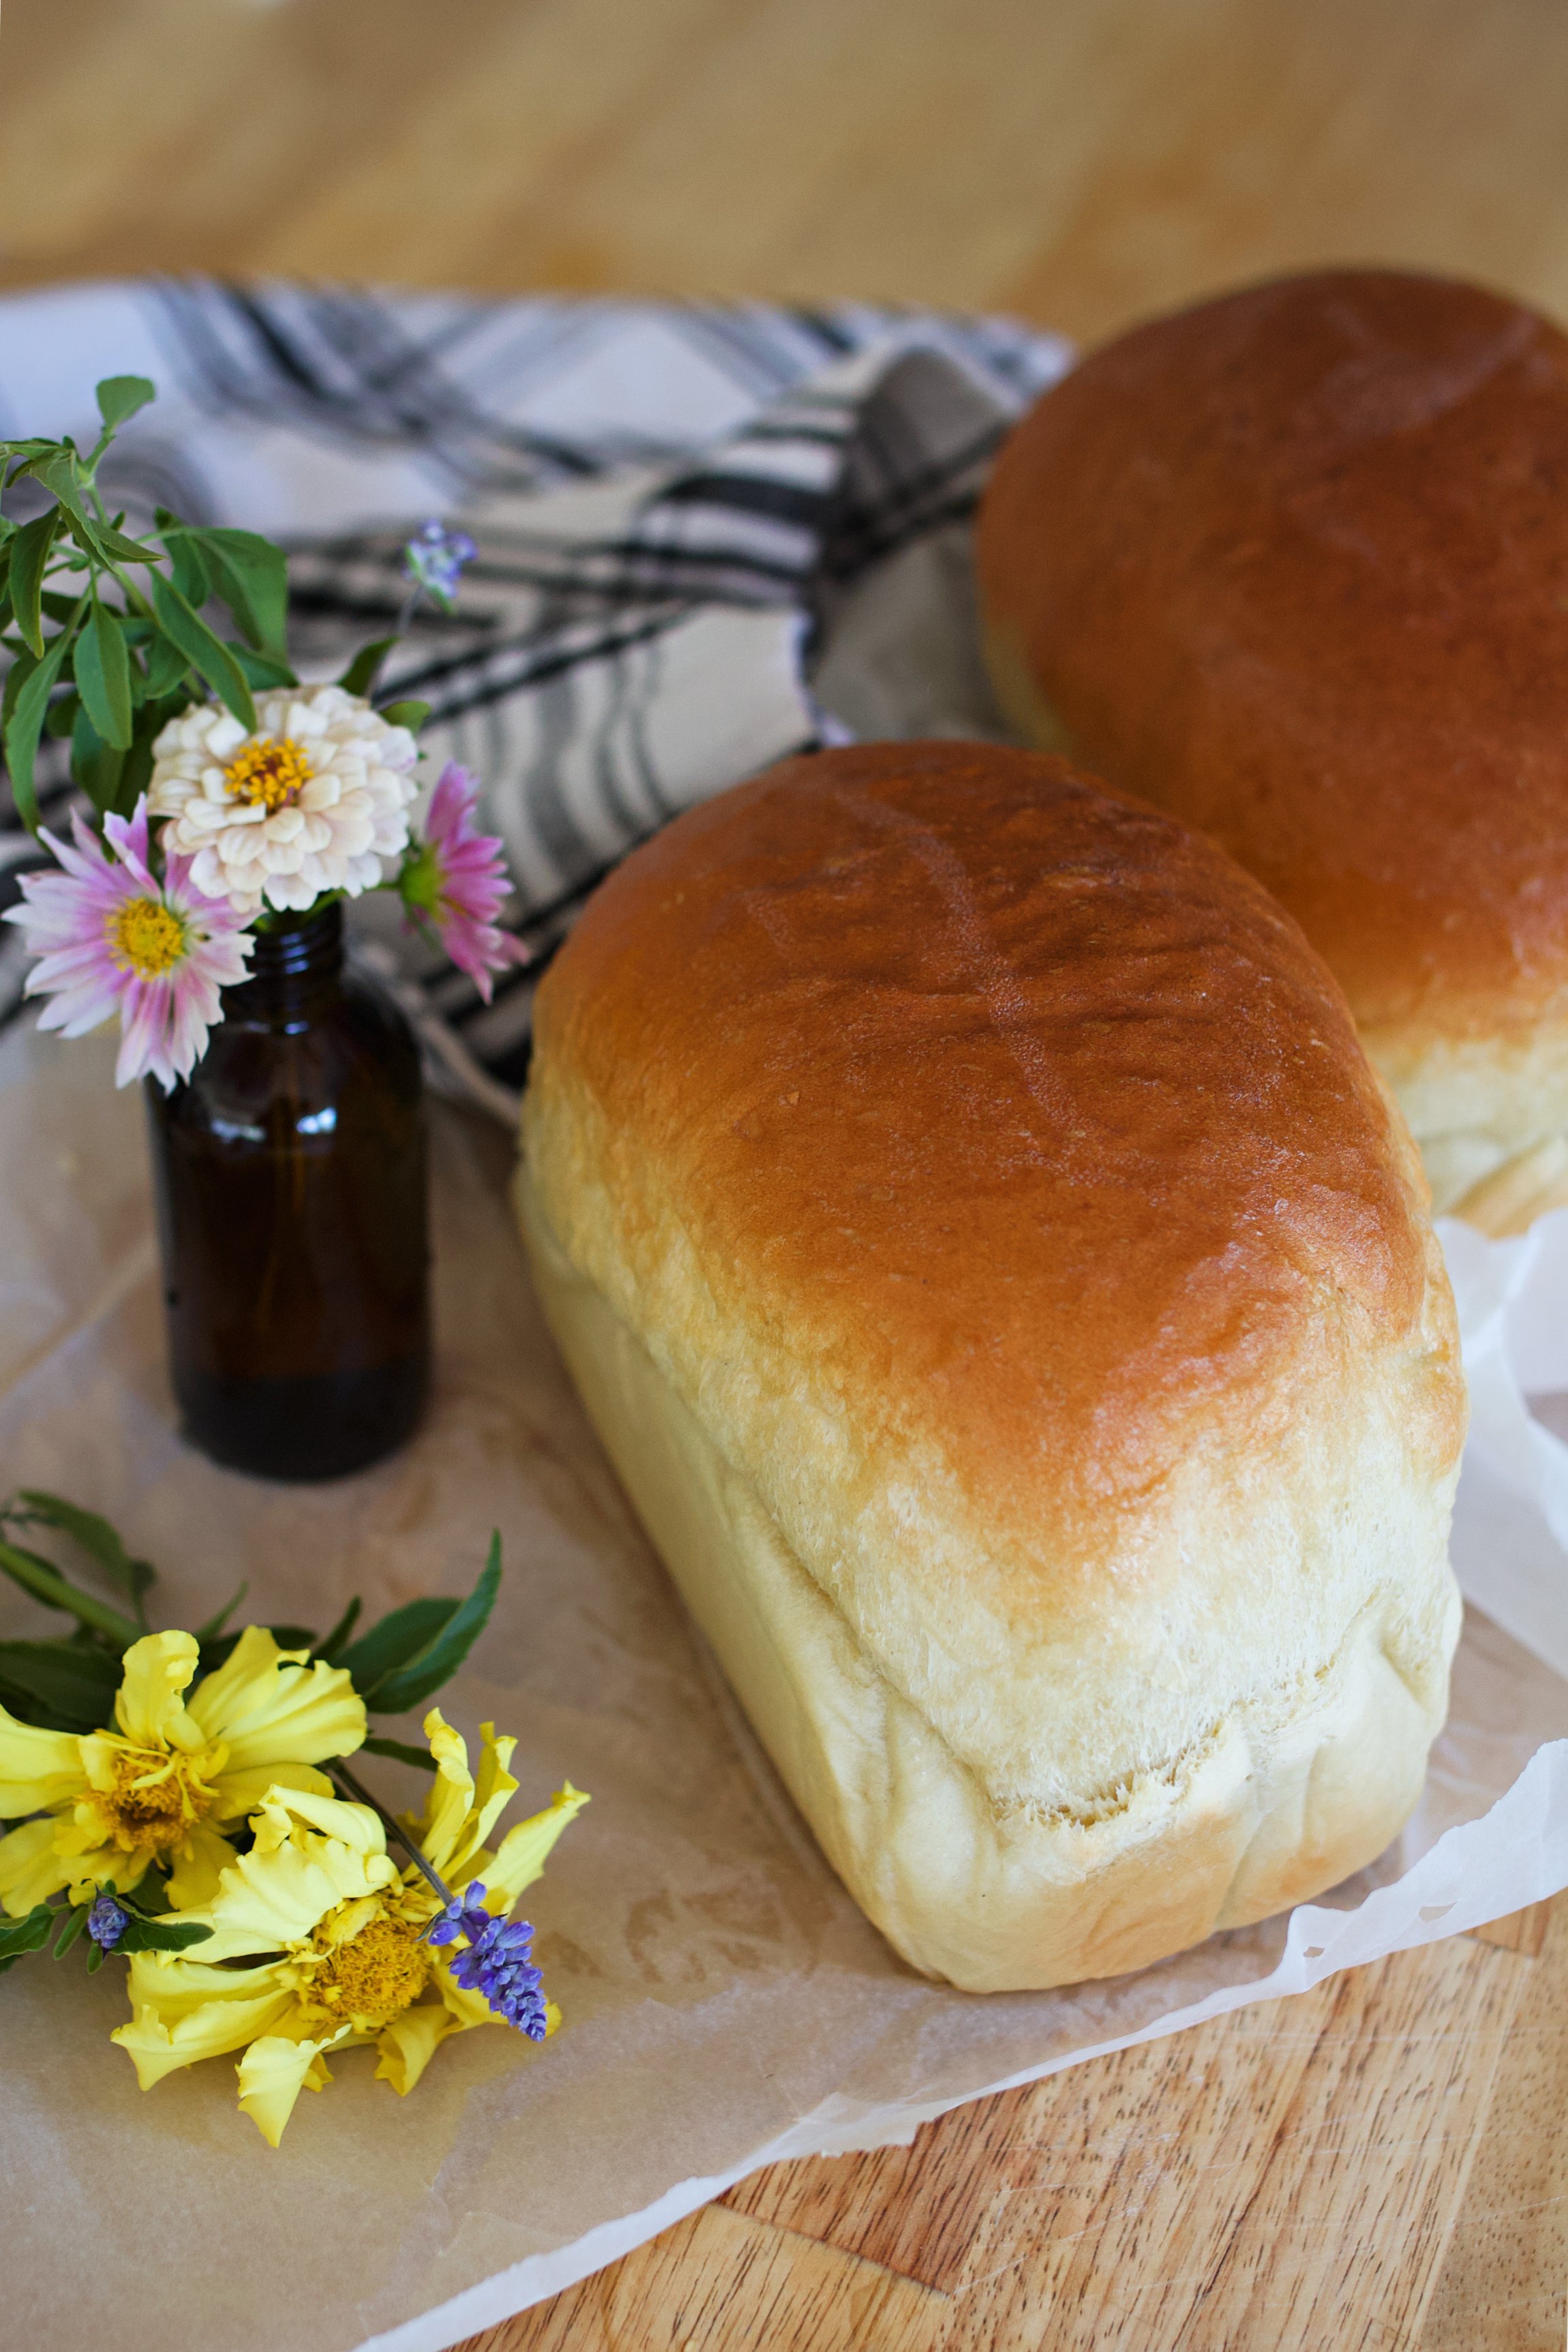
There's nothing quite like the smell of homemade bread baking on a sunny afternoon. Soft, sturdy, and ready for any sandwich you throw at it, this soft sandwich bread has earned its spot in my weekly routine. I've baked it for years now, and it's never let me down. The recipe makes two full loaves, which is exactly how I like it: one for now, and one to freeze or give away.
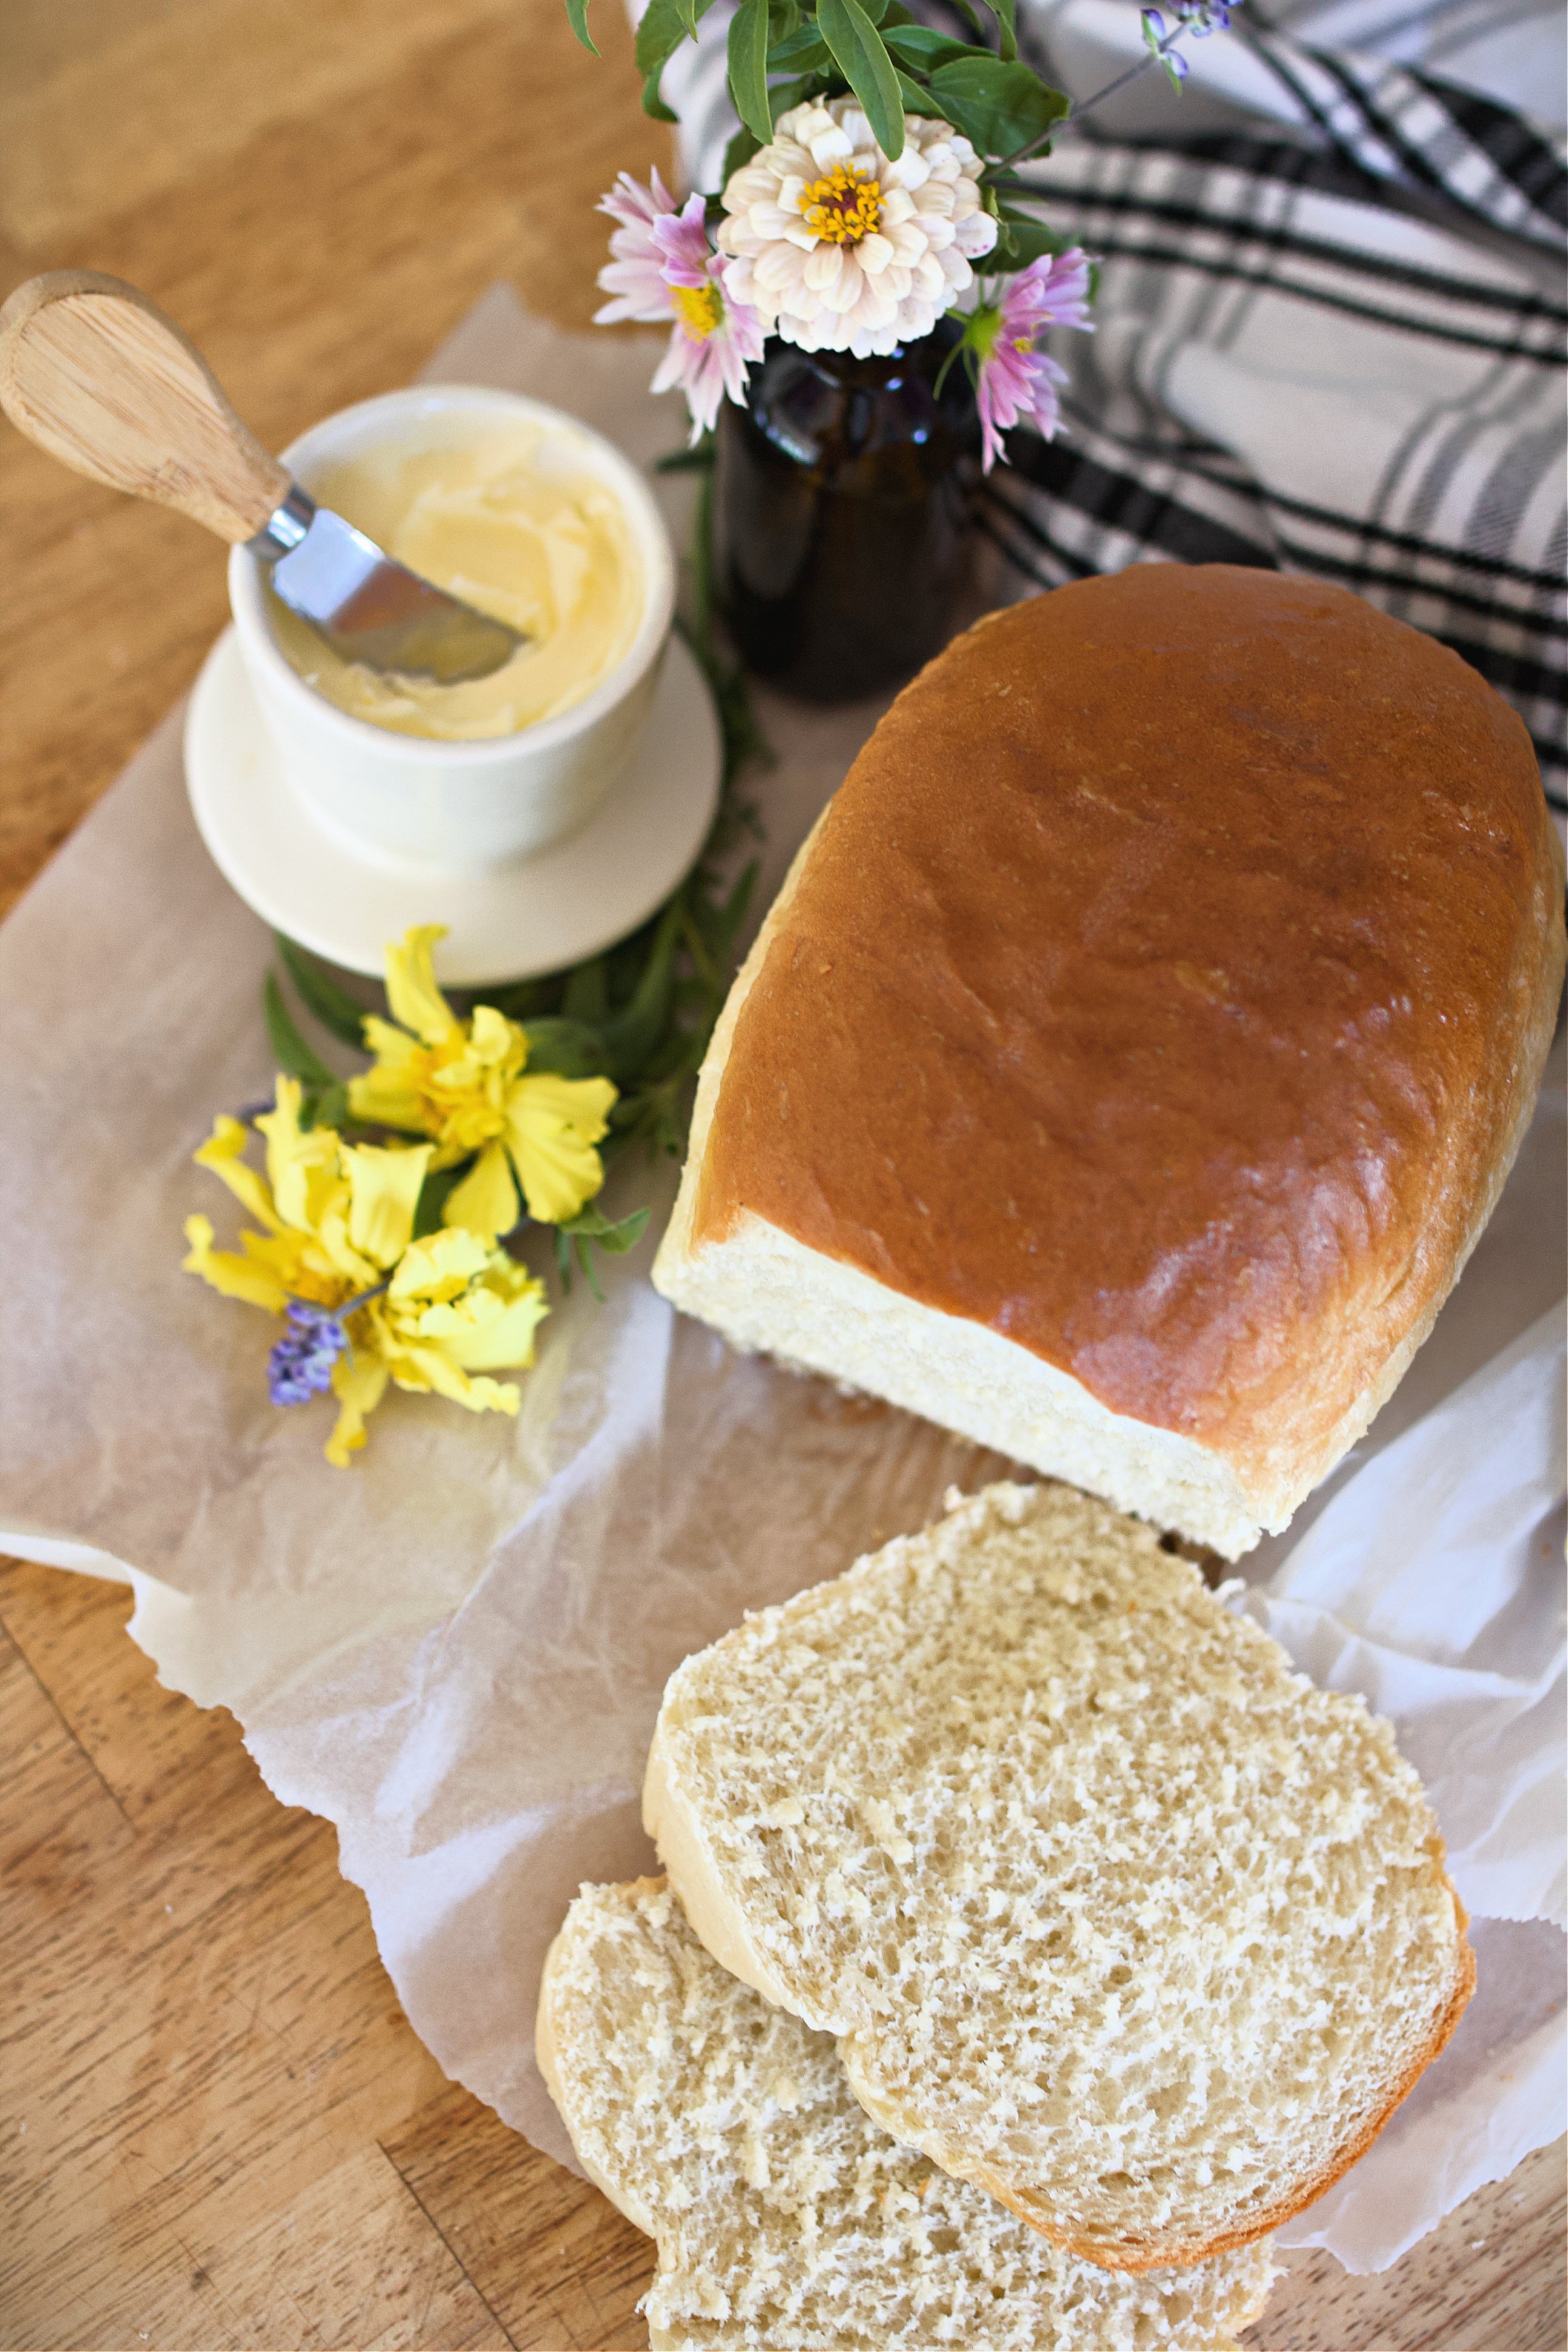
It slices like a dream, holds up to thick spreads or layered fillings, and toasts beautifully. If you've ever had bread crumble while building a PB&J or packing school lunches, this one will change that. And if you're planning a peanut butter and jelly moment, don't miss my easy homemade strawberry jam. It's made for this bread. And once you make this, put my grandma's rolls on you list, and also these sweet Hawaiian rolls.
Quick Look at This Recipe
🕰️ Time: 10 min prep, 30 min bake, 1 hr 15 min rise
💰 Cost: Under $3 for two loaves
🔥 Oven Temp: 375°F
🍞 Topping: Brush with melted butter for a soft crust
✨ Texture: Soft crumb, sturdy structure
👩🍳 Skill Level: Beginner-friendly
🥪 Best For: Sandwiches, toast, French toast
💡 Pro Tip: Use high-protein (11%+) flour for best structure
SUMMARIZE & SAVE THIS CONTENT ON
Jump to:
Why You'll Love This Soft Sandwich Bread
This bread is simple to make, easy to trust, and versatile enough for any day of the week.
- Two full loaves from one recipe-always bake once, enjoy twice
- Soft but sturdy: no more crumbly sandwiches or messy slices
- Uses basic pantry staples-yeast, flour, water, oil
- Great for PB&Js, grilled cheese, French toast, or slathered with homemade butter
- Works great in lunchboxes, on the table, or tucked into the freezer for later
This is the same bread I send with my husband for work lunches, slice up for French toast, or serve warm with soup. It's part of how I keep our kitchen running smoothly.
Kelly says:
Absolutely delicious. Thank you for posting this recipe. We're seniors here and me and my husband both made 4 loaves. I wish I could post a picture of how beautiful they are. I'm gonna give my neighbor some
Ingredient Notes + Substitutions
Here's what makes this soft sandwich bread bake up just right every time:
- Flour: The protein content in your flour matters. I recommend using unbleached white flour with at least 11% protein for a strong gluten structure that holds together when slicing and stacking. If you can't find that, aim for at least 4%.
- 🛒 I like the organic white flour 2-pack from Costco (4% protein) for everyday baking, or ordering 11%+ protein flour from Azure Standard when I want sturdier results.
- Bread flour or all-purpose both work-just be ready to adjust slightly based on feel.
- Yeast: Both active dry and instant yeast work in this recipe. If using instant yeast, you can skip the bloom step.
- Olive Oil: Adds richness and moisture. Avocado oil is a great substitute if that's what you keep on hand.
- Sugar: Feeds the yeast and improves softness. You can use honey if preferred, though the flavor will be slightly different.
- Warm Water: Use water that's warm to the touch-about 110°F. Too hot, and it can kill the yeast.
📌 Pro Tip: Humidity, flour type, and kitchen temperature affect how much flour you'll need. Add it gradually until the dough pulls away from the sides of the bowl and feels soft but not sticky.
Step-by-Step How to Make It
Start by blooming your yeast in warm water with a bit of sugar. It should get nice and foamy-proof that your yeast is alive and active. Once bloomed, mix in the rest of the water, oil, and salt, and start adding the flour a cup at a time until a soft, slightly tacky dough forms.
I use my stand mixer with a dough hook, kneading for about 3 minutes until the dough cleans the sides of the bowl and feels elastic.
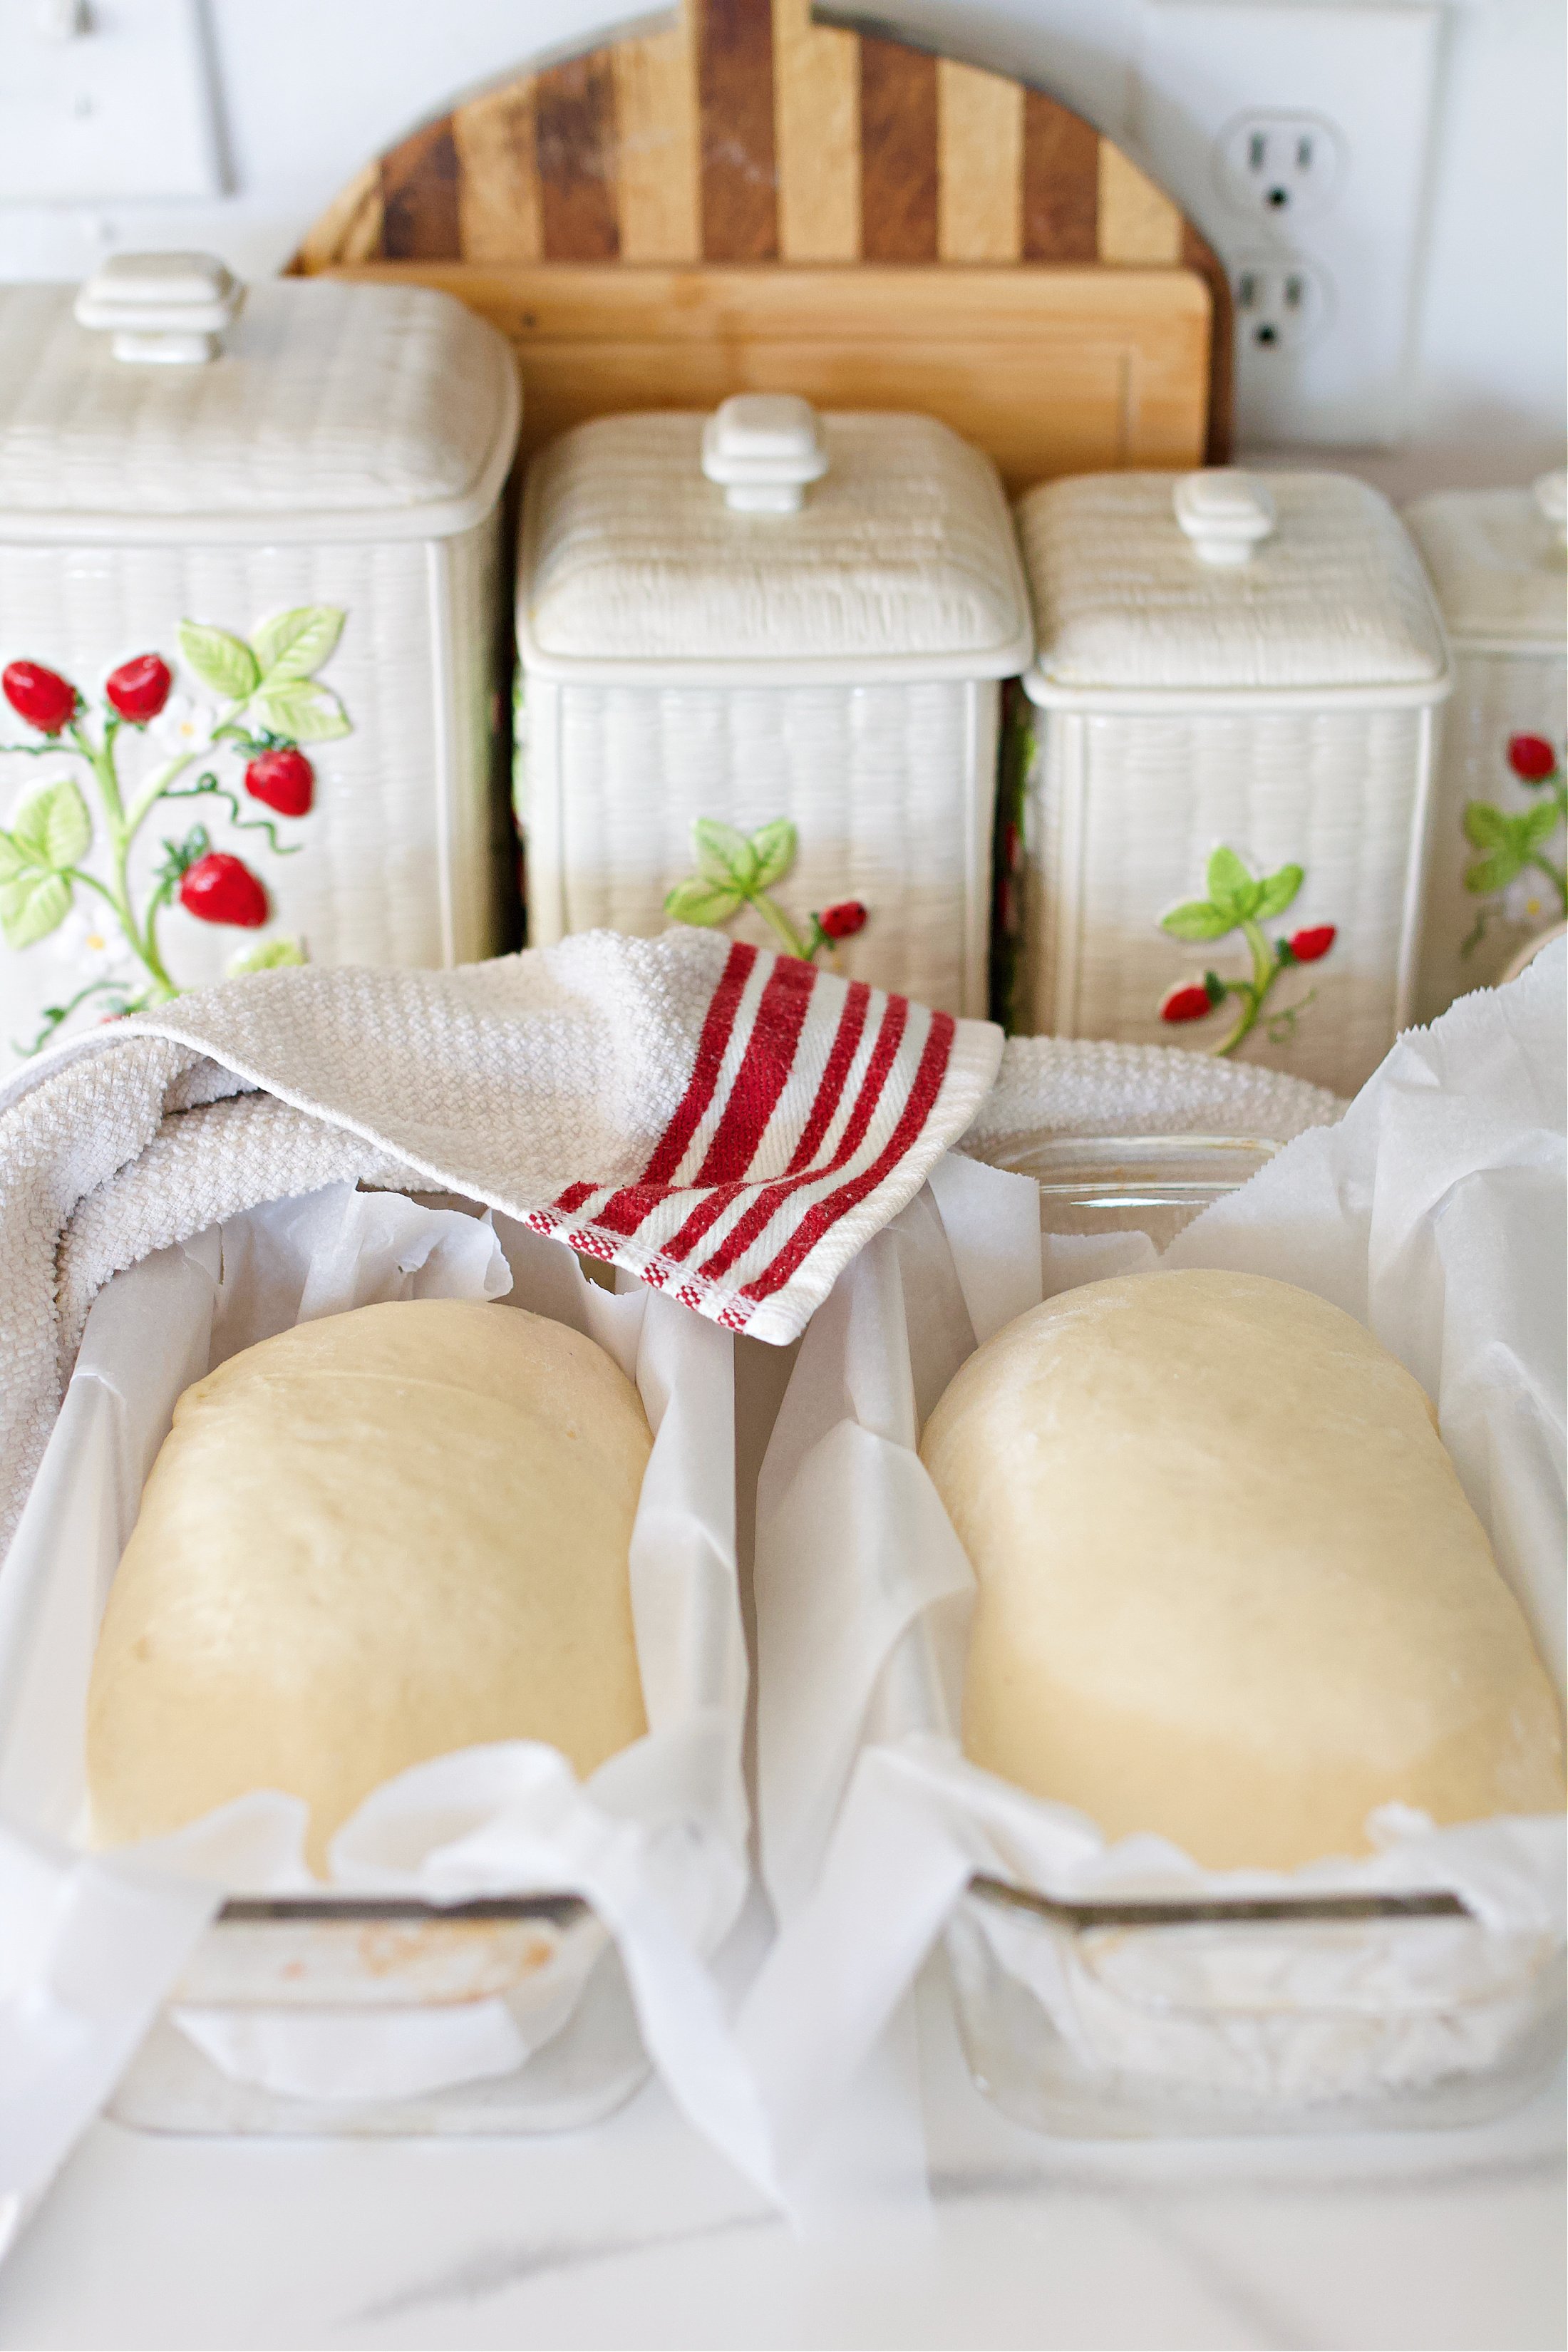
After the first rise (about 45 minutes), divide the dough in half and shape it into two loaves. Place into bread pans lined with parchment or lightly greased. Let rise again until puffy-about 30 minutes.
Bake until golden and fragrant, then brush the tops with melted butter right out of the oven. It keeps the crust soft and adds that perfect finishing touch.
Variations or Different Ways to Use It
- Whole Wheat Version: Swap up to 2 cups of the white flour for whole wheat. You'll get a heartier flavor and a bit more fiber, but still retain a soft texture.
- French Toast Bread: This bread holds its shape even when soaked. Slice thick and turn it into the best French toast.
- Mini Loaves: Divide the dough into four mini pans for cute, giftable loaves or kid-sized sandwiches.
- English Muffin Loaf Style: If you love rustic nooks and crannies, check out my English Muffin Loaf for a more open crumb texture. Perfect for toasting.
I love using these glass baking pans. They heat evenly, giving each loaf a consistent crust and tender crumb, and there's no worry about the harmful coatings found on some metal pans.
FAQ - Favorite Soft Homemade Sandwich Bread
To keep your bread soft, brush the tops with melted butter as soon as it comes out of the oven. Once cooled, store it in an airtight bag or bread box to trap moisture. Avoid refrigerating, it dries bread out faster.
Yes, but the texture will be denser. For the best balance of softness and nutrition, replace only half of the all-purpose flour with whole wheat flour. You may need an extra tablespoon or two of warm water to compensate for the added fiber.
If your bread falls apart, it may be under-kneaded or not fully cooled before slicing. Kneading builds gluten structure, which gives bread its strength. Always let loaves cool completely before cutting, warm bread tears easily.
Absolutely. Add ingredients according to your machine's instructions (wet first, then dry, yeast last). Use the "Basic" or "White Bread" setting, and you'll get soft, perfectly baked loaves with minimal effort.
Storage + Reheating Tips
- Room Temperature: Once fully cooled, store one loaf in a sealed bread bag or airtight container for 3-4 days.
- Freezing: Wrap the second loaf tightly in plastic wrap and freeze in a freezer-safe bag. It keeps well for up to 3 months.
- To Reheat: Thaw at room temp, then slice and toast, or warm a whole loaf in a 300°F oven wrapped in foil for 10-15 minutes.
- Favorite Tools: I love using glass loaf pans for even baking, and these reusable silicone bread bags for storage.
You May Also Want To Try:


Favorite Soft Sandwich Bread
Ingredients
- 2 tablespoons active dry yeast or instant yeast
- ½ cup warm water 110°F
- 3 Tablespoons sugar
- 2 cups additional warm water
- 2 ½ teaspoons salt
- ⅓ cup high-quality olive oil or avocado oil
- 6 ½ cups all-purpose flour or bread flour adjust as needed
Instructions
- Activate the Yeast:
Begin by dissolving the active dry yeast in ½ cup warm water and the 3 tablespoon sugar. Let the yeast mixture sit for 10-15 minutes until it becomes foamy, showing that your yeast is alive and ready to make the dough rise. - Prepare the Dough:
After the yeast mixture is foamy, add 2 cups of warm water (hot water will kill the yeast), salt, and olive oil. Slowly mix in 6 ½ cups of flour, one cup of flour at a time, until the dough begins to clean the sides of the bowl. Depending on your kitchen environment, you may need to add a little more or a little less flour.Tip for the best results: Keep a kitchen scale handy for more precise flour measurements, especially if using different types of flour like bread flour or whole wheat flour. - Knead the Dough:
Knead the bread dough in the bowl of your stand mixer using the dough hook attachment on low speed for about 3 minutes. The dough should be soft, elastic, and not too sticky. - First Rise:
Place the dough in a large bowl that's been lightly greased with olive oil. Cover the top of the dough with plastic wrap or a damp kitchen towel and let it rest in a warm place for 45 minutes or until it has doubled in size. - Shape the Loaves:
After the first rise, punch the dough down and turn it out onto a lightly floured surface or work surface. Divide the dough into two equal portions. Flatten each portion into a rectangle, roll it up tightly, and pinch the edges to seal. Place each loaf into a bread pan lined with parchment paper. - Second Rise:
Let the loaves rise again for 30 minutes. Meanwhile, preheat your oven to 375°F (190°C). This second rise helps give the bread a light, fluffy texture without collapsing during baking. - Bake:
Bake the loaves for 30 minutes, or until the tops are golden brown and the internal temperature of the bread reaches 190°F. Let the loaves cool for 5-10 minutes in the bread pan, then transfer them to a wire rack or cooling rack to cool completely.
Notes
For the best results, let the loaves sit at room temperature for 12 hours before storing them in an airtight container or plastic bag. You can keep one loaf in the bread box and store the second in the freezer for the next day or week Use warm—not hot—water: Water that’s too hot can kill your yeast. Aim for about 110°F for the perfect rise. Adjust flour as needed: Humidity affects dough. Add flour just until the dough pulls cleanly from the bowl and feels soft and slightly tacky, not sticky. Brush with butter: For that classic soft, golden crust, brush melted butter over the loaves right after baking.
Nutrition
Closing Thoughts from the Homestead
This soft sandwich bread recipe is a workhorse in my kitchen-always reliable, always welcome. It's the kind of bread that just makes sense to bake regularly. One batch, two loaves, and a week's worth of breakfasts, sandwiches, and snacks taken care of.
If you try this recipe, I'd love to hear how it turned out! Leave a comment below, or tag me over on Instagram. And if you're building your pantry of homemade staples, here are a few more recipes to check out:
This post may contain affiliate links. If you purchase through these links, I may earn a small commission at no extra cost to you, helping to keep this blog running.


Absolutely delicious. Thank you for posting this recipe. We’re seniors here and me and my husband both made 4 loaves. I wish I could post a picture of how beautiful they are. I’m gonna give my neighbor some
This bread turns out beautifully every time—soft, fluffy, and perfect for sandwiches. It’s become part of my Sunday routine, and my family can’t get enough of it fresh out of the oven!
Wow. I used a mixture of whole wheat and all purpose. Absolutely yummy. Thank you
Best Sandwich Bread Recipe EVER!!! My family loves it and it’s super easy to make! My house smells amazing! Going to be a weekly tradition!
I’m a 78 year old man with a 6 qt. KitchenAid mixer. I was looking for a soft sandwich bread recipe. I have my second batch in the kitchen on its second rise. Very easy recipe and tastes wonderful! My wife loves it!
I can’t tell you how much this comment made my day! I'm so glad you and your wife are enjoying the bread. Thank you for taking the time to share. I hope this recipe becomes a regular favorite in your home. 🙂
Easy and best homemade bread recipe ever. Would love the weight measurement for the flour over the cups for more accuracy.
I’m so glad you loved it, thank you for the kind review. I test and write this recipe using cup measurements since that’s what most home bakers use, but for reference, 1 cup of flour is about 120–125 grams depending on how it’s scooped. I always recommend using the dough texture as the final guide and adding flour slowly if needed. - Eryn 🙂
Yes! Thank you so much for sharing this recipe! This was my third attempt at sandwich bread. The other recipes I tried were either so dry, or way too crusty. I wanted a nice soft sandwich bread loaf to make our sandwiches with. This recipe is full proof! It is reminiscent of Sister Schubert rolls as far as taste goes. I will definitely be making this again! Thank you so much for sharing.
Lisa, you just made my day with this comment! I’m so happy the recipe finally gave you the sandwich bread you were hoping for. And comparing it to Sister Schubert rolls? That’s the highest compliment! Thank you for taking the time to share — it means so much. xoxo - Eryn 🙂