How We Store and Use Our Farm-Raised Meat Birds
After the dust settles from butchering day, the focus shifts from growing out the birds and the bustle of processing to freezers and meals. If you raise your own backyard chickens for meat, you know how much work goes into raising, harvesting, and preserving them. Once it's all done, the best thing you can do is make sure that effort wasn't wasted by storing the birds properly and using them in ways that work for your family. In this post, I'm sharing exactly how we store and use our homegrown meat birds, including the best way to store homegrown chicken, the shelf life of raw chicken, and how we cook our farm-raised birds throughout the year.
Partnering with Roots and Harvest for Processing and Preservation
This post is in partnership with Roots and Harvest, and we're using their butchering equipment to process our birds from start to finish. Their vacuum sealer and high-quality bags are also what we rely on to preserve each cut after butchering-keeping everything fresh and organized in our freezer. If you want to see our entire process, from raising chicks to packaging meat birds for the freezer, make sure to check out my full bird guide page.
From Butcher to Freezer: First Steps
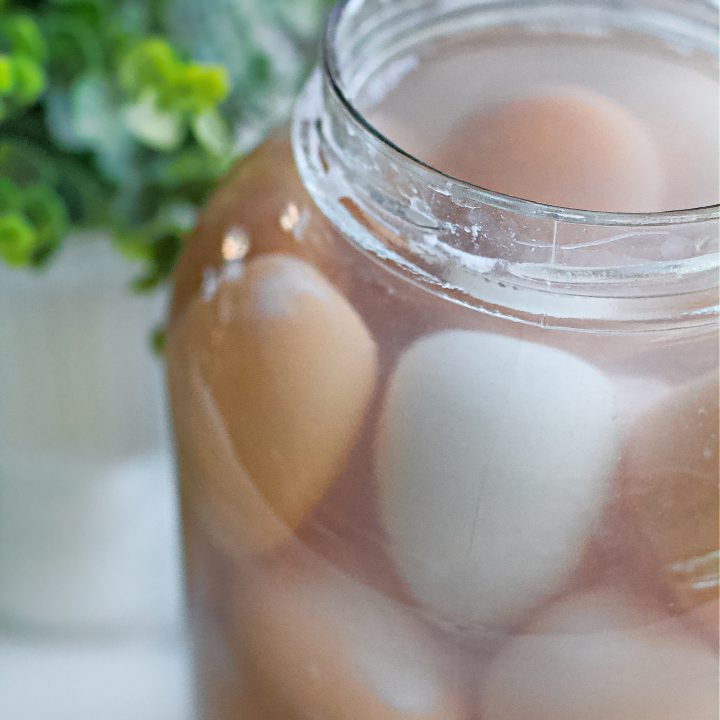
The 24-Hour Ice Bath Method
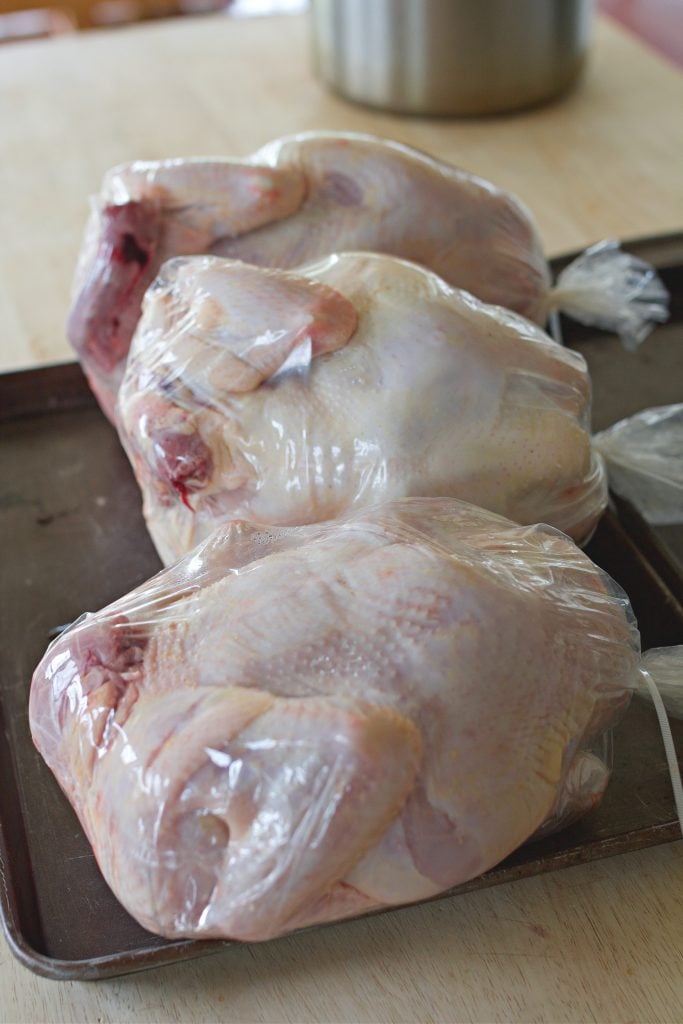
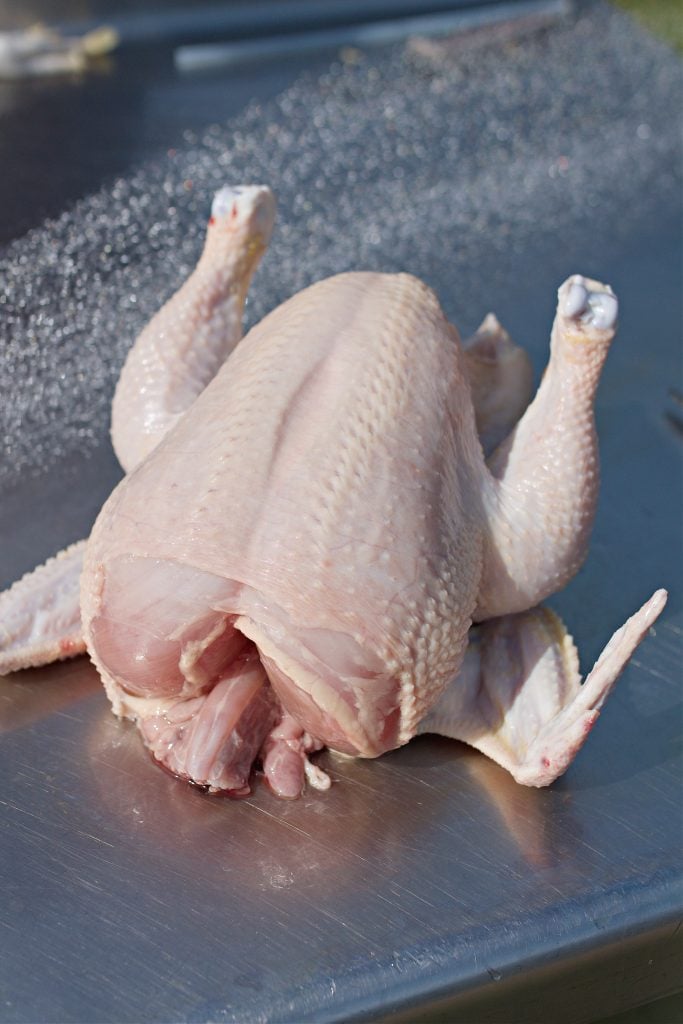
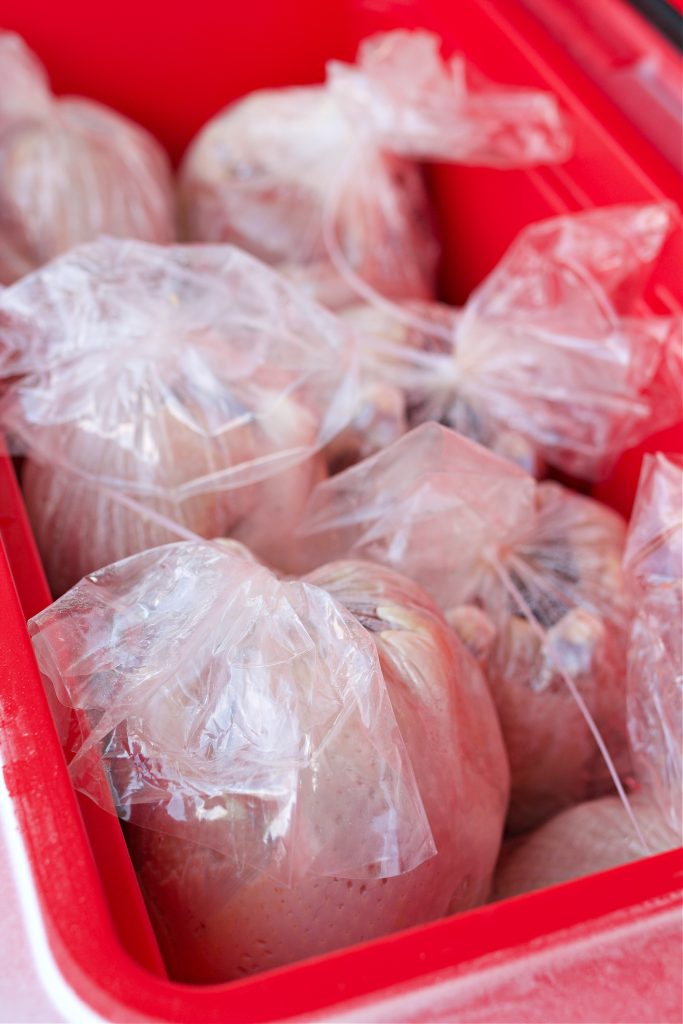
We raise Cornish Cross on our farm, and butchering day is always a full one, but we've developed a rhythm. After each bird is processed, we immediately place them into heat-shrinking plastic bags and then submerge them in a large cooler filled with ice water for 24 hours. These shrink bags help reduce air exposure and are ideal for long-term storage when freezing whole birds.
The 24-hour ice bath also gives the chicken time to go through rigor mortis and then fully relax, which is important for texture. If frozen or cut up too soon, the meat can become tough due to contracted muscle fibers. Letting it relax again after rigor ensures a tender, flavorful final result and makes it much easier to cut up if you plan to break the bird down into parts.
After 24 hours in the cooler, we either move them to the fridge or straight into packaging for freezing, depending on our processing plan. If we're freezing the birds whole, they're already sealed in the heat-shrinking plastic bags during the dip process, so at that point, we simply dry them off and transfer them directly into the freezer-no extra sealing or vacuuming needed.
Freezing Farm-Raised Chicken: The Best Method
If you're storing more than just whole birds, knowing how to break one down is a great way to stretch each chicken and make mealtime more manageable. Here's the best method we use to cut up a whole chicken quickly and cleanly:
How to Cut Up a Whole Chicken (Easily!)
- Start with a clean surface and sharp knife. A boning knife or chef's knife works well.
- Remove the legs. Pull each leg away from the body and slice through the skin. Bend the leg until the joint pops, then cut through the joint to remove it completely.
- Separate the thighs from the drumsticks. Lay each leg skin-side down and cut through the natural line of fat between the drumstick and thigh.
- Remove the wings. Pull them out from the body and slice through the joint.
- Cut out the backbone. Use kitchen shears or a sharp knife to cut along both sides of the backbone. While some might simply discard the backbone, I personally don't. I always save it for making rich bone broth, which I pressure can and keep stocked in the pantry. It's a great way to get the most from each bird and reduce food waste.
- Split the breast. Cut down the center of the breastbone to cut away each breast, and either leave them whole or slice even thinner and make them into breast tenders.
This method gives you eight pieces: two drumsticks, two thighs, two wings, and two breast halves-plus the backbone if removed. It's the easiest way to portion out meat for meals, especially if freezer space is tight.
Seal and label each part for long-term storage or future use.
If you're freezing a whole chicken, one of the easiest and safest options is using shrink bags-the kind you dip into hot water to shrink-seal around the bird. These are perfectly fine for whole chickens and help extend the shelf life without needing a vacuum sealer. But if you're cutting the bird into pieces, vacuum sealing is the best practice. It keeps air out, protects against freezer burn, and preserves flavor and texture.

Best practices for freezing:
- Always vacuum seal or double wrap in plastic wrap and a plastic grocery bag to prevent freezer burn.
- Label clearly with the date and type (whole chicken, legs, breasts, etc.).
- Store on the lowest shelf or bottom drawer of the freezer, where temperatures stay most consistent.
Properly stored, raw chicken from your own chickens has a shelf life of 9-12 months in the freezer. After that, the quality may decline but it's still safe to eat if it's been kept fully frozen.
How Our Freezer Is Organized
We don't have the luxury of a massive walk-in, so we make the most of our chest freezer. Here's how we do it:
- Large bins to sort cuts of meat
- An area for whole chickens (stacked, oldest on top)
- A wire basket for soup bones and extra parts for broth
We follow a general rule: use the oldest first. This helps reduce food waste and makes sure we're always rotating through our supply.
How We Use Our Chickens All Year
Homegrown birds are not the same as commercially raised. To me, the flavor richer, and the fat content (what gives flavor) is better, and the meat has a denser, meatier texture.
Here's how we regularly use our farm-raised meat:
- Whole roasted chicken on Sundays with fresh vegetables
- BBQ chicken - it's one of our favorite ways to enjoy wings, or thighs, especially during the warmer months.
- Fried chicken in tallow using our cast iron skillet - the flavor and crispiness can't be beat. Tyrion's favorite is fried drumsticks.
- Chicken and dumplings from leftover thighs
- Bone broth from carcasses after roasting
- Chicken salad with fresh herbs
- Hard-boiled eggs and shredded chicken for quick lunches
- Freezer meals using cut-up parts for casseroles or soups
- Soups and stews made heartier with homegrown meat and the canned bone broth.
We also love serving our chicken alongside farm-fresh eggs from our own backyard flock. There's something deeply satisfying about a plate made from your own small farm.
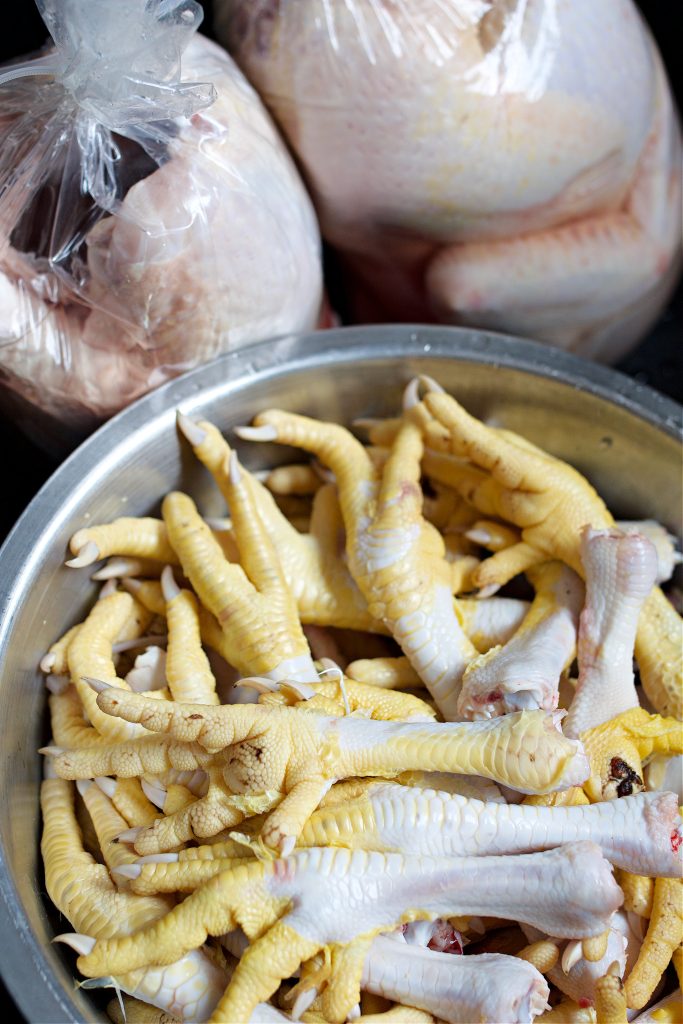
What We Do With the Chicken Feet
We also keep the chicken feet after butchering. If you scald them when you scald the bird and toss them into the plucker, it usually removes the outer layer of skin, leaving the foot clean and ready for use. While chicken feet are excellent for making a collagen-rich broth, we often freeze them raw and use them as treats for our dogs. Since we already make plenty of broth from the carcasses, scraps, and backbones, the feet become a great way to reduce waste and give our animals something nourishing too.
Common Questions We Get
How long should chickens rest after butchering before freezing?
We recommend a 24-hour ice water bath. This allows the meat to pass through rigor mortis and relax, which improves tenderness and makes processing easier.
Is vacuum sealing necessary for all cuts?
No. Whole chickens sealed in heat-shrink bags don't need additional vacuum sealing. But for cut pieces, vacuum sealing is the best way to extend shelf life and prevent freezer burn.
How long does frozen farm-raised chicken last?
Properly sealed and frozen, your homegrown chicken can last 9-12 months in the freezer with minimal quality loss.
What's the best way to thaw a whole chicken?
Place it in the fridge 24-48 hours before you need it. For a faster method, use a bowl of cold water, changing the water every 30 minutes.
What if a chicken smells off after thawing?
Trust your nose-if it smells sour or rotten, it's not safe to eat. Good chicken should smell clean or neutral.
Final Thoughts
Storing and using homegrown chicken-is a rhythm that takes time to find. But once you do, it becomes second nature. You're feeding your family food raised with care, and that matters. If you're just starting out or need additional guidance, feel free to reach out through my contact information. I'm always happy to help fellow families raise and store food the right way.
Raising chickens is hard work, but it's worth it-for the taste, the health benefits, and the peace of knowing exactly where your food came from. If you're considering building your own backyard flock or taking the next step into meat birds, learning how we store and use our homegrown meat birds might be the encouragement you need. It's a good idea you won't regret.
Want to follow along on our farm in real time? Make sure we're friends over on Instagram. It's my favorite place to be when not over here on the blog!
To learn about raising meat birds from start to finish check out this page!