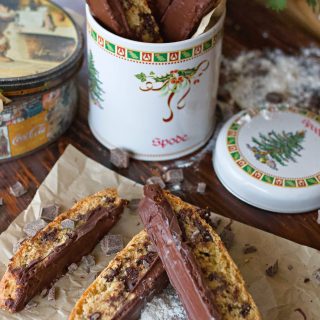
Classic Chocolate Chunk Biscotti Recipe: Best Morning Treat
There's a magic to some mornings. The kind where the house is quiet, the coffee is hot, and the day hasn't quite started yet. It's in those calm, early moments that I love reaching for something special, like a crisp, chocolate-studded biscotti. It feels like a little gift to myself before the world wakes up.
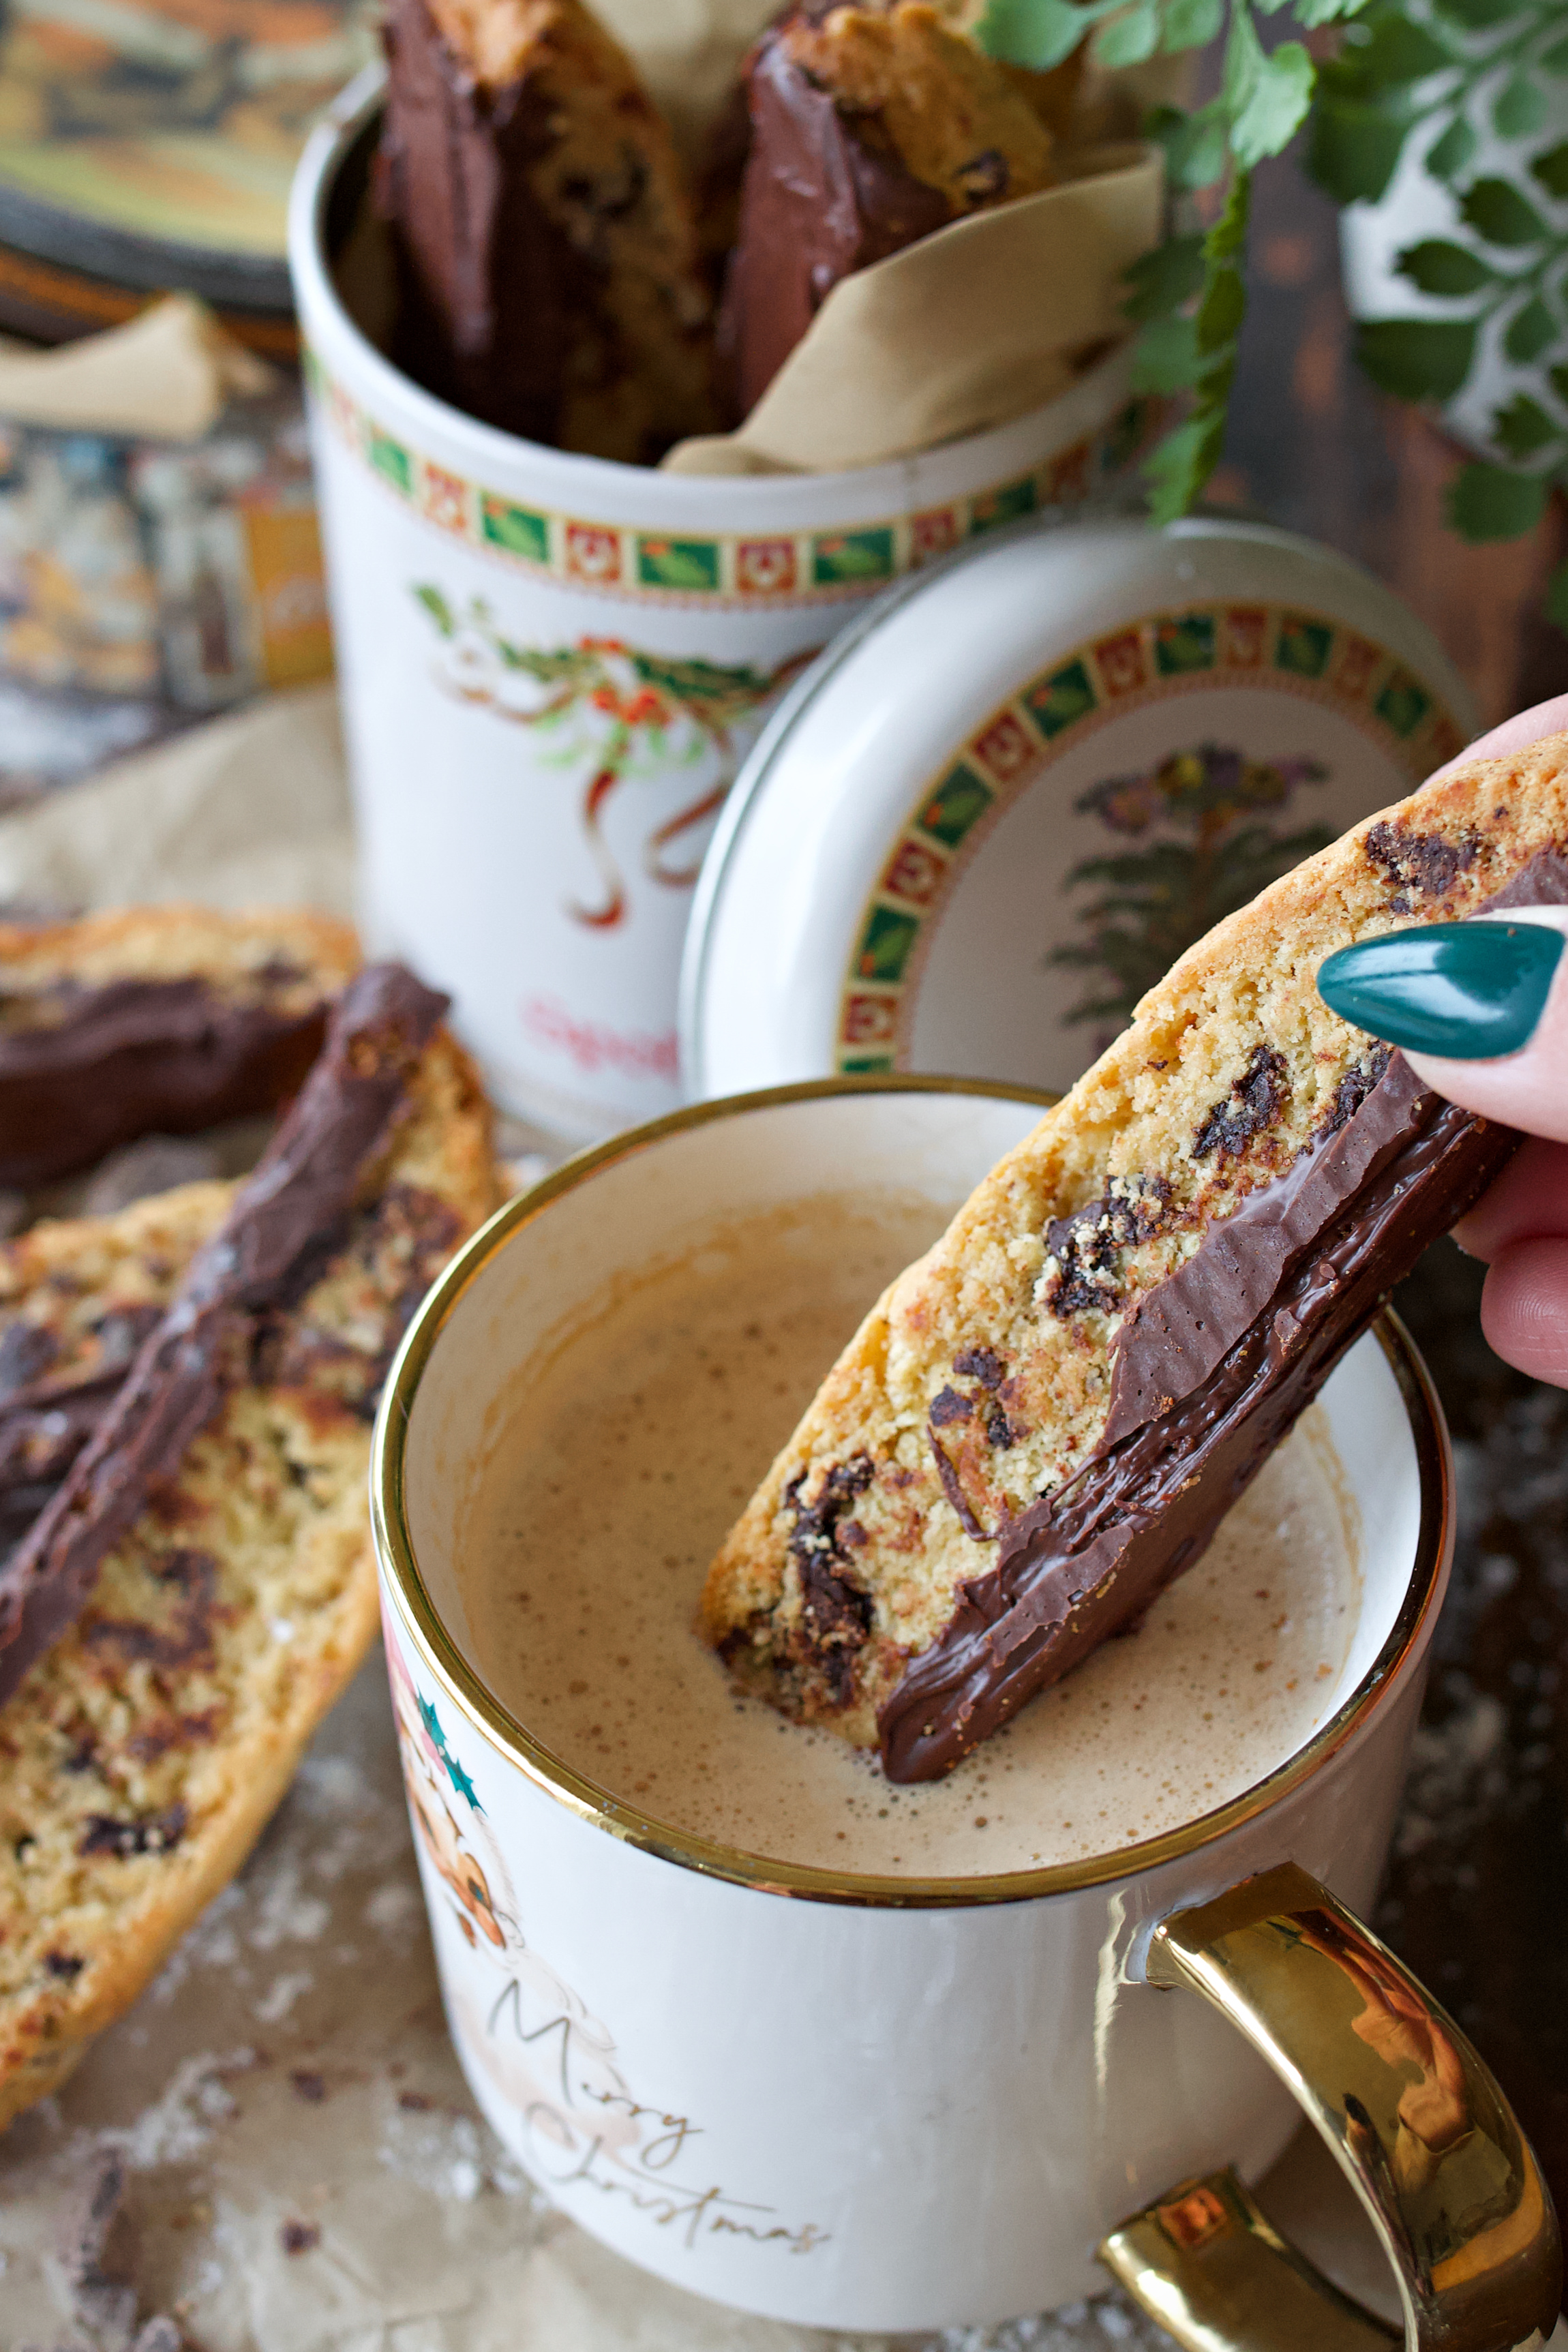
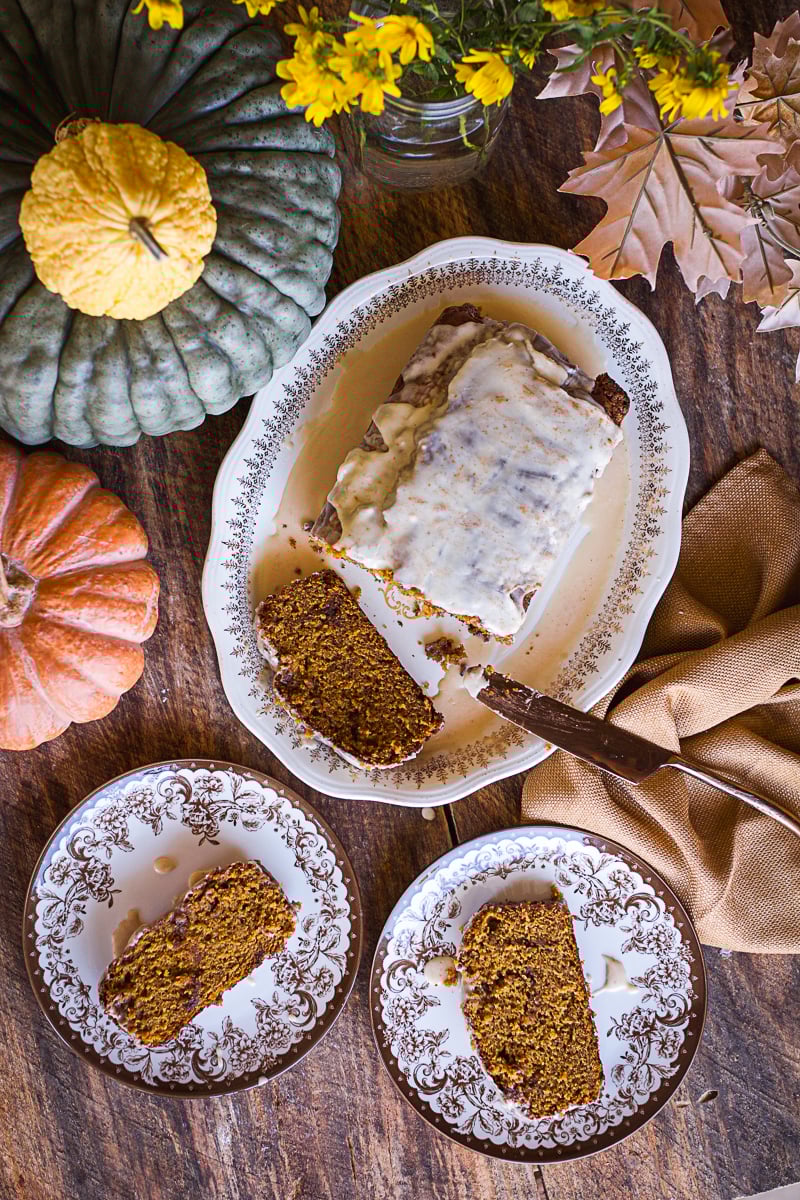
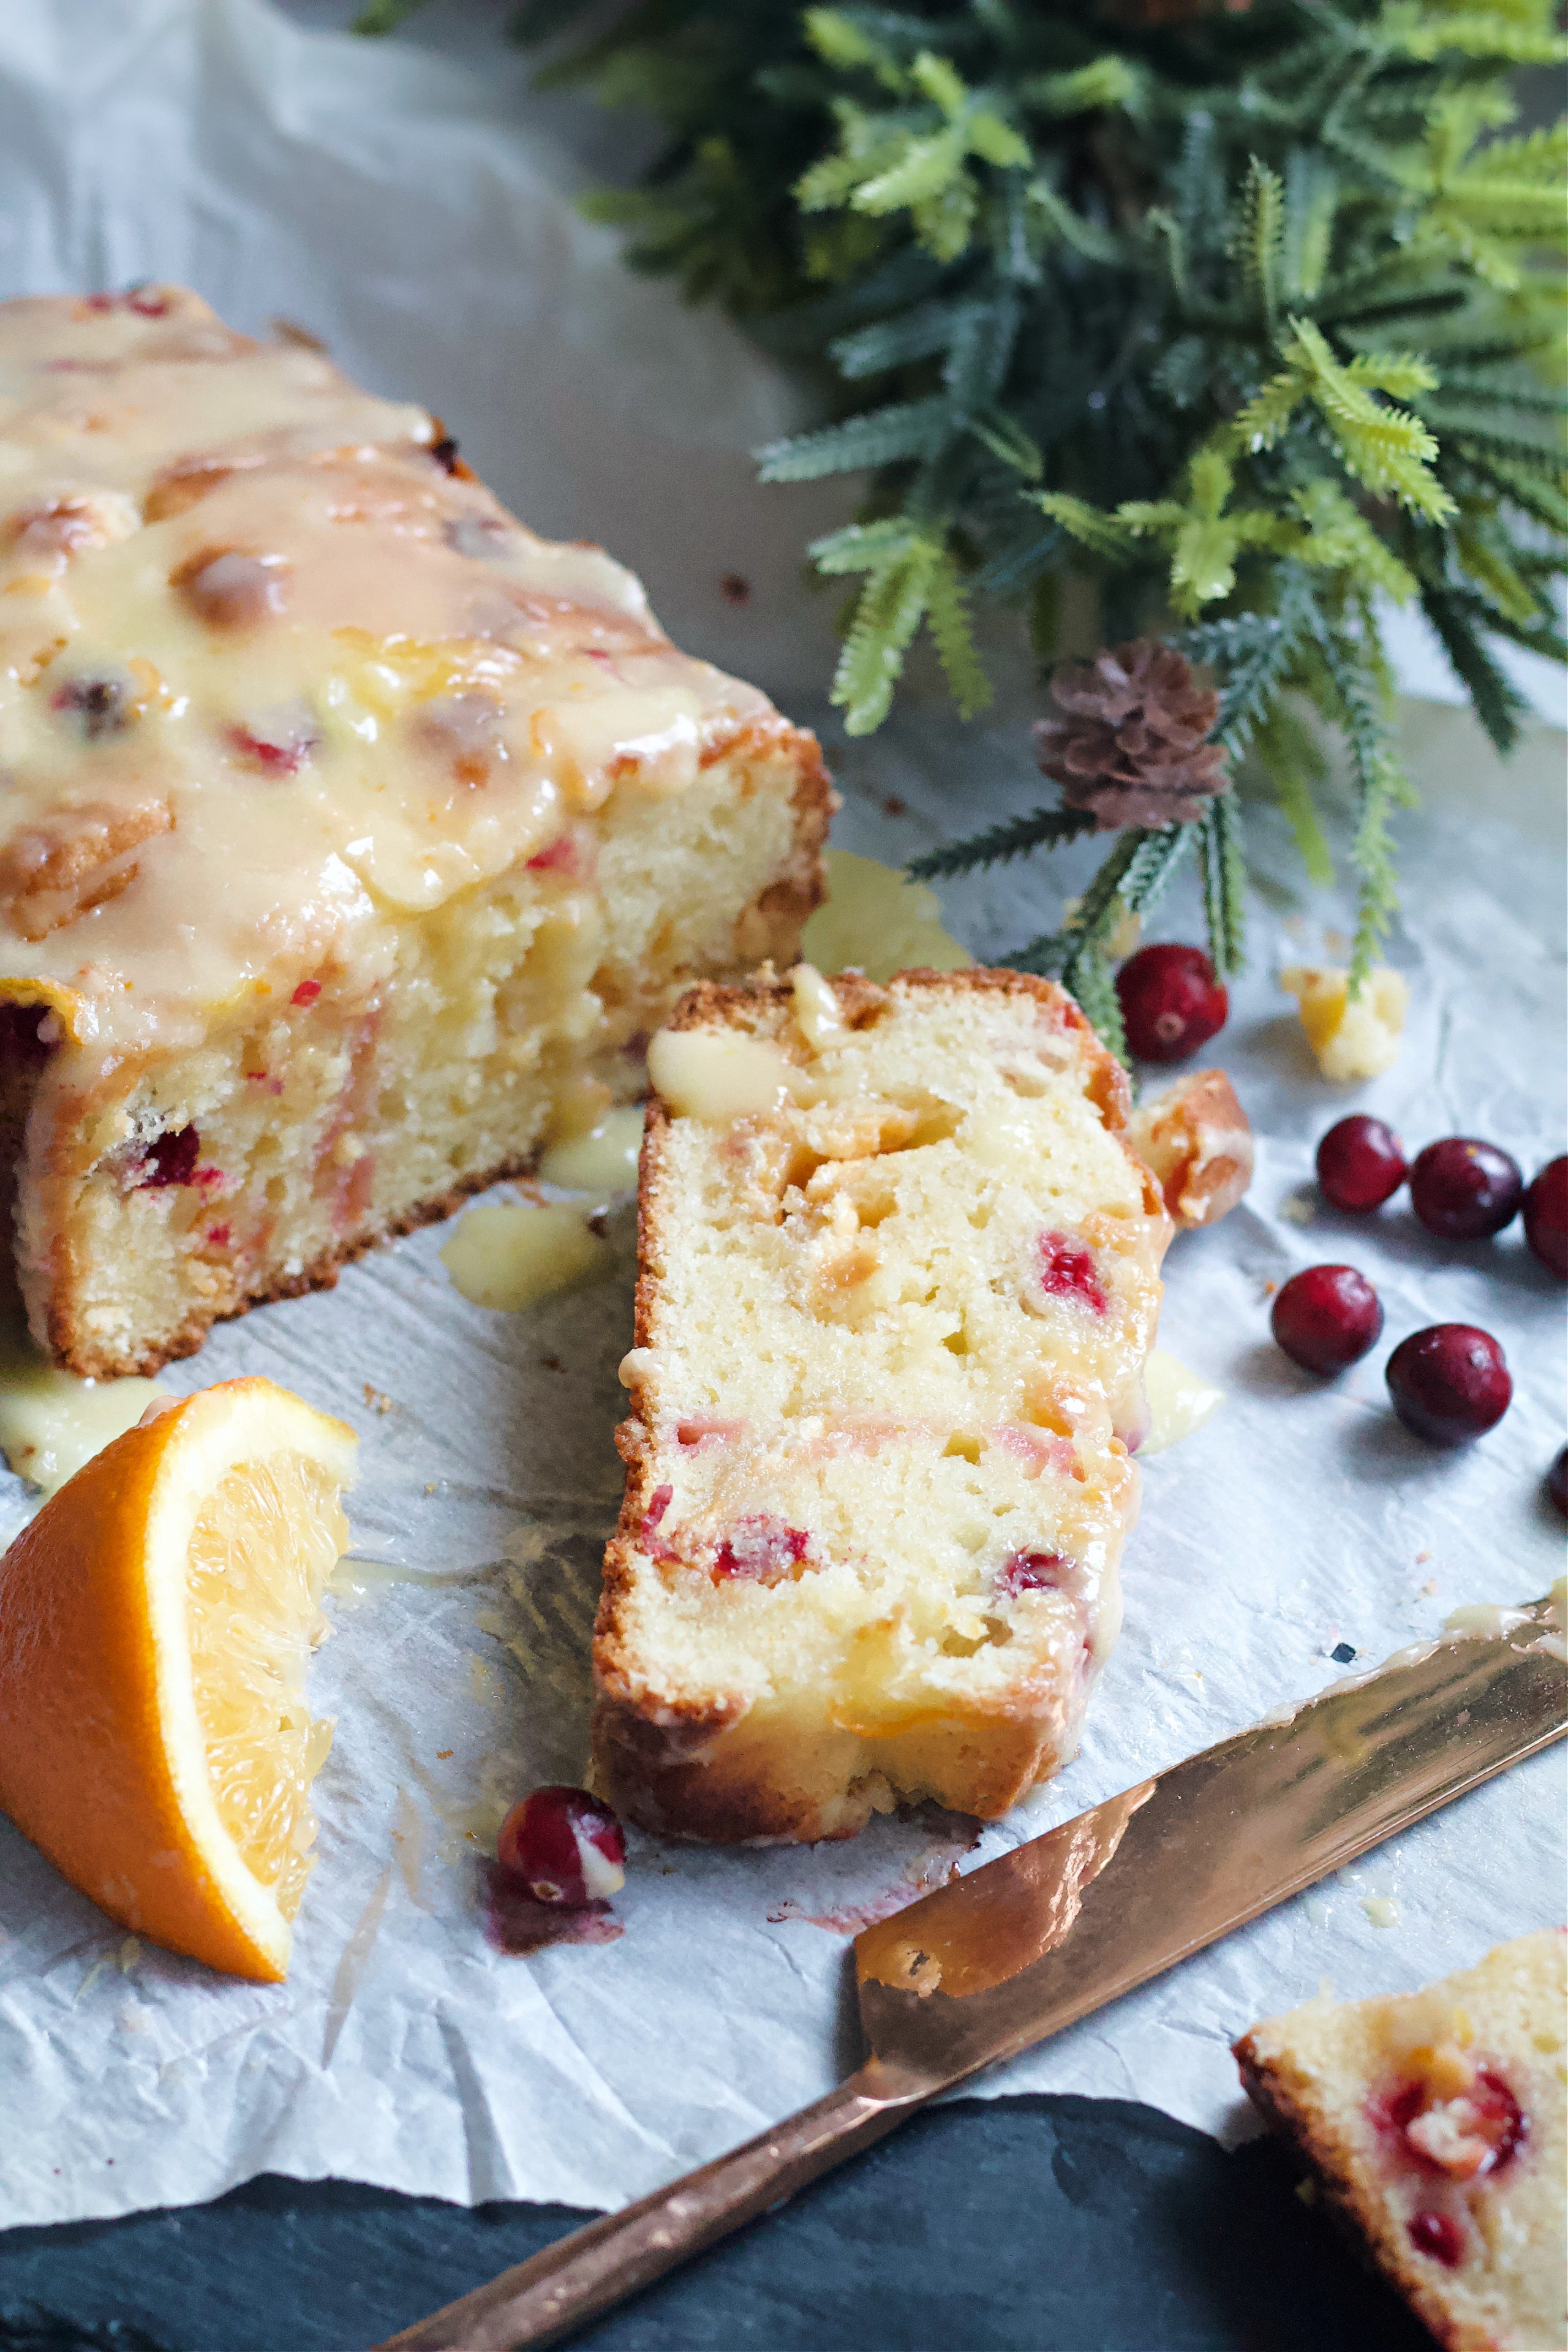
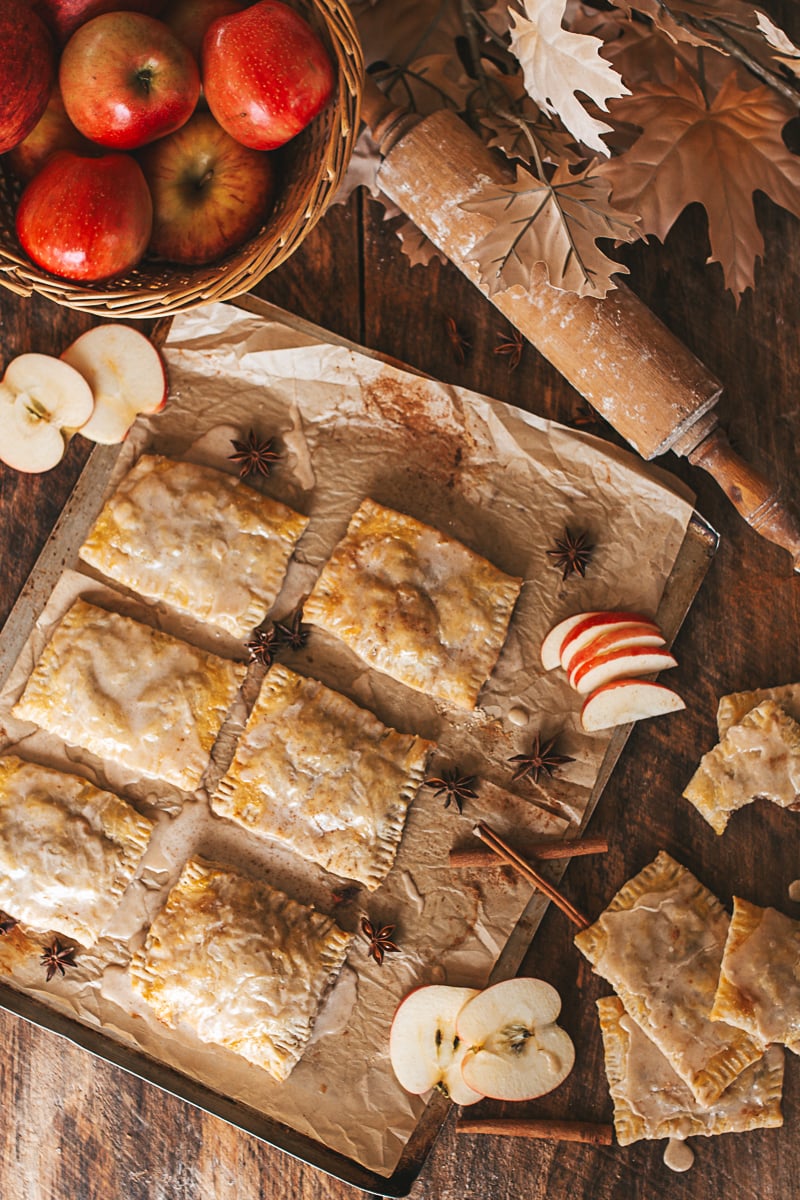
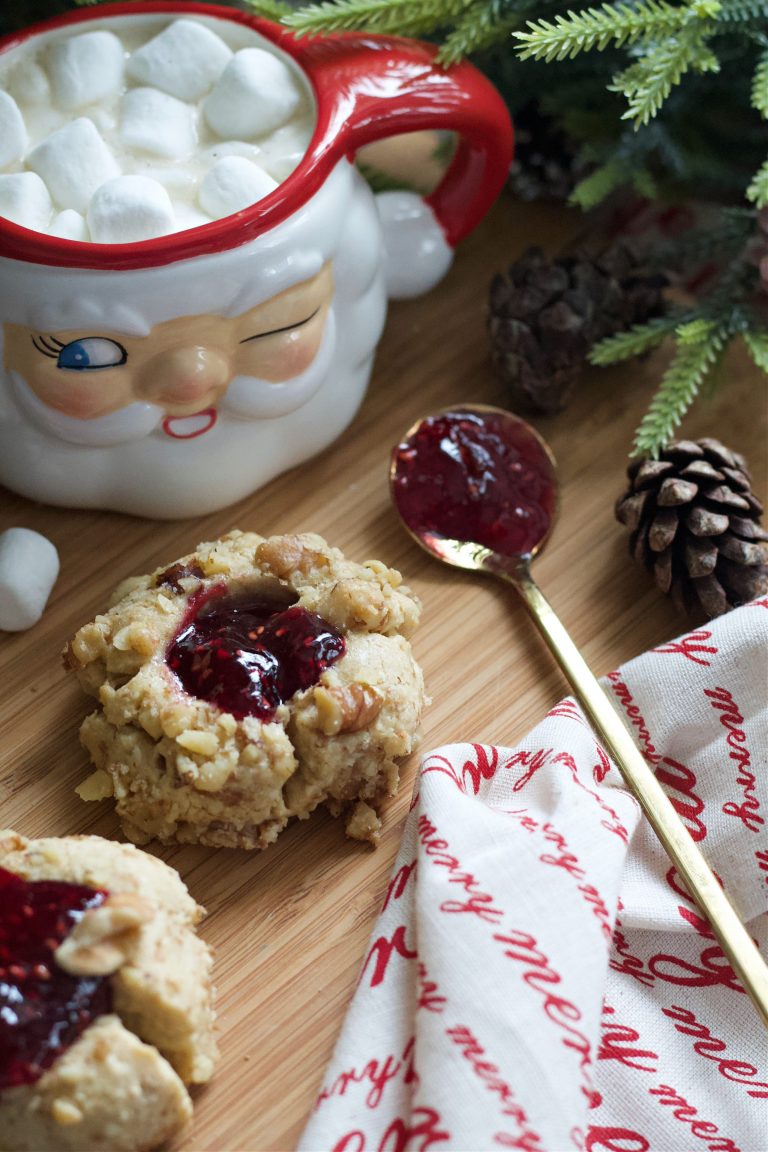
This classic chocolate chunk biscotti is everything I love in a homemade cookie: buttery, gently sweet, and perfectly crisp for dunking. And nothing beats dipping it into a warm mug of my Homemade Hot Cocoa pure comfort in every sip. If you're looking for more treats to bake up, try my Pumpkin Cookies with Brown Butter Frosting, Cherry Hand Pies, or classic Sugar Cookie Bars. They're all simple, satisfying, and perfect for sharing.

A Quick Look at the Recipe
✅ Recipe Name: Classic Chocolate Chunk Biscotti
⏱️ Ready In: 40 minutes
? Yields: 20 cookies
?️ Calories: 302 per biscotti
? Main Ingredients: Salted butter, sugar, eggs, flour, chocolate chunks
? Dietary Info: Nut-free (as written), vegetarian, freezer-friendly
⭐ Why You'll Love It: Twice-baked for the perfect crunch, chocolate-dipped for extra indulgence, and easy to customize for any season.
SUMMARIZE & SAVE THIS CONTENT ON
Why You'll Love This Biscotti Recipe
- Classic Italian cookie with a twist: Rich chocolate chunks baked into a golden, crisp cookie.
- Perfect crunch: Twice-baked for that satisfying texture that holds up to coffee dunking.
- Ideal for gifting: Wrap in parchment and tuck into a tin for a thoughtful homemade treat.
- Easily customizable: Add orange zest, swap in almonds, or drizzle with white chocolate for variety.
Ingredient Notes + Substitutions
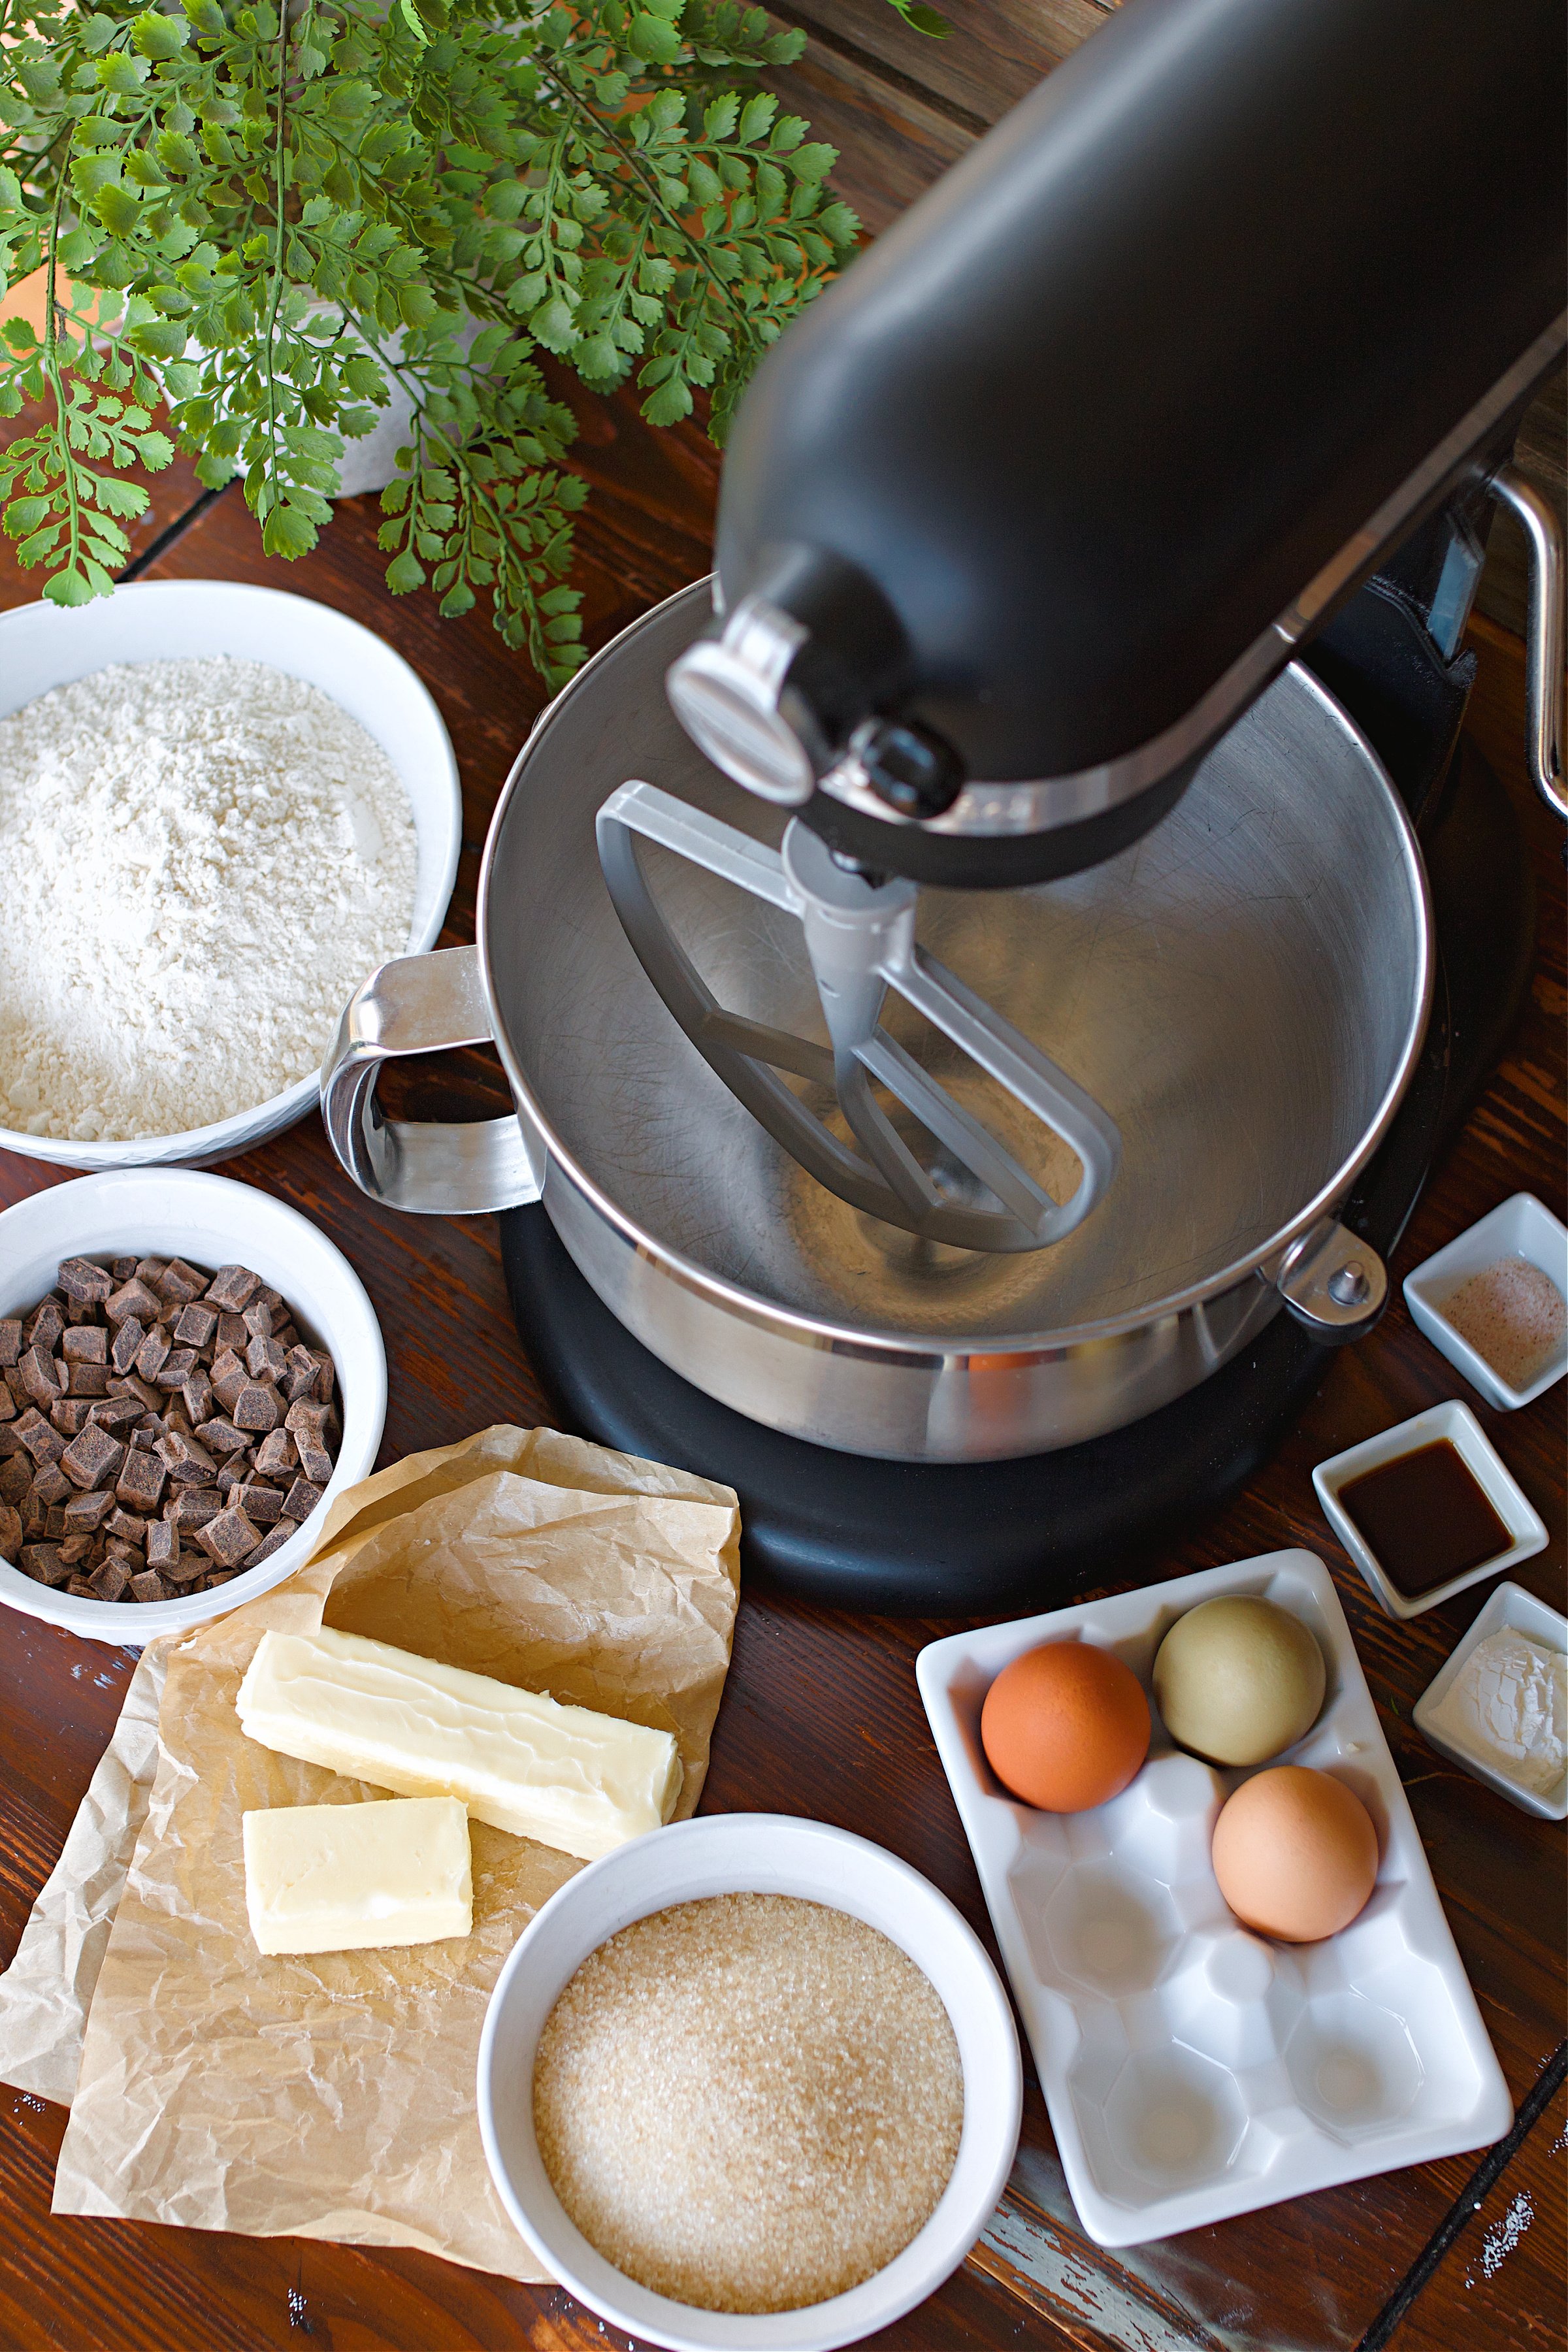
- Salted Butter: Always use salted butter here-it adds depth and balances the sweetness beautifully.
- Sugar: Regular granulated sugar keeps this biscotti lightly sweet without overpowering.
- Eggs: Three large eggs help bind the dough and give structure.
- Vanilla + Almond Extract: A splash of each adds warmth and a hint of that classic biscotti flavor.
- Flour, Baking Powder, and Salt: The base dry ingredients-nothing fancy here, just pantry staples.
- Chocolate Chunks: Roughly chopped for melty, rich pockets of chocolate.
- Dipping Chocolate: Use dark chocolate chips or bars melted gently for dipping once the biscotti cool.
- Optional Add-Ins: Try lemon or orange zest, anise extract, or swap chocolate for chopped nuts.
Step-by-Step: How to Make Biscotti
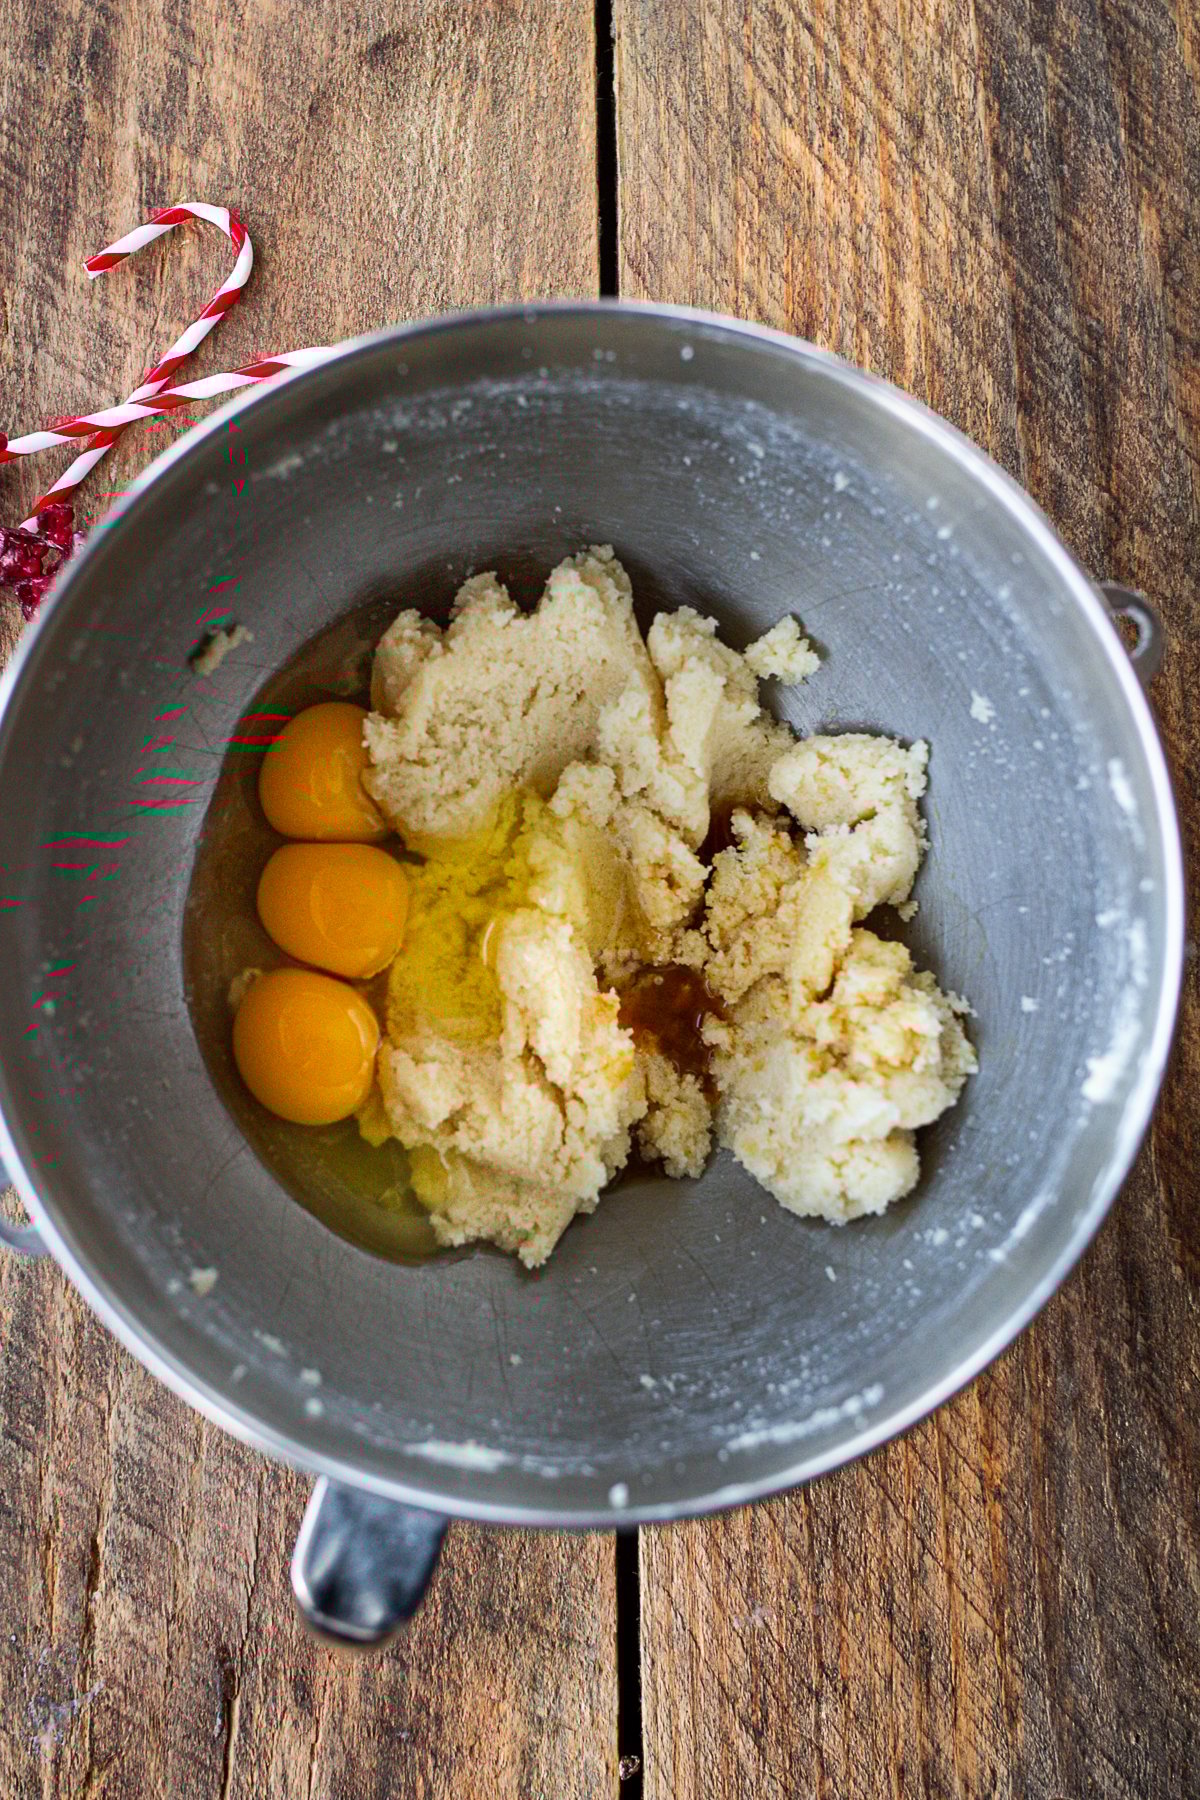
Cream the butter and sugar, then add the eggs and extracts.
In the bowl of a stand mixer (or a large mixing bowl), beat the softened butter and sugar until light and fluffy. Add the eggs, vanilla extract, and almond extract on top, ready to be mixed in.
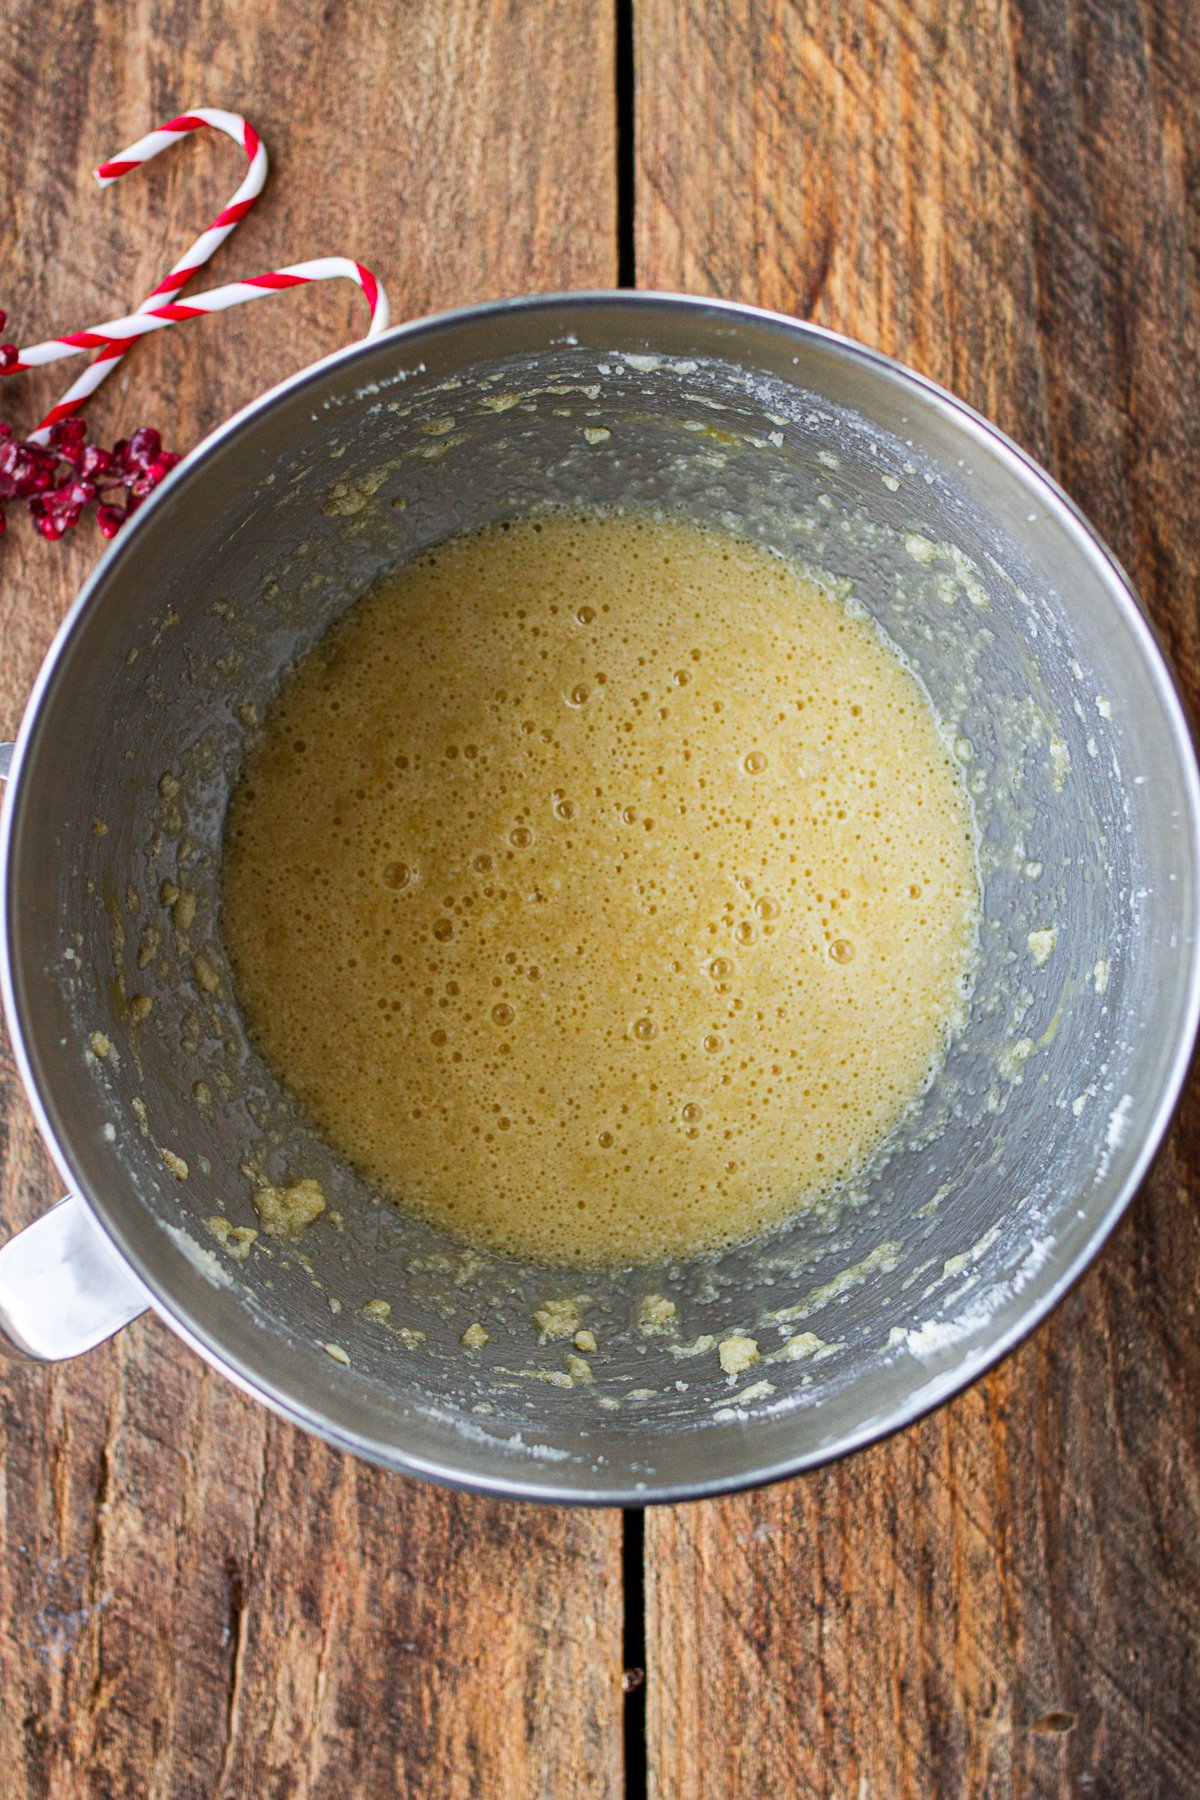
Whip until smooth and cohesive.
Beat everything together until the mixture is fully combined, pale in color, and slightly thickened. At this stage, the batter should look smooth and glossy and is ready for the dry ingredients to be added.
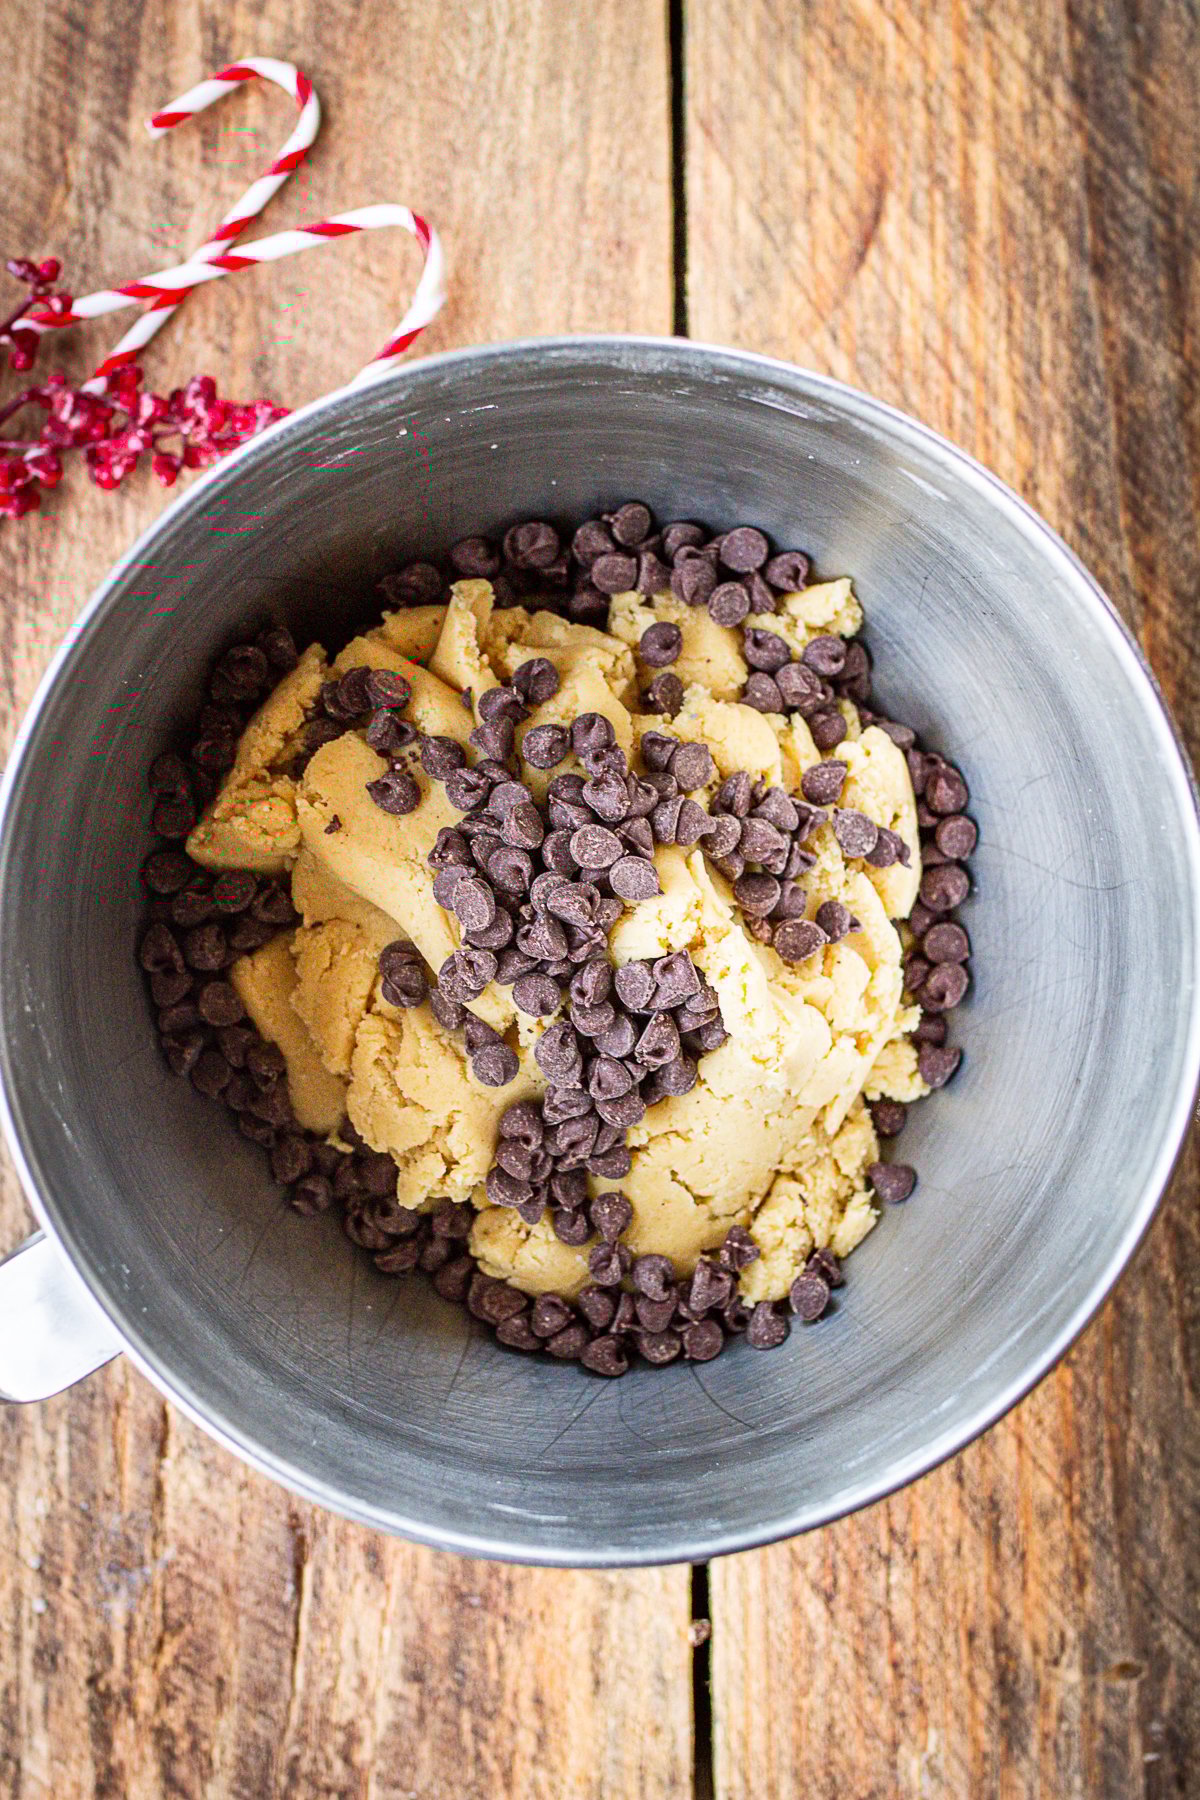
Fold in the chocolate chunks.
Once the dry ingredients are fully incorporated, gently fold in the chocolate chunks just until evenly distributed. The dough will be thick, slightly sticky, and closer to a soft bread dough than a traditional cookie dough.
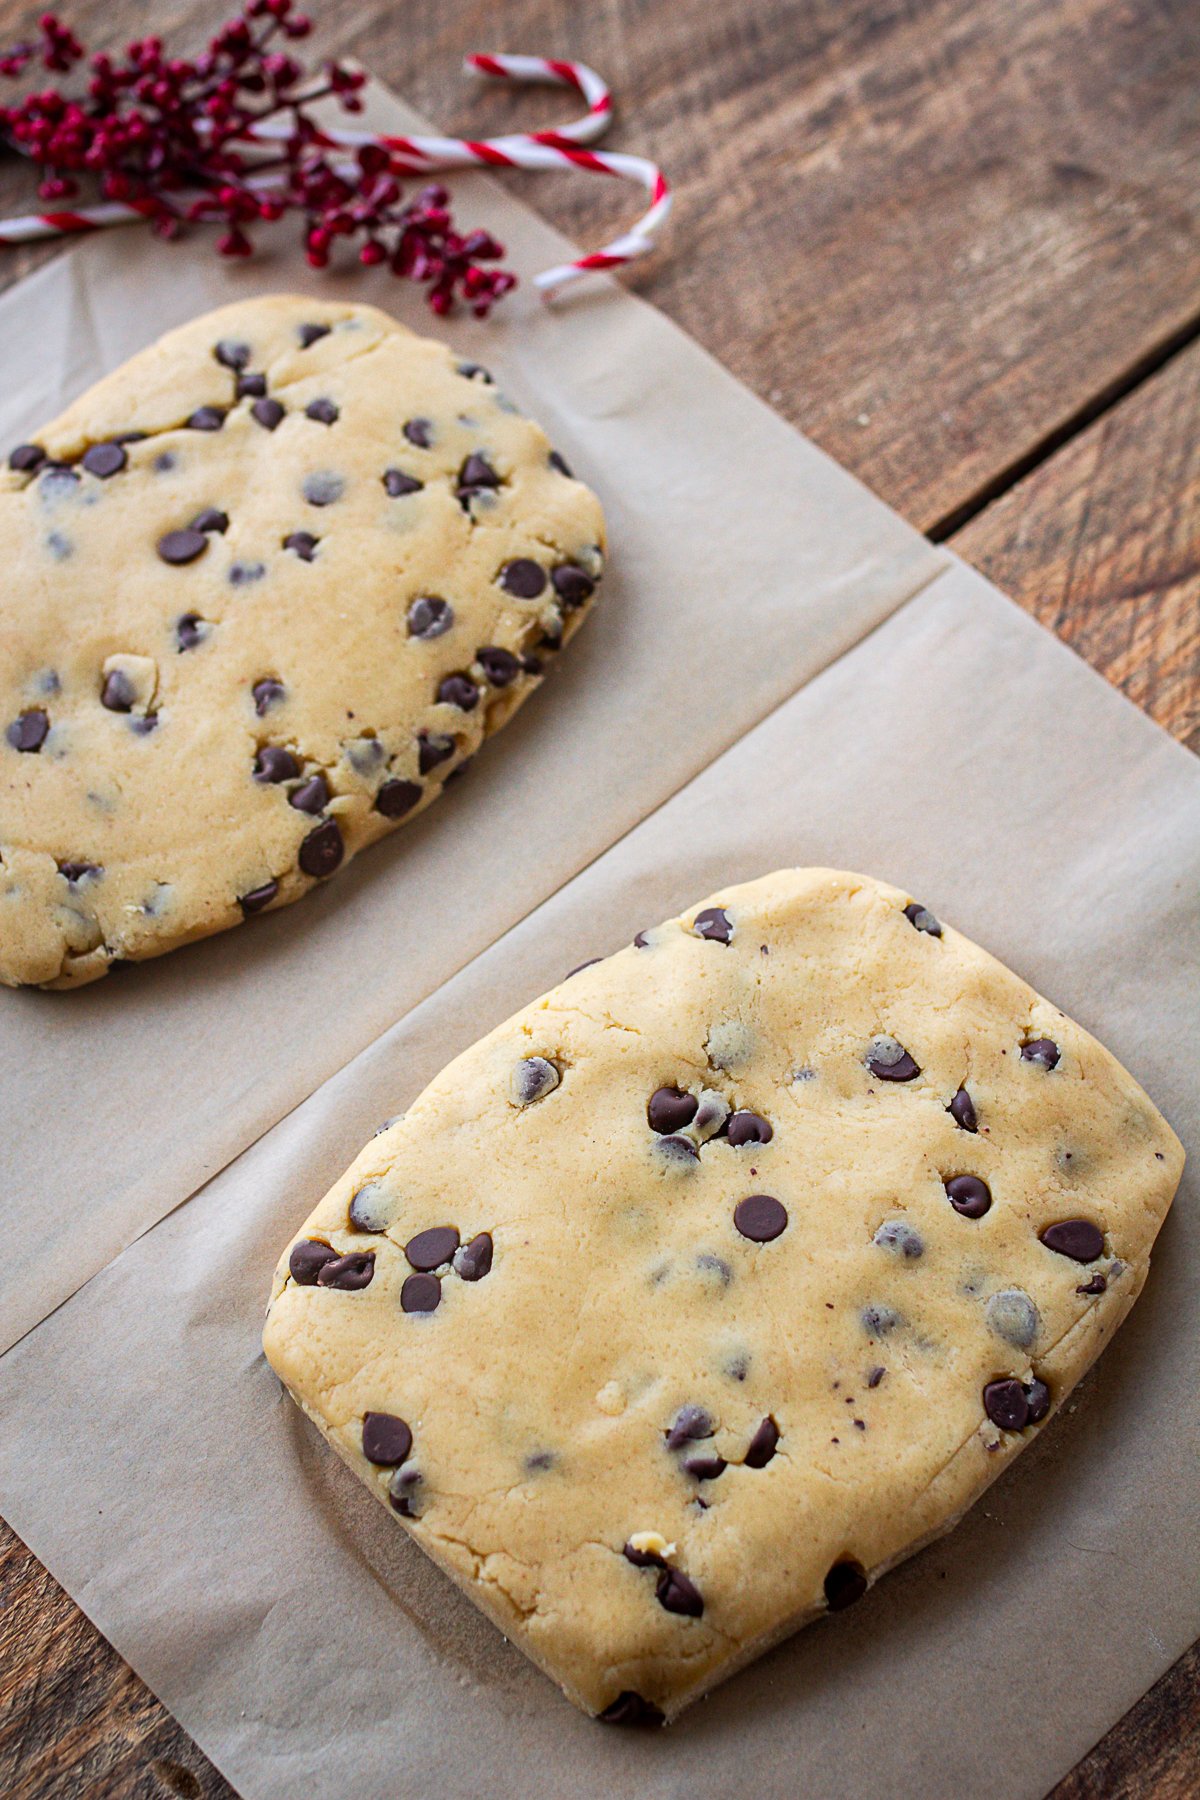
Shape the biscotti logs.
Divide the dough into two equal portions and place them on a parchment-lined baking sheet. Using lightly damp hands, shape each portion into a flattened log about 10 inches long, 4 inches wide, and roughly ¾ inch thick. The logs should be shaped close to the final biscotti size, as they won't rise or spread much during baking.
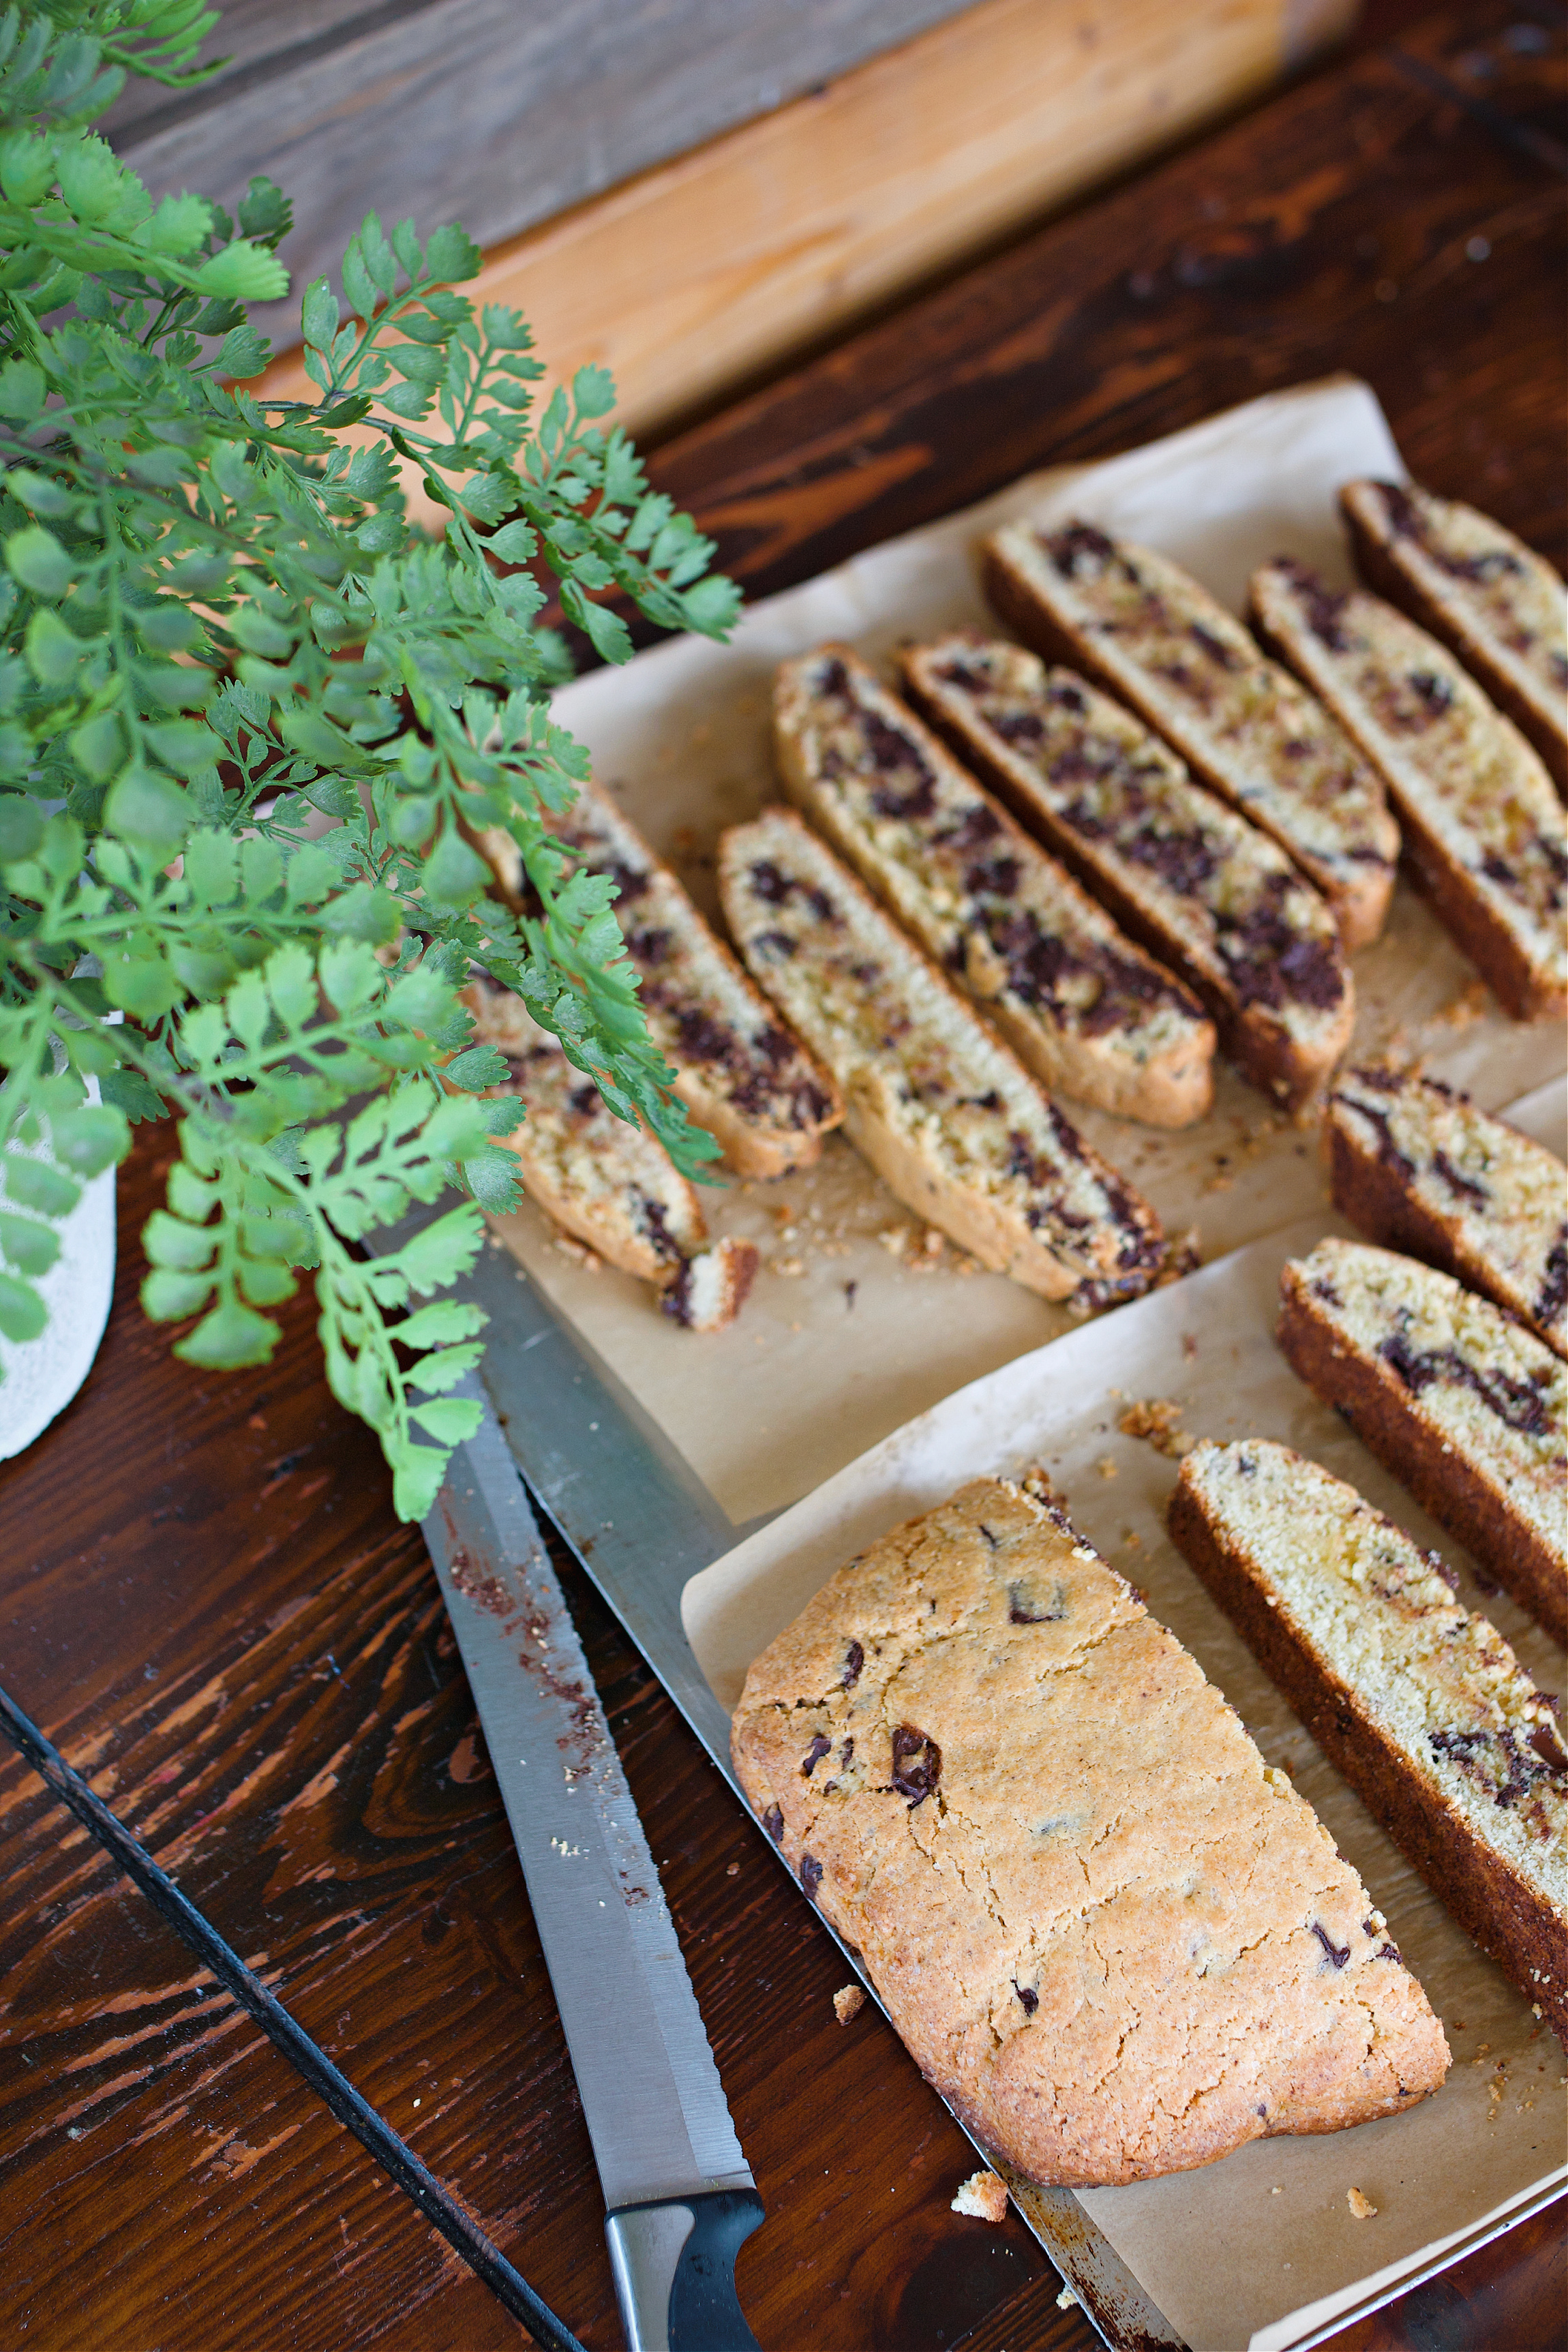
Slice after the first bake.
Once the logs have baked for 15-20 minutes at 350°F, let them cool for 10-15 minutes. Using a sharp serrated knife, slice on a slight diagonal into ¾-1 inch thick pieces. Arrange the slices cut-side down on the baking sheet and return them to the oven for a second bake of 7-10 minutes, until dry to the touch and lightly golden. This second bake sets the crisp texture-no flipping needed.
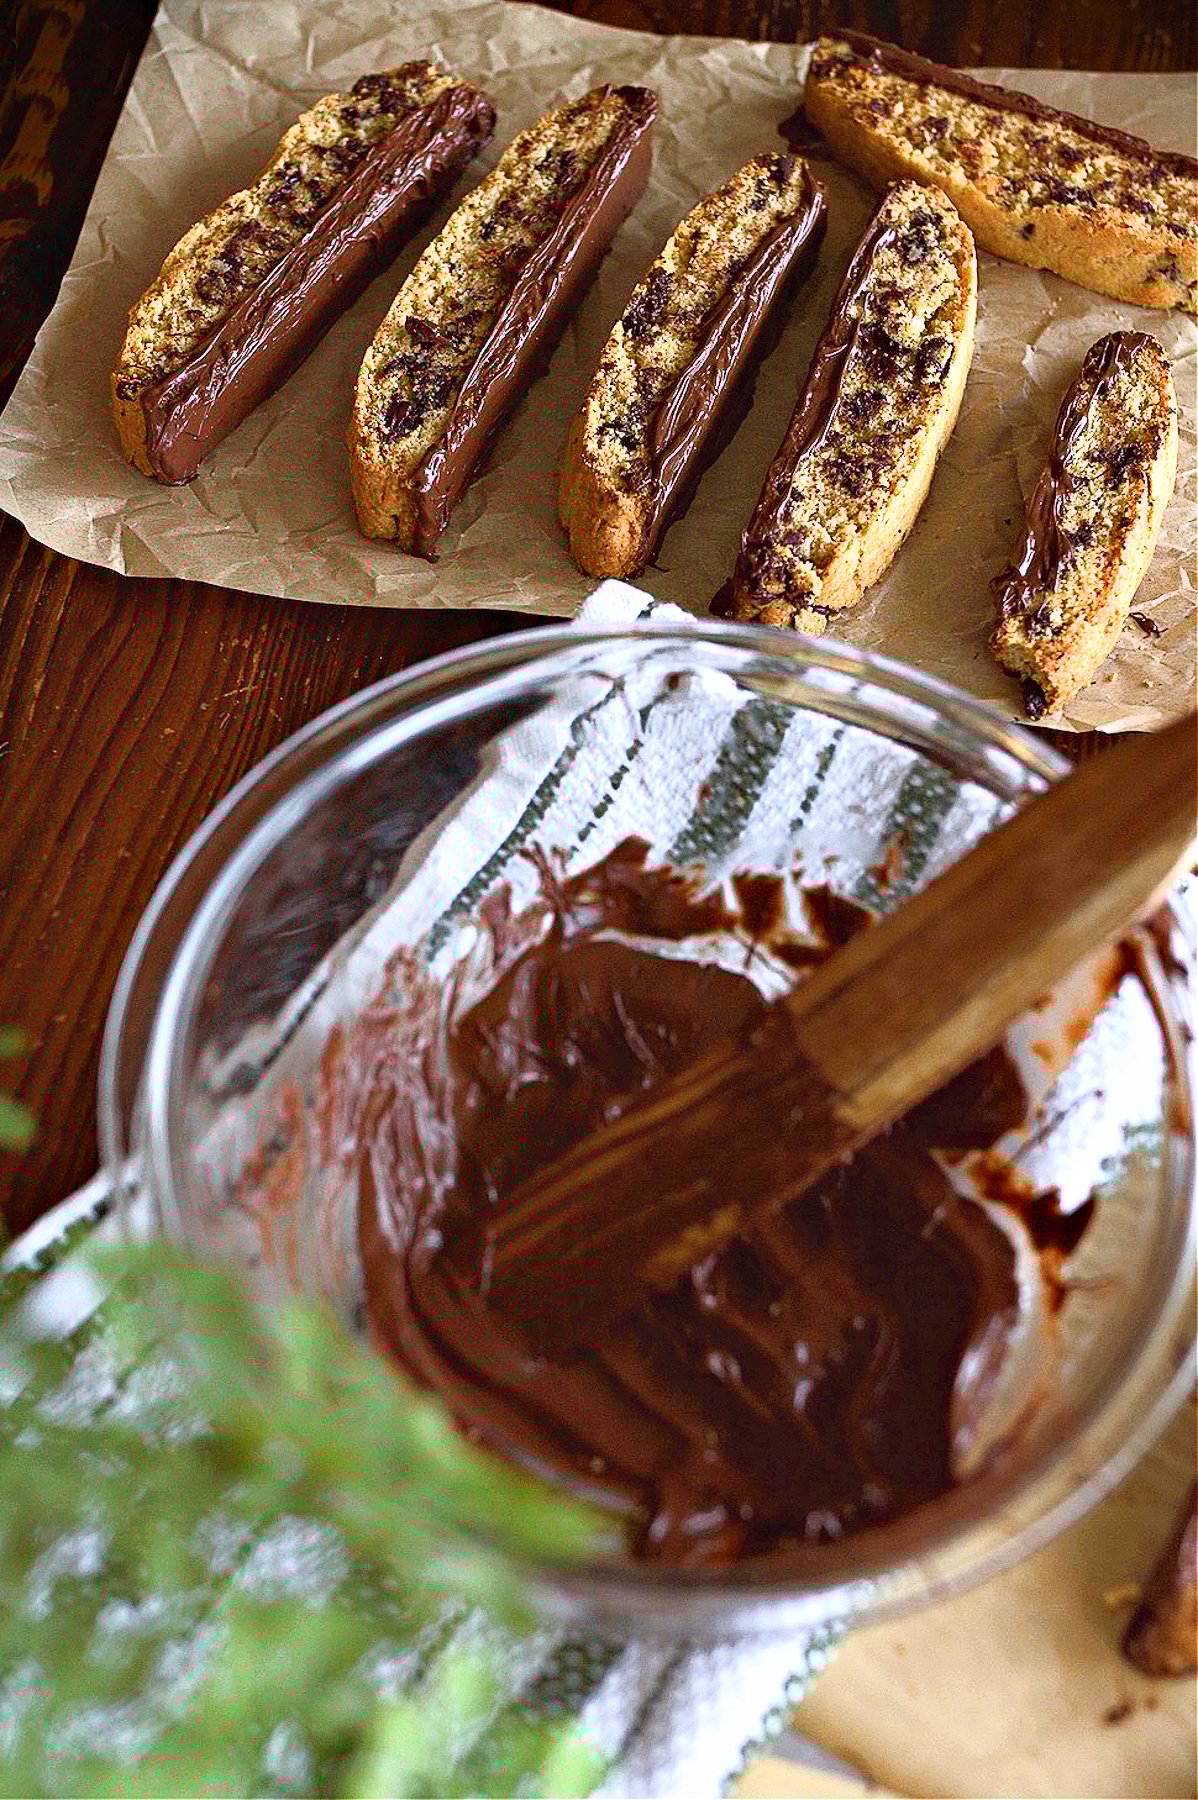
Add the chocolate coating.
Use dark chocolate chips or a chopped dark chocolate bar. Melt the chocolate gently using a double boiler or in the microwave in 20-30 second intervals, stirring between each, until smooth. Once the biscotti are completely cool, use a spoon or small offset spatula to spread a thin layer of melted chocolate along the bottom of each biscotti. Set them on parchment paper or a wire rack and allow the chocolate to fully set before serving or storing.
Variations or Different Ways to Use It
- Festive Twist: Add crushed peppermint to the melted chocolate during the holidays.
- Nut Lover's Version: Mix in chopped almonds or hazelnuts instead of chocolate.
- Zesty Brightness: Lemon or orange zest adds a fresh citrus note-perfect for spring baking.
- Gift Idea: Tie a few together with twine and pair with a bag of coffee or homemade cocoa mix.
Biscotti FAQ
Yes! Biscotti actually improves with age. Store in an airtight container for up to 2 weeks.
Not at all, these are delicious plain or simply drizzled. But the chocolate adds a little indulgence!
Let the first bake cool for 10-15 minutes, then use a sharp serrated knife and a gentle sawing motion.
Yes. Freeze in a sealed container or bag for up to 3 months. Thaw at room temperature and enjoy.
Storage + Reheating Tips
- Room Temperature: Store biscotti in a cookie jar or airtight container for up to 2 weeks.
- Freezer-Friendly: Freeze in layers with parchment between to avoid sticking.
- Serving Tip: Warm slightly and enjoy with a hot drink-coffee, cocoa, or even dessert wine.
You May Also Enjoy


Classic Chocolate Chunk Biscotti
Ingredients
- 1 ½ sticks butter 12 tablespoons, room temperature
- 1 ½ cups sugar
- 3 eggs large
- 2 teaspoons vanilla extract
- ⅛ teaspoon almond extract
- 3 ½ cups all-purpose flour
- 1 tablespoon baking powder
- ½ teaspoon salt
- 1 cup chocolate chunks
- 1 cup dark chocolate chips for melting and dipping
Instructions
- Preheat oven to 350°F and line a parchment-lined baking sheet.
- Cream butter and sugar with an electric hand mixer.
- Add eggs, vanilla, and almond extract.Mix in the flour mixture (flour, baking powder, salt) on low speed.
- Fold in chocolate chunks.
- Divide dough into two logs and place on a baking tray. Using lightly wet hands, shape each portion into a flattened log about 10 inches long, 3-4 inches wide, and roughly ¾ inch thick. The logs should resemble the size and shape of a traditional finished biscotti, since they won't spread or rise much during baking.
- First bake for 20 minutes until golden brown. Cool slightly. Slice into inch slices with a bread knife and bake a second time for 7-10 minutes.
- Dip in melted chocolate and cool on a wire rack.


As a first time biscotti maker, I found this recipe was not in my favor. For starters I feel like it’s missing instructions. How big of a log do I put the dough into ? What is it supposed to look like when cooked ? Do I put everything on the same sheet ? Do I flip them halfway? More specifics and photos would help.
I ended up doing two logs on the same sheet they completely flattened and spread out into each other. it was undercooked after the first bake and I didn’t notice until I started cutting it and ran into all sorts of issues. I then went in for a second bake after cutting them and they started growing more! It completely ruined the traditional shape of a biscotti and they also just did not want to cook. I had it in for 20 extra minutes at least.
It turned out a mess and now I’m scared to make biscotti again.
Overall it tasted okay. A little sweet but not bad.
Please remember I’m a first time biscotti maker so all the problems were probably my fault but I felt a little lost during this recipe.
Thank you for taking the time to leave such detailed feedback. Biscotti can definitely feel confusing the first time you make it, and I’m sorry you felt a little lost during the process.
Based on your questions, I’ve gone back and updated the recipe with more detailed shaping instructions, visual cues, and additional step-by-step photos to help make each stage clearer, especially for first-time biscotti bakers.
Biscotti dough behaves differently than regular cookie dough. The logs are meant to be soft and slightly underbaked after the first bake, and they won’t rise much. Before baking, both logs should be shaped close to the final size, about 10 inches long, 4 inches wide, and at least ¾ inch thick. Shaping them too thin can cause the centers to stay too soft and the slices to lose their shape during the second bake.
That said, every oven bakes a little differently. By the end of the first bake, the logs should hold their shape and be firm enough to handle a light finger tap on top without collapsing. If they feel too soft or fragile, they simply need a few more minutes in the oven before slicing.
If the logs are sliced while still very soft, the pieces can change shape during the second bake, which may look like extra “rising” even though it’s really the structure setting as moisture bakes out.
A few things that usually help:
Let them cool 10–15 minutes before slicing
Use a sharp knife when cutting or you'll "tear" the biscotti's.
I truly appreciate you sharing your experience. Feedback like this helps me improve the instructions for everyone. I hope you’ll give biscotti another try in the future! Good luck baking!
Your changes to the recipe look great ! Thank you so much for taking the time and listening to my comment. After watching the video I think my dough was a little too wet so that probably contributed to a bunch of my issues.
Somehow my family finished it all off in a couple days so I guess it wasn’t as much of a disaster as I thought haha.
I guess I’ll have to try it again now !
That really means a lot. Thank you for coming back to share that. I appreciate you taking the time to comment again, and I’m glad the updates and video helped connect a few dots. And honestly, if your family finished it off, that sounds like a win to me 😊 I do hope you try again! Happy Baking - Eryn 🙂
I love how these biscotti turn out. Crisp, buttery, and just the right balance of sweet and chocolatey. They’ve become my go-to bake for cozy mornings with coffee or gifting around the holidays. I usually dip the ends in dark chocolate and sprinkle a little sea salt on top… it makes them feel extra special and bakery-worthy every time.