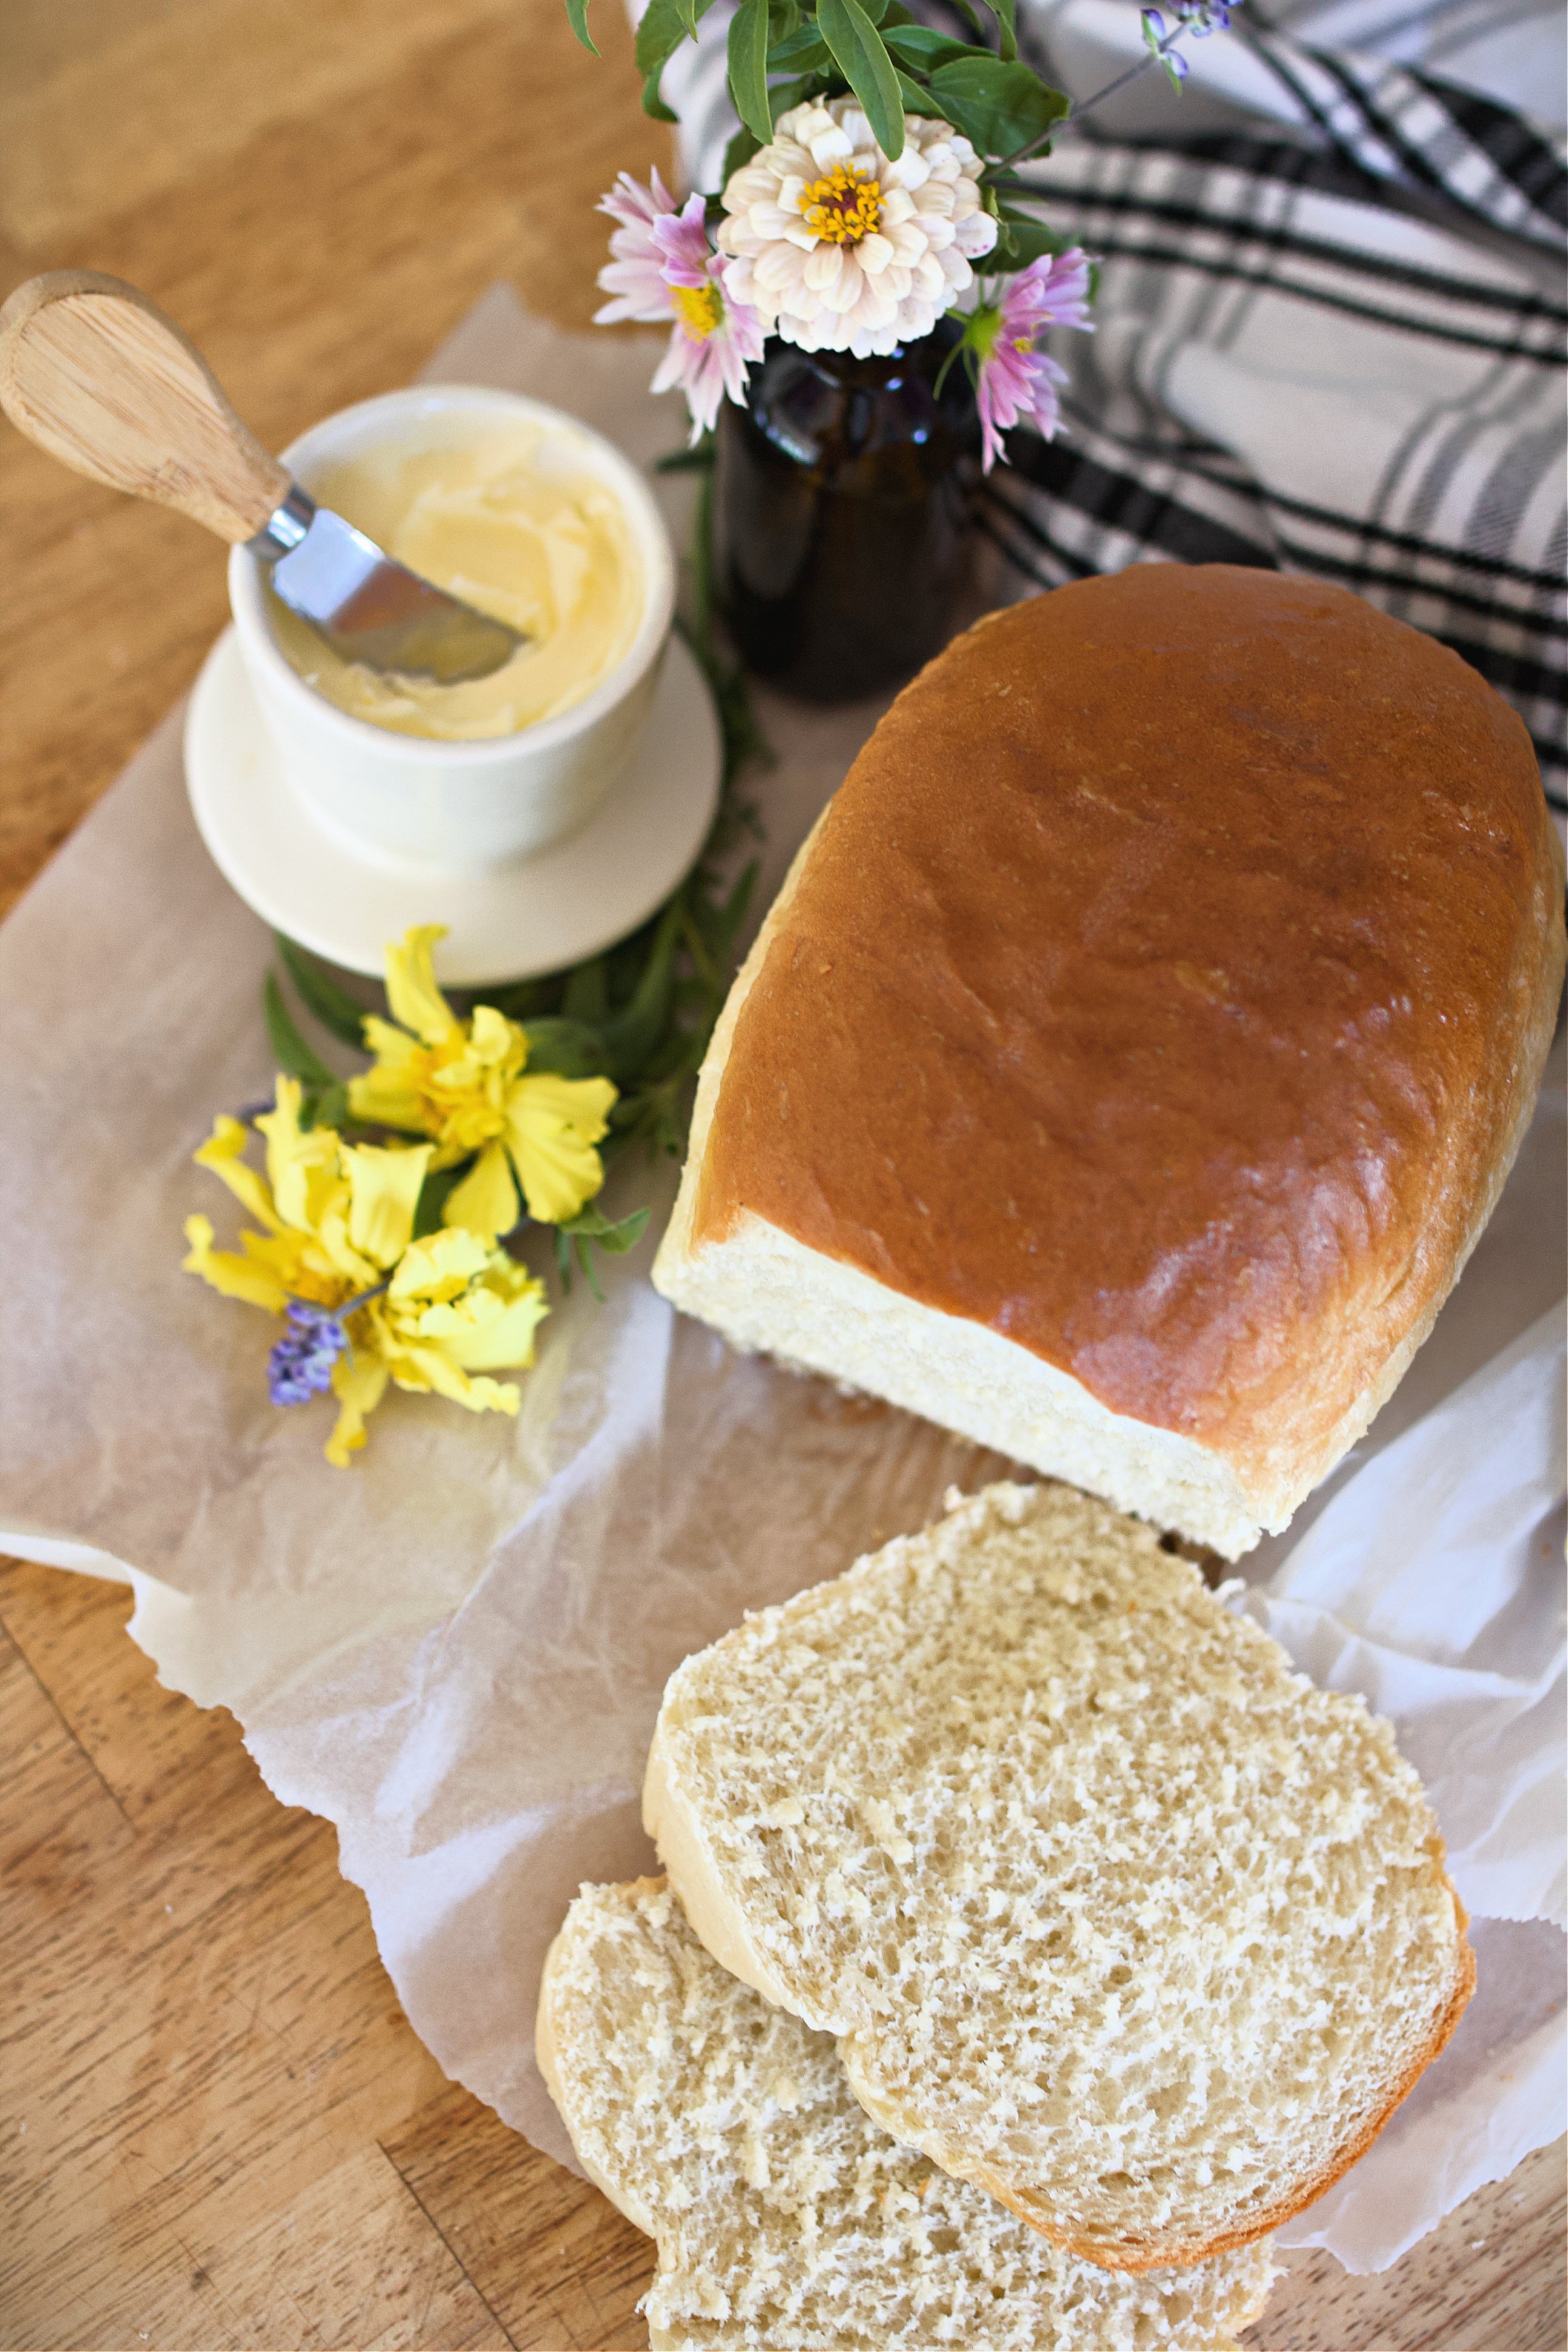
Great Grandma's Classic Homemade Dinner Rolls Recipe
If you ever stepped foot into my great-grandma's home, one thing was certain, you were going to eat well, and you were going to leave full. She was the ultimate hostess. Holidays meant her long dining table filled with steaming casseroles, glistening roasted meats, and always, always, a mountain of her soft, golden dinner rolls. If you've tried her homemade noodle recipe, you already know: this woman could cook.
While her original recipe made enough to feed a full Thanksgiving crowd (we're talking 14+ cups of flour), I usually cut it in half to make a more manageable batch for our family dinners. Still, the magic is there in every bite. Light, fluffy, buttery rolls with just the right hint of sweetness. These rolls are a tradition on our holiday table, right next to our pea salad and a side of apple pie tarts.

Quick Look at This Post
⏱ Time: 20 minutes hands-on + 1.5 hours rise + 15 minutes bake
? Cost: $4-6 per batch
? Bake Temp: 350°F
? Texture: Soft, fluffy, buttery, golden on top
? Main Ingredients: Flour, yeast, butter, milk, sugar, eggs
?? Skill Level: Beginner-friendly with stand mixer or by hand
? Best For: Thanksgiving, holiday dinners, meal prep, or leftover sliders
? Pro Tip: Freeze shaped rolls before second rise to bake fresh on busy days!
SUMMARIZE & SAVE THIS CONTENT ON
Why You'll Love These Homemade Dinner Rolls
- Fluffy and golden with a soft, pull-apart texture
- Made from scratch with wholesome, pantry-staple ingredients
- Perfect for holidays, meal prep, or next-day sliders
- Freezer-friendly-make ahead and thaw when needed
- Great for beginners using a stand mixer or by hand
These are the kind of rolls that earn a permanent place in your recipe binder, and your family traditions. And after making these, you need to try my pineapple sweet rolls next!
Ingredient Notes + Substitutions
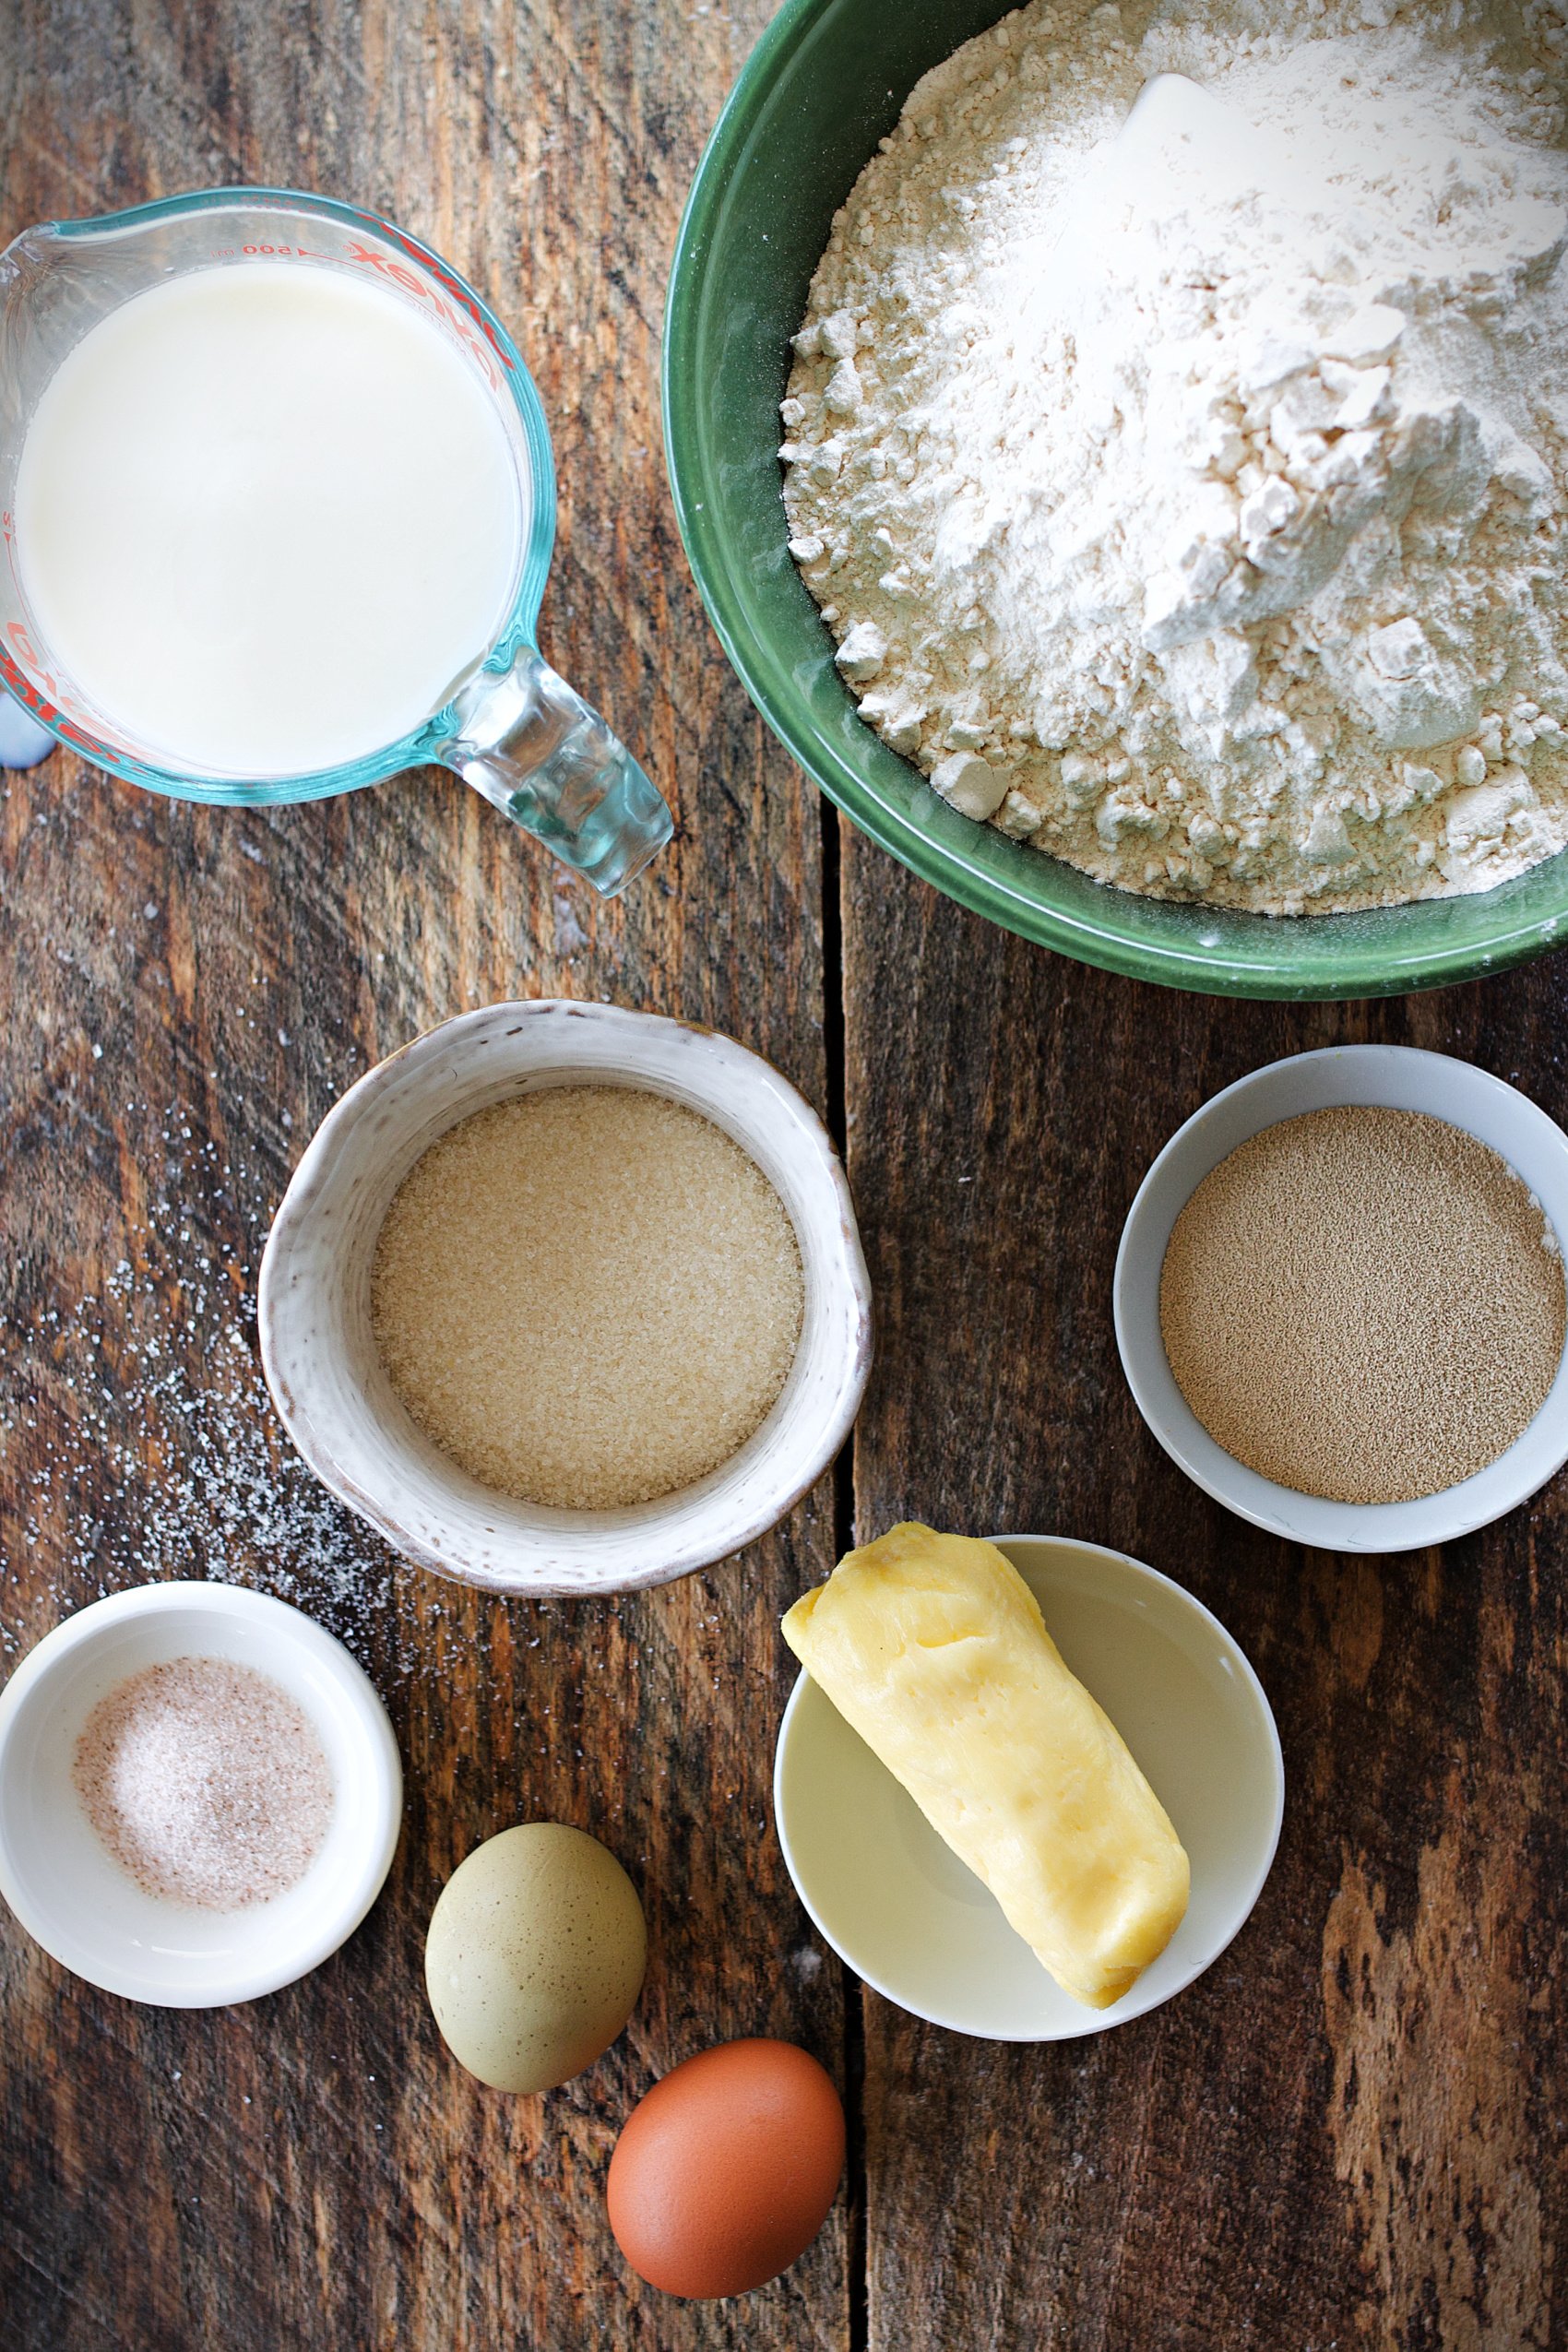
Let's talk about what goes into these beauties-and how to make them work with what you have on hand.
- Milk - Whole milk is best for richness. You could use 2%, but avoid skim. Warm it to 100-112°F for best yeast activation.
- Yeast - I use active dry yeast, but you can substitute instant (skip the proofing step if you do).
- Butter - Use real butter (preferably grass-fed). This is what gives the rolls that irresistible flavor.
- Sugar - Just enough to feed the yeast and give the rolls a soft sweetness.
- Flour - I use organic, unbleached all-purpose flour. You can sub half for bread flour for a chewier bite.
- Eggs - Help bind and enrich the dough.
- Salt - Don't skip it! Salt balances out the sweetness and brings out the flavor.
❌ No Crisco here
My great-grandma used Crisco in her original recipe, but I've swapped it for real, nourishing fats.
Step-by-Step: How to Make Grandma's Dinner Rolls
This dough is a dream to work with, soft, smooth, and very forgiving.
I mix mine using a stand mixer with the dough hook, but you could also knead by hand if you're up for the arm workout.
A few helpful tips:
- Yeast Activation - Make sure the milk is warm but not hot. If it's too hot, it'll kill the yeast; too cold, and it won't activate.
- Add flour gradually - Start with 6 cups, then add more as needed. The dough should pull away from the sides but still feel tacky.
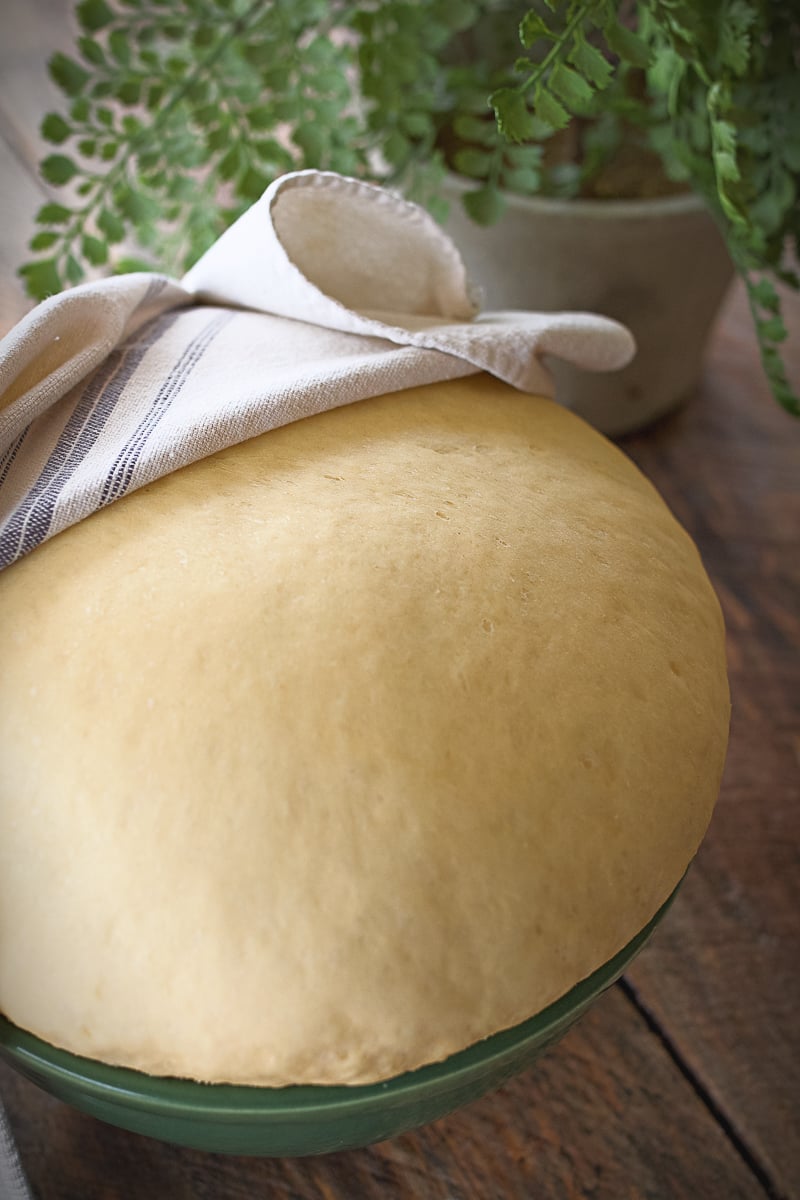
- Don't rush the rise - This is where the magic happens. Give it a full hour or two until doubled.
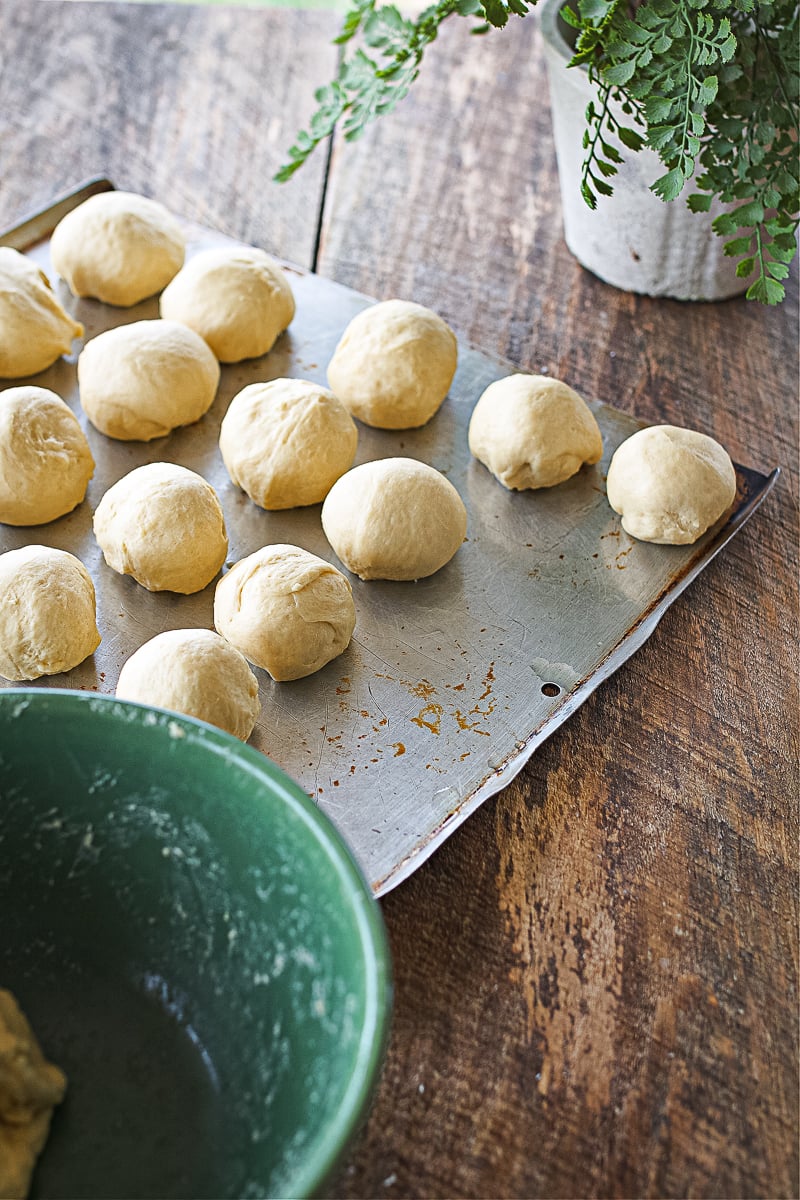
- Second rise matters - Once shaped, let the rolls puff up again before baking for that pillowy texture.
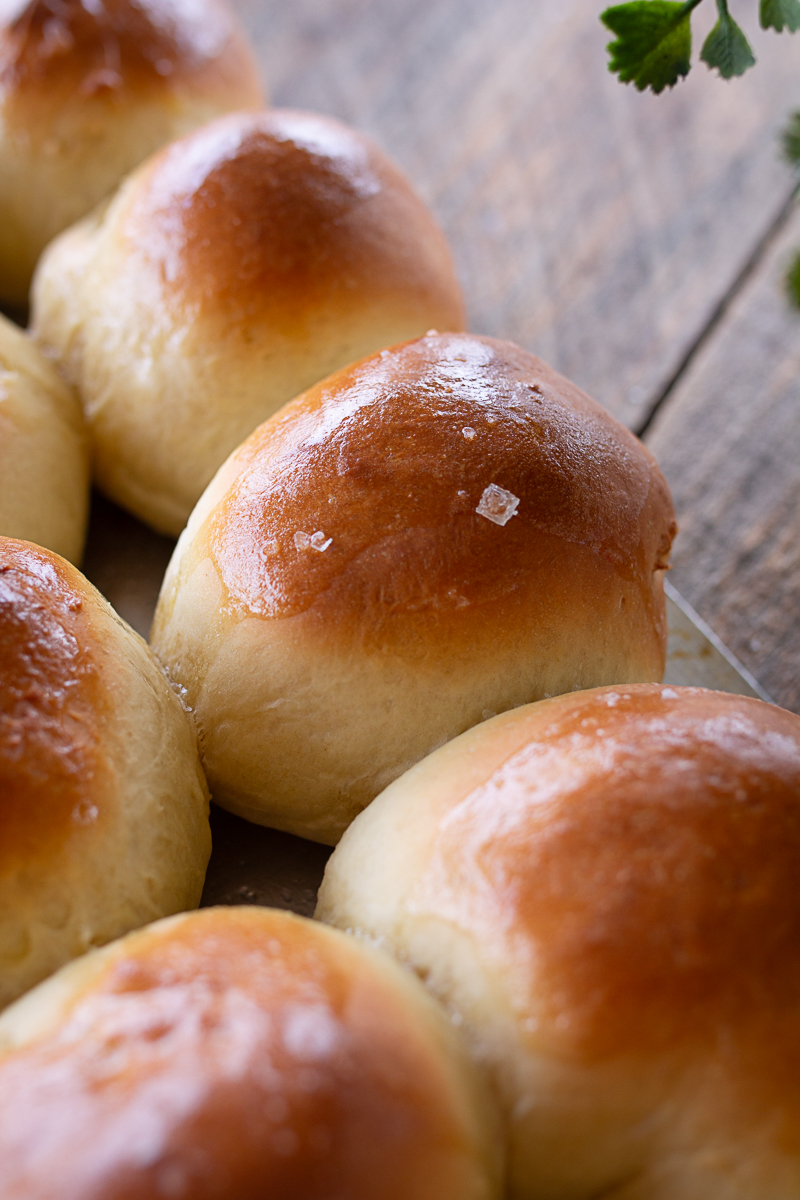
- Butter the tops - Right out of the oven, brush with melted butter for that irresistible golden sheen.
Variations + Ways to Use the Dough
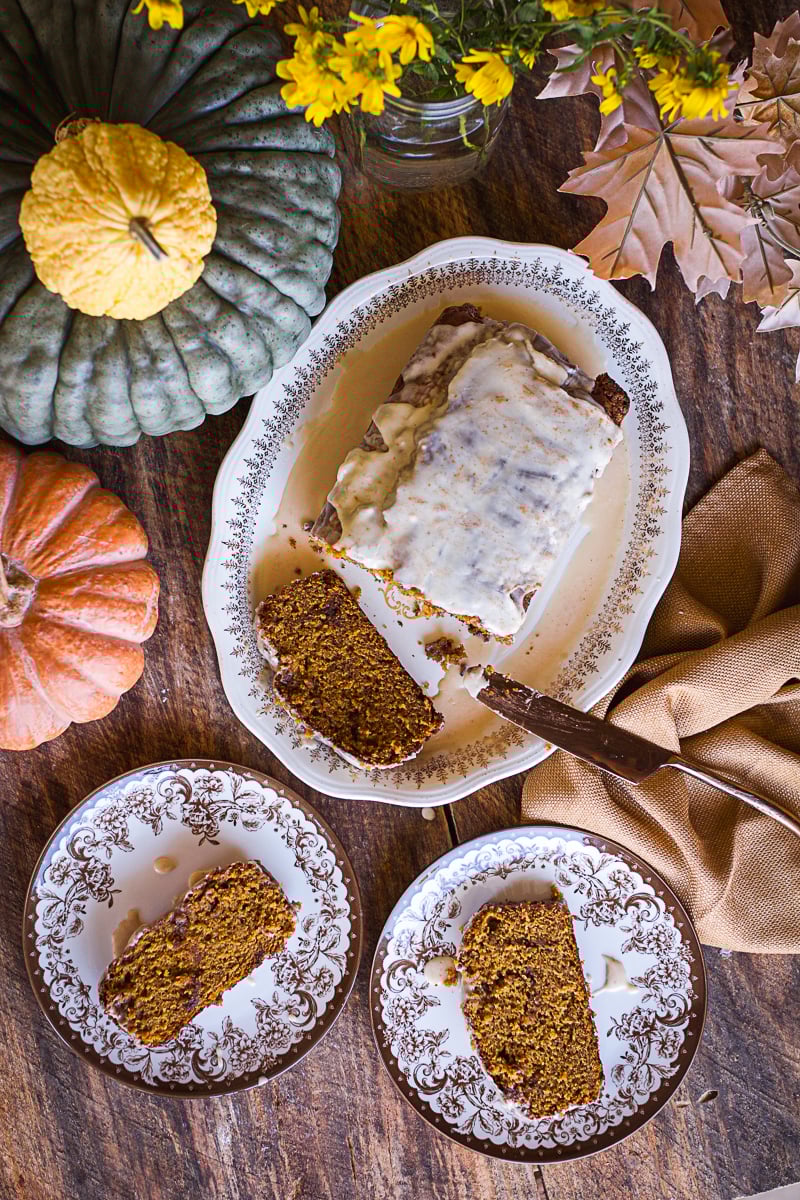
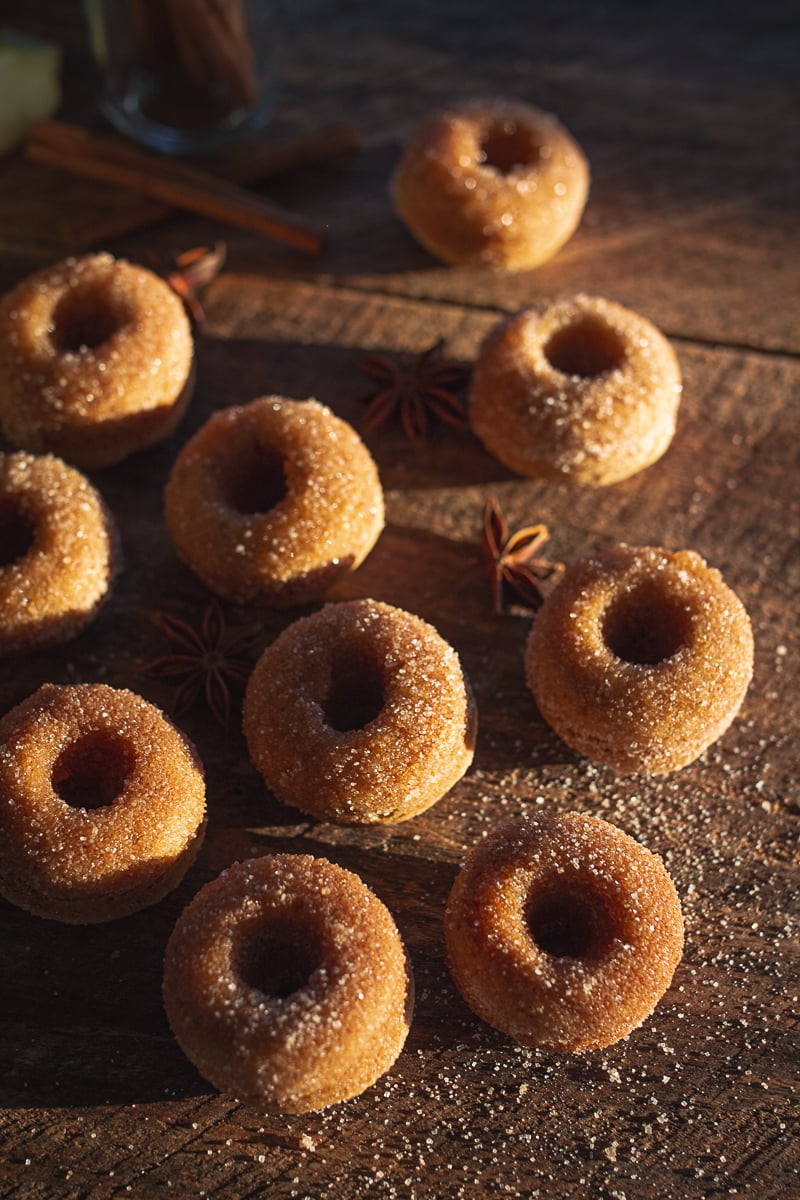
- Make sweet rolls - Use this base to make cinnamon rolls. Just increase the sugar slightly and fill with cinnamon butter.
- Slider buns - Shape them smaller for mini sandwiches or leftover turkey sliders.
- Par-bake and freeze - Bake halfway, then freeze. Finish baking right before serving for fresh rolls in a flash.
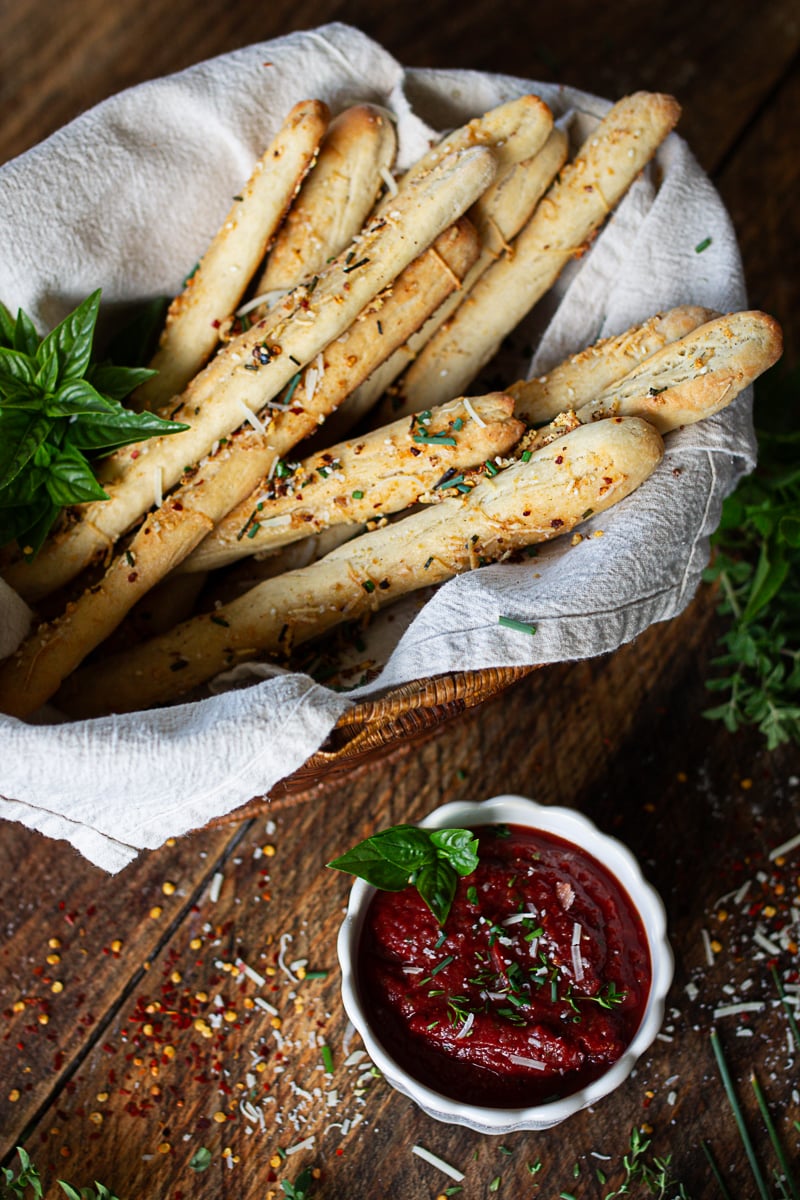
- Add herbs - Mix in chopped rosemary, garlic, or cheddar for a savory twist.
FAQ About The Rolls
Yes! After the first rise, cover the dough tightly and refrigerate overnight. Let it come to room temp before shaping and doing the second rise.
Shape them, then freeze before the second rise. When ready to bake, thaw at room temp, let rise, and bake as usual.
Absolutely. This recipe halves easily (15 rolls) or can be doubled to feed a crowd-just like Grandma did.
Yes, you can absolutely make these rolls without a stand mixer!
Instead of using a dough hook, just mix the ingredients in a large bowl with a wooden spoon or Danish dough whisk until a shaggy dough forms. Then, turn it out onto a floured surface and knead by hand for about 8-10 minutes, until the dough is smooth and elastic.
It'll take a little more elbow grease, but it's how Great Grandma did it, and there's something extra satisfying about working the dough yourself.
Storage + Reheating Tips
- Room Temp - Store cooled rolls in an airtight container up to 3 days.
- Freezer - Freeze baked rolls in a freezer bag for up to 3 months.
- Reheating - Warm in a 300°F oven for 5-7 minutes until soft and steamy. Brush with butter to freshen them up!


Great Grandmas Dinner Rolls
Ingredients
- 2 cups lukewarm milk temp 100-112F
- ½ cup sugar
- 2 tablespoon yeast
- 2 teaspoon salt
- 2 eggs whole
- ½ cup butter 8 Tbsp
- 6-7 cups flour
Instructions
Activate The Yeast
- In the bowl of a stand mixer, combine lukewarm milk (100-112°F), sugar, and yeast. Let sit for 5-10 minutes, until foamy.
Add Remaining Ingredients
- Add the salt, eggs, and melted butter to the bowl. Using the dough hook attachment, mix on medium speed until combined. Add the Flour & Knead. Gradually add 6-7 cups of flour, one cup at a time, mixing on medium-low speed. Stop adding flour when the dough pulls away from the sides of the bowl but is still slightly sticky. Knead in the mixer for 4-5 minutes, until smooth and elastic.
First Rise
- Cover the bowl with plastic wrap or a clean kitchen towel and let the dough rise in a warm place for 1-2 hours, or until doubled in size. Shape the Rolls. Punch down the dough and divide into equal pieces. Roll each piece of dough into a smooth ball and place on a greased baking sheet or baking dish, leaving space between each.
Second Rise
- Cover with a towel and let the shaped rolls rise for 30-45 minutes, until puffy.
Bake
- Preheat the oven to 375°F. Bake for 15-18 minutes, until the tops are golden brown.
Finish & Serve
- Brush with melted butter and let cool slightly on a wire rack. Store leftovers in an airtight container or freeze for later!
Notes
Freezing Rolls: Shape the dough into rolls and freeze before the second rise. When ready to bake, thaw, let them rise, and bake as usual.
Storage: Keep baked rolls in an airtight container at room temperature for up to 3 days, or freeze for up to 3 months. Reheat in a 300°F oven for 5 minutes for fresh-baked softness.


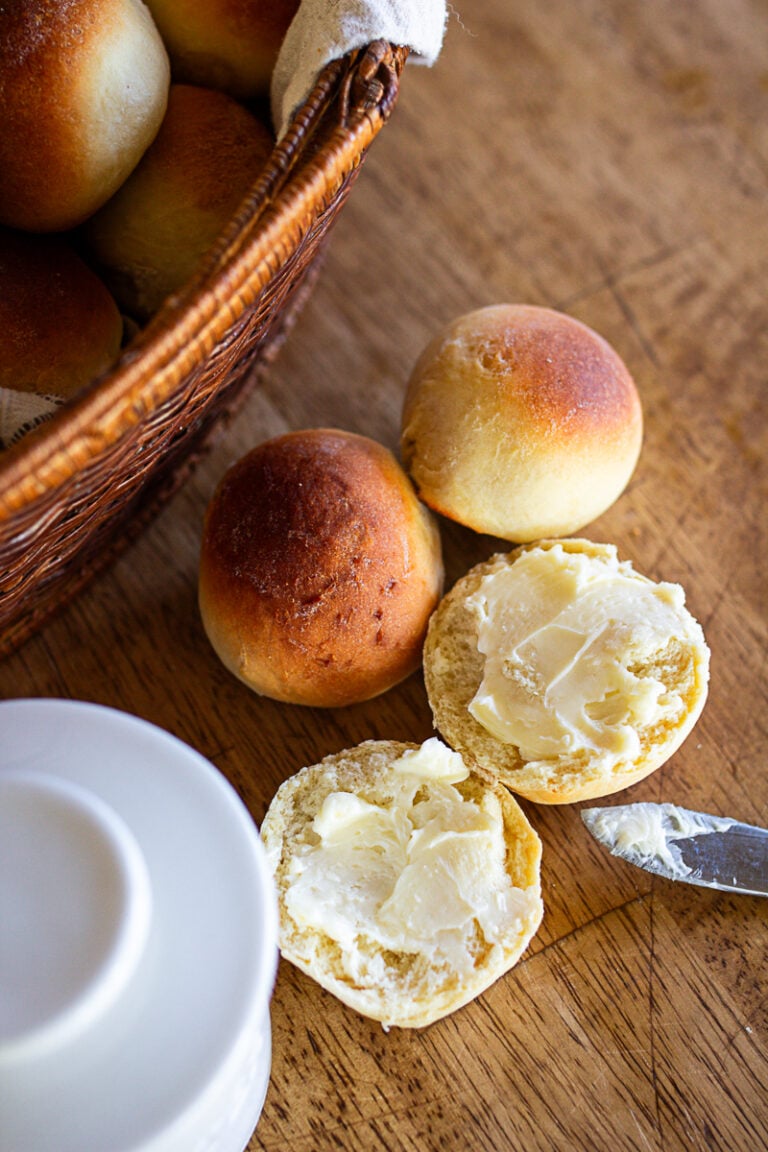


Pulling a pan of these rolls from the oven is bliss. The golden tops, the buttery smell, that soft, steamy center when you pull one apart. It’s impossible not to eat one right away. Every time I make them, it feels like my great-grandma is right there beside me, humming in the kitchen and reminding me that food made with love always tastes better. These are pure comfort in bread form.