7 Minute Frosting (No Corn Syrup) | Light, Fluffy, and Foolproof
I had no idea this 7 minute frosting (no corn syrup) would completely surprise me in the best way. I've made just about all the frosting recipes over the years: buttercream, cream cheese, and whipped toppings. But somehow this old-fashioned classic slipped past me. What I love most? It's made without corn syrup, yet whips up into the lightest, fluffiest, marshmallow-like topping using simple ingredients you likely already have in your kitchen.
Around here, I've always kept to real, from-scratch recipes. The kind that rely on pantry staples and a little time at the stove. This frosting fits right in alongside favorites like my no corn syrup caramel candies, classic German chocolate cake, and these cozy raspberry oat bars. It's quick to make, holds its shape beautifully, and brings that vintage, homemade feel to any cake or dessert.
Quick Look at 7 Minute Frosting
- Total Time: 12 minutes
- Cost: Under $2
- Cook Temp: 140°F
- Topping For: Cakes, cupcakes, rolls
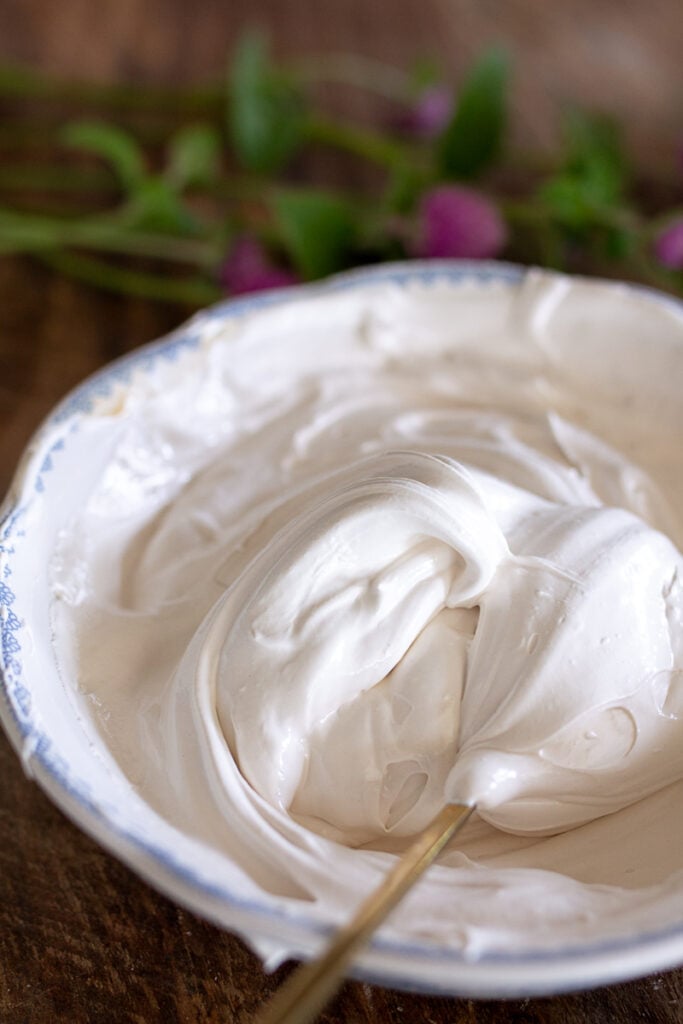
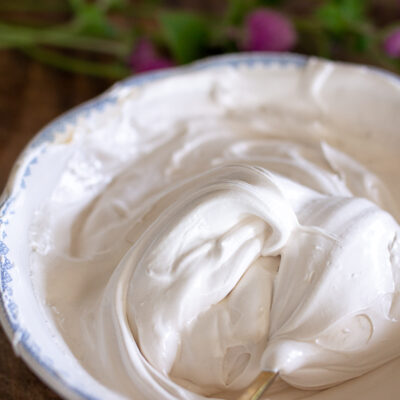
- Texture: Glossy, fluffy, marshmallow-like
- Skill Level: Beginner-friendly
- Best For: Birthday cakes, coconut cake, angel food
- Pro Tip: Many recipes call for corn syrup-this one stays true to the old-fashioned method, no shortcuts needed.
SUMMARIZE & SAVE THIS CONTENT ON

Why You'll Love This Seven-Minute Frosting
This light and airy old-fashioned frosting has that nostalgic charm we love, but it's also incredibly practical:
- Glossy, marshmallow-like finish that spreads beautifully
- Just sweet enough-not cloying like many modern frostings
- Uses pantry staples (no corn syrup or marshmallow cream!)
- Ready in minutes using just a stovetop and mixer
- Holds up well on layer cakes and cupcakes
- Brings vintage recipes from the early 1900s to life with ease
It's perfect when you want something beautiful and homemade, without needing a trip to the store.
Ingredient Notes + Substitutions
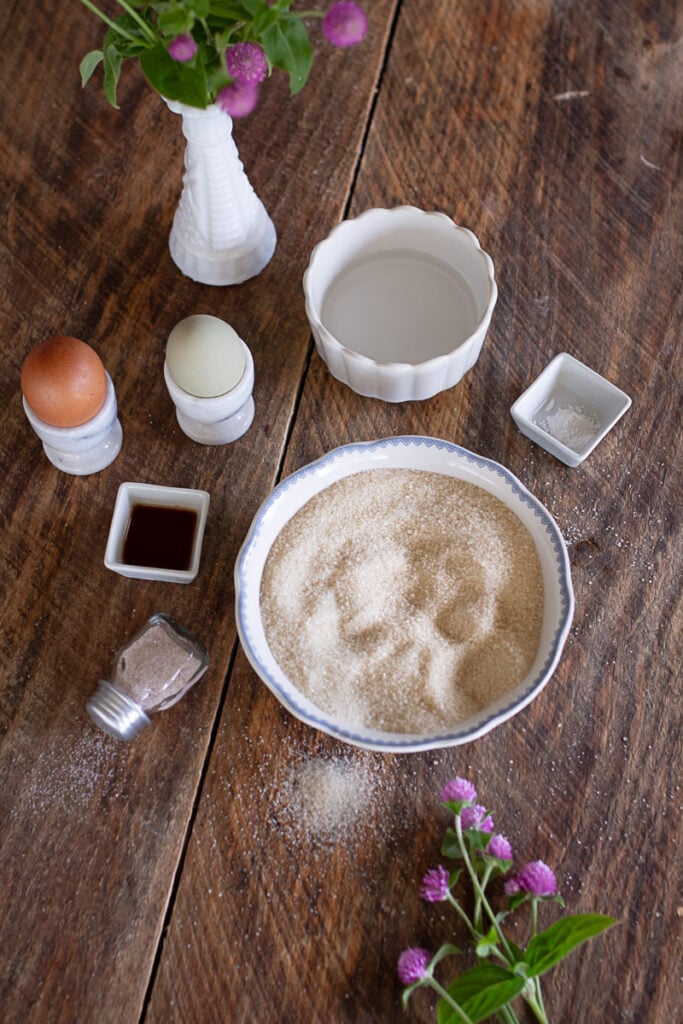
Here's what you'll need to make this glossy, cloud-like frosting:
- 2 large egg whites (room temperature)
Use fresh eggs (not carton egg whites) for best results. They whip to stiff peaks more easily. - 1 ½ cups granulated sugar
Classic white sugar creates that sweet, stable base. - ⅓ cup water
Helps dissolve the sugar and creates a syrup base. - ¼ teaspoon cream of tartar
This stabilizes the egg whites and helps them hold their shape. You can also use ½ teaspoon lemon juice in a pinch. - Dash of salt
Just enough to balance the sweetness. - 1 teaspoon vanilla extract
Swap in almond or lemon extract for a fun twist.
Important Tip: Use a clean, grease-free bowl (glass or stainless steel only) when whipping egg whites. Any trace of fat will ruin the texture.
Step-by-Step How to Make It
This frosting is cooked gently over simmering water, then whipped until thick, glossy, and cool. It's similar to Swiss meringue but simpler-and without the butter.
Here are a few helpful tips before you start:
- Use a double boiler setup (or a heatproof bowl over a pot) to warm the egg white mixture gently. This helps the sugar dissolve fully without cooking the eggs.
- Whisk constantly while heating to prevent hot spots and ensure even cooking.
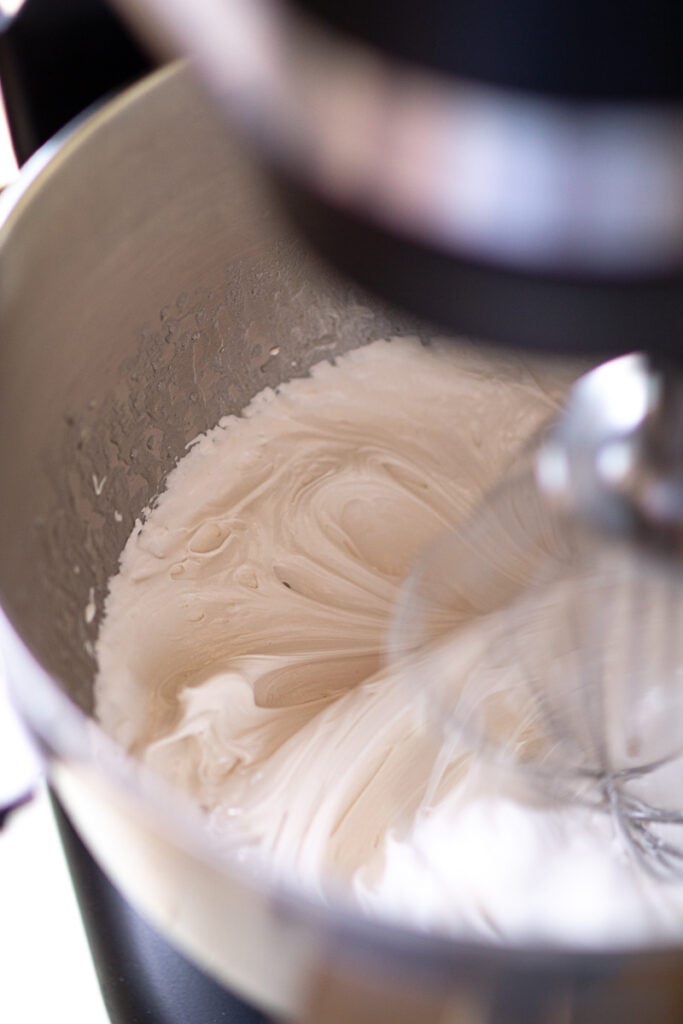
- When the mixture reaches 140°F, transfer immediately to your stand mixer fitted with the whisk attachment and beat for 7 minutes. You'll see stiff peaks forming by the end.
And here's the fun part: I don't own a hand mixer like most recipes call for. Instead, I gently warmed the mixture in a saucepan until it hit 140°F, then moved it to my stand mixer and let the whisk attachment do the magic. Seven minutes later, I had the glossiest meringue-style frosting I've ever made.
This is the kind of nostalgic, simple recipe that reminds me why I love baking from scratch.
Tip: If using a hand mixer, be sure your bowl is heat-safe and your arm's ready-it takes a full 7 minutes at high speed to reach stiff, glossy peaks.
Variations + Creative Toppings
You can keep it simple, or dress it up a bit:
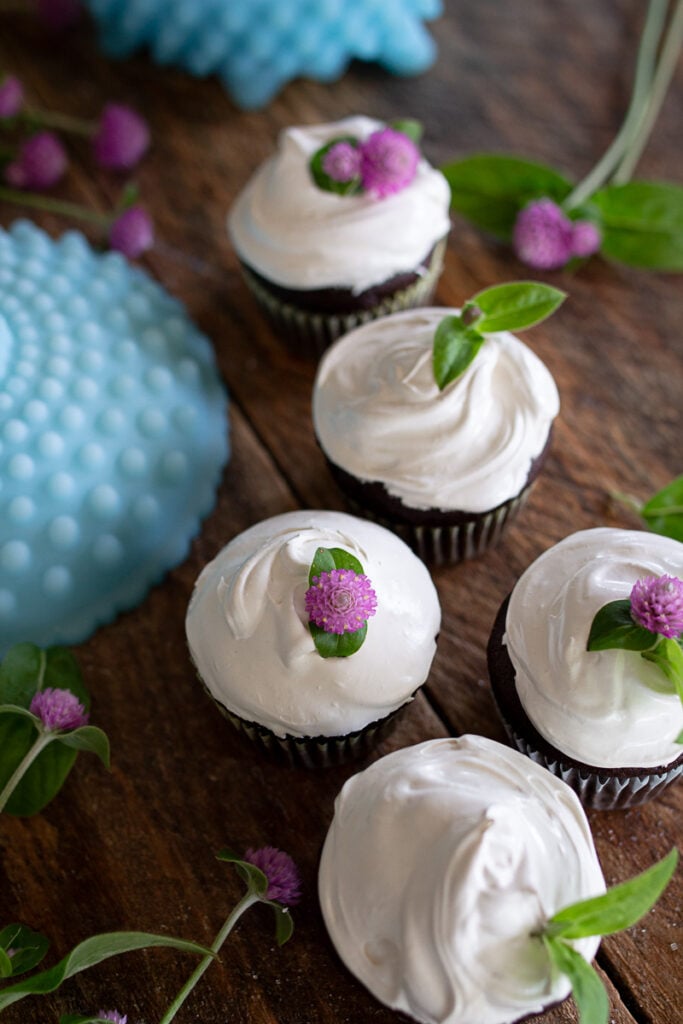
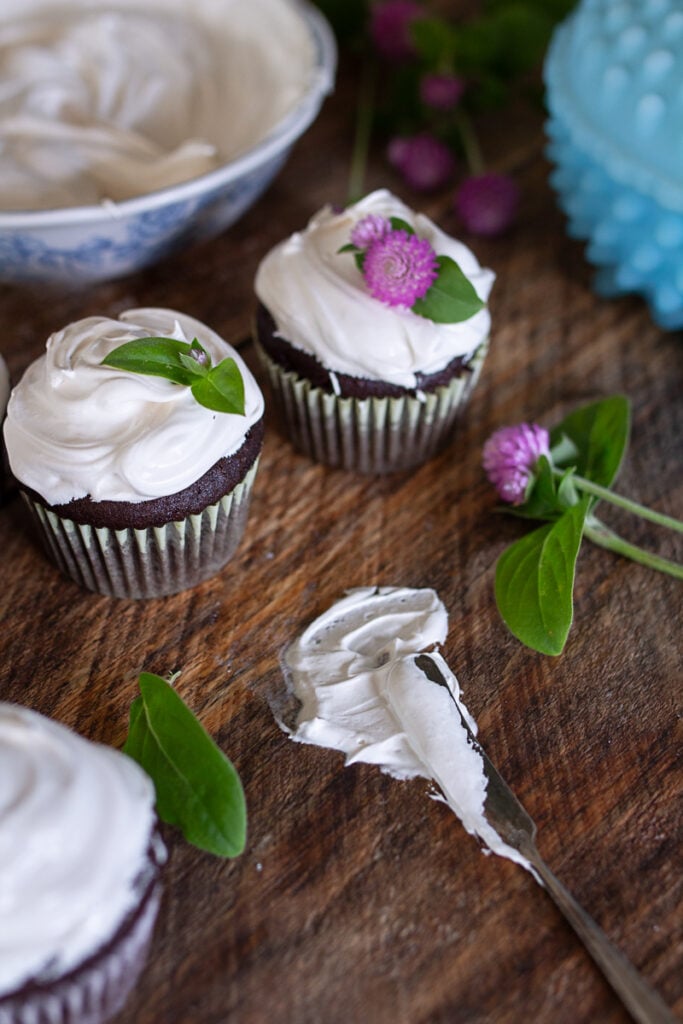
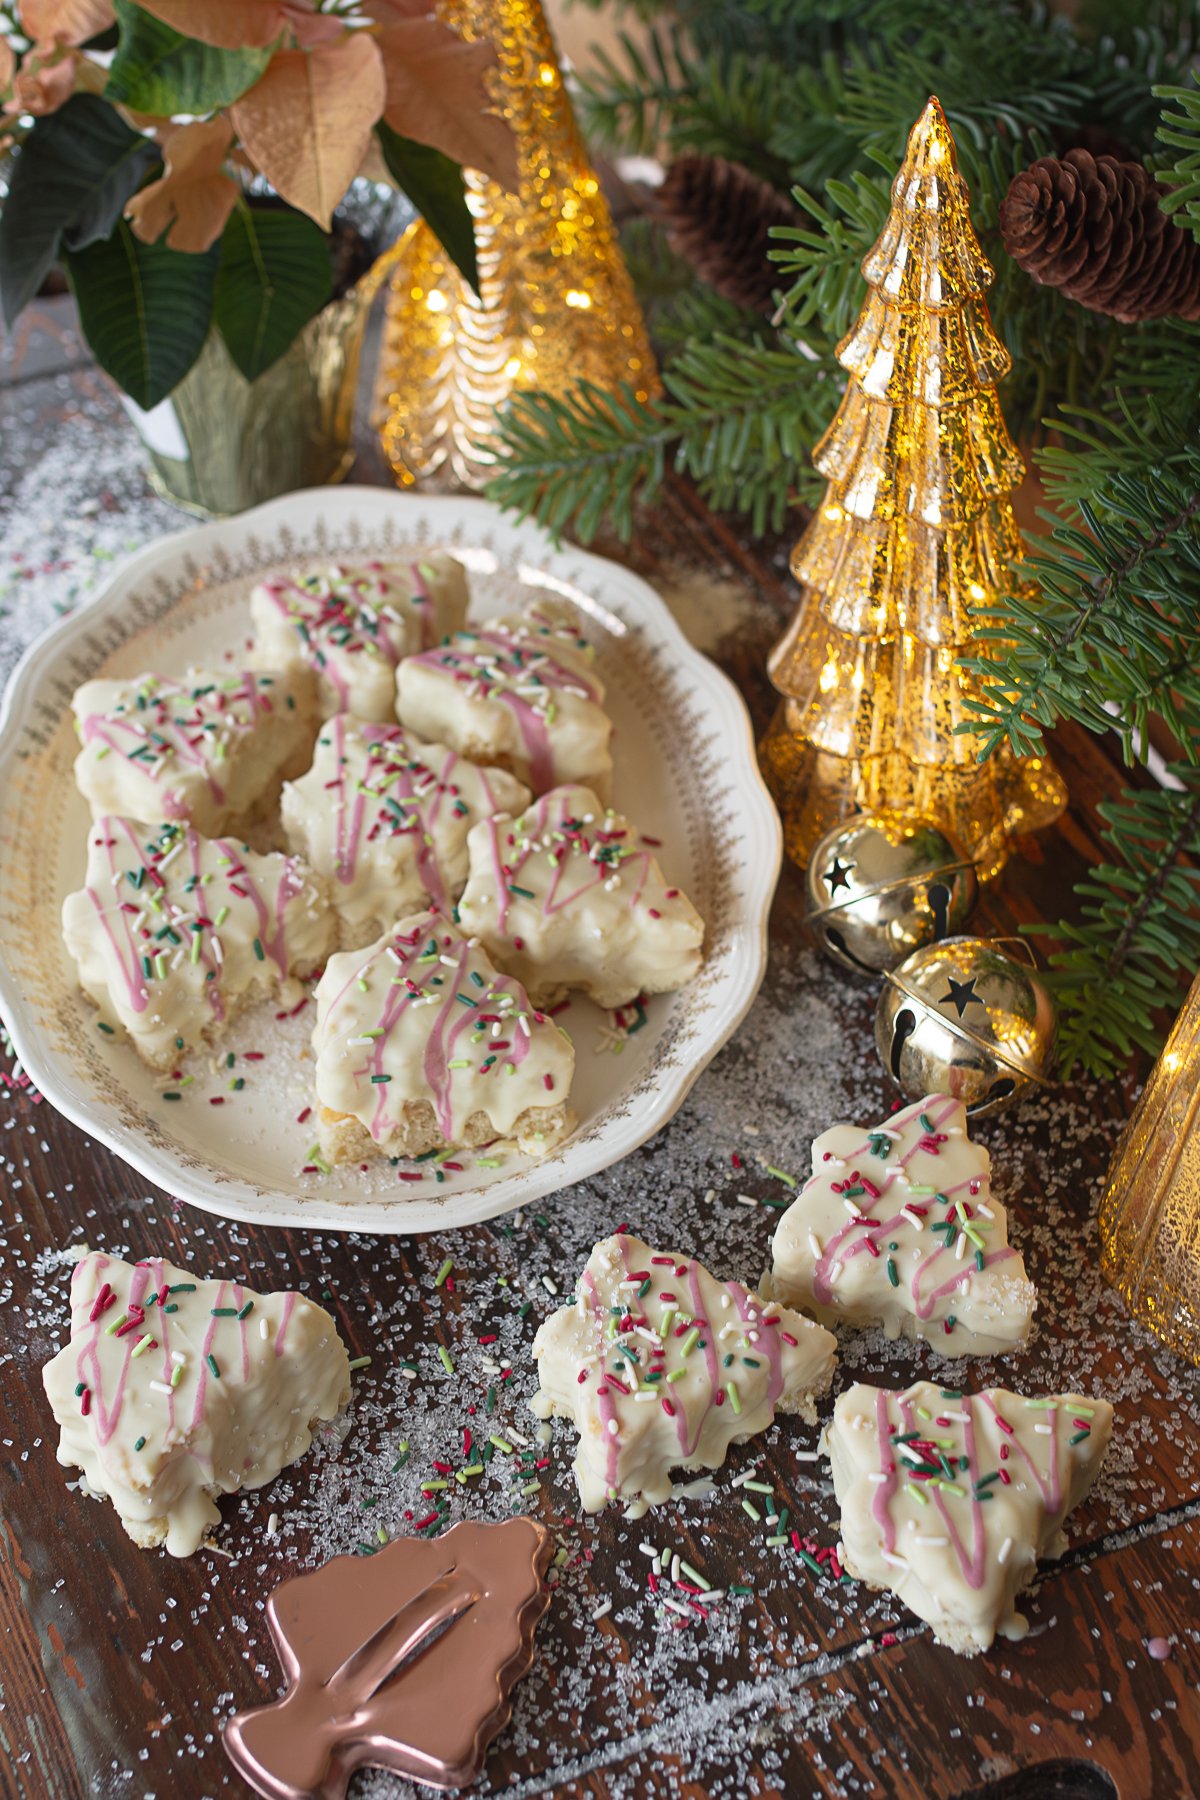
- Torch it: Pipe the frosting onto cupcakes and lightly toast it for a marshmallowy finish
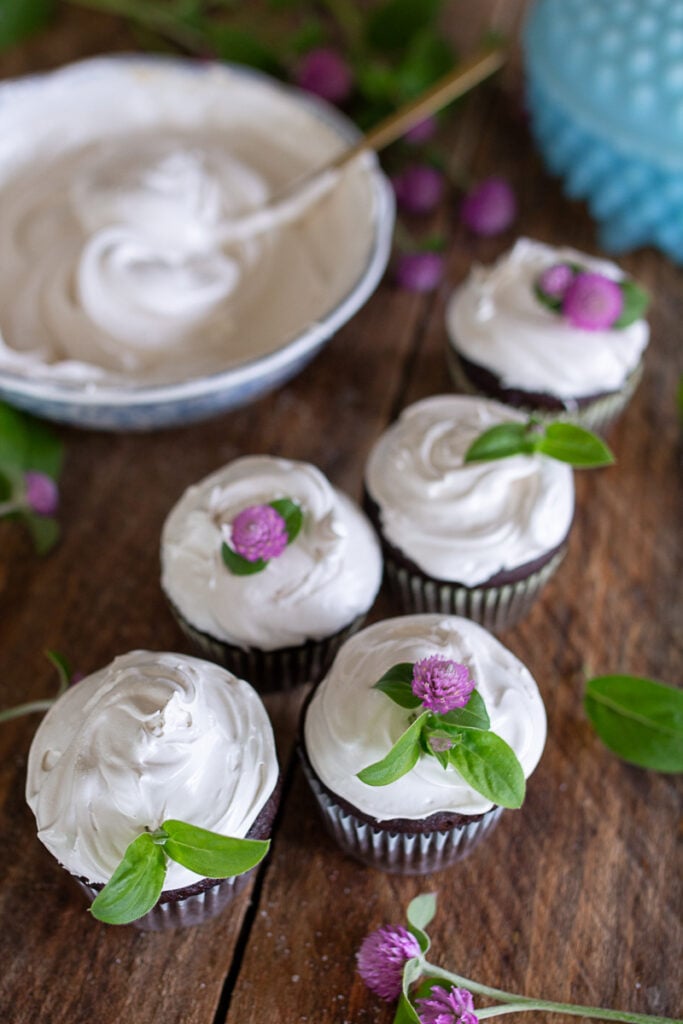
- Add toppings: Sprinkle with toasted coconut, crushed freeze-dried berries, or edible flowers
- Flavor it: Swap in almond, lemon, or even peppermint extract for seasonal flair
- Use creatively: Layer it onto cakes, swirl it into trifles, or spread over cinnamon rolls
FAQ About The Frosting
Yes, but a thermometer helps. You're aiming for about 140°F to ensure the sugar is fully dissolved and safe for whipping. If you don't have one, heat until the sugar is melted and the mixture starts to thicken slightly with a foamy look.
Cakes frosted with this can sit out at room temperature for 24 hours. After that, refrigerate, though the frosting may soften or weep slightly after a day or two.
It's dreamy on angel food, white, yellow, sponge, or chocolate cakes. It was perfect on my sourdough discard cinnamon rolls and would be great on cupcakes too.
Yes! Just be sure your bowl is sturdy, heat-safe, and you're ready for a workout-it takes a full 7 minutes of high-speed mixing.
Storage + Make-Ahead Tips
- Room Temp: Best used immediately for the fluffiest texture. Frosted cakes can sit out for up to 24 hours.
- Fridge: Store leftover frosting in an airtight container for up to 2 days. It may lose volume and weep slightly.
- Freezer: Not recommended-this type of frosting doesn't freeze well.
- Make-Ahead: You can make it a few hours in advance. Keep at room temp and re-whip slightly if needed before using.
Favorite Tools: I use a glass mixing bowl and this digital thermometer for consistent results every time.
Closing Thoughts from the Homestead
There's something special about recipes like this: simple, reliable, and made with ingredients you already have on hand. It reminds me of flipping through handwritten cards tucked into old cookbooks, or baking for birthdays where the frosting mattered just as much as the cake.
If you give this recipe a try, I'd love to see what you top it with. Share over on Instagram or drop a comment below!
7 Minute Frosting (No Corn Syrup)
Ingredients
- 2 large egg whites room temperature
- 1 ½ cups granulated sugar
- ⅓ cup water
- ¼ teaspoon cream of tartar
- Dash of salt
- 1 teaspoon vanilla extract
Instructions
- In a heatproof mixing bowl (or stand mixer bowl), combine egg whites, sugar, water, cream of tartar, and salt. Whisk to combine.
- Set the bowl over a saucepan of simmering water (top of a double boiler) and whisk constantly until the mixture reaches 140°F. The sugar should be dissolved and the mixture foamy.
- Immediately move the bowl to a stand mixer and whip with the whisk attachment on high speed for 7 minutes, or until the frosting has a fluffy texture, stiff peaks, and the bowl is no longer warm.
- Add the vanilla extract and beat for another 30 seconds to finish.
Notes
- Clean equipment is key: Any trace of grease or oil in your bowl will stop the egg whites from whipping properly. Use glass or stainless steel for best results.
- Watch the temperature: Heating the mixture to around 140°F ensures the sugar dissolves and gives you that glossy, stable meringue texture.
- Use it right away: This frosting is at its fluffiest when fresh-spread it on cakes or cupcakes as soon as it's done for the prettiest finish.


This frosting completely surprised me—in the best way! It’s light, glossy, and tastes like old-fashioned marshmallow fluff. I’ll definitely be using it again for birthday cakes and special bakes.