DIY Clay Ghosts with Air‑Dry Clay: Step‑by‑Step
Fall on the homestead is my favorite season to decorate. I've always leaned toward vintage inspired, not-so-scary Halloween touches. Around here, it's all about celebrating the season with a sense of warmth and charm rather than a full on super spooky season. These little clay ghosts are the perfect example. They're sweet, simple to make, and fit right in with our cozy fall vibes.
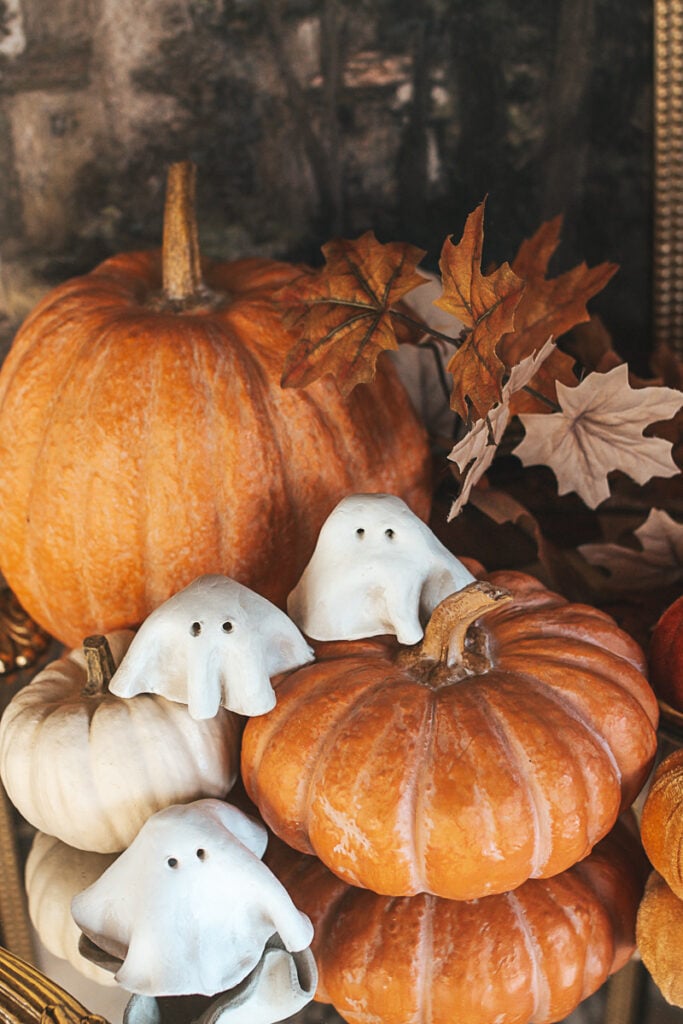
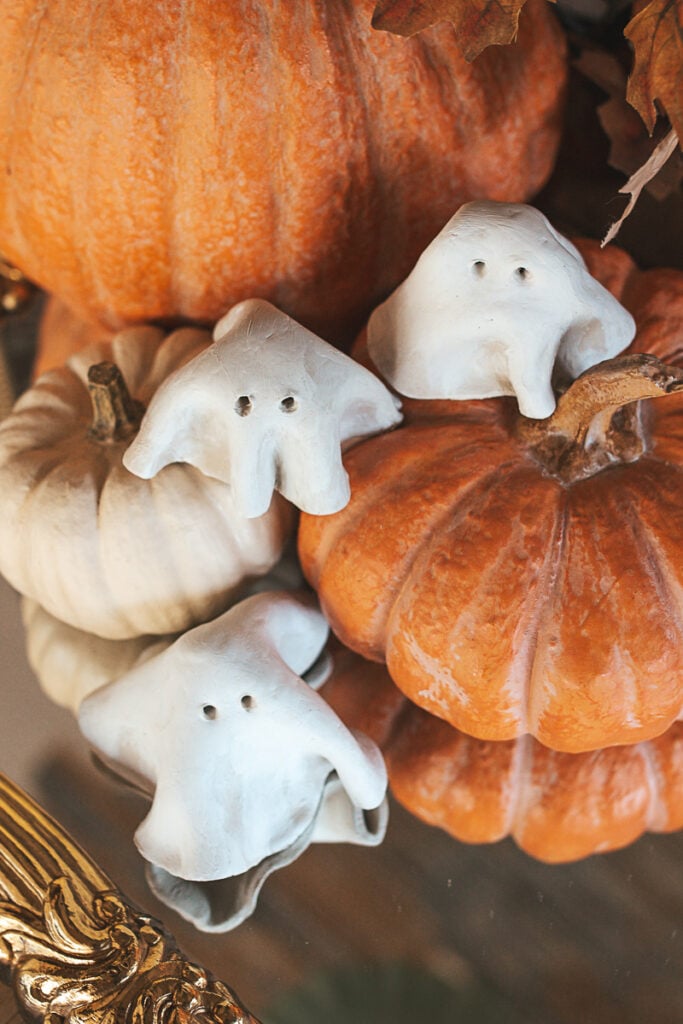
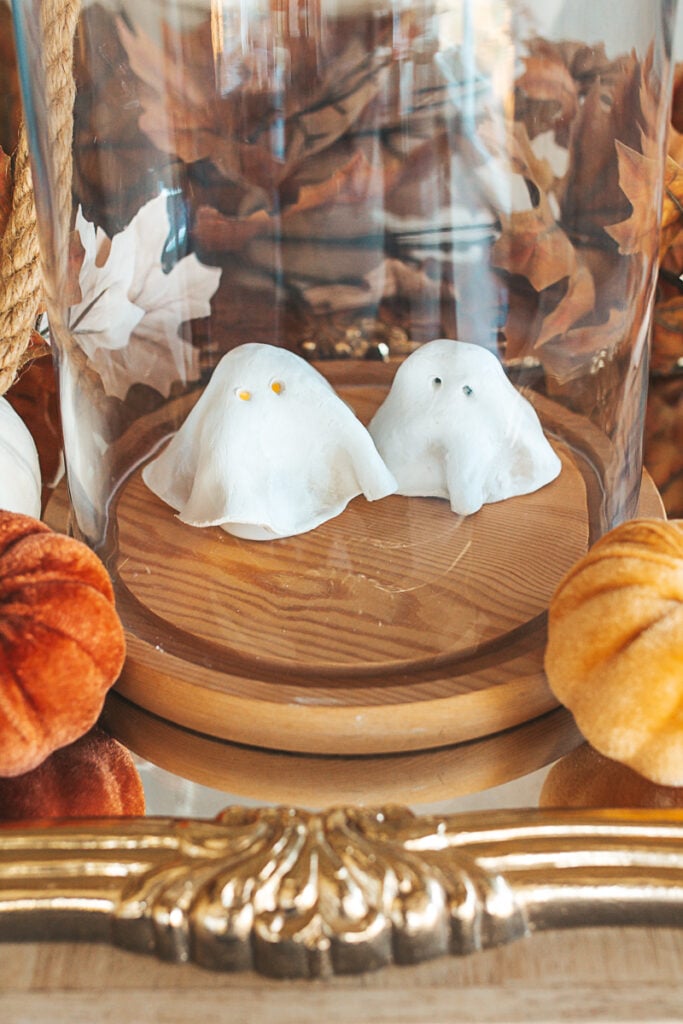
You can cluster them on a shelf, tuck one under a cloche with moss, or place a few along the mantle with mini pumpkins and twinkle lights. However you style them, they bring just the right amount of whimsy to your fall decor.
Why I Love This Craft
Our home is full of handmade touches, and I like to create decor that blends seamlessly into the vintage, country charm of the farm. These ghosts aren't scary at all. Instead, they're almost cheerful, like little characters from an old storybook. I imagine them floating about the farmhouse, checking in on the pumpkins and making sure the stove is stocked to keep warm.
They're also budget-friendly and easy enough for beginners, making them a fun family craft on a crisp afternoon.
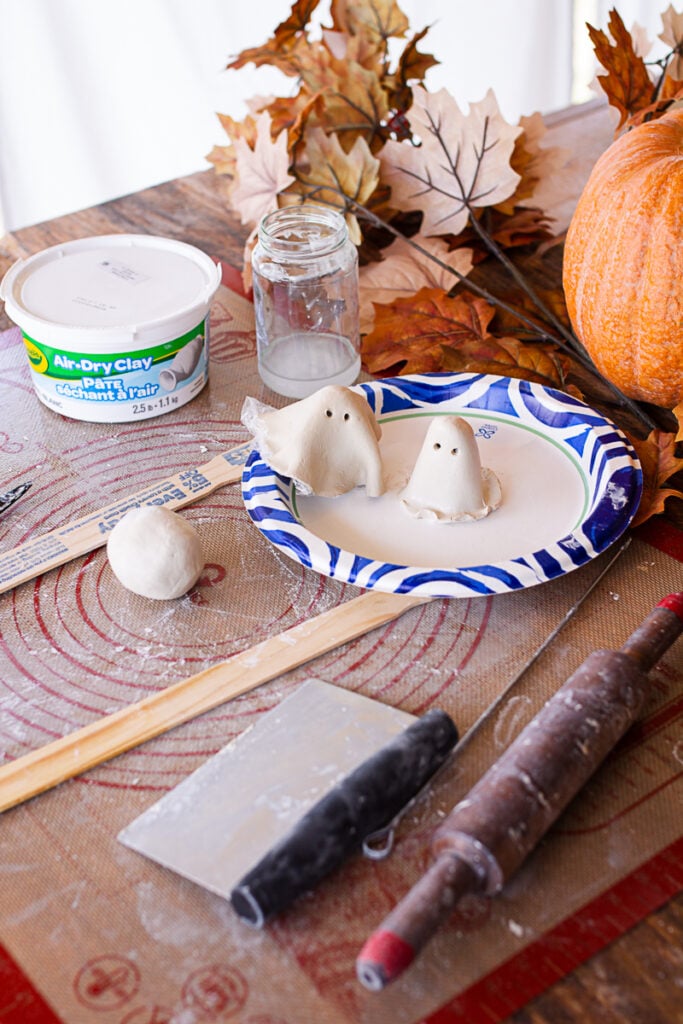
Supplies You'll Need for the DIY Clay Ghosts
- Air-dry clay (white)
- Silicone mat to roll clay on
- Rolling pin or smooth jar
- Large round cutters
- Plastic wrap
- Toothpick or straw (for eyes and mouth)
- Small dish of water and paintbrush (for smoothing edges)
- Optional: acrylic paint, Mod Podge, dried floral, or battery-operated tea lights
A Note on Cracking and Breaking
On my first attempt, I struggled with these little ghosties. They kept cracking as I shaped them, and once dry, they broke so easily. After a few tries, I realized the problem was simple: I was making them too thin and too tall.
For best results, roll your clay to at least ⅛ inch thick. Any thinner, and the ghosts won't bend without cracking. I also found that keeping them under 4 inches tall helps them dry sturdier and hold their shape.
Shaping
If you plan to use them with a tea light, keep one nearby as you shape. Form your clay ghost around it so you'll know for sure the opening is large enough to hold a light. Several of mine looked adorable, but I hadn't planned ahead, and a tea light wouldn't fit inside.
I experimented with using aluminum foil balls as forms to drape the clay over, but honestly, I found them tricky to work with. In the end, it was much easier to shape the ghosts by hand and let them dry as they were. That said, don't be afraid to play around-different methods might work better for you, and half the fun is experimenting to see what gives you the ghost look you love!
DIY in Photos:
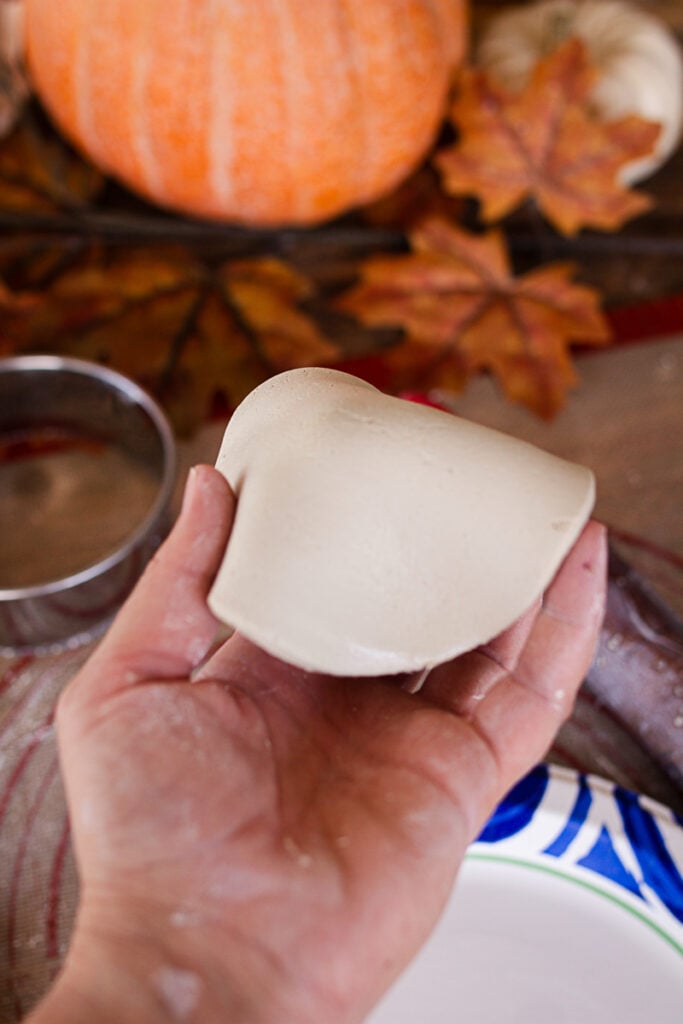
On a flat surface, take a piece of clay and roll ⅛th inch thick -
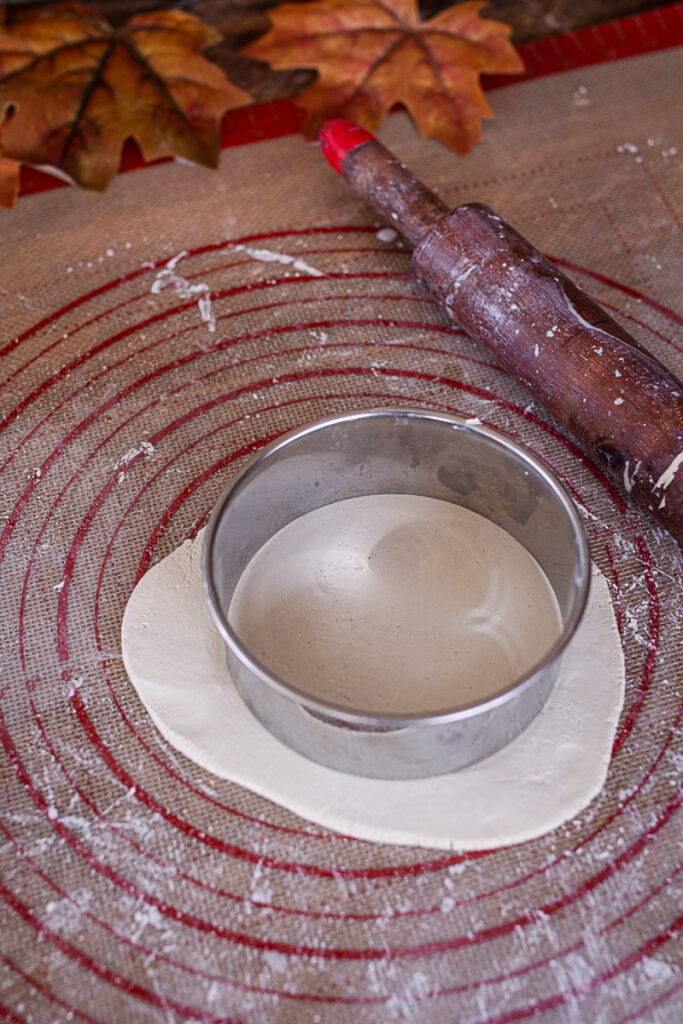
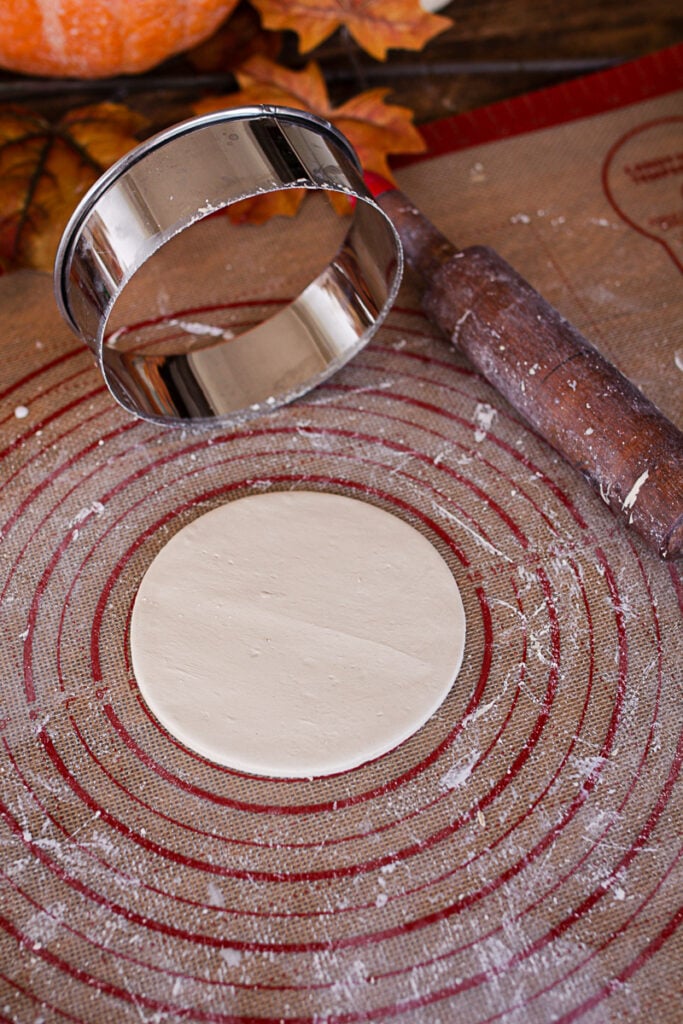
- Cut in a circular shape: I found that starting with a perfect circle helped the ends not to crack as much.
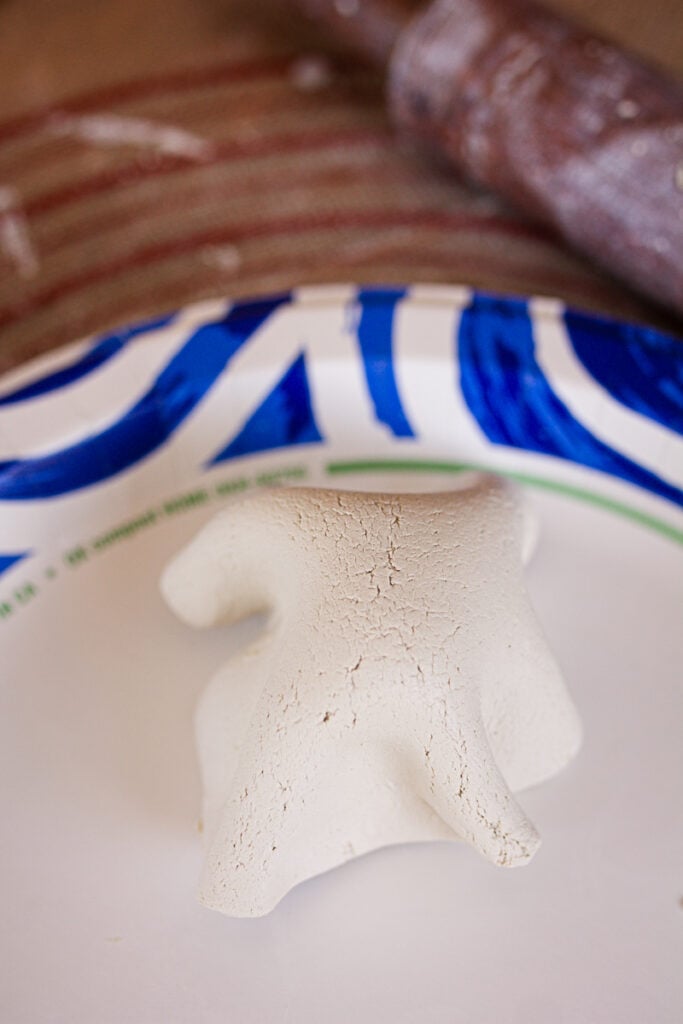
Shape on fingers and make folds -
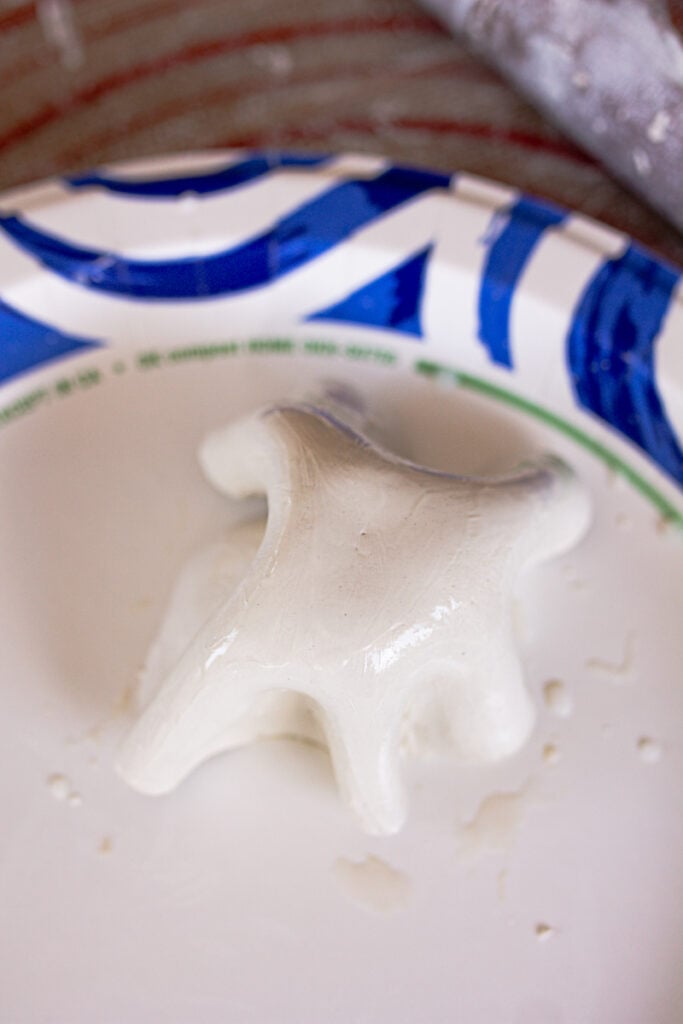
Pour a little water on a plate or tray to wet and shape more. Ghost will have cracks in the beginning, you will wet a brush or finger and smooth them clean . Also go over the edges of your little guys with a wet finger to smooth and prevent cracking.
Once smooth it's time to add the eyes and mouth if desired -
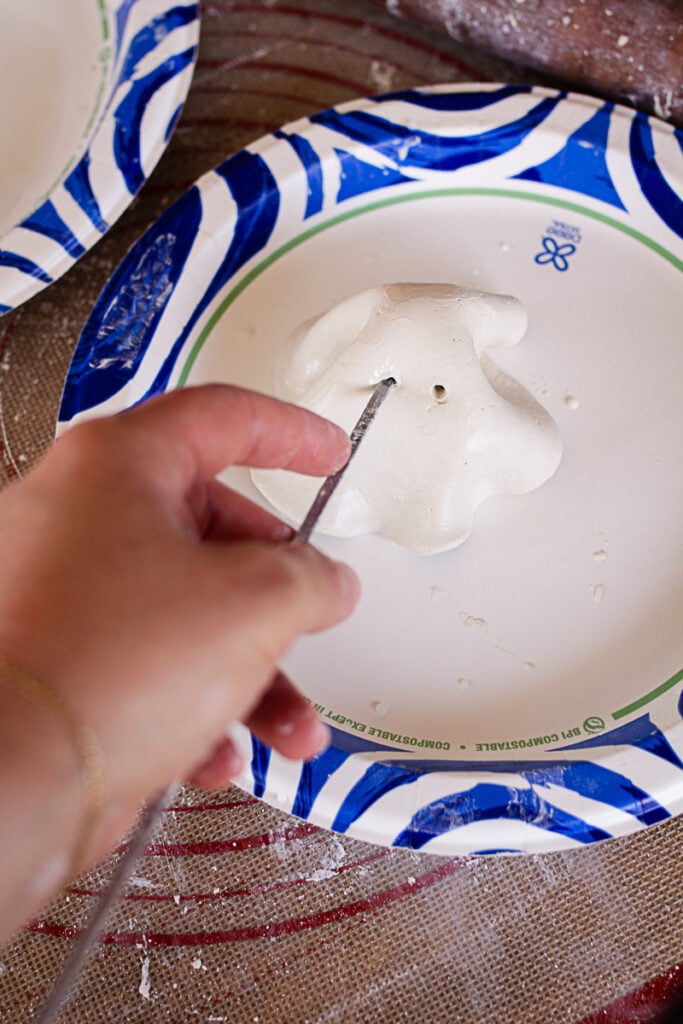
At this point, you can break off small pieces and make fun things like ears or hands, but I preferred to keep these ghosts simple
DIY air dry clay ghosts How To:

Clay Ghost DIY
Equipment
- 1 Silicone Mat
Ingredients
- 1 tub Air Dry Clay
- 2 Cutting Circles 4" to 6"
- 1 cup Water for shaping and smoothing
Instructions
- Roll out the clay
- On a clean surface, roll your clay into a circle about ⅛-inch thick in a circle if possible. Cut with the size of circle you want. I recommend 4" to 6" to be able to fit a battery operated tea light under.
- Shape
- Gently lift your clay circle and drape it over 2 to 3 of your fingers. Use your other hand to shape around fingers to arrange natural folds, letting it fall into a soft ghostly shape. Place on plate or tray covered with plastic wrap or parchment paper so it doesn't stick while drying.
- Smooth the surface
- Dip your paintbrush into water or use your finger dipped in water and lightly smooth any rough edges or cracks in the clay.
- Add the face
- Using a toothpick or straw, make two small eye holes and a mouth if desired.
- Let dry
- Air-dry clay will need 24-48 hours to fully harden. Be sure to flip your ghost after the top has dried so the underside can dry evenly.
- Add finishing touches (optional)
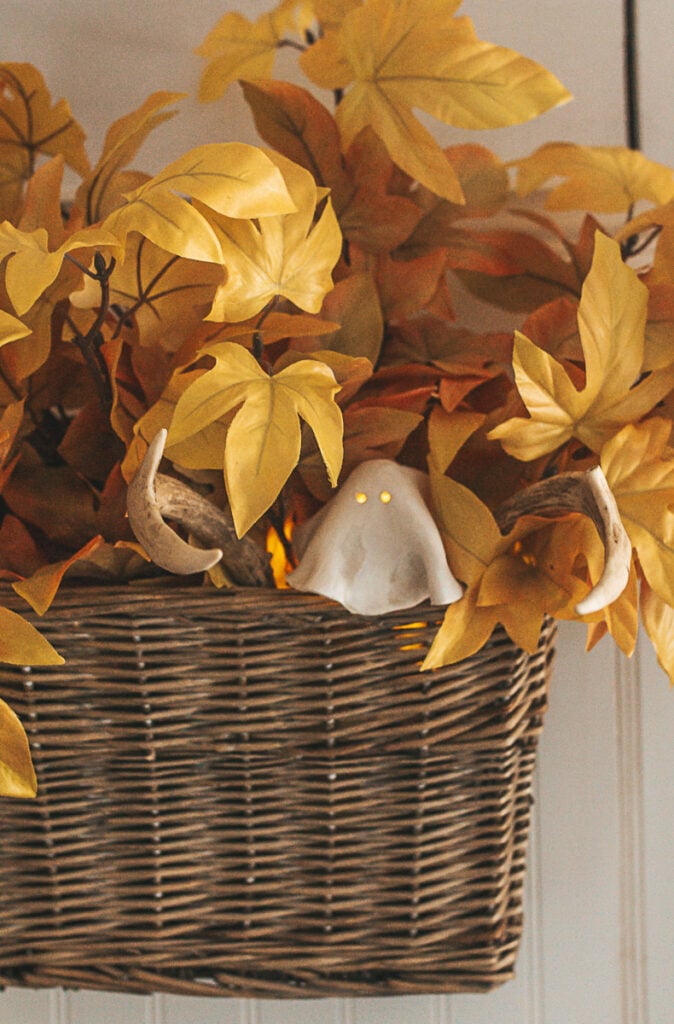
- Leave them plain white for a classic look, or decorate with floral napkins and Mod Podge for a vintage cottage feel. You can also place a battery-operated tea light underneath for a warm, cozy glow at night.
Notes
- Keep clay thicker than you think: Rolling it too thin leads to cracks as the ghosts dry-⅛ inch thickness holds shape best.
- Dry slowly for strength: Let ghosts air-dry naturally at room temperature, flipping them halfway through so both sides cure evenly.
- Add charm with details: Use a straw for perfect eye holes or press lace or fabric into the clay for subtle texture before drying.
- Store carefully for next year: Once dry, wrap in tissue paper and keep in a box-these ghosts last beautifully season after season.
Styling Your Clay Ghosts
- On the mantle: Cluster three of varying heights with pumpkins and dried leaves.
- Under a cloche: Add moss, tiny gourds, and your ghost for a charming display.
- On a porch shelf: Pair with a few lanterns for nighttime charm.
- As table decor: Scatter them down a fall tablescape for a whimsical touch.
Tips for Success with your Little Ghosts
- If you're making these with kids, smaller ghosts are easier for little hands to shape, and they might need to be thicker which is easier for little hands to work with.
- Keep clay wrapped in plastic while working to prevent it from drying too fast.
- Don't rush the drying time. fully dry ghosts will last for years if stored carefully.
Bringing It All Together
This little DIY clay ghosts project is an easy project and the perfect way to involve the family in this festive time of year. It's exactly the kind of fall craft I love because you don't have to be a seasoned DIYer: It's simple, budget-friendly, and brimming with character. It's about creating a home that feels welcoming and festive without being frightening. These ghosts will happily keep watch over your pumpkins, cinnamon-scented candles, and cozy corners all season long. If you make them, tag me on Instagram, I want to see!
You may also want to try:
Terracotta Pumpkin DIY Tutorial

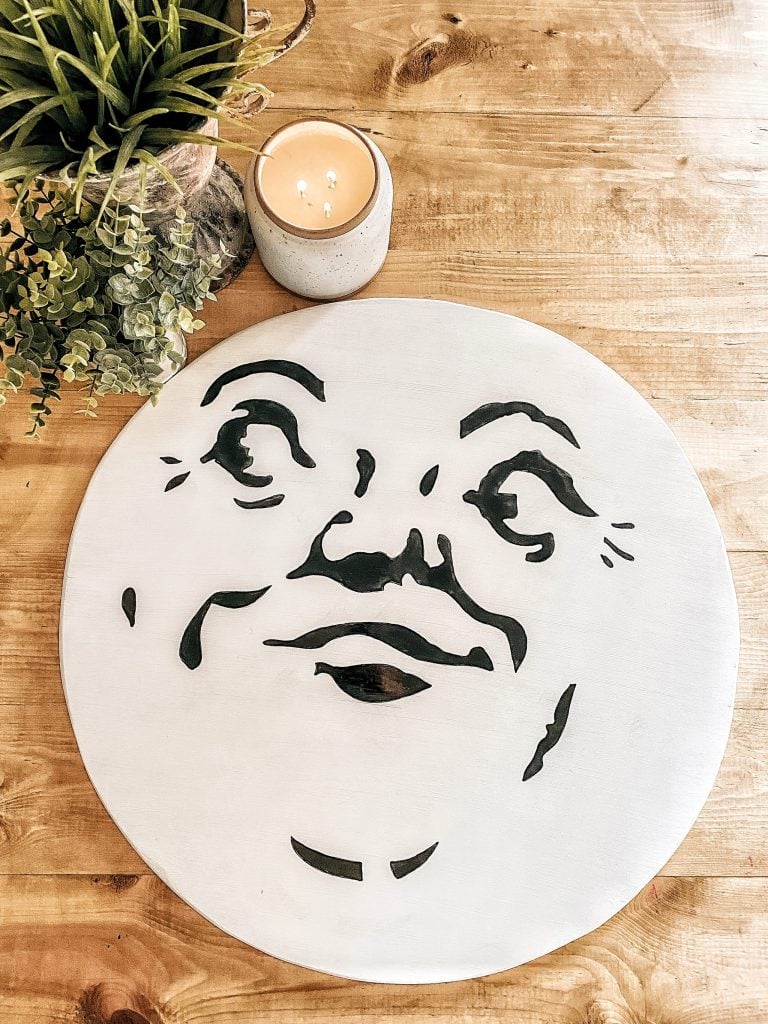
Man on the Moon DIY + FREE Stencil
Meet Eryn
Eryn Whalen is a homestead blogger and recipe developer with a lifetime of hands-on experience in gardening, home canning, animal husbandry, and traditional kitchen skills. From preserving homegrown harvests to baking sourdough from scratch, she shares her family's journey of intentional living on their 100-acre Tennessee farmstead. Recently, Eryn has expanded her homesteading life to include caring for a family milk cow, sharing the learning process and daily joys of small-scale dairying. Read more about Eryn here


I had so much fun making these little clay ghosts! They turned out even cuter than I expected and add such cozy, vintage charm to my fall decor. I love that they’re simple enough for the kids to help with too.