Easy English Muffins Loaf Recipe: Fluffy, Airy Perfection
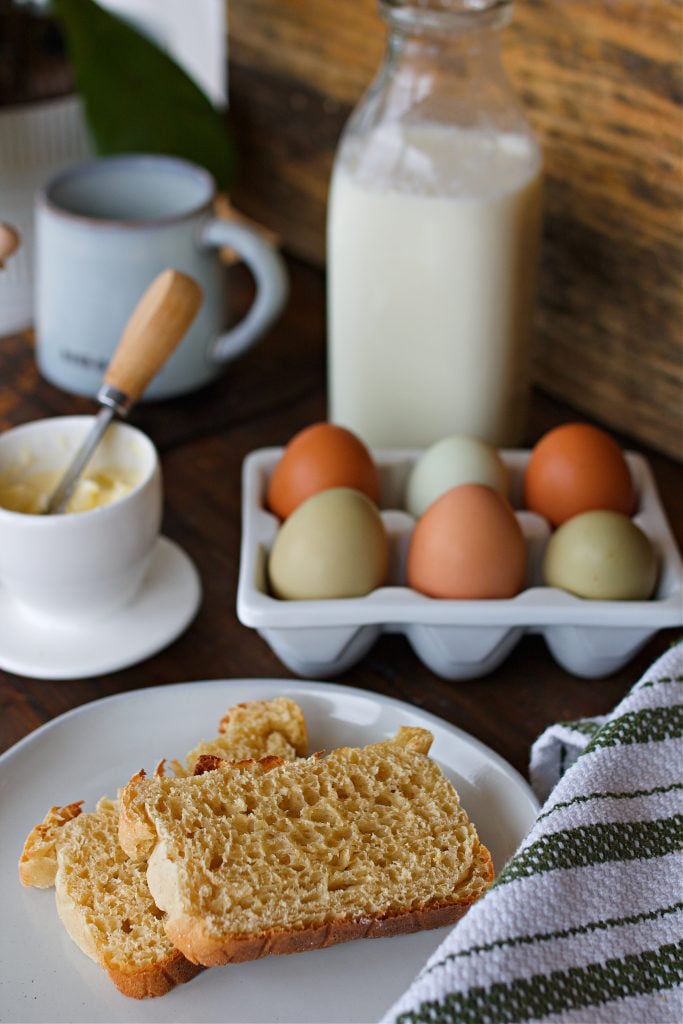
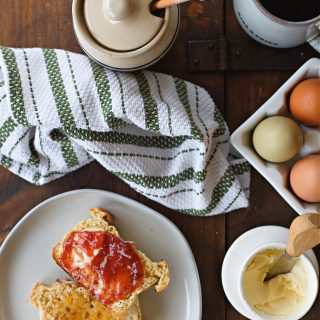
Weekday mornings in our home are all about simplicity and speed. Between farm chores for the whole family, plus house chores and getting ready to homeschool, breakfast has to be quick and nourishing. We save weekends for more slow, elaborate breakfasts like sourdough pop tarts or apple cinnamon muffins. On weekdays we rely on easy, hearty staples. That's where this English Muffins Bread comes in-a loaf version of the classic homemade English muffin recipe, perfect for making delicious breakfast sandwiches or enjoying toasted with butter and honey.
If this is your first try at breadmaking, don't worry-this recipe is beginner-friendly and requires only simple ingredients. As someone who's spent years perfecting yeast doughs and from-scratch recipes, I promise this bread is worth it. Maybe you're slicing it fresh or toasting it later, either way it adds homemade goodness to your mornings.
What Is English Muffins Bread?
The story of English muffins dates back to the late 1800s when it was introduced to the U.S. Known for their airy texture and crispy edges, good English muffins are a breakfast staple. But shaping individual muffins or a round cutter can be tedious, which is why I love this easy English muffins alternative.
This loaf version delivers the same signature texture-soft, bubbly english muffin dough with lots of nooks and crannies-without the fuss. Plus, it's versatile enough for making mini pizzas, morning toast, or sourdough starter sandwiches.
Why You'll Love This Bread
- Convenient for Busy Mornings: Bake ahead, slice, and store in an airtight container for grab-and-go breakfasts.
- Better than Store-Bought: Like all homemade bread, it's fresher and tastier than packaged versions.
- Versatile Uses: From delicious breakfast sandwiches to Eggs Benedict to toasted slices for soup, this bread shines.
How to Store English Muffin Bread for Best Results
This bread is not only easy to make but also super convenient to store for future use. Here's how to keep it fresh and accessible:

At Room Temperature
- Once completely cooled, wrap the loaf tightly in plastic wrap or store it in an airtight container to keep it from drying out.
- Or do like us, and pre-slice it and then bag it up. That way it's easy for little hands to grab and use!
- It will stay fresh for up to 3 days at room temperature, though it's best enjoyed toasted after the first day.
Freezing English Muffin Bread
This bread freezes beautifully and makes for a great way to have homemade slices ready anytime:
- Pre-Slice for Convenience: Before freezing, slice the loaf into even pieces. This makes it easy to grab just what you need without having to thaw the entire loaf.
- Layer for Easy Separation: Stack the slices, placing a piece of parchment or aluminum foil between every few slices to prevent sticking.
- Wrap and Store: Wrap the pre-sliced loaf tightly in plastic wrap and then place it in a freezer-safe airtight container or zip-top bag.
- Label and Freeze: Don't forget to label the bag with the date! The bread will keep well in the freezer for up to 3 months.
Thawing and Using Frozen Bread
- To thaw, simply remove the slices you need and let them sit at room temperature for a few minutes.
- For best results, toast the slices straight from the freezer in a toaster or on a large griddle over medium-low heat.
How to Make English Muffin Bread
English Muffin Bread
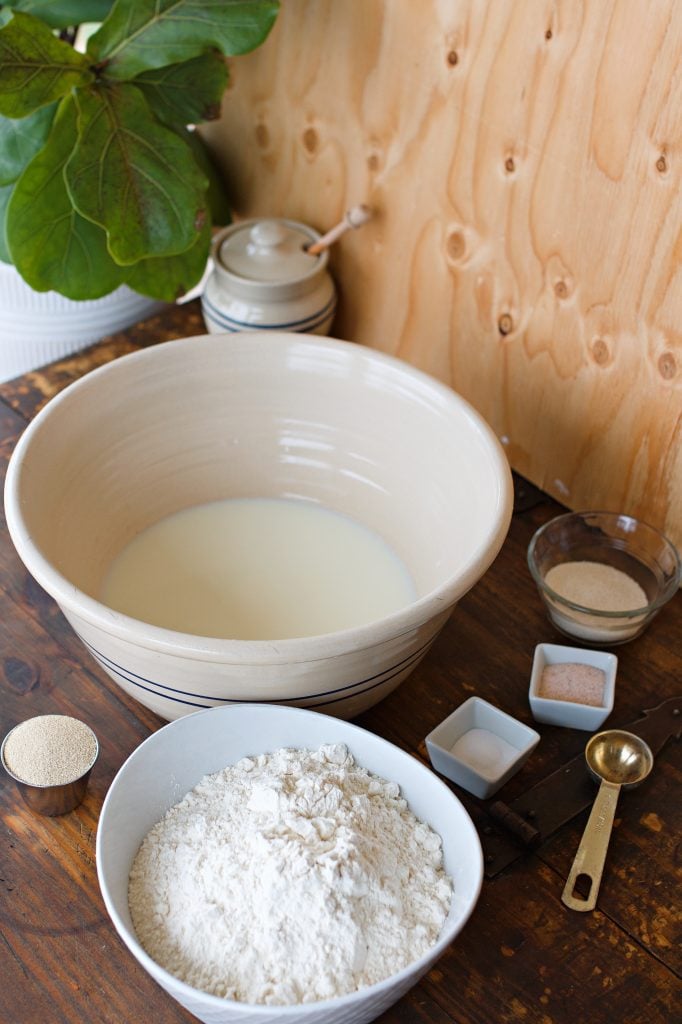
Ingredients
- 2 ¼ cups warm milk 110°F
- ¼ cup warm water 110°F
- 2 tablespoons active dry yeast
- 3 tablespoons sugar
- 4 ½ cups purpose flour or whole wheat flour
- 2 teaspoons kosher salt we love Redmonds Real Salt
- ½ teaspoon baking soda
- Butter and cornmeal for greasing and dusting or you can also line the baking dish with parchment paper.
Instructions
- Prepare the Yeast Mixture:
In a large mixing bowl or the bowl of a stand mixer, combine warm milk, sugar, and yeast. Let sit for 5-10 minutes until bubbly.
Mix the Dough:
Add salt, baking soda, and 4 cups of flour to the yeast mixture, stirring with a wooden spoon or using the dough hook attachment on medium-low speed. If the sticky dough feels too wet, add a bit more flour, but avoid using too much flour.
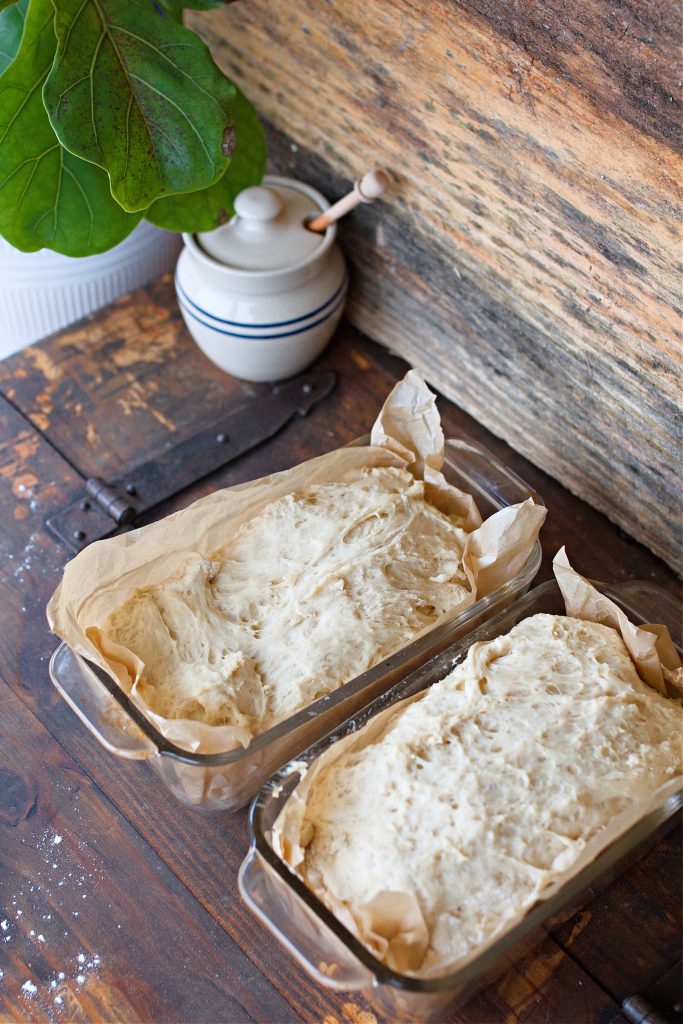
Prepare the Loaf Pans:
Grease two loaf pans with butter and dust with cornmeal, or line with parchment paper.
Shape and Rest:
Divide the dough into equal pieces and transfer to the pans. Cover with plastic wrap or a clean kitchen towel and let rise in a warm place until puffed but not doubled-about 30-40 minutes.
Bake:
Preheat your oven to 400°F. Bake the loaves for 20-25 minutes until golden brown on top. The sides should pull slightly away from the pans, and the bread should sound hollow when tapped.
Cool and Slice:
Let the loaves cool completely on a wire rack before slicing. Patience is key here-cutting into warm bread can crush the beautiful airy pockets you've worked so hard to create, leaving you with a denser crumb. Trust me, the wait is worth it!
For best results, pre-slice the loaves before freezing or toasting.
Notes
Nutrition
Tips for Success
- Use the Right Ingredients: While this recipe calls for purpose flour, you can experiment with a mix of flours like whole wheat flour or bread flour for added texture.
- Don't Overproof: Avoid letting the dough rise too much in the pans; you want it slightly puffed, not doubled. Do not let it rise over the tops of the pans.
- Storage: Keep in an airtight container at room temperature for up to 3 days, or freeze for longer storage.
Ways to Enjoy English Muffin Bread
This bread is a great recipe for all kinds of meals:
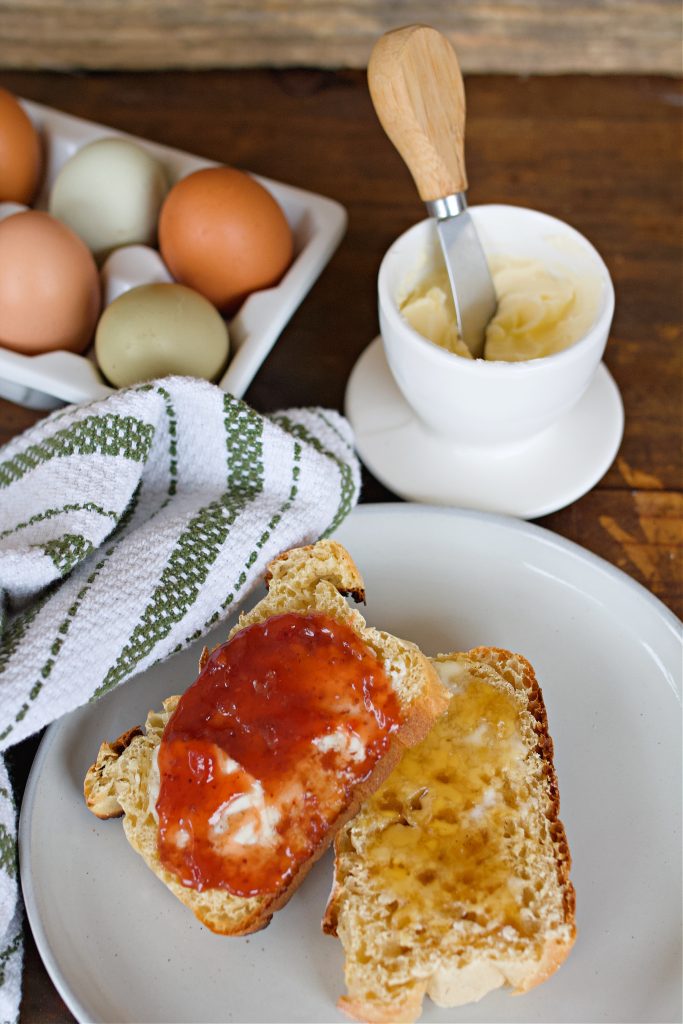
- Breakfast: Toast with homemade butter or a smear of honey.
- Sandwiches: Layer with eggs, bacon, and cheese for a delicious breakfast sandwich.
- Dinner: Use toasted slices as a base for mini pizzas or alongside soup.
Why You'll Want to Try It
If this is your first time baking or you're already a seasoned pro, this recipe is approachable and forgiving. Its airy texture, crispy crust, and versatility make it a must-try. Next time you're planning your weekday meals, consider this English Muffin Bread-it's a shortcut to a perfect homemade English muffin experience without the hassle of shaping each piece.
For more behind-the-scenes tips and cozy kitchen inspiration, follow me on Instagram! I share step-by-step tutorials, farm updates, and glimpses into life in my 100-year-old farmhouse. You can also visit my About Me page to learn more about my story and how homemade bread became such a big part of our lives.
Let me know in the comments if you'd like step photos or tips for adapting this recipe to include a sourdough starter or other variations!


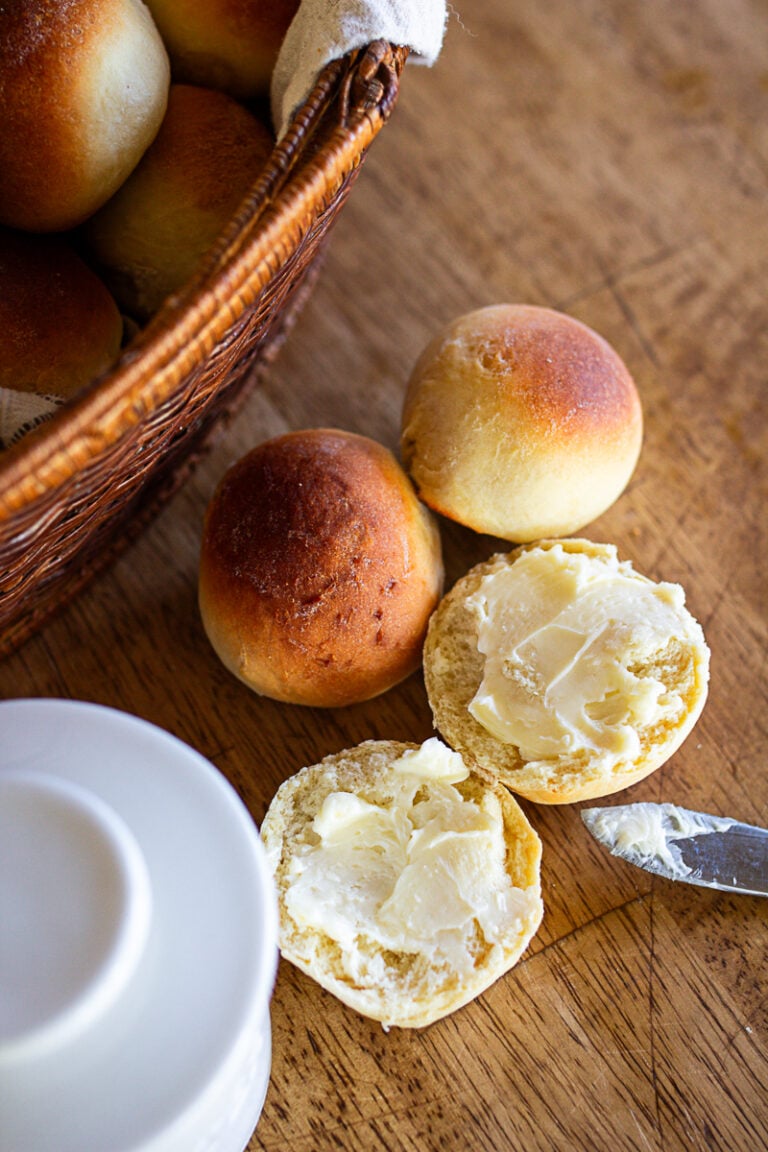


This English muffin bread has become one of my favorite weekday staples. I bake a couple of loaves every few weeks, slice them, and keep some in the freezer for quick breakfasts. It toasts up perfectly, crisp on the edges, soft inside, and makes the best base for butter, jam, or a fried egg sandwich.